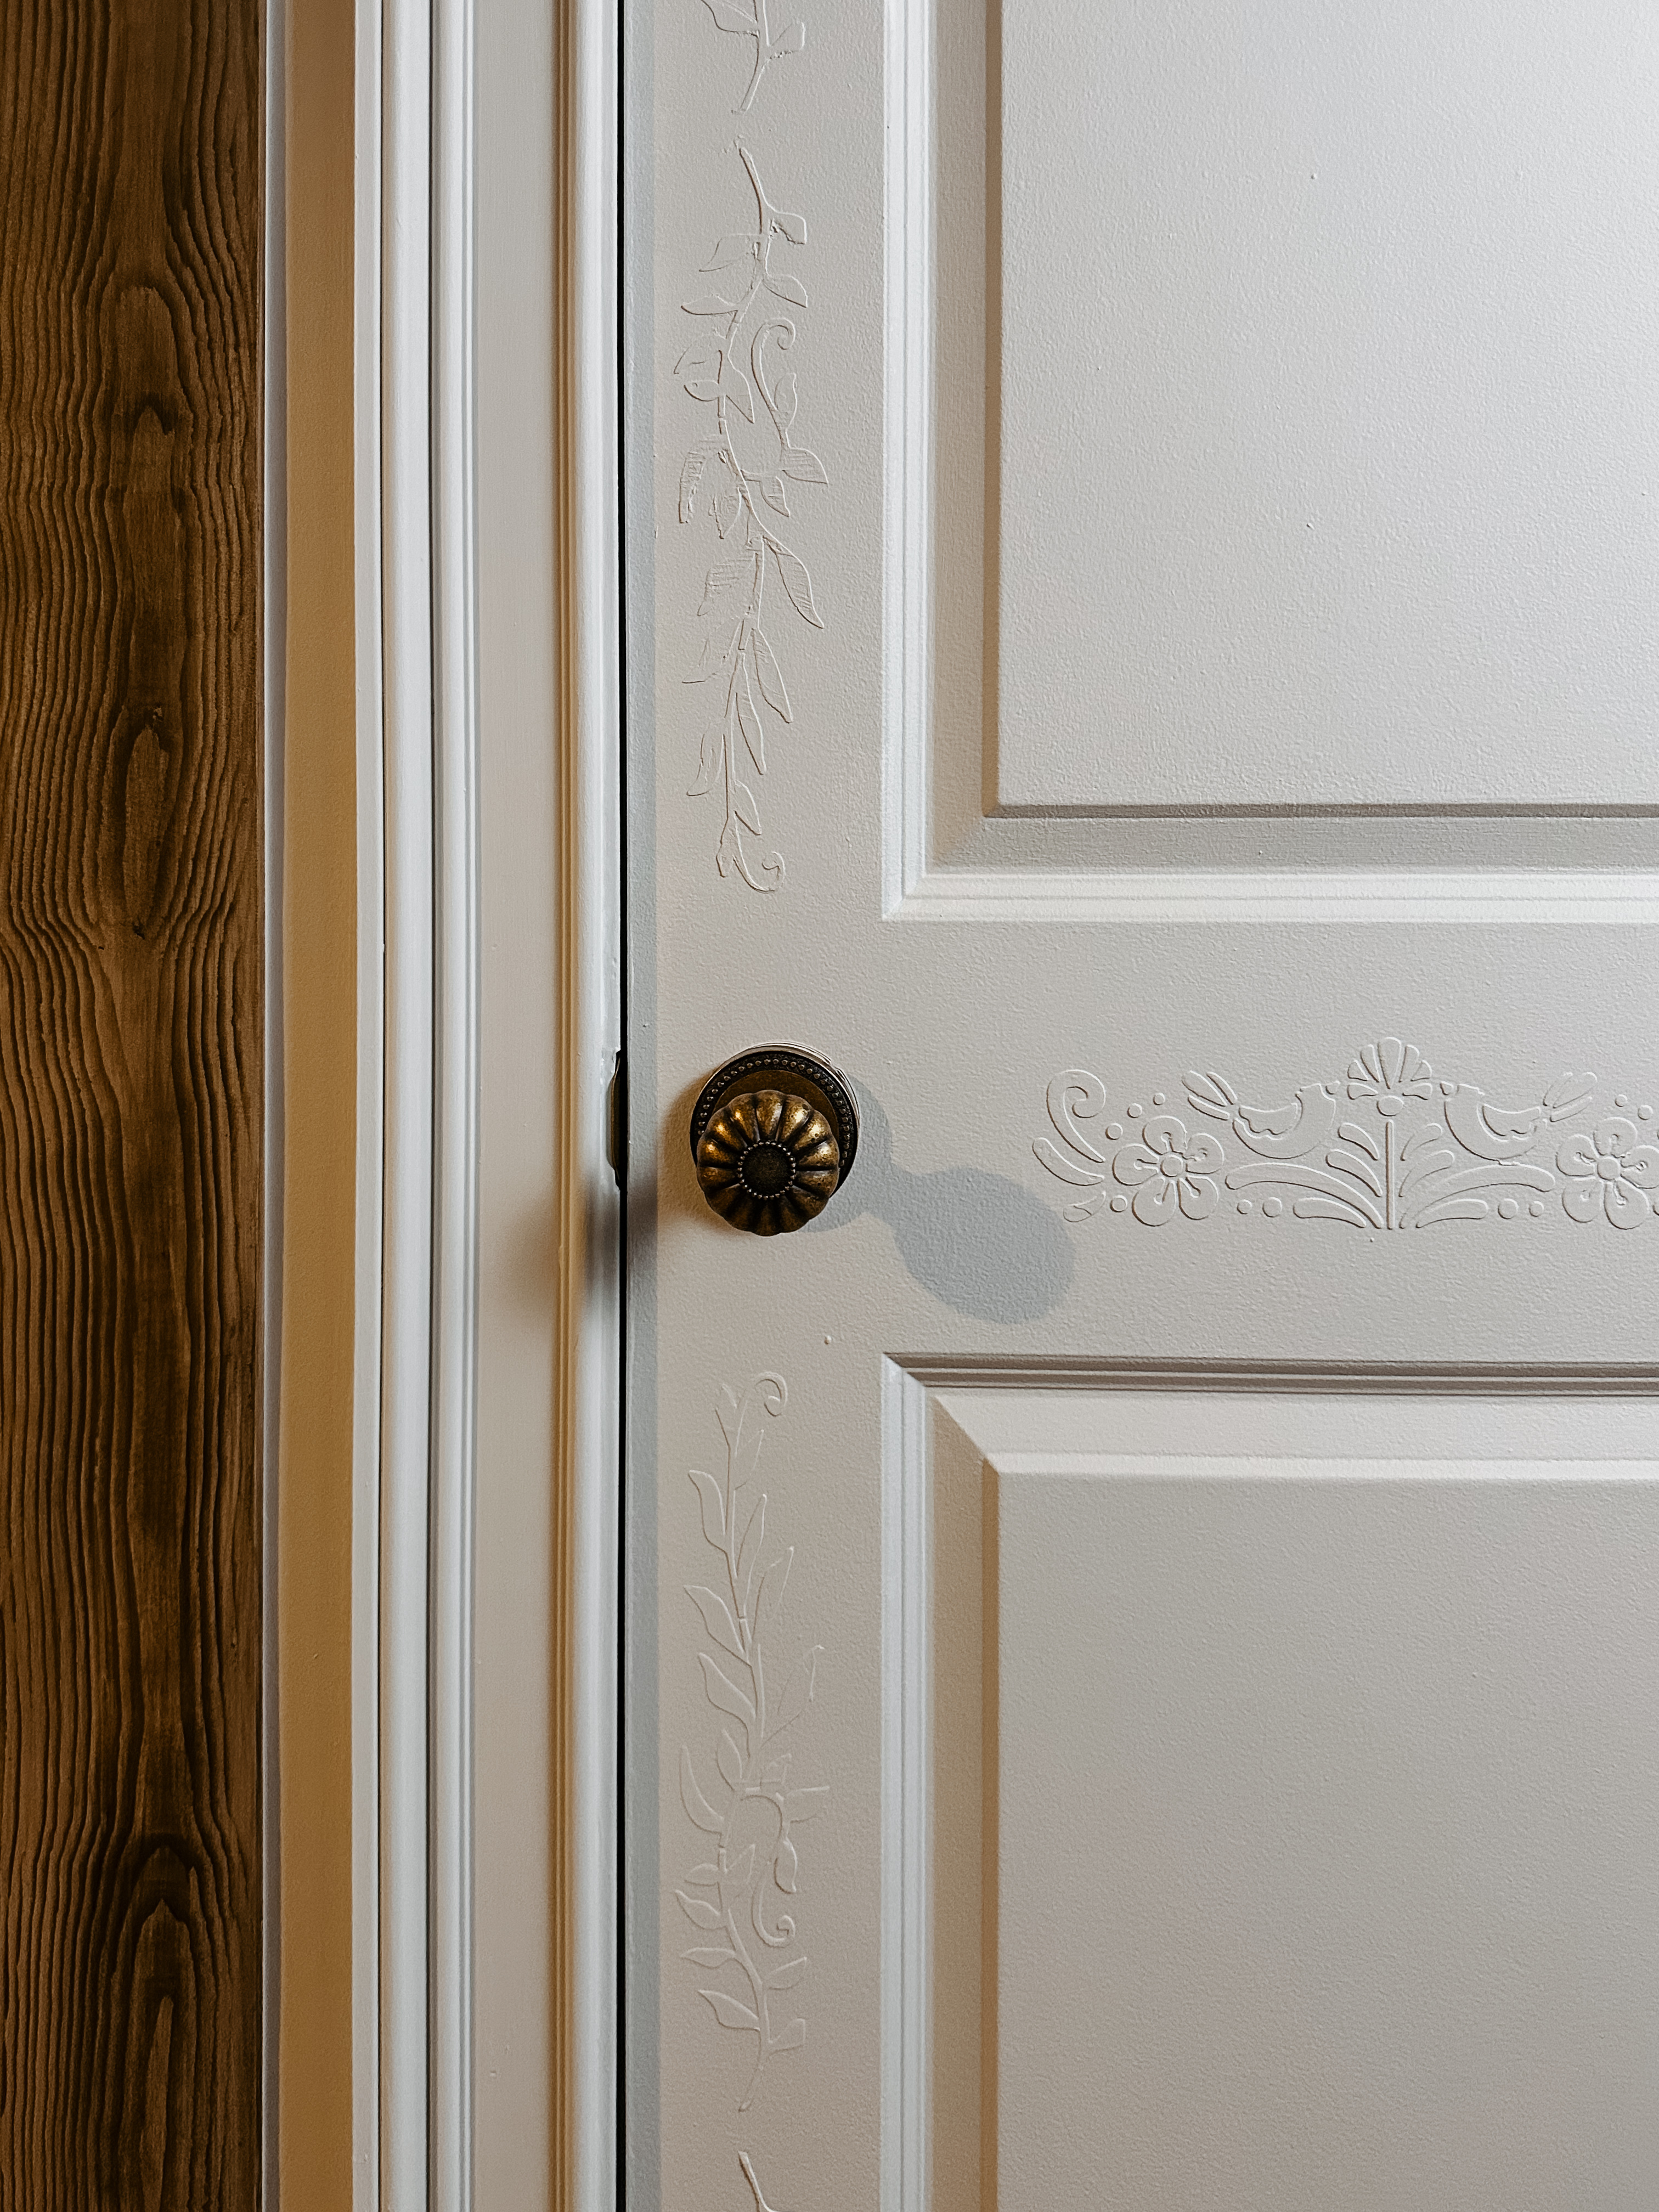
Ever looked at your builder-grade doors and thought, “Wow, so plain, so boring?” Well, you’re not alone. It’s time to give that blank canvas a splash of personality! Grab your stencils and plaster because we’re about to turn your ordinary closet door into the Mona Lisa of entryways.
Step 1: Choose Your Weapon – The Stencil
First things first, choosing the right stencil is like choosing the right emoji to convey “I’m joking but seriously.” You want something that screams “you” but also whispers “whimsical.” Floral? Geometric? Abstract? The world of stencils is your oyster!
Step 2: Prepare for Battle
Before you unleash your inner child, you’ll want to prep your door. Clean it, sand it lightly (if there are imperfections), and apply a primer if its in rough shape. This will make sure your stencil design doesn’t peel off when the going gets tough, especially on glossy surfaces.
Step 3: Plaster Time
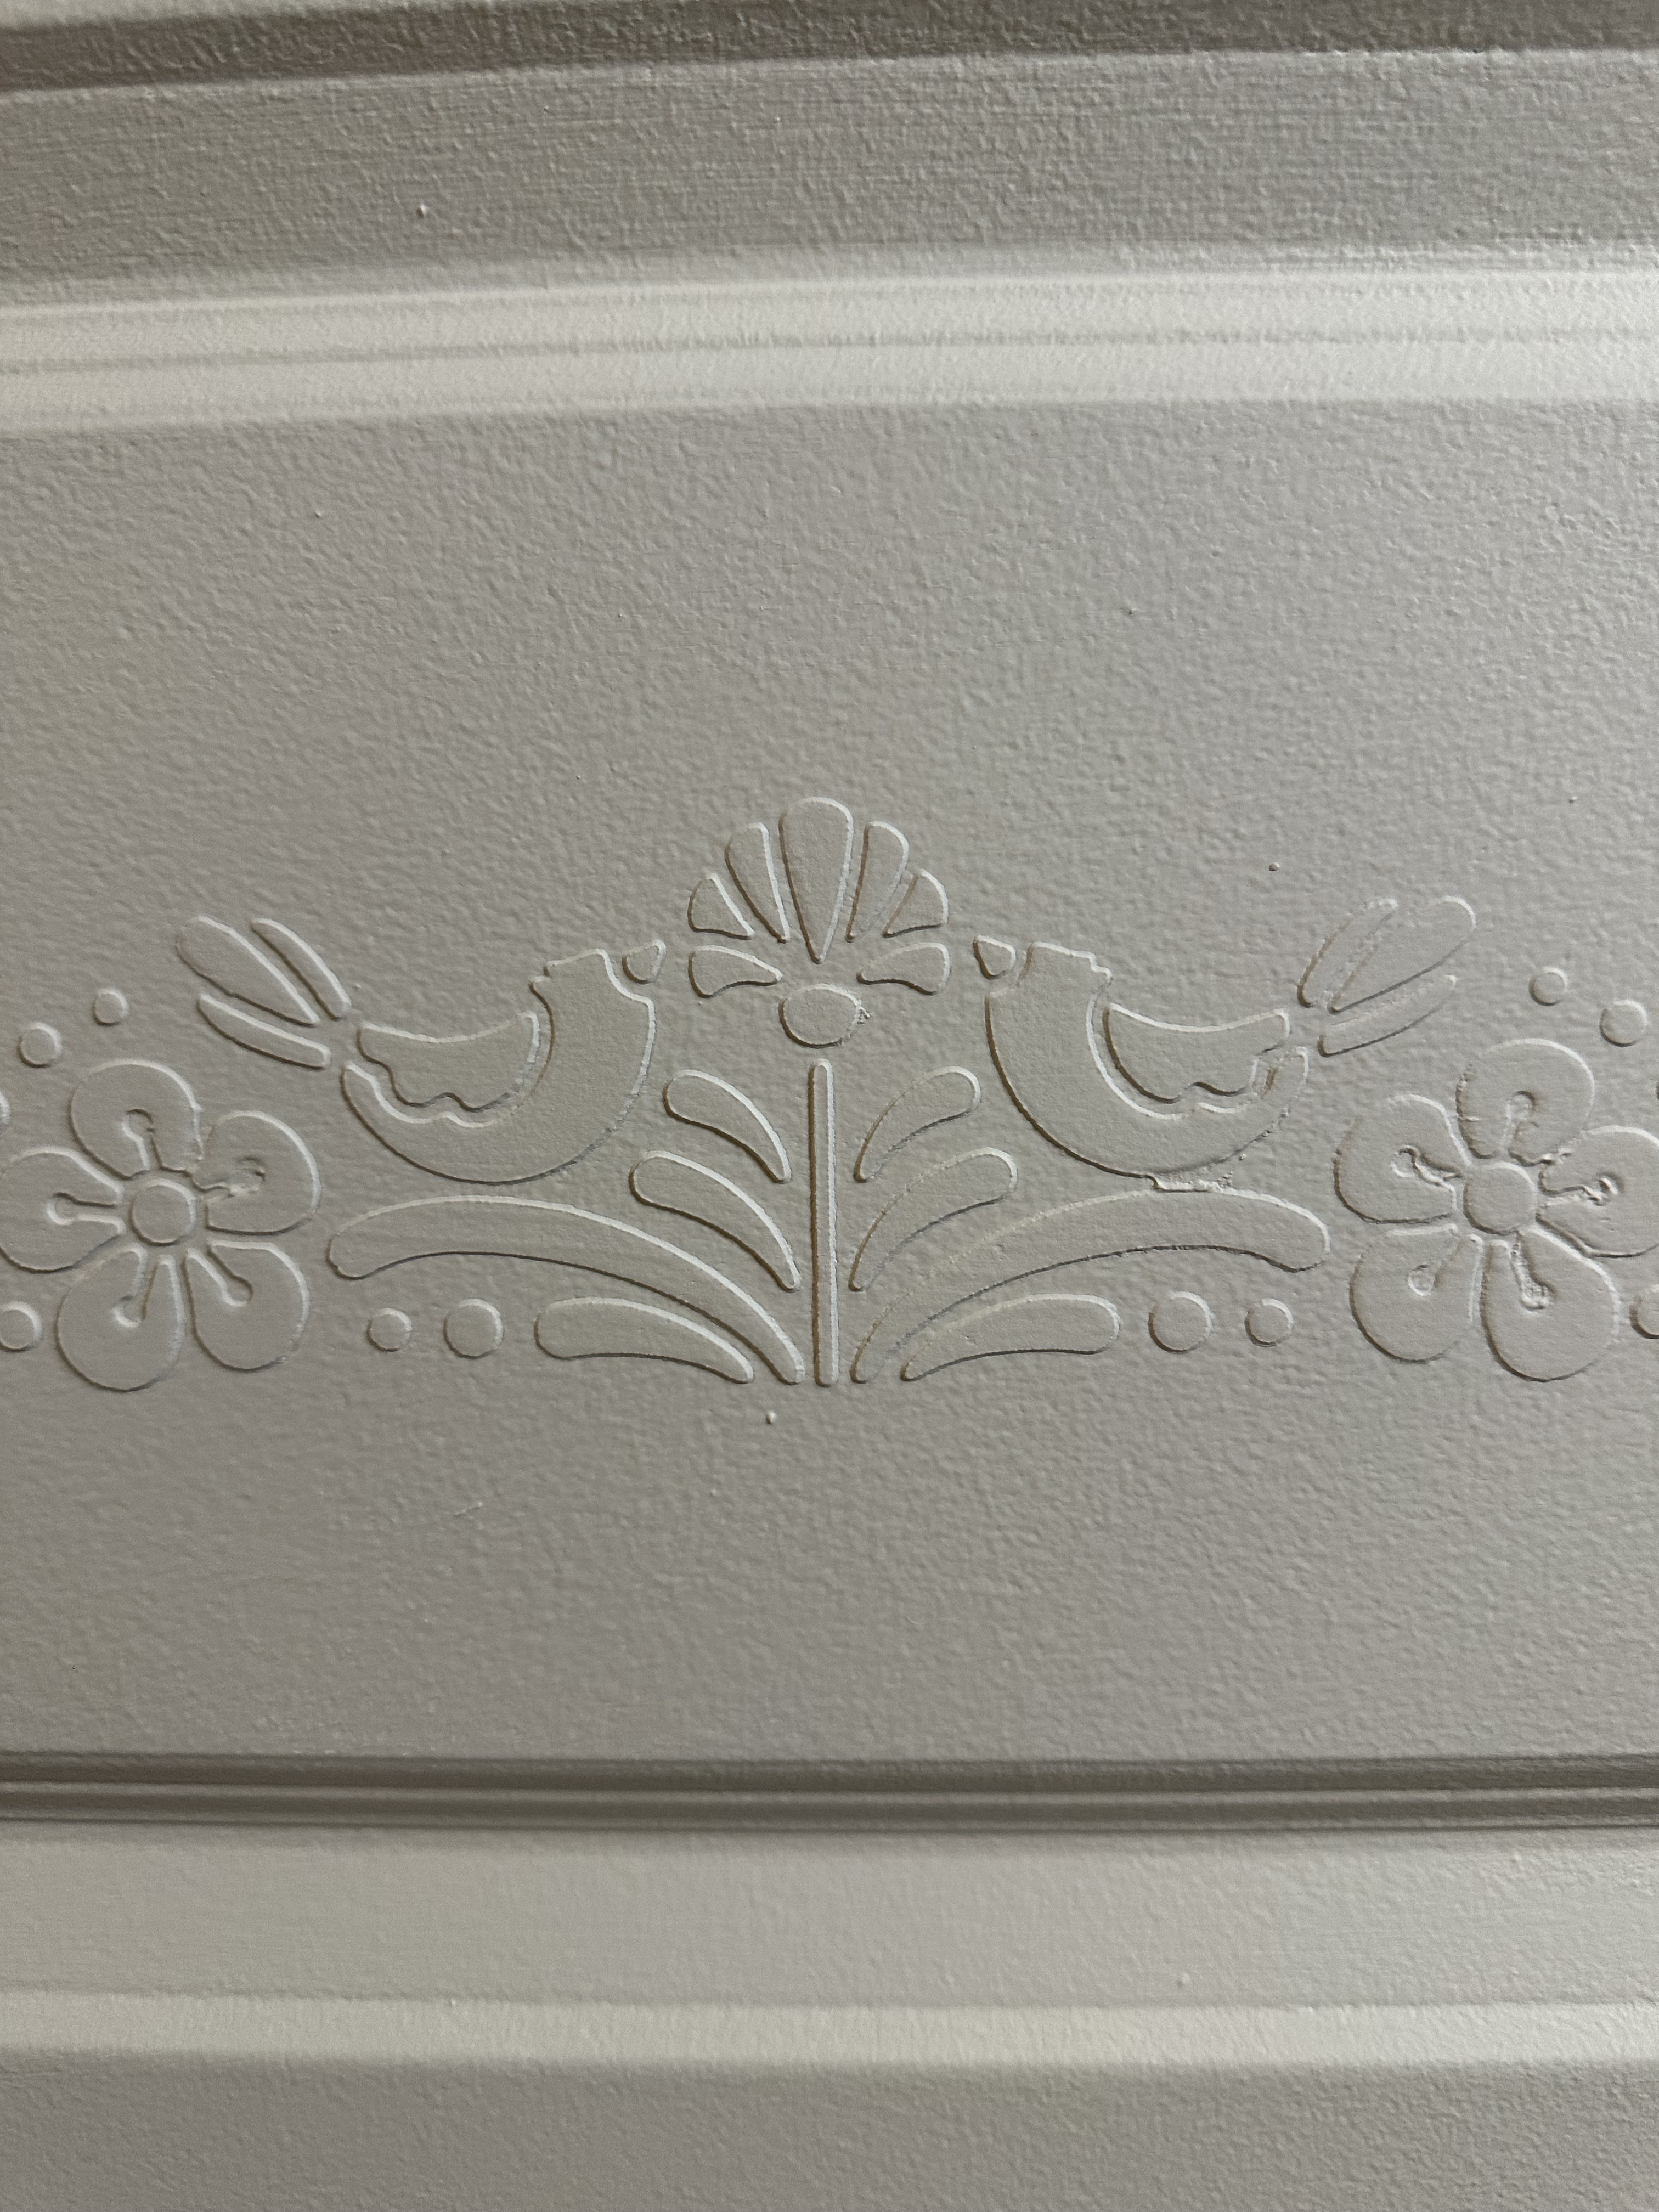
Mix your plaster to the consistency if it seems stiff. Not too runny, or it’ll drip down your door like a melting ice cream on a hot day. Using a trowel or a spatula (yes, the one from your kitchen will do, just don’t tell anyone), spread the plaster over your stencil. Thickness is key here – too thin and it won’t pop, too thick and it might just pop off.
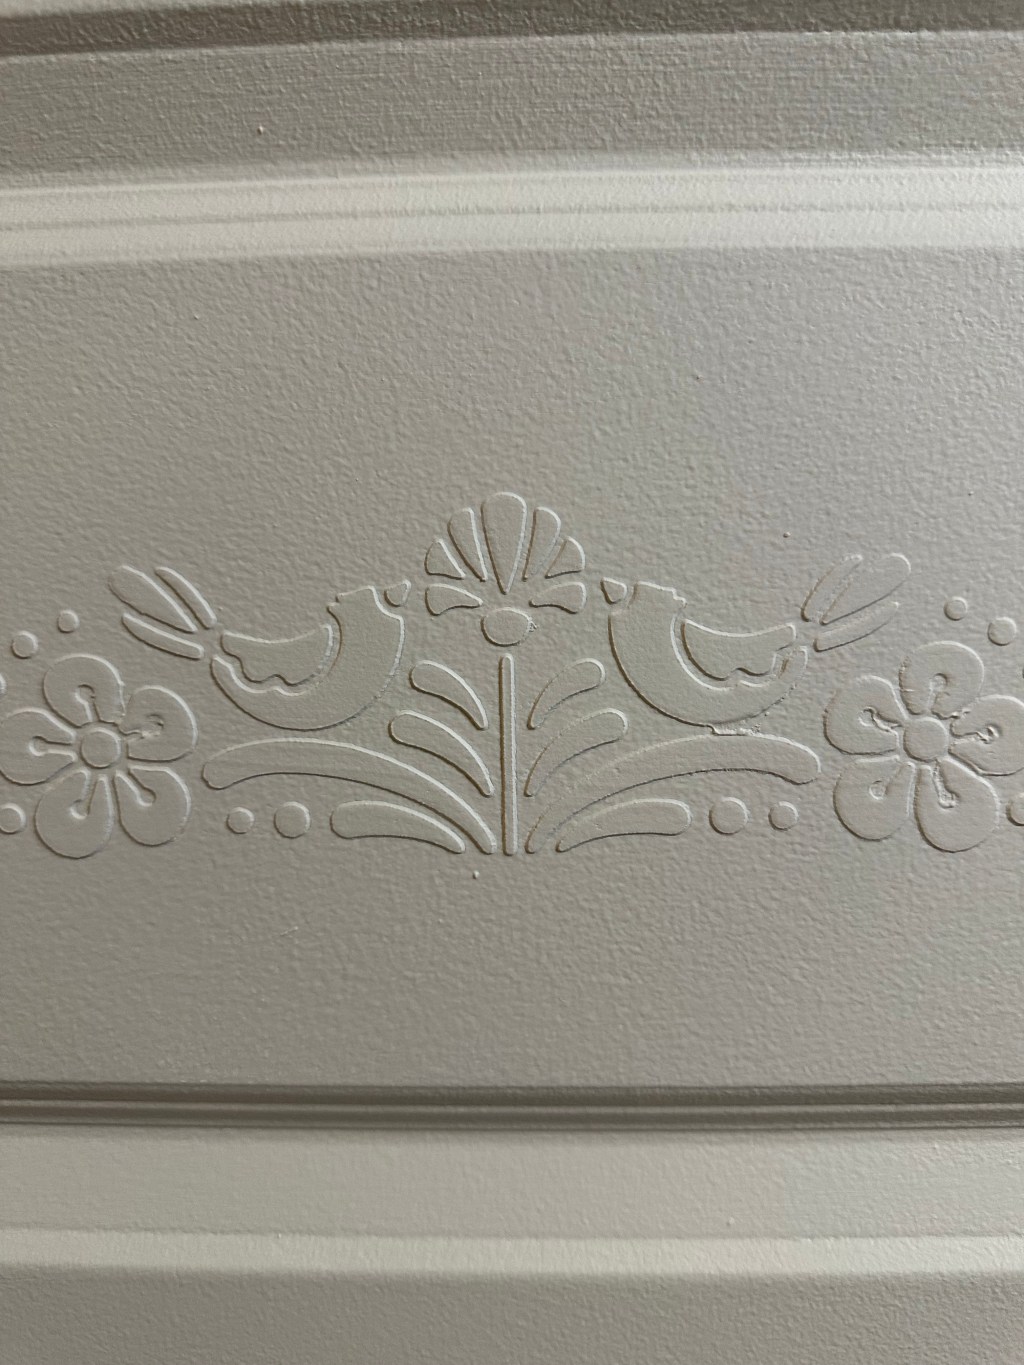
Step 4: The Big Reveal
Gently peel off the stencil while the plaster is still slightly wet. And voila! What was once a snoozefest closet door is now an eye-catching piece of art!
Step 5: Paint and Glam It Up
Once your plaster masterpiece is dry, it’s time to paint. Here you can really show off your personality. Are you a bold red or a subtle seafoam green (don’t do that)? This is your door!
Step 6: Seal the Deal
For an extra layer of protection, you can use a cabinet paint or top coat of polycrylic. It’s like putting on that topcoat of nail polish so your nails stay for weeks.


Leave a comment