Your home’s mudroom bathroom is often overlooked when it comes to décor, but it’s a space that deserves attention too. Adding ornamental door trim can instantly elevate the look and feel of the room, giving it a touch of elegance and charm. In this blog post, we’ll explore a creative DIY project inspired by Lowe’s, using leftover MDF and repurposing a cutout arch to transform your mudroom bathroom into a stylish retreat.
Before starting the project, gather the following materials:
- Leftover MDF or purchase from Lowe’s
- Cutout arch (repurpose from an old project)
- Measuring tape
- Pencil
- Miter/table Saw
- Sandpaper
- Wood glue
- Finishing nails
- Paint or stain of your choice
- Paintbrushes
- Wood filler
- Caulk
- Door casing
- Applique accents (optional)
Step 1: Measure and Plan:
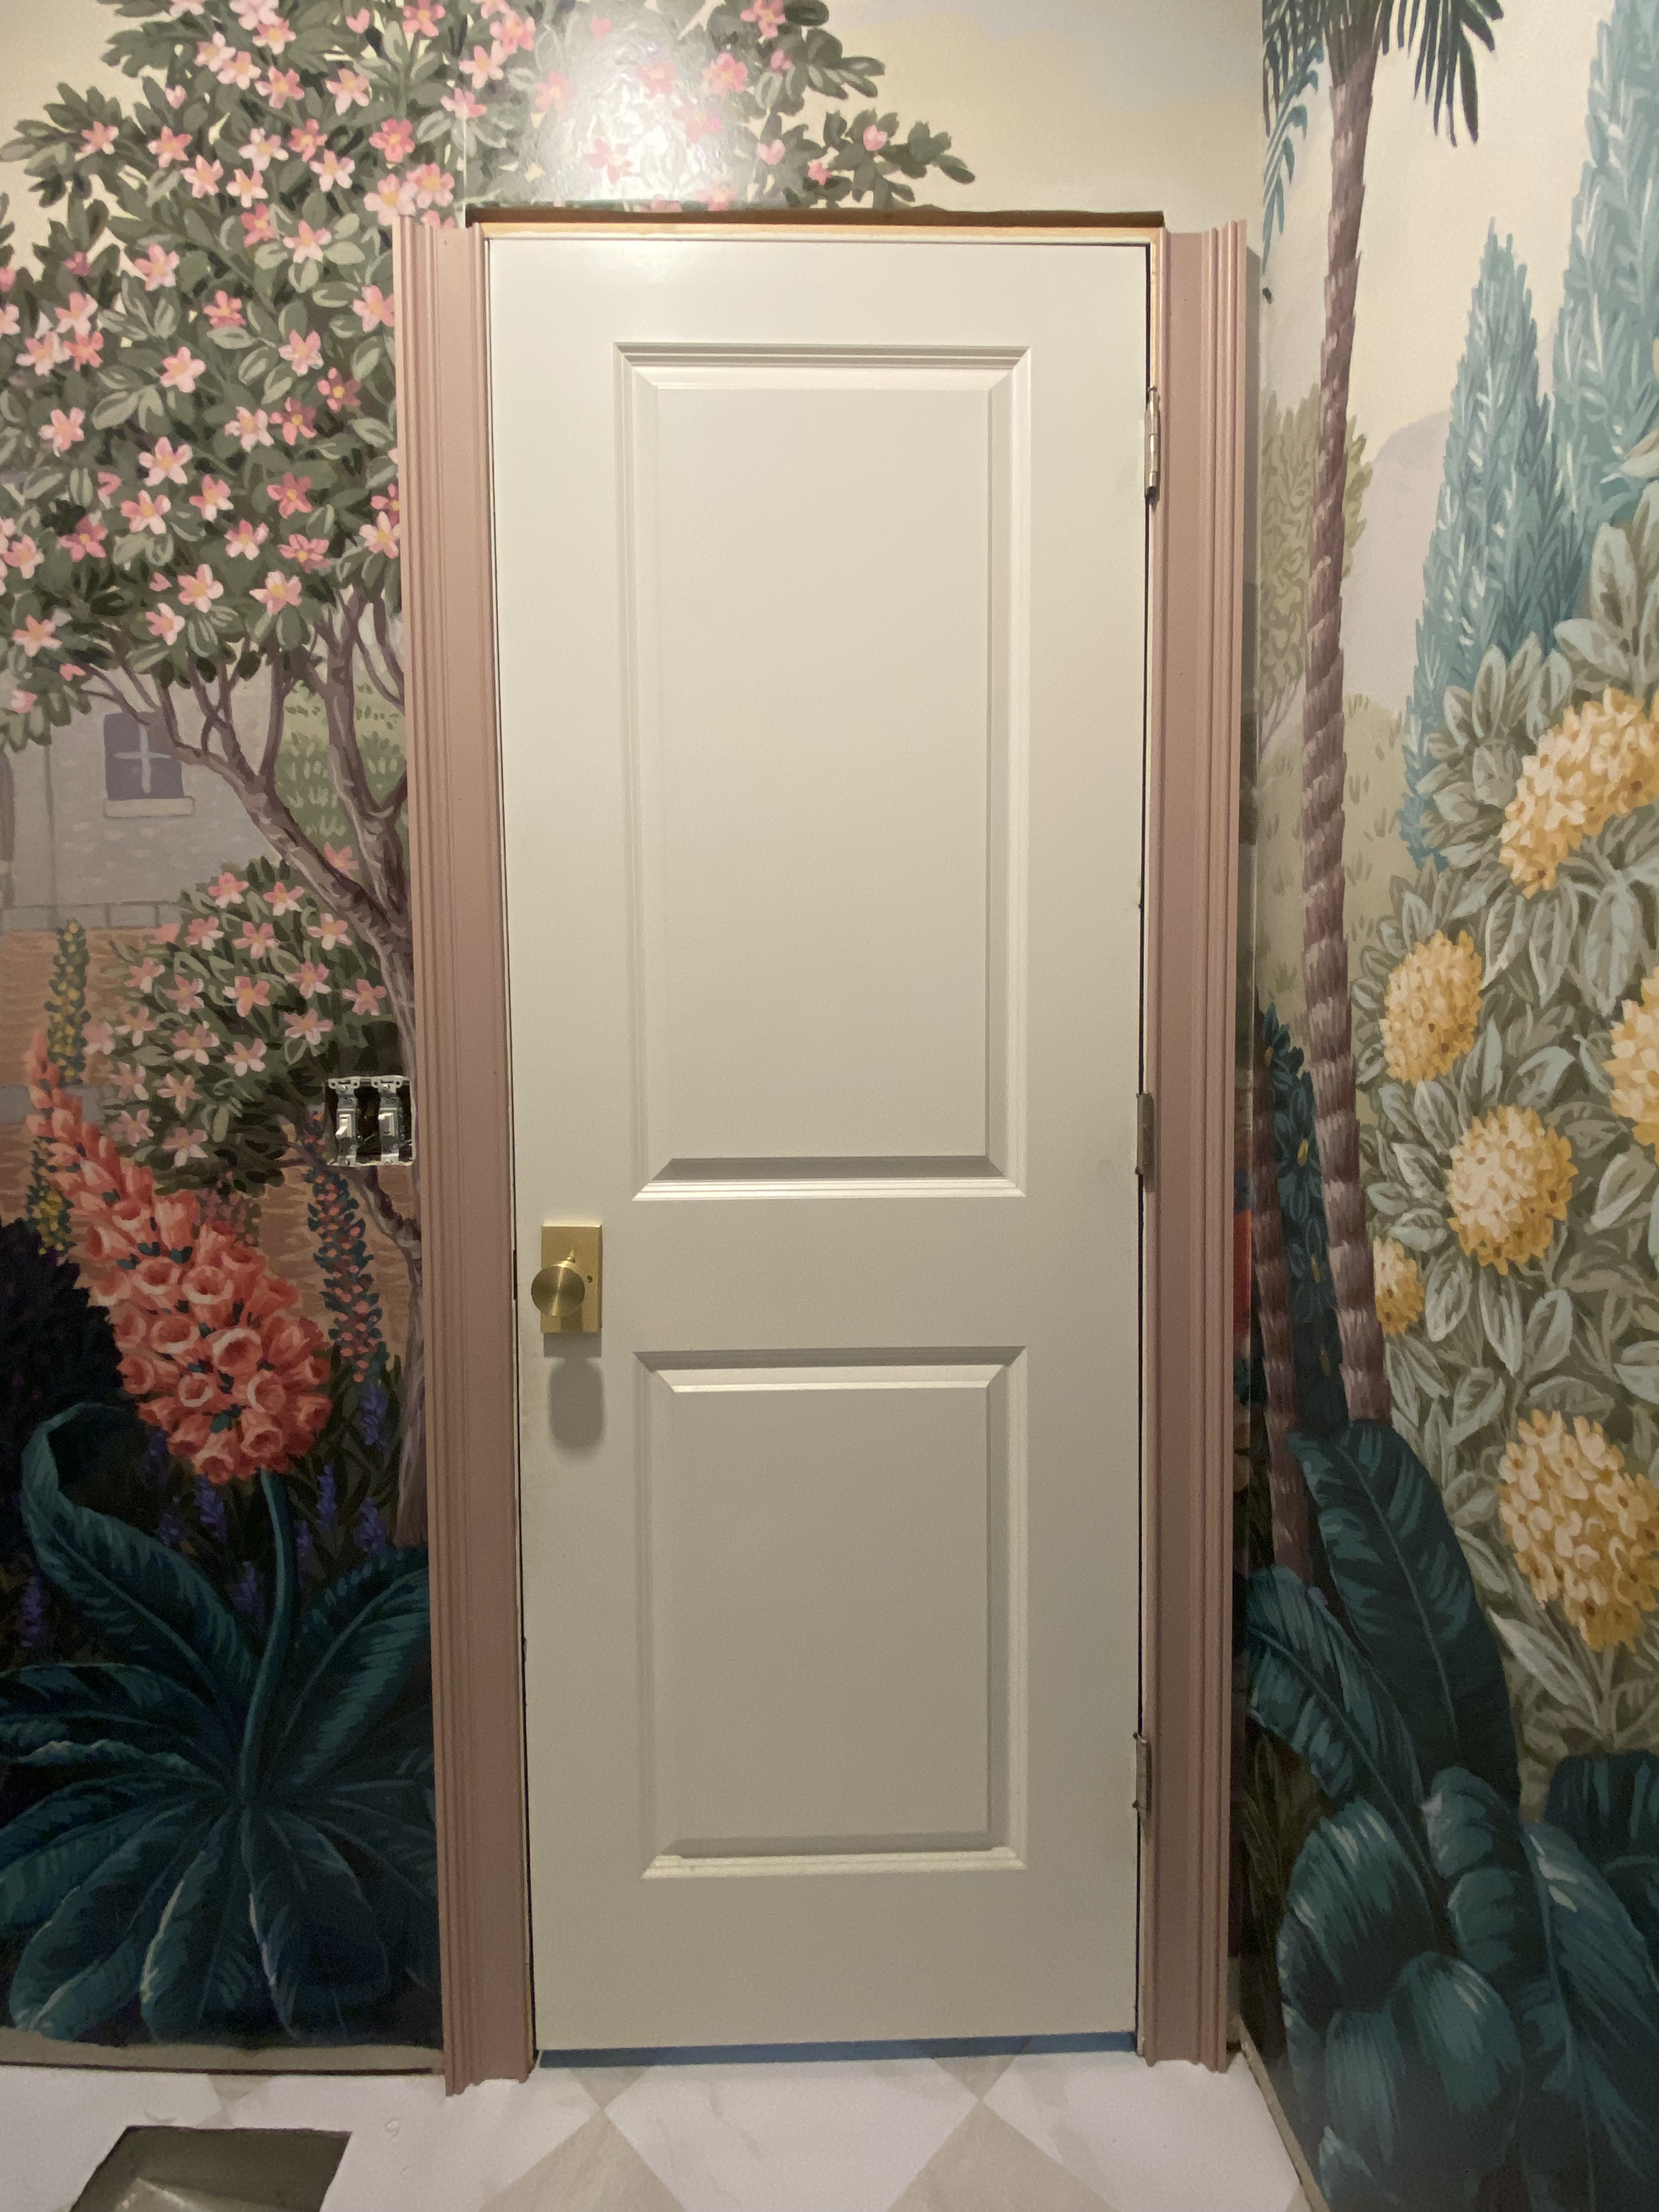
Begin by measuring the dimensions of your mudroom bathroom door frame. Take note of any obstacles such as light switches or towel racks that may affect the placement of the trim. Sketch out your design on paper, considering the width and height of the ornamental trim to ensure it complements the space.
Step 2: Cut the MDF:
Using a saw, carefully cut the MDF into strips according to your measurements. These strips will form the outline of your ornamental trim. Be sure to sand the edges smooth to achieve a clean finish.
Step 3: Create the Design:
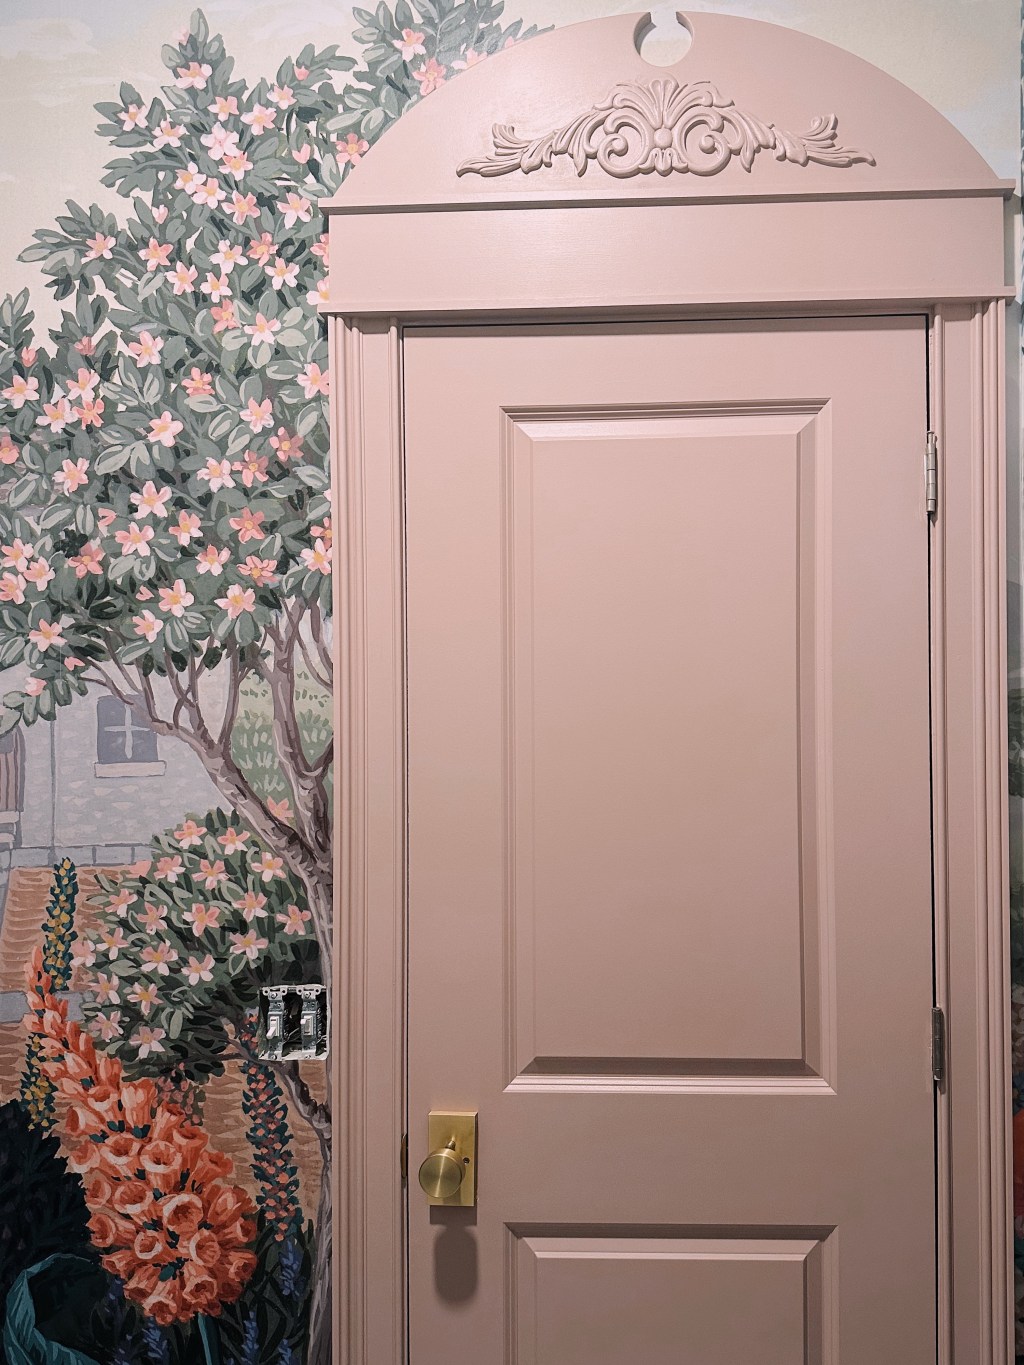
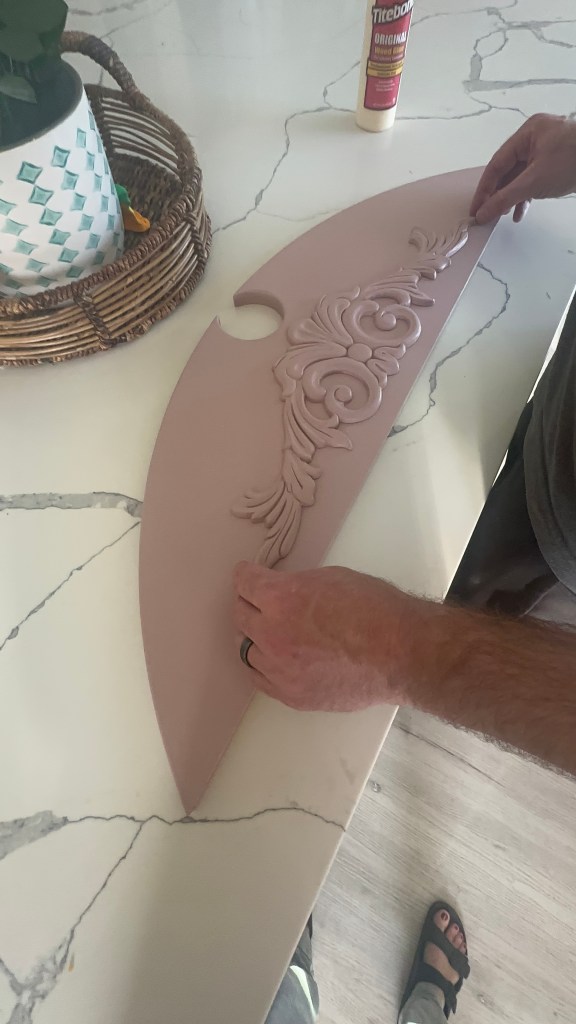
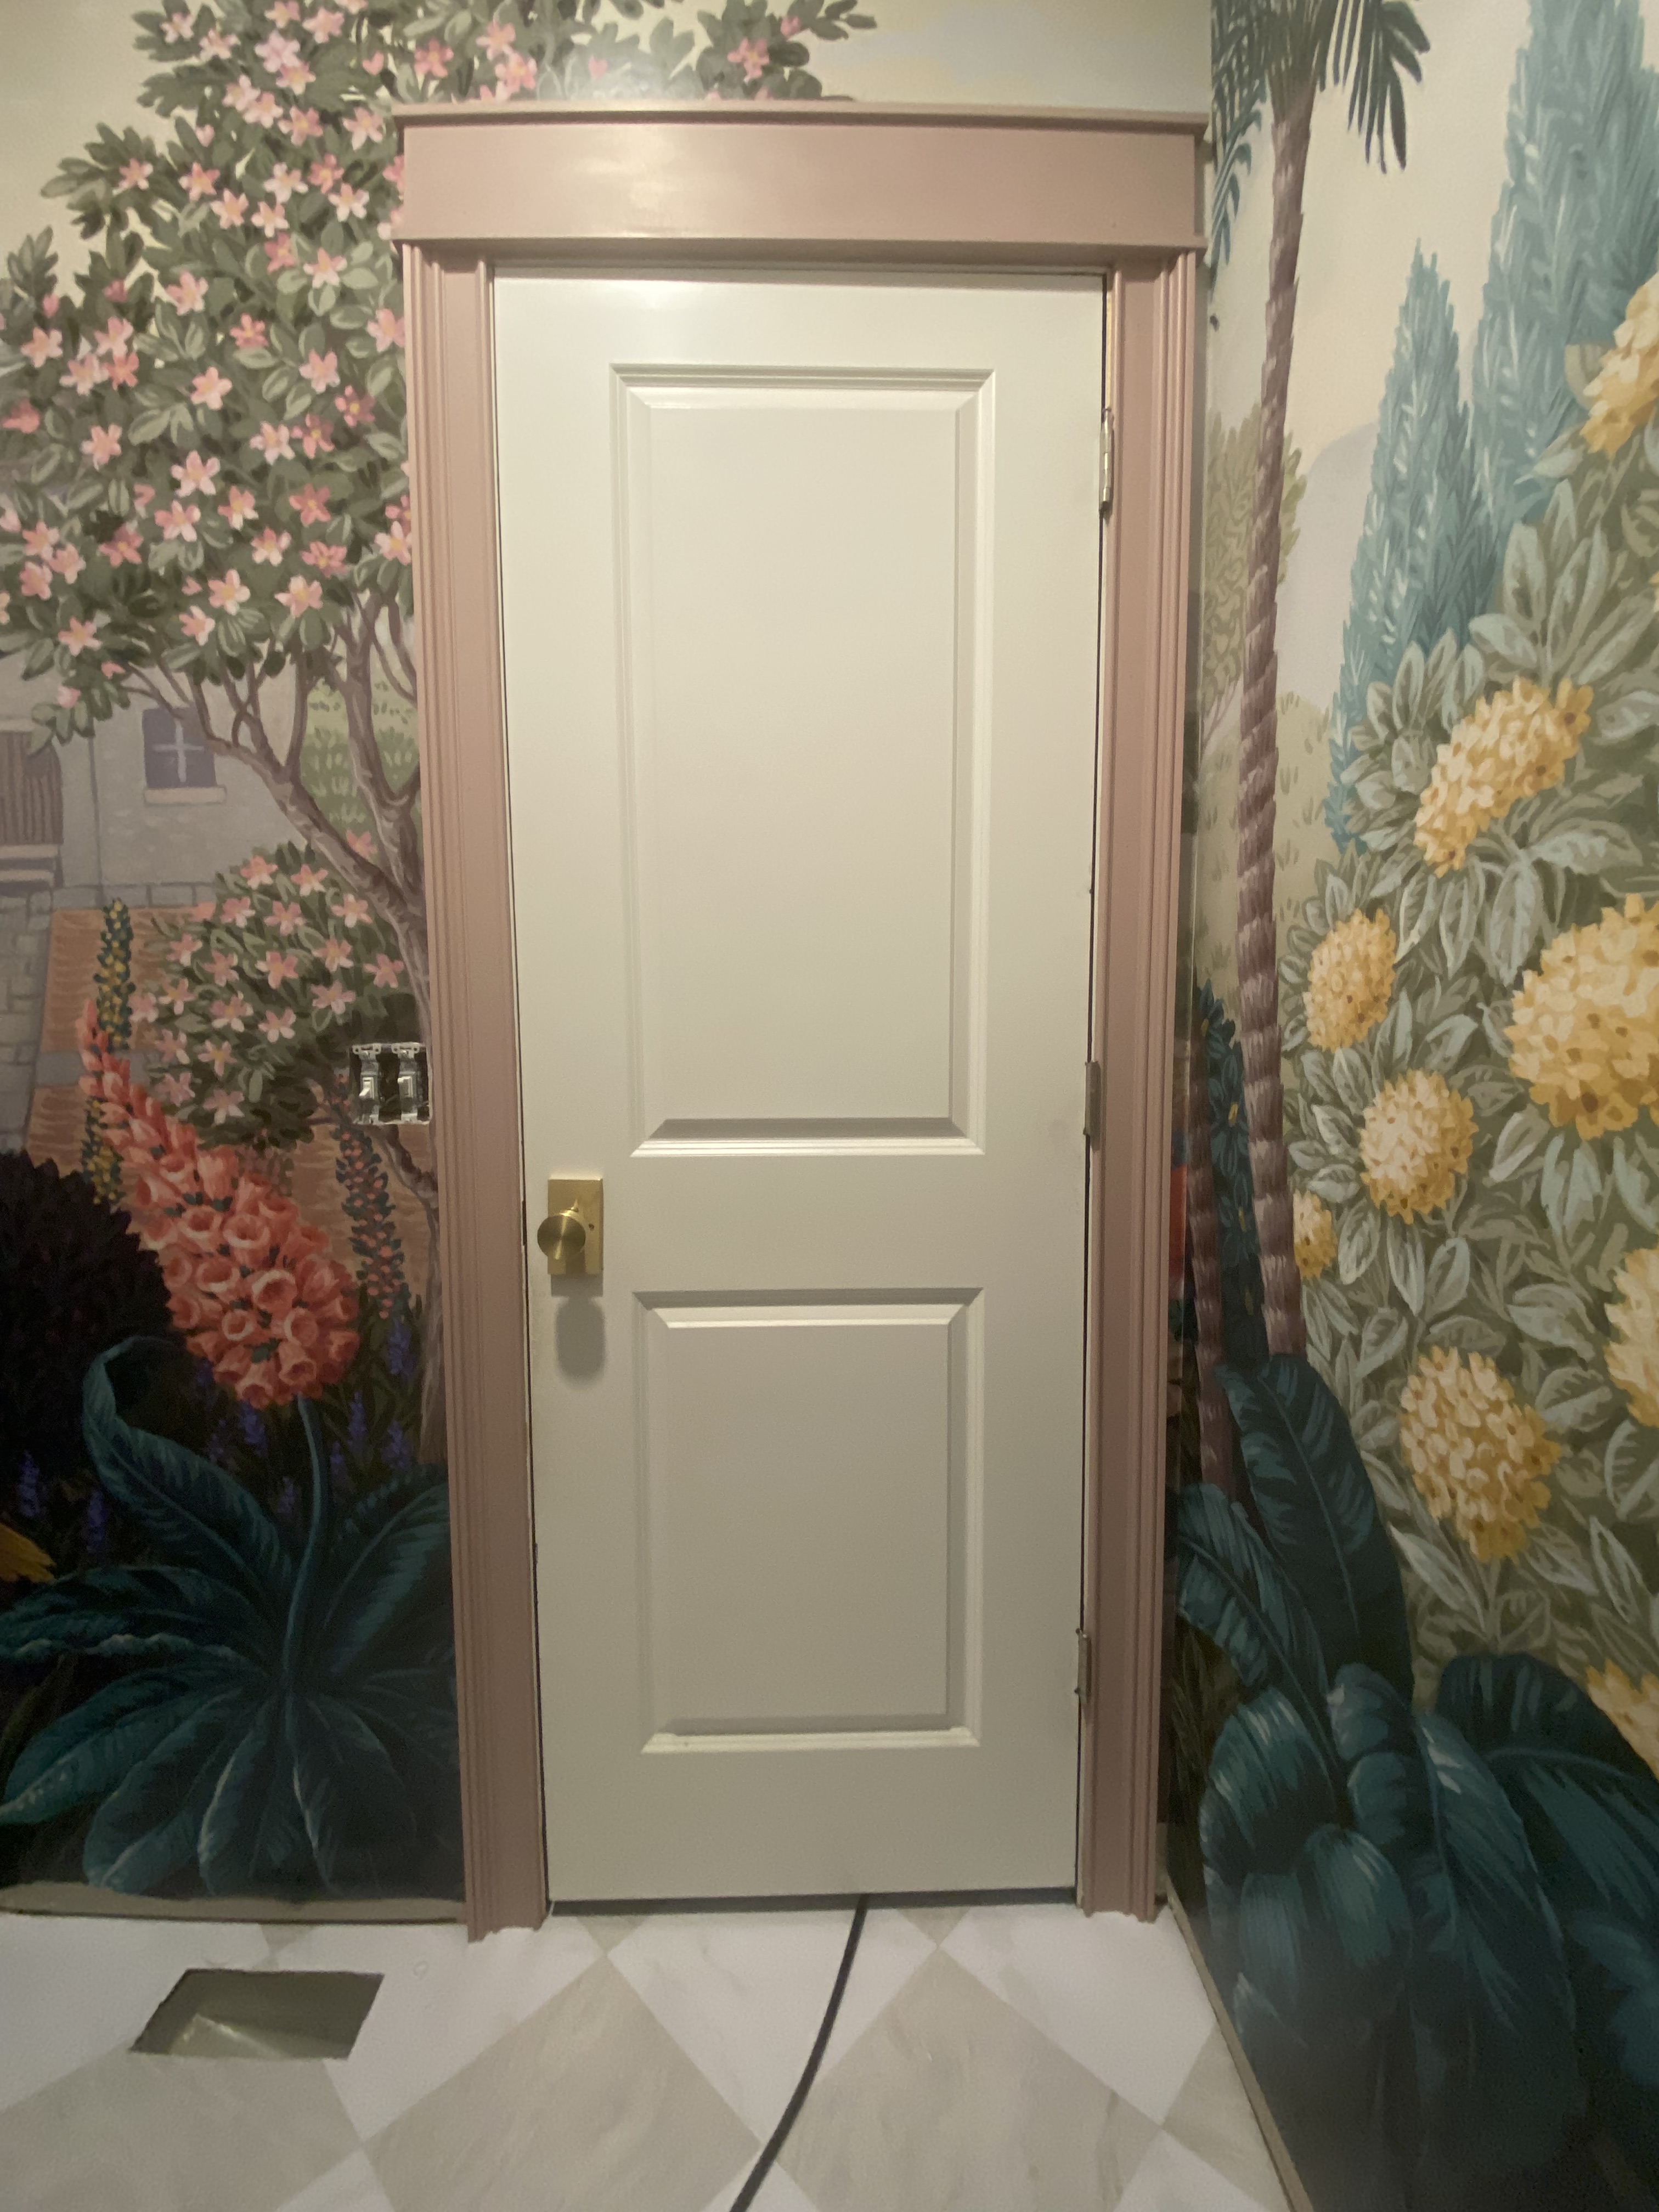
Position the cutout arch at the top center of your door frame and use it as a template to mark the curvature onto the MDF strips. Carefully cut along these marks to create the arched portion of the trim. Feel free to customize the design with additional patterns or details to suit your style. We went with a header pieces from leftover MDF lying around in our backyard. Lowe’s has really nice accent trim and ornamental pieces. We purchased this appliqué to add to the front of the arch.

Step 4: Assemble the Trim:
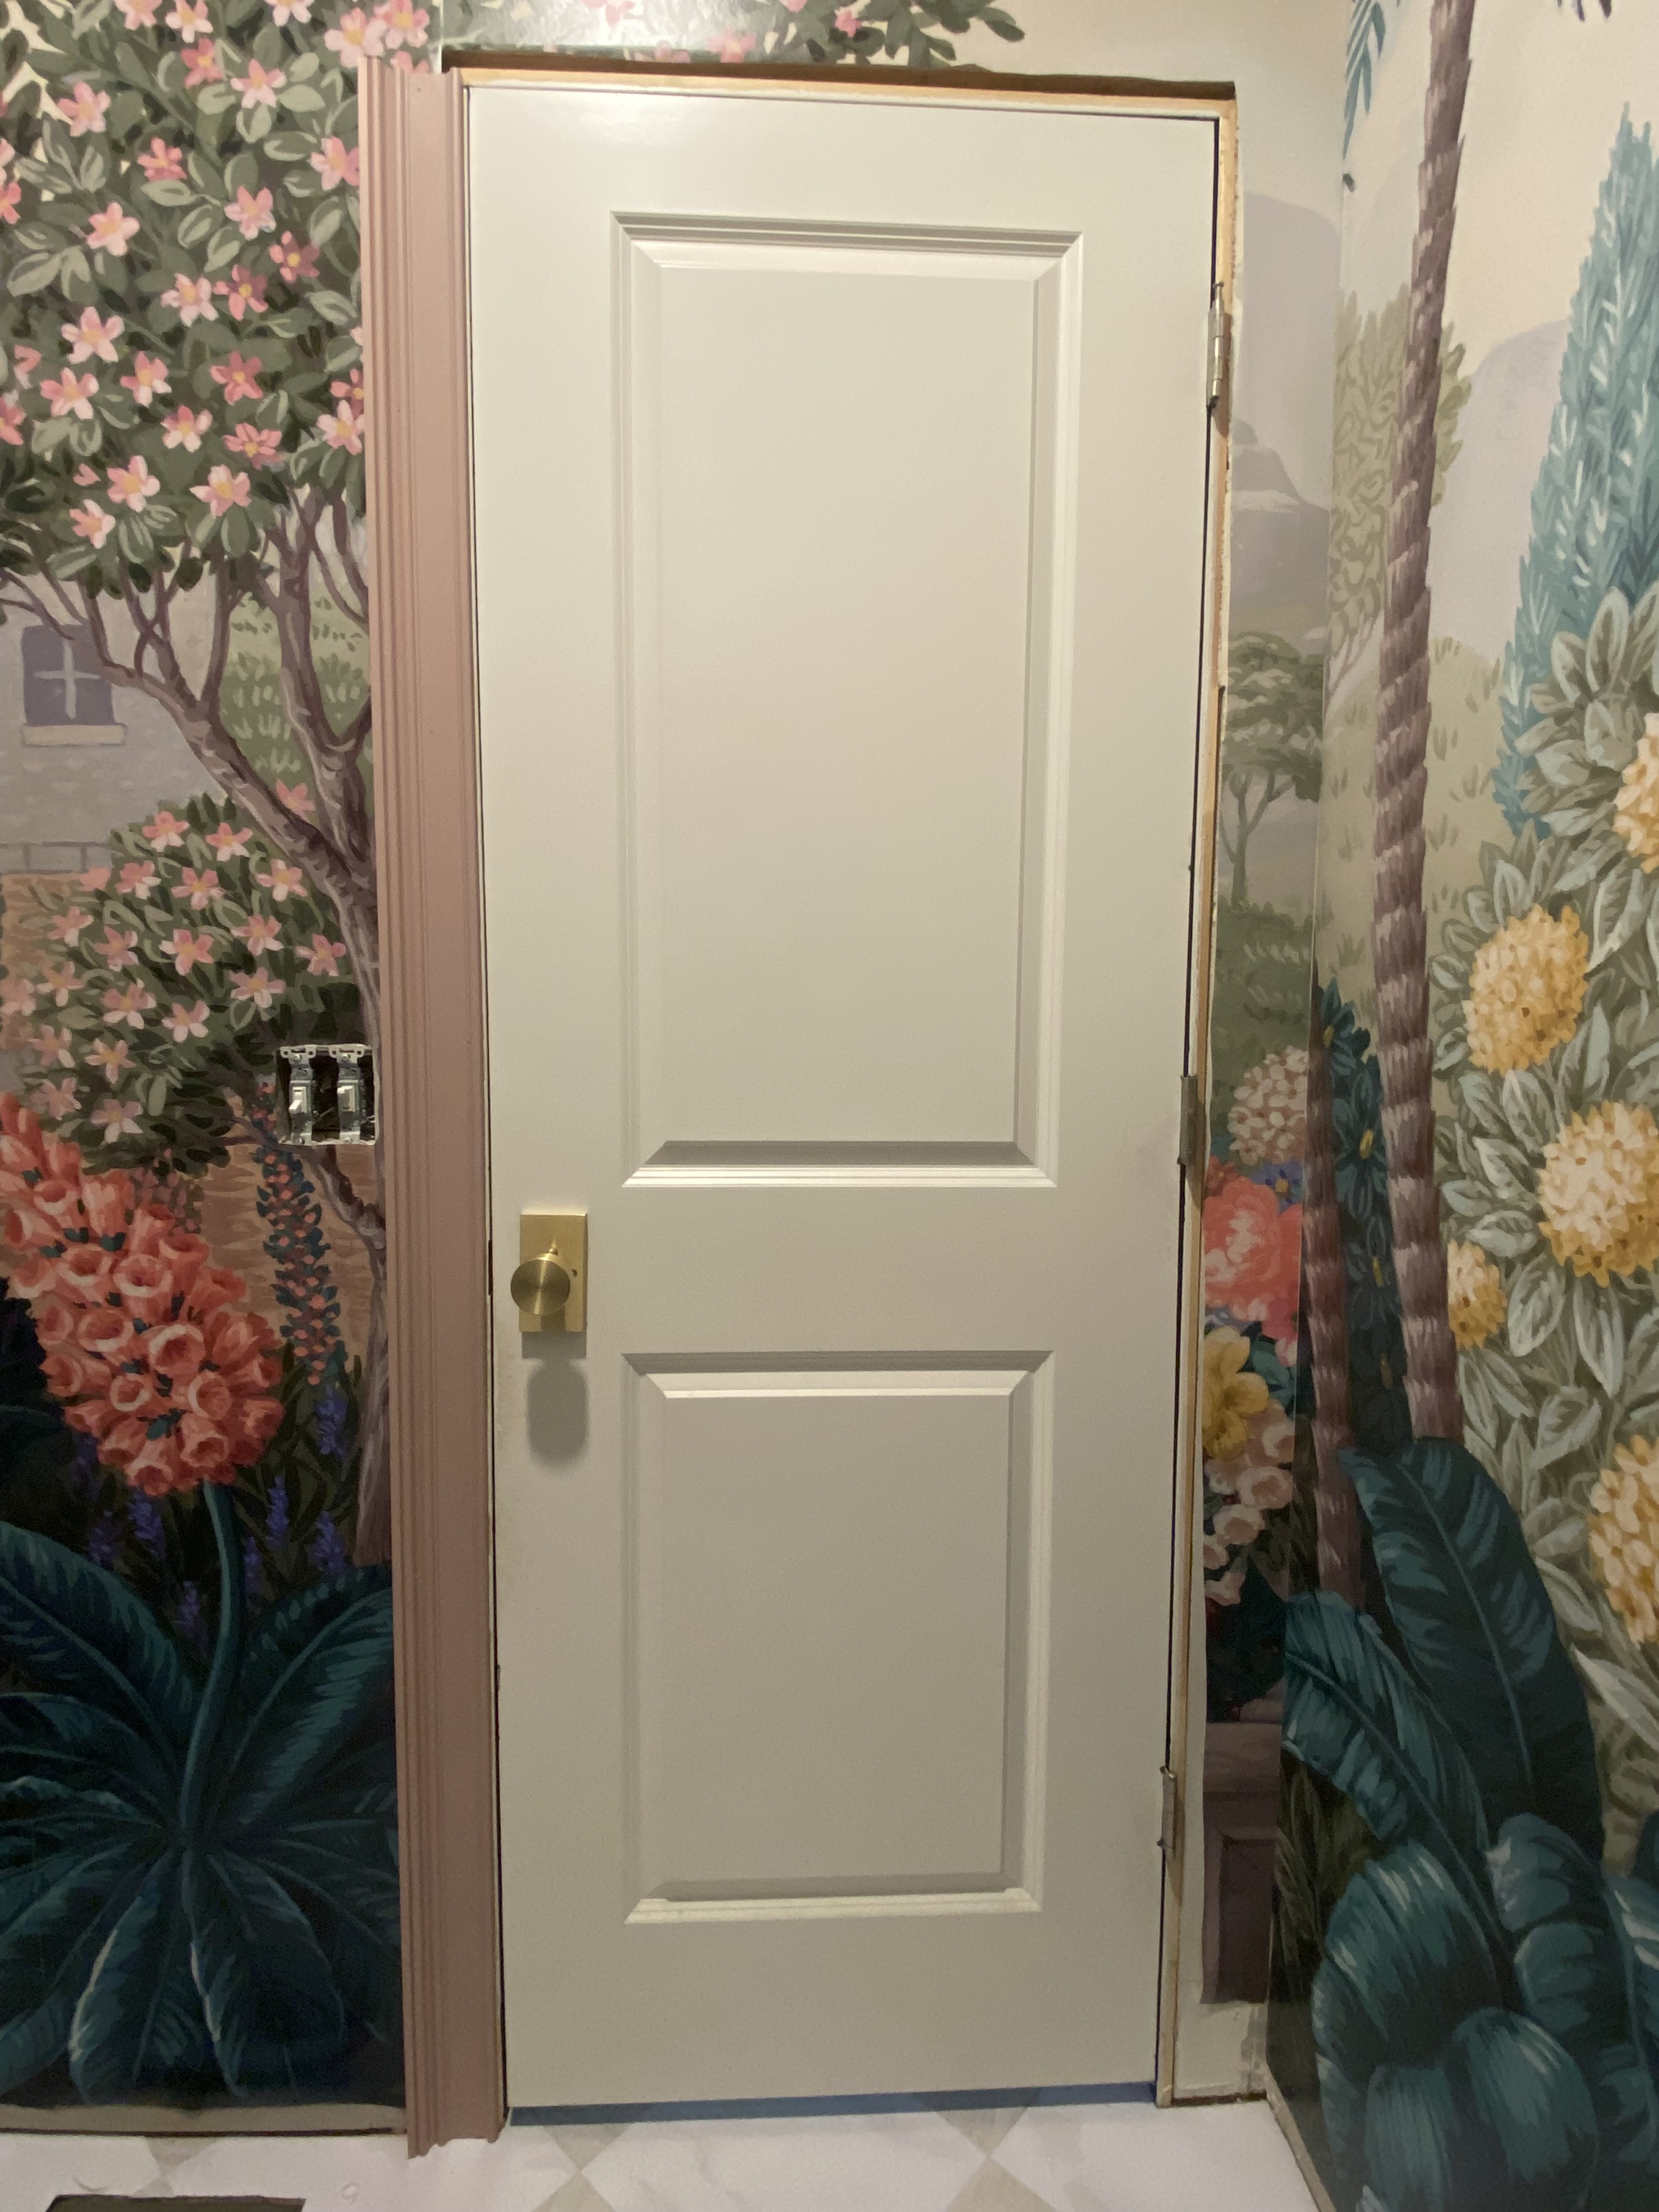
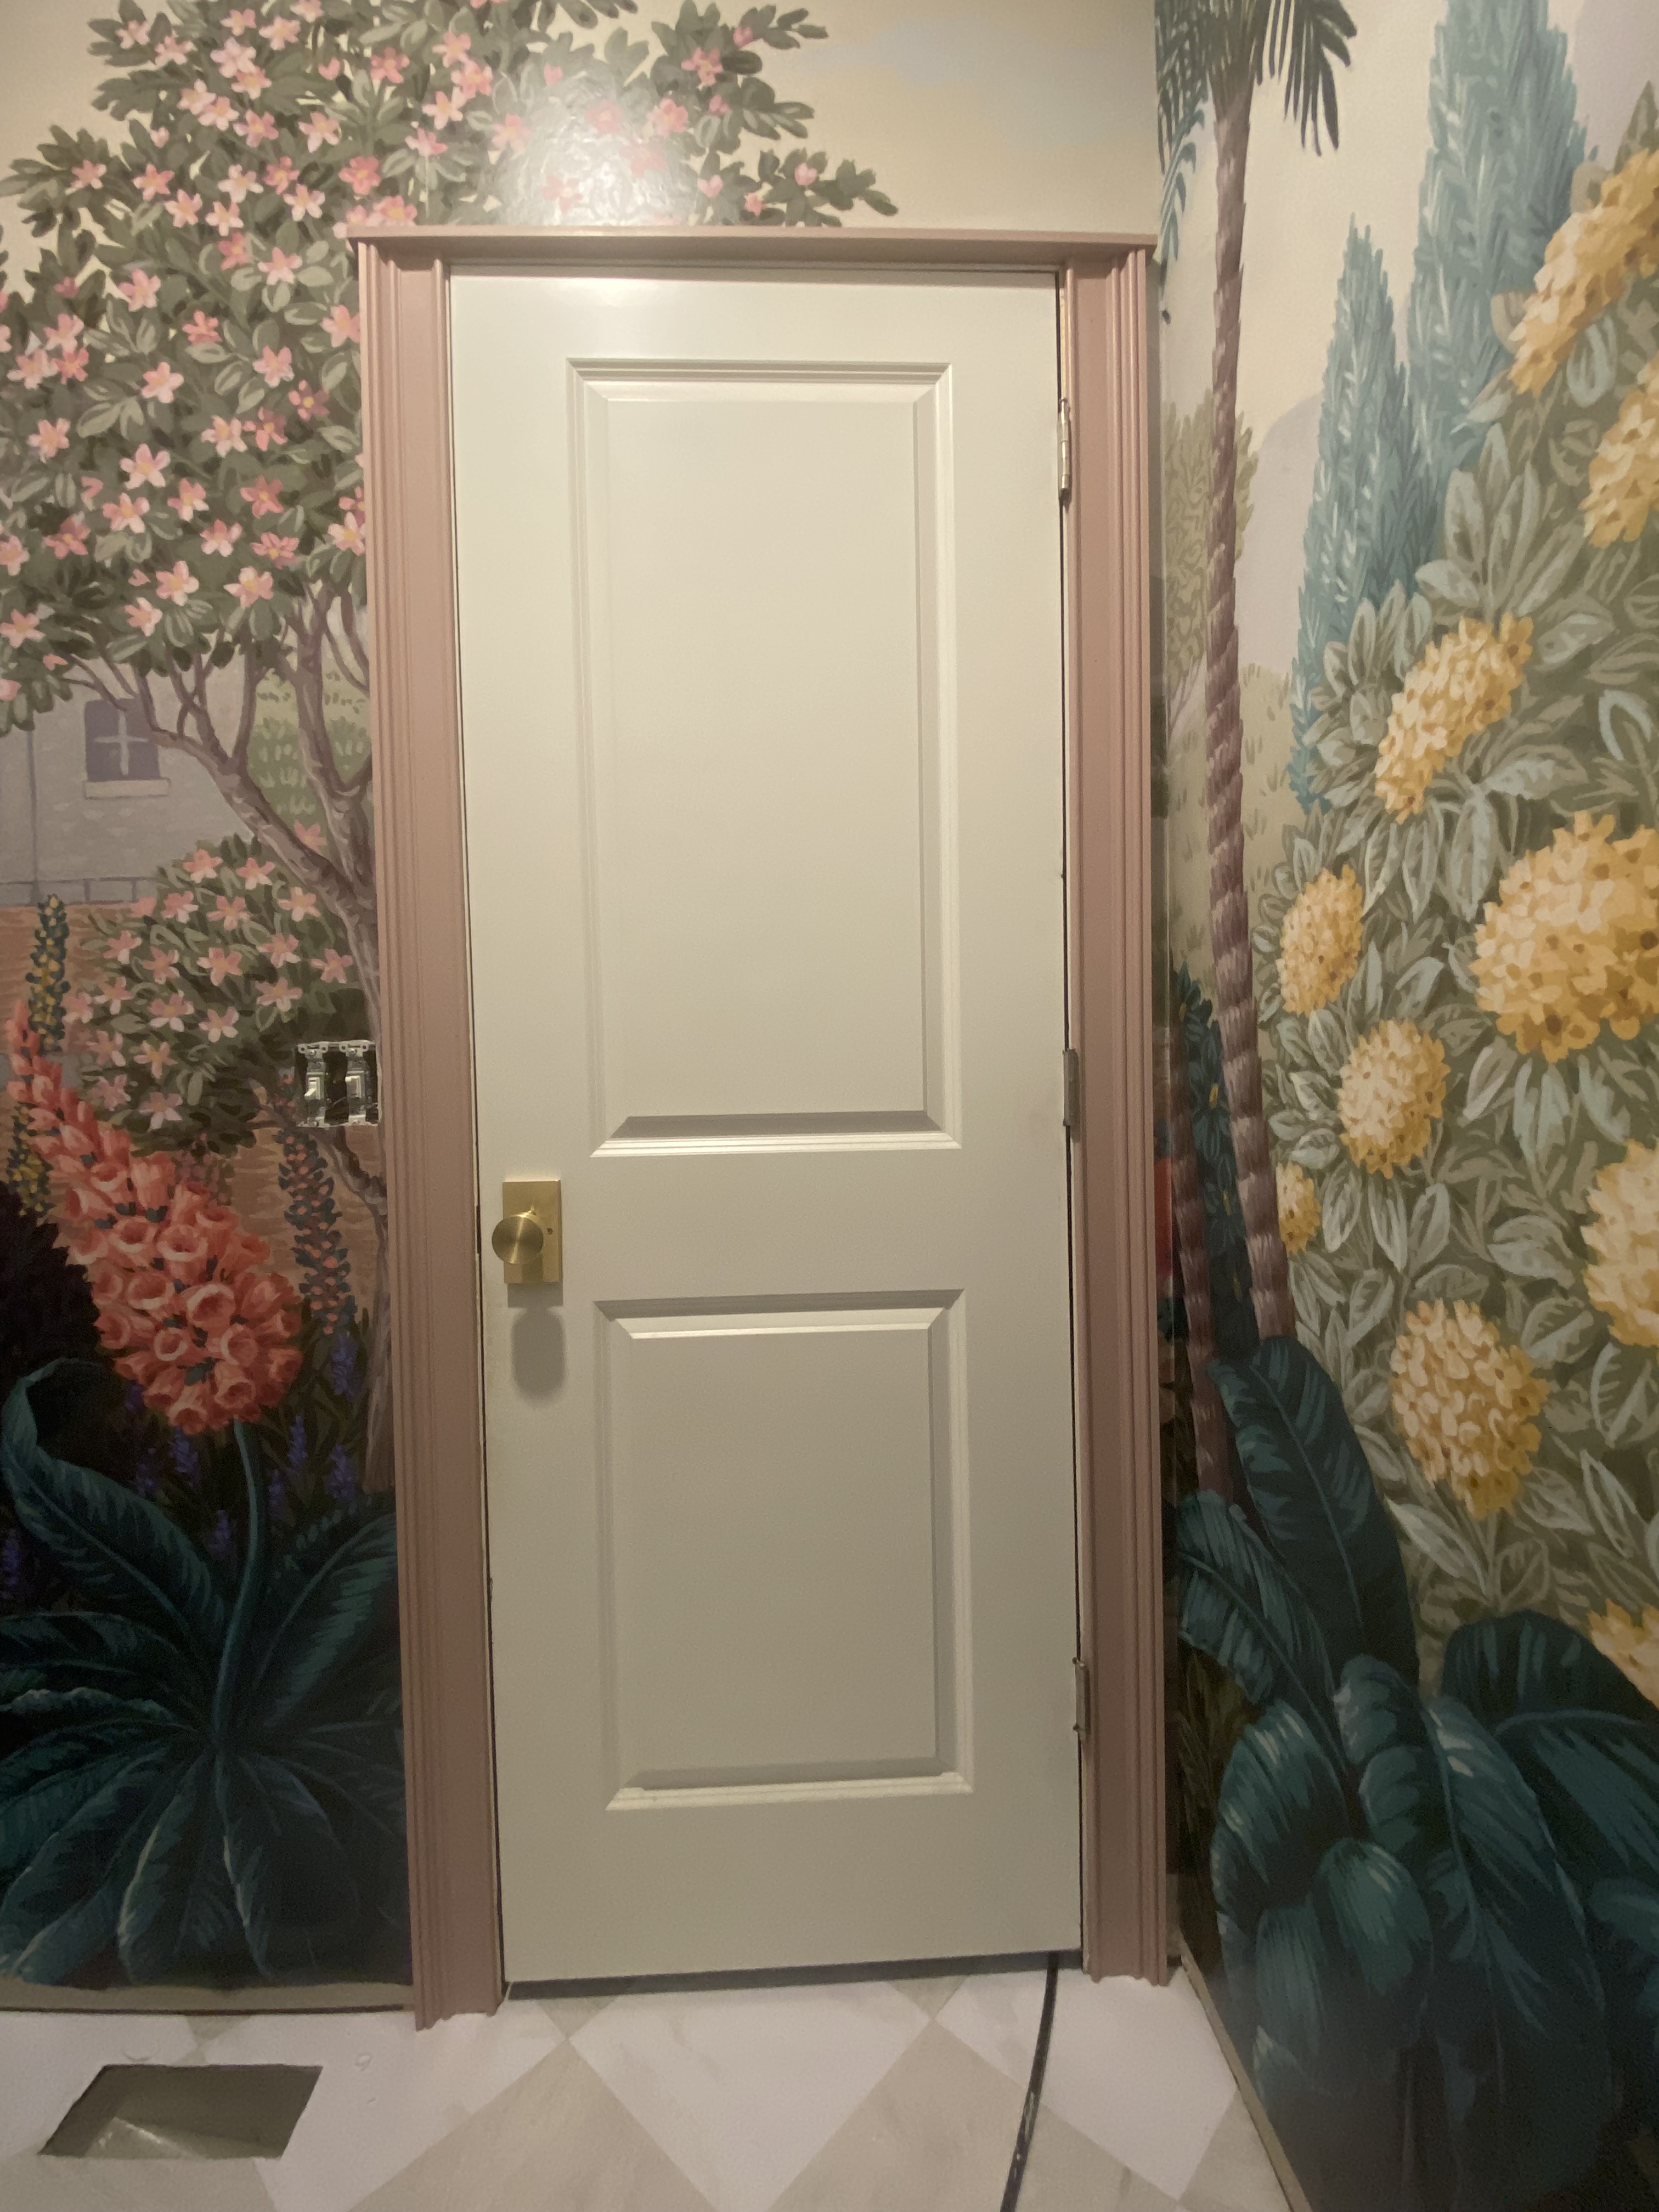
Once all the pieces are cut, assemble them around the door frame to ensure a proper fit. Apply wood glue along the edges where the pieces meet and secure them in place with nails. Take your time to ensure everything is aligned correctly before proceeding. Since we added wallpaper to the space, we opted to paint the trim before installation. Bonus: we used leftover cabinet and trim paint from our butler pantry makeover project!

Step 5: Finishing Touches:
Fill any gaps or nail holes with wood filler for nail holes, caulk for cracks and sand them smooth once dry. Then, apply your chosen paint or stain to match your mudroom bathroom’s décor. Consider adding a protective topcoat for added durability, especially in high-moisture areas like bathrooms.
Step 6: Installation:
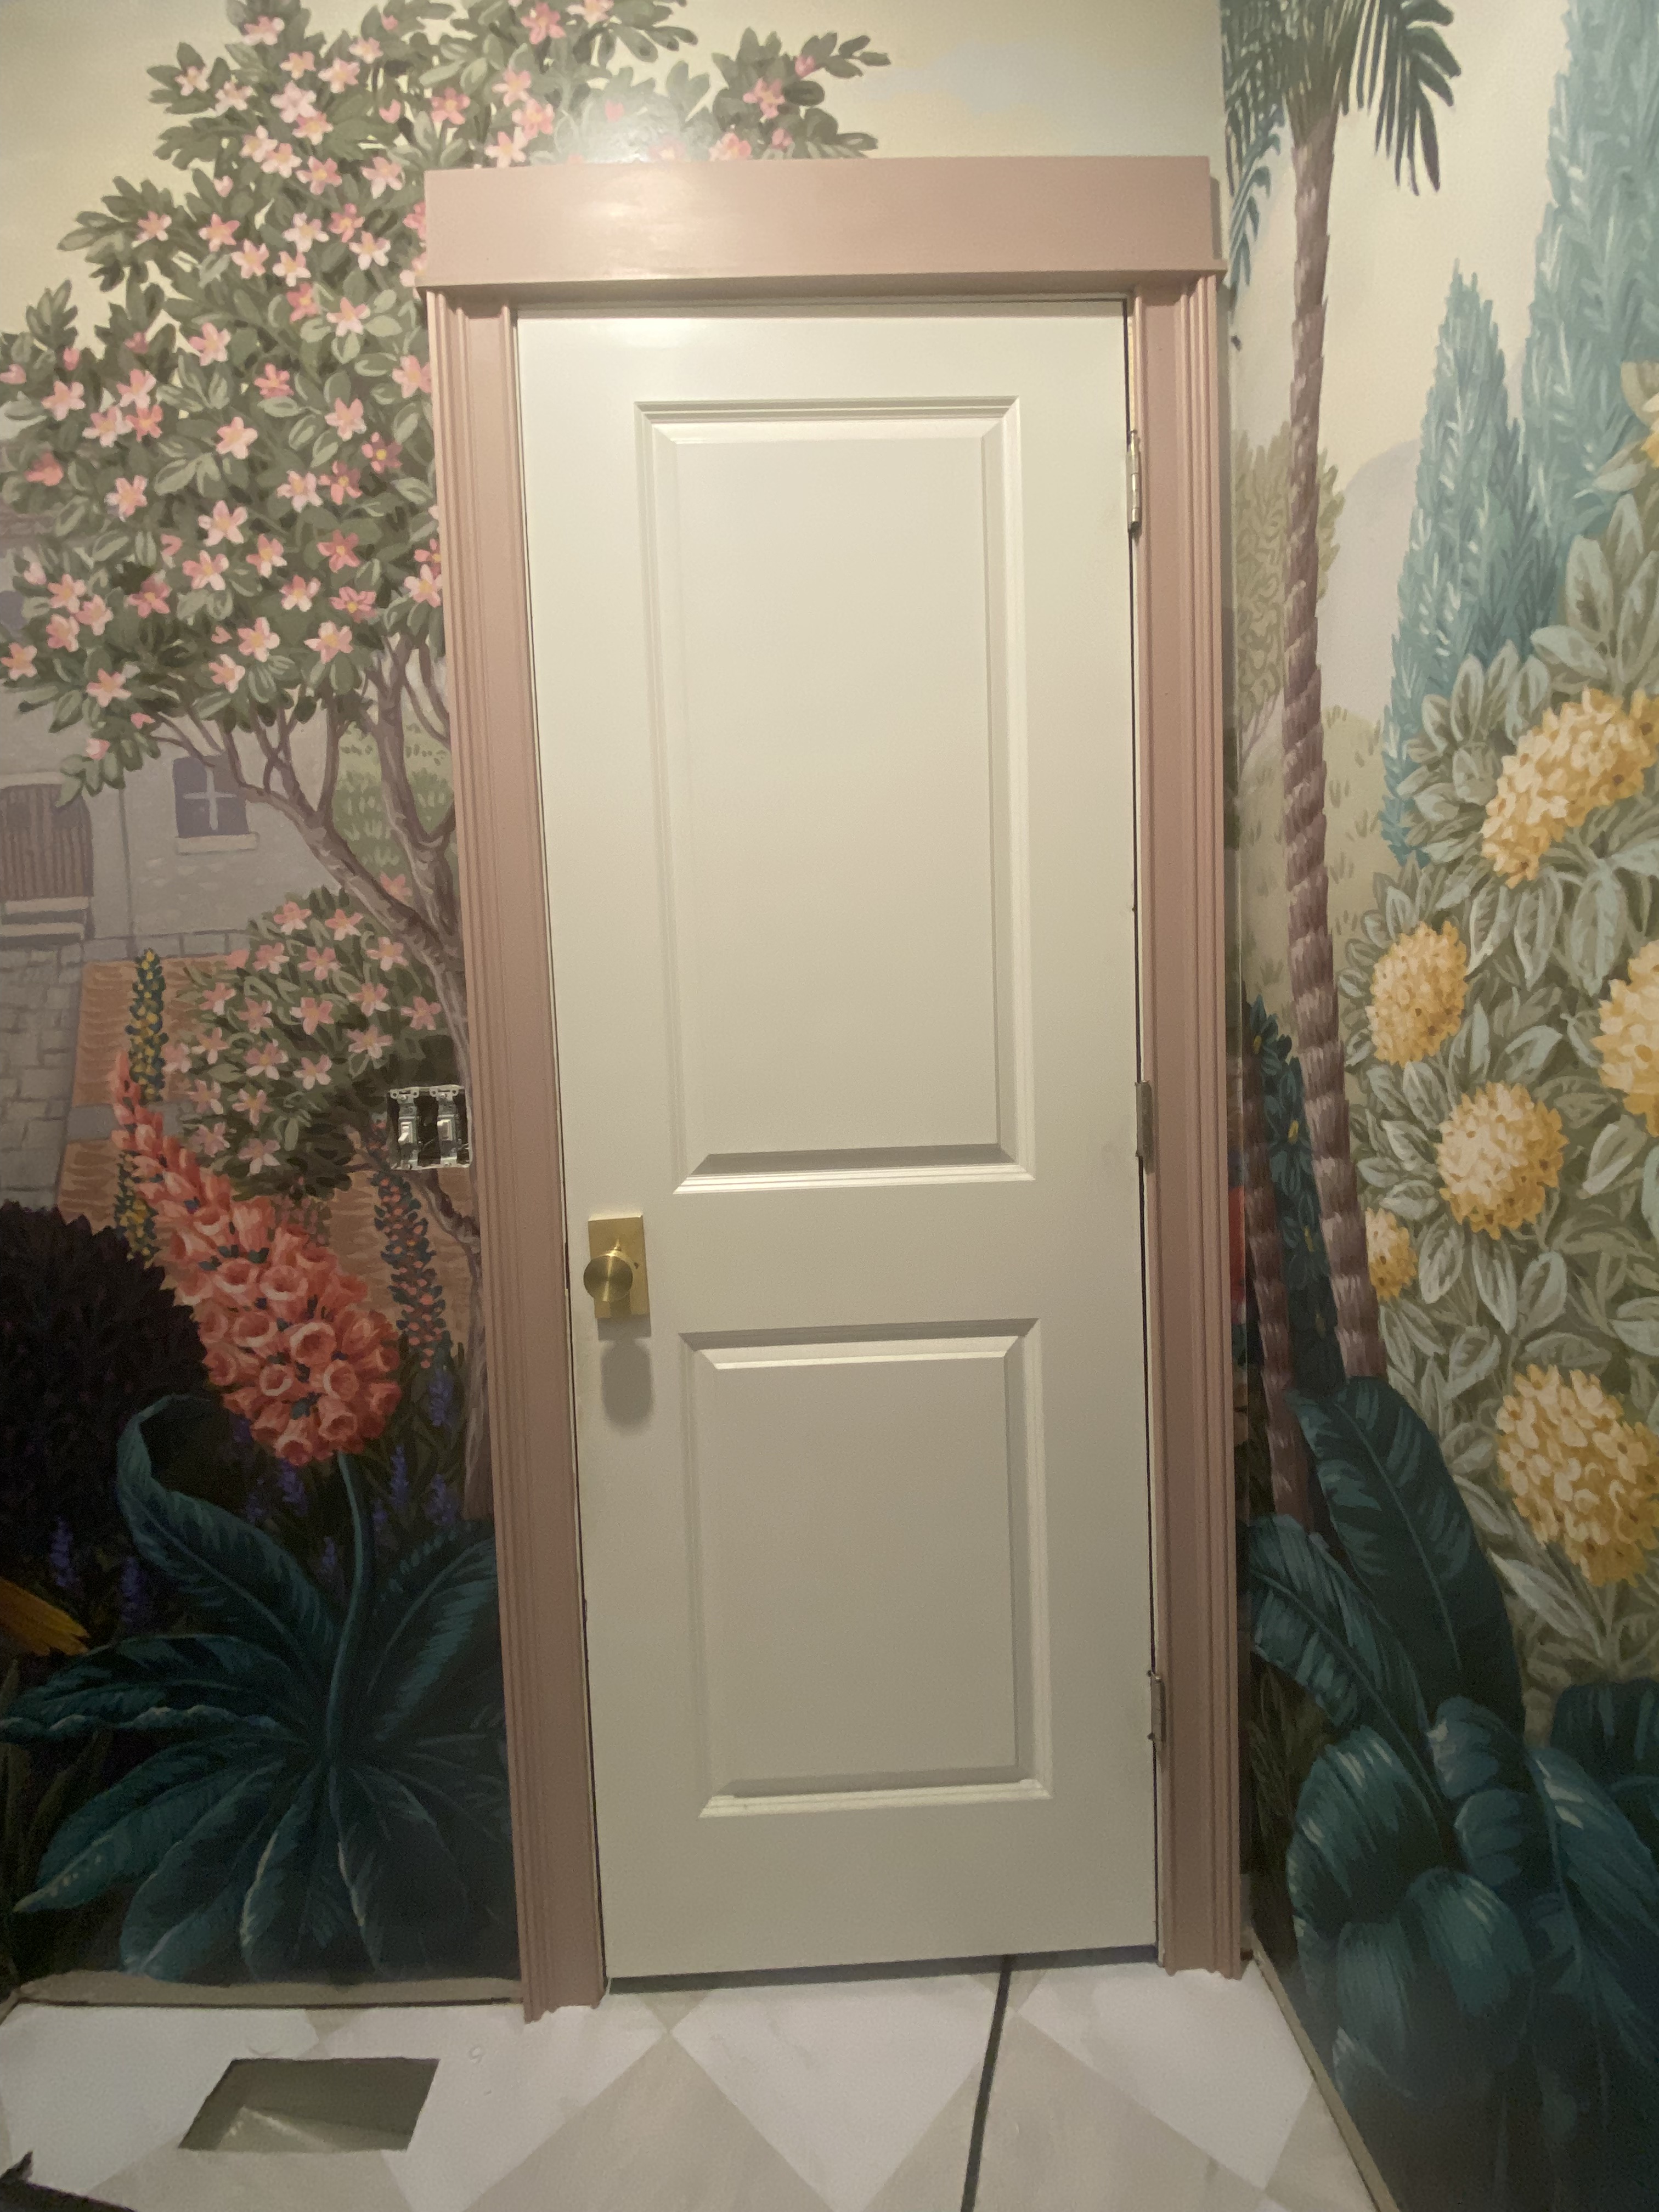
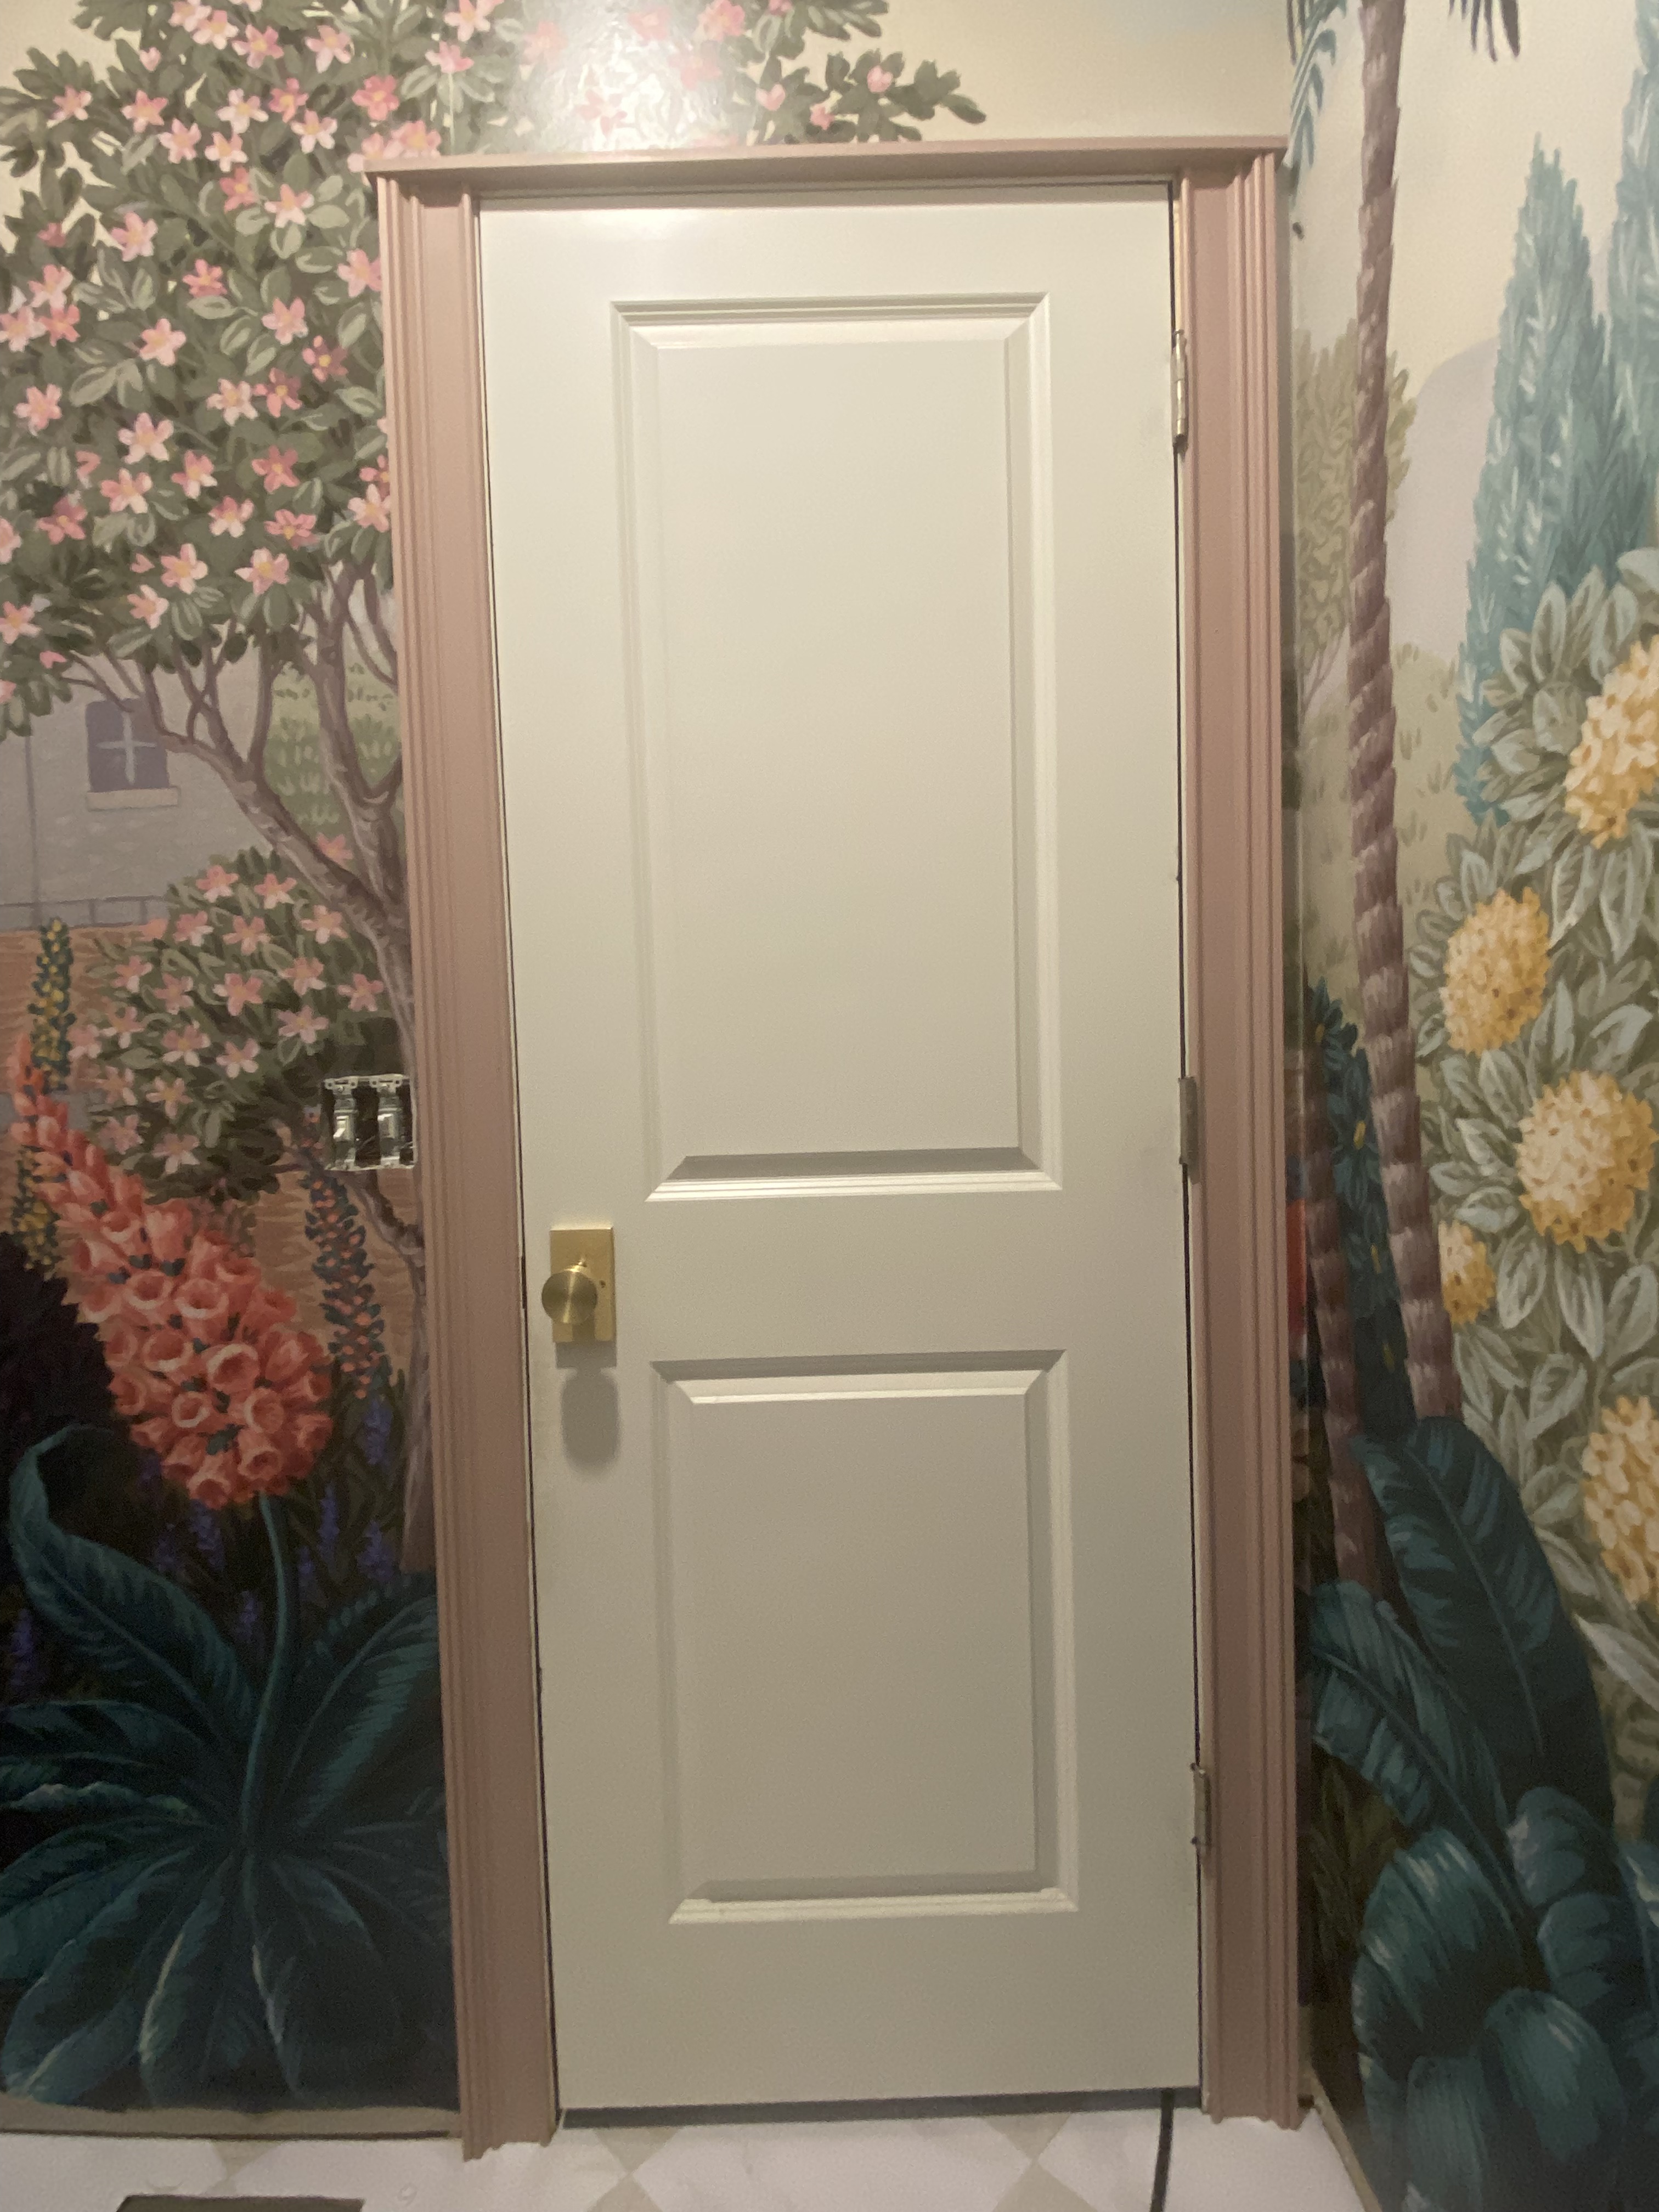
Carefully install the ornamental trim around your mudroom bathroom door frame using finishing nails. Ensure it is securely attached and level before stepping back to admire your handiwork.
With this DIY project, you can easily transform your mudroom bathroom into a stylish retreat with Lowe’s inspired ornamental door trim. By repurposing materials like leftover MDF and a cutout arch, you can achieve a custom look that adds character and charm to your space while saving money in the process. With a little creativity and effort, you can turn an ordinary door into a focal point that enhances the overall aesthetic of your bathroom.

Leave a comment