
Are you ready to transform your space with stylish, inexpensive and easy-to-install flooring? Look no further than Chris Loves Julia Floor Pops! These innovative peel-and-stick floor tiles offer a quick and budget-friendly way to upgrade any room in your home. In this guide, we’ll walk you through the simple steps to achieve professional-looking results with Floor Pops. We spent so many months searching for the right tile going from hardware stores to local tile suppliers. We even had an order in place later to find out the tile was discontinued!
Step 1: Gather Your Materials
Before you begin, make sure you have all the necessary materials on hand:
- Floor pops
- Tape measure
- Utility knife or scissors
- Straight edge or ruler
- Floor cleaner and mop
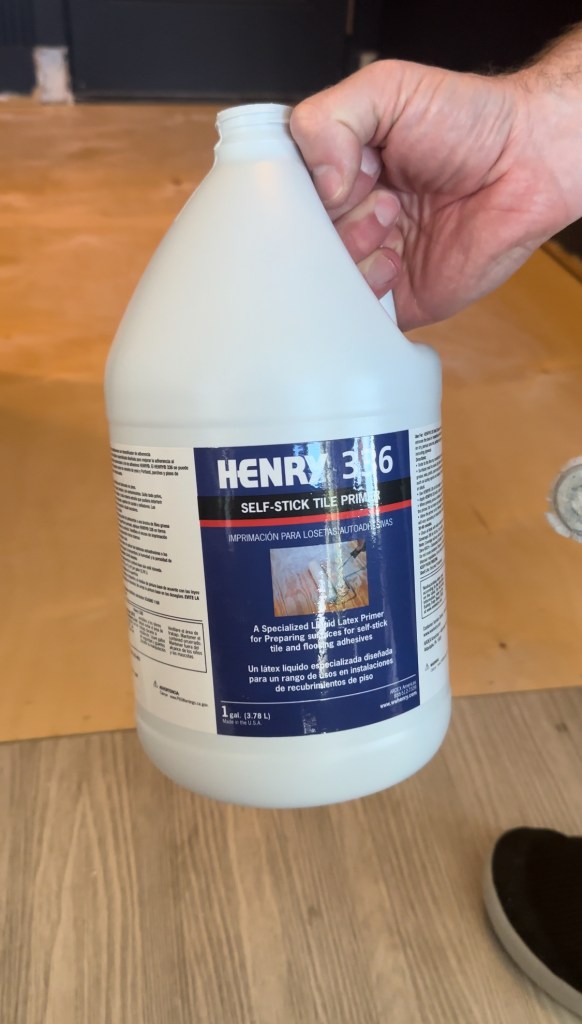
- Latex Primer (if installing over porous surfaces)
Step 2: Prepare Your Surface
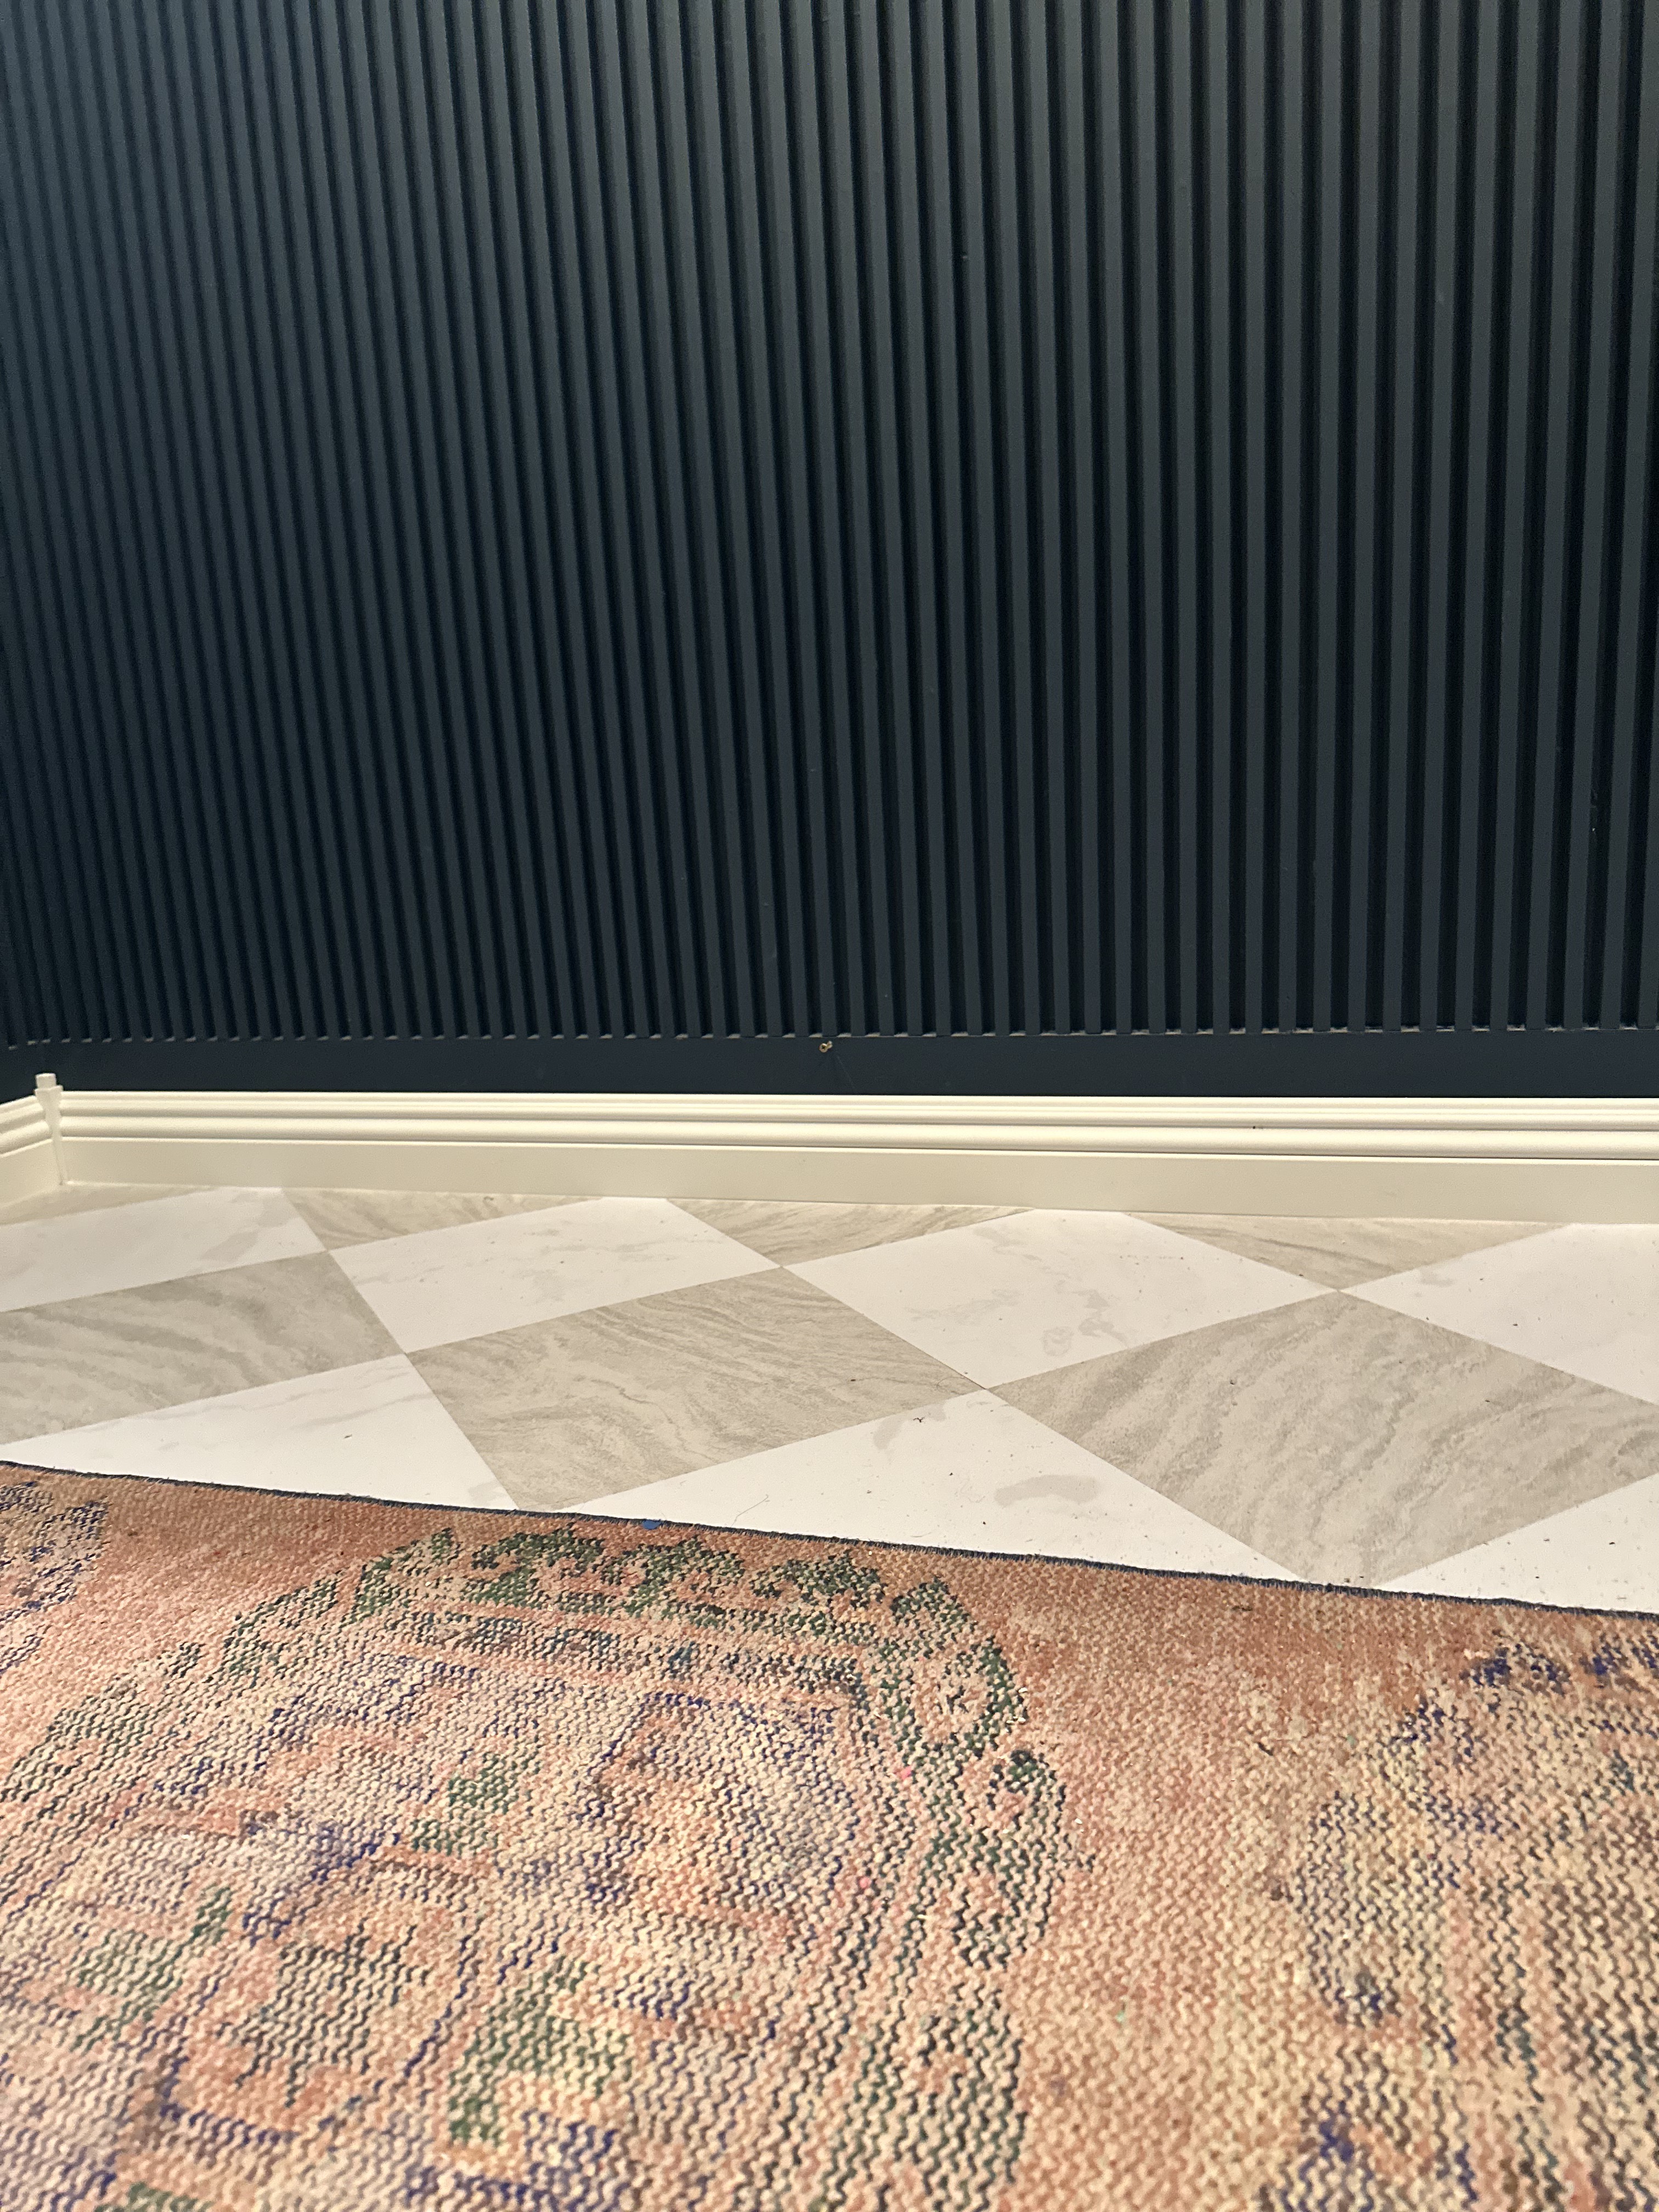
Ensure that the surface you’ll be applying the Floor Pops to is clean, dry, and free of any dust or debris. If you’re installing over a porous surface like concrete or plywood, consider applying a latex primer to ensure proper adhesion. We had a plywood subfloor so we installed 1/4 inch underlayment then added the latex primer.

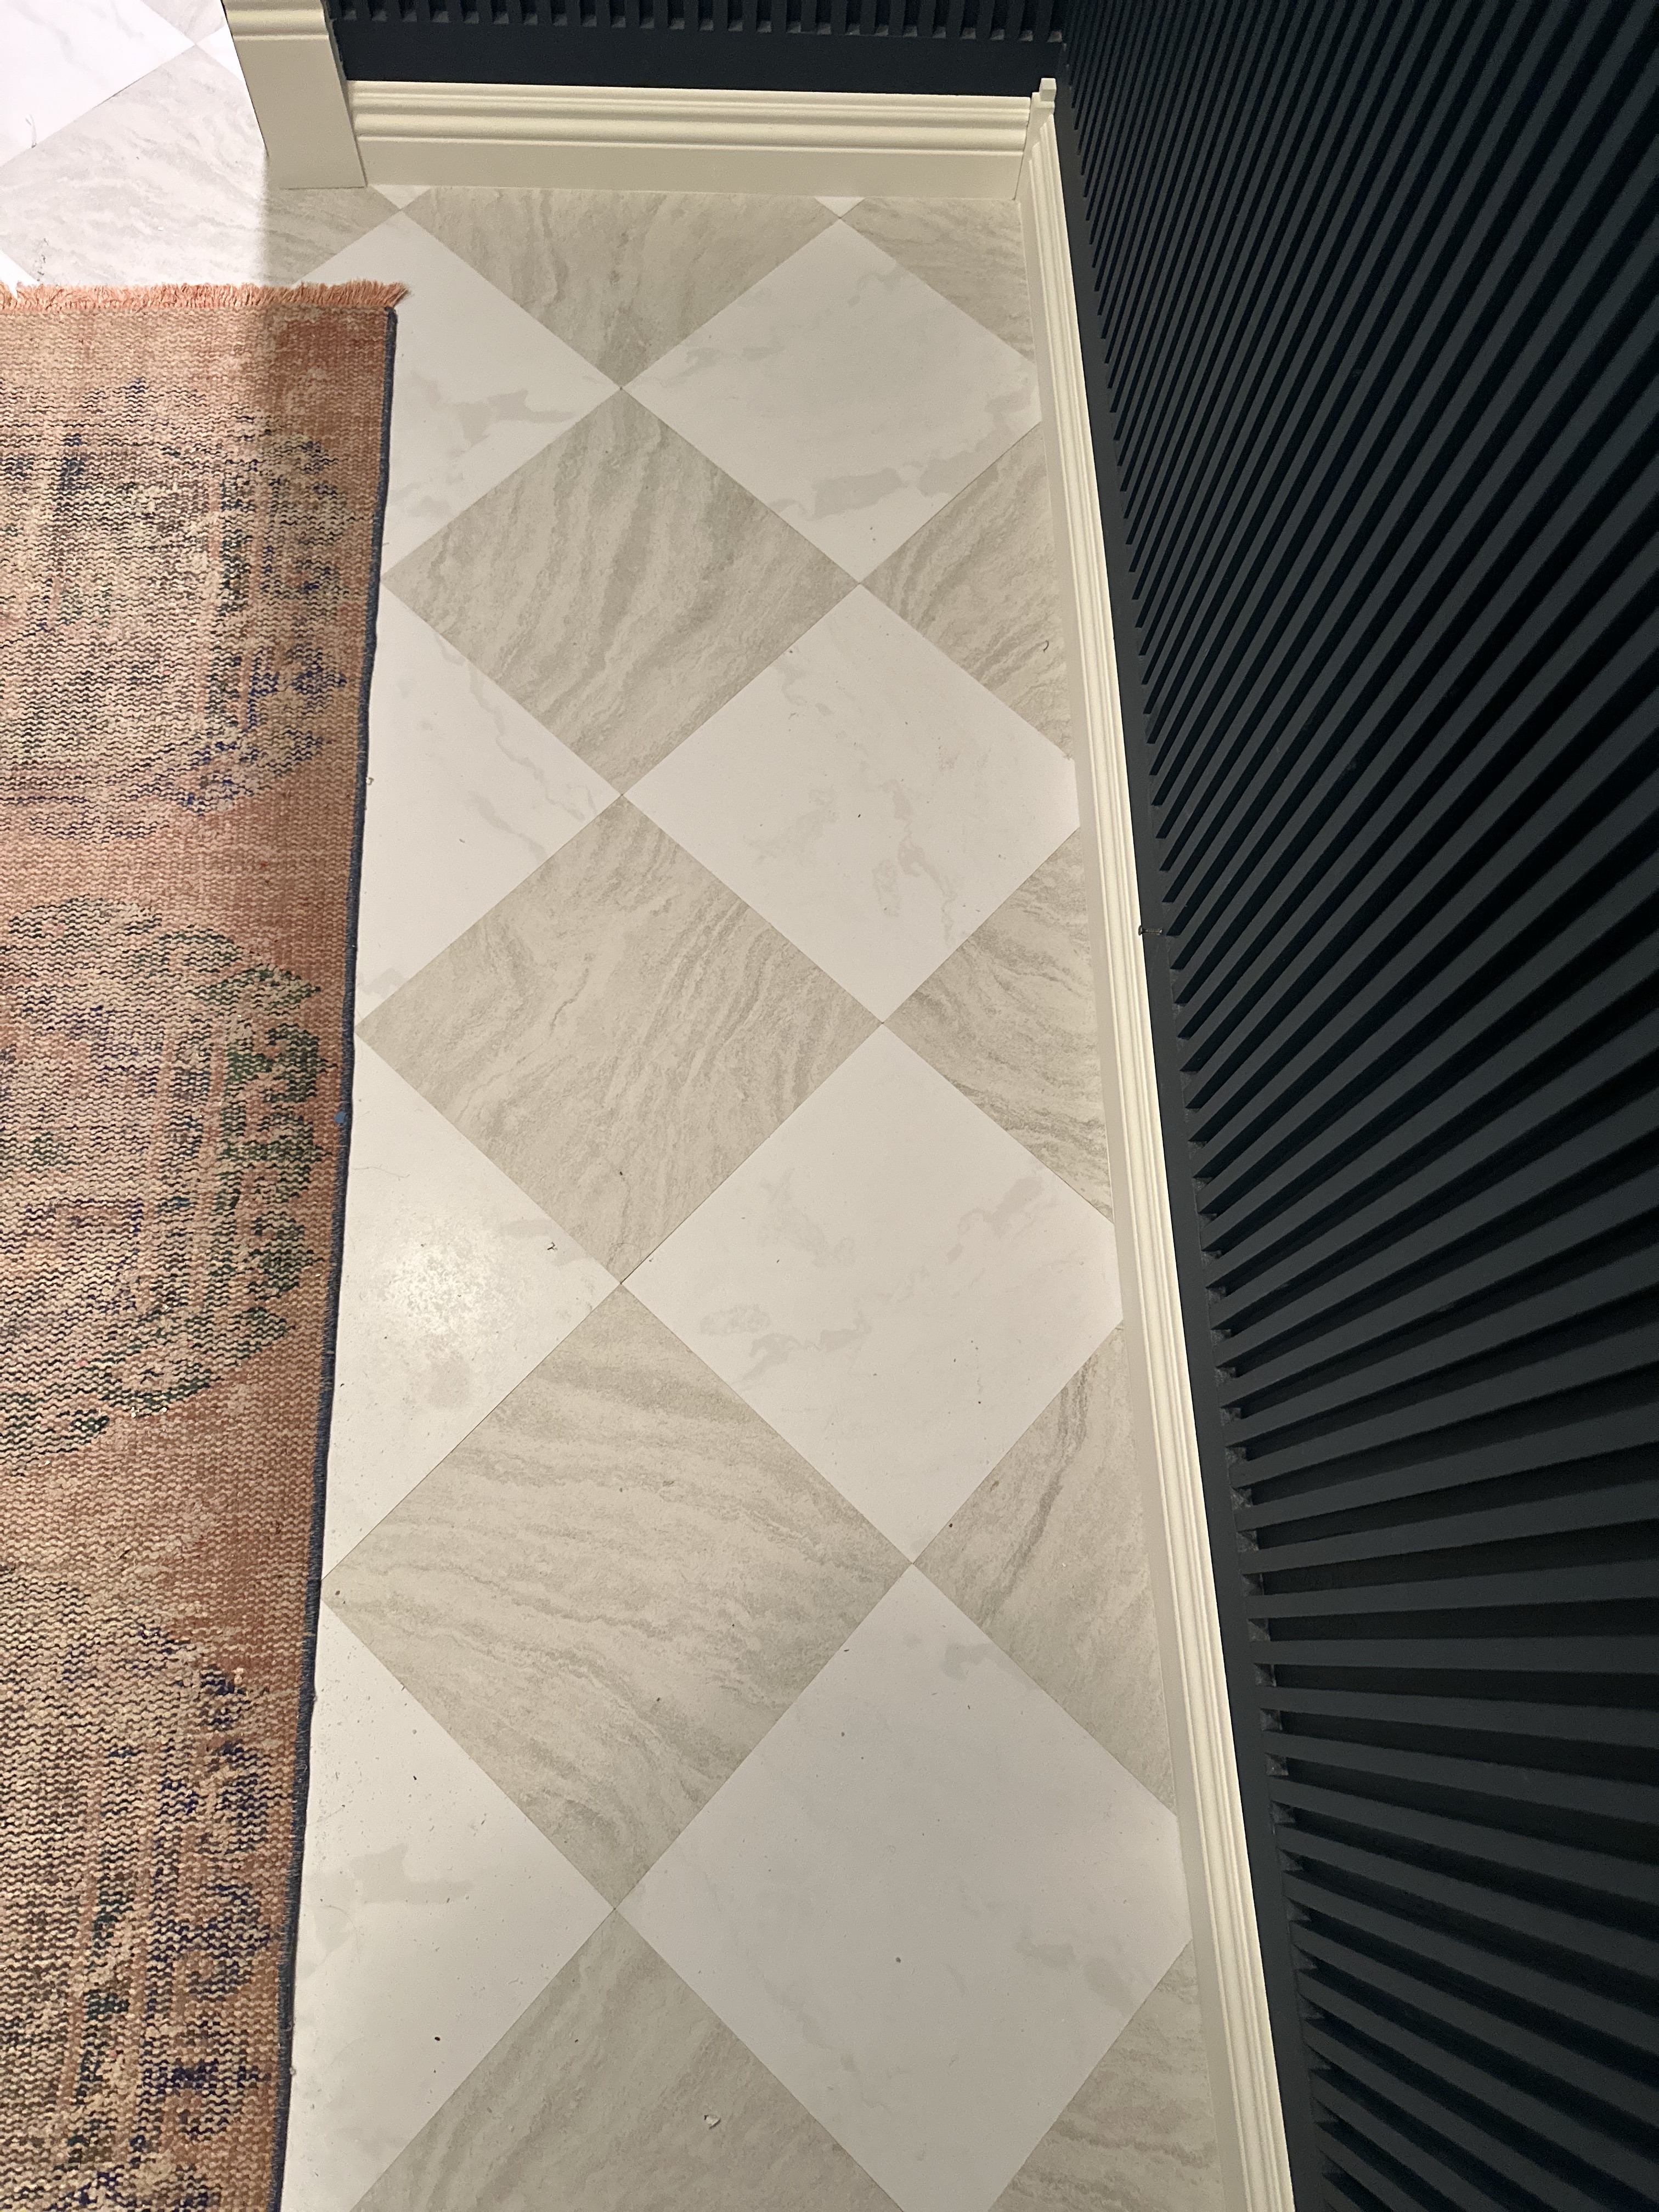
Step 3: Plan Your Layout
Take some time to plan out your tile layout before you start sticking them down. You can use a tape measure and a straight edge to create a grid on the floor, or simply lay the tiles out on the floor to get a sense of how they will look once installed. We oriented our tiles diagonally to get a harlequin look. Our starting point was the threshold. Don’t skip this step or you could end up with strange cuts or misaligned tiles.
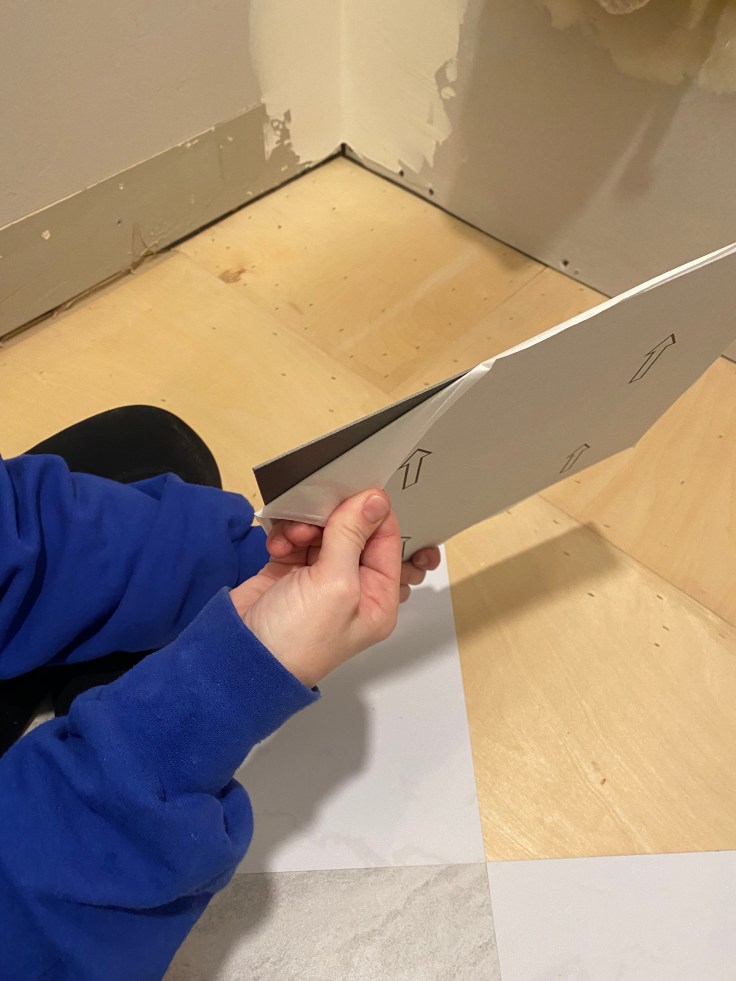
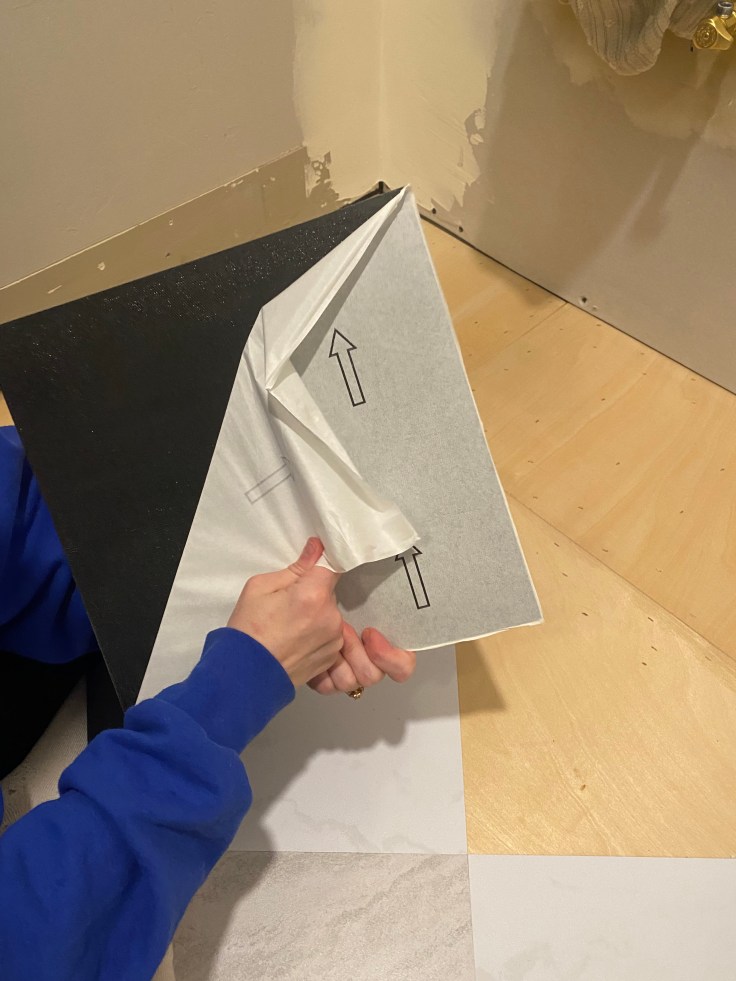
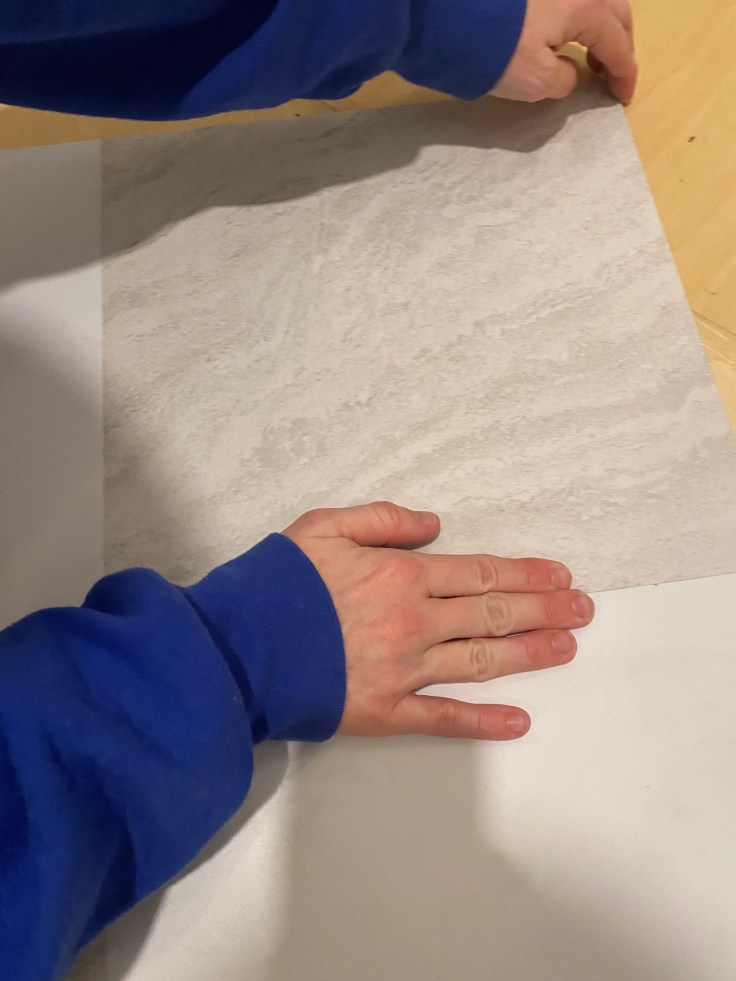
Step 4: Start Sticking
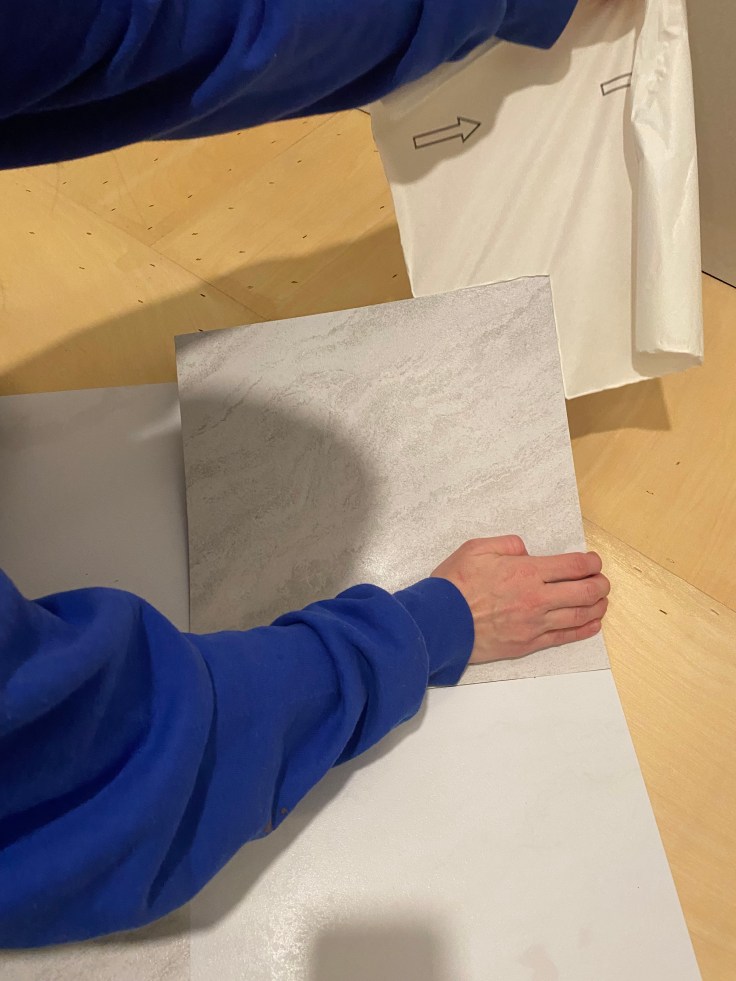
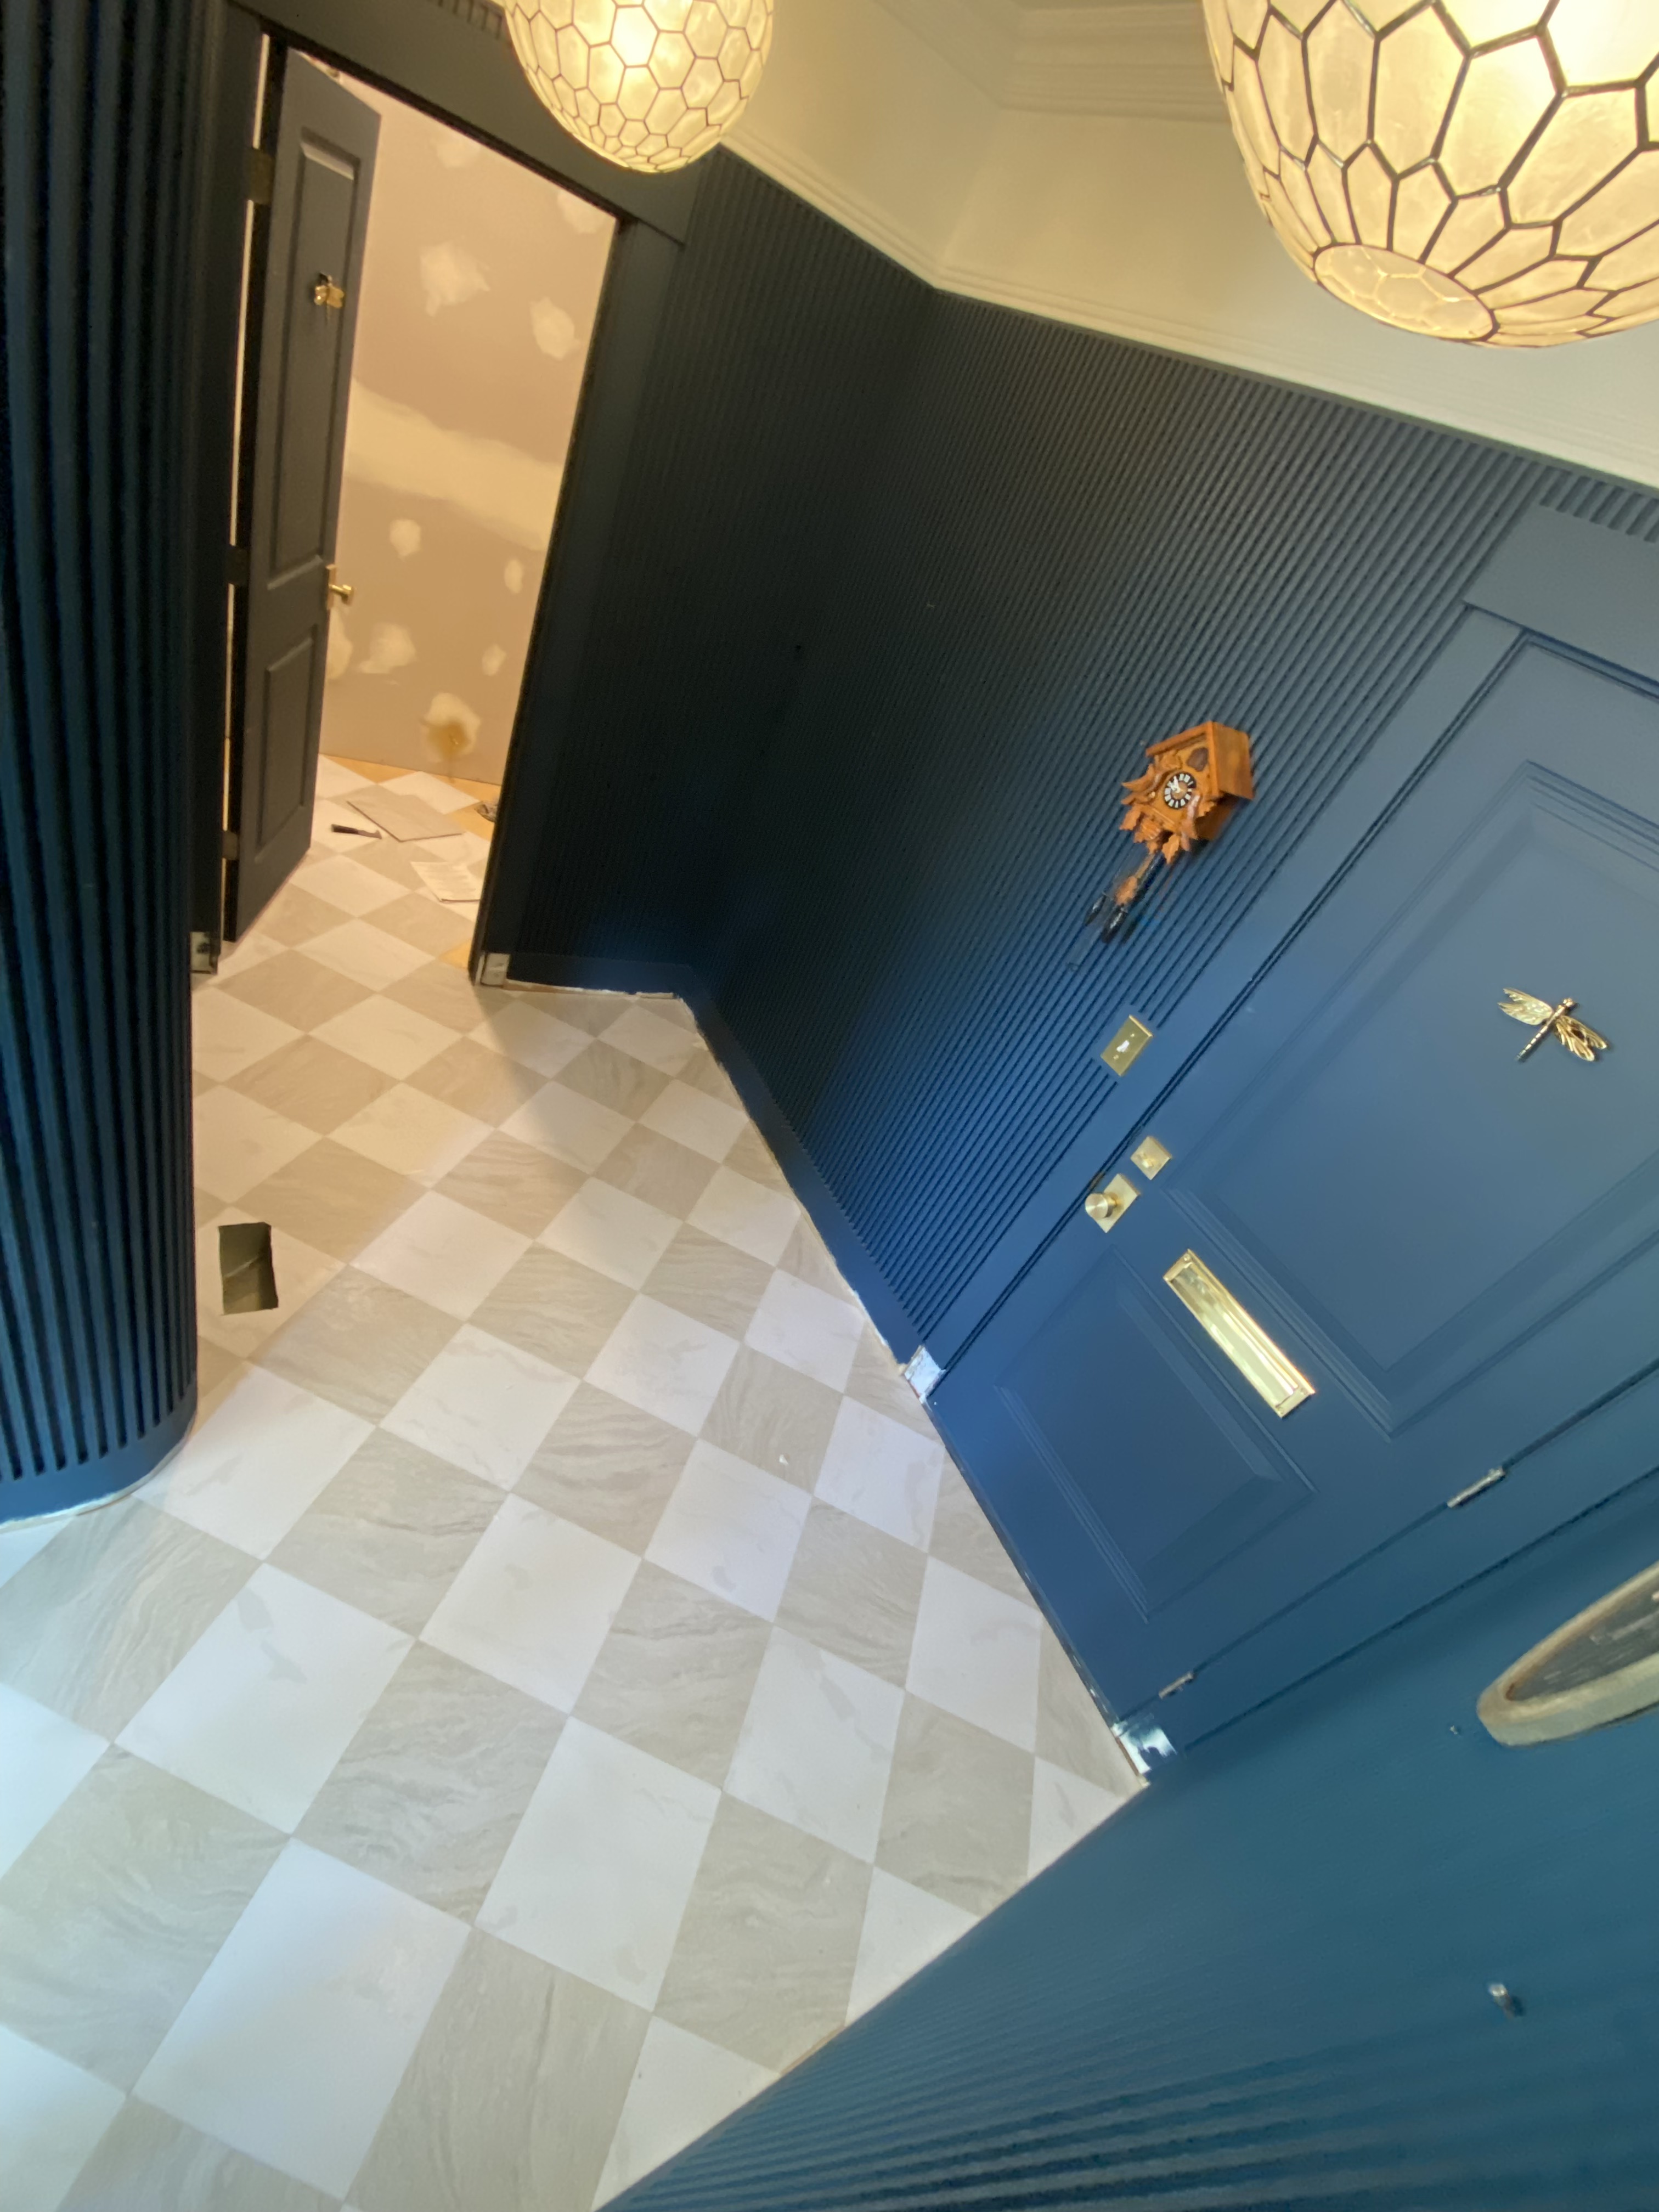
Once you have your layout planned out, it’s time to start sticking down the tiles. Begin in one corner of the room and peel the backing off of the first tile. We started at the threshold to ensure symmetry. Carefully line up the tile with your layout and press it firmly into place. Continue working in rows, peeling and sticking the tiles one by one.
Step 5: Trim as Needed
As you reach the edges of the room or encounter obstacles like door frames or cabinets, you may need to trim the tiles to fit. Use a utility knife or scissors to carefully cut the tiles to size, making sure to leave a small gap between the tile and the obstacle to allow for expansion.
Step 6: Finish the Job
Once all of the tiles are in place, use a roller or your own weight to press down firmly on the entire surface. This will help to ensure that the tiles are fully adhered to the floor and will prevent any air bubbles from forming underneath.
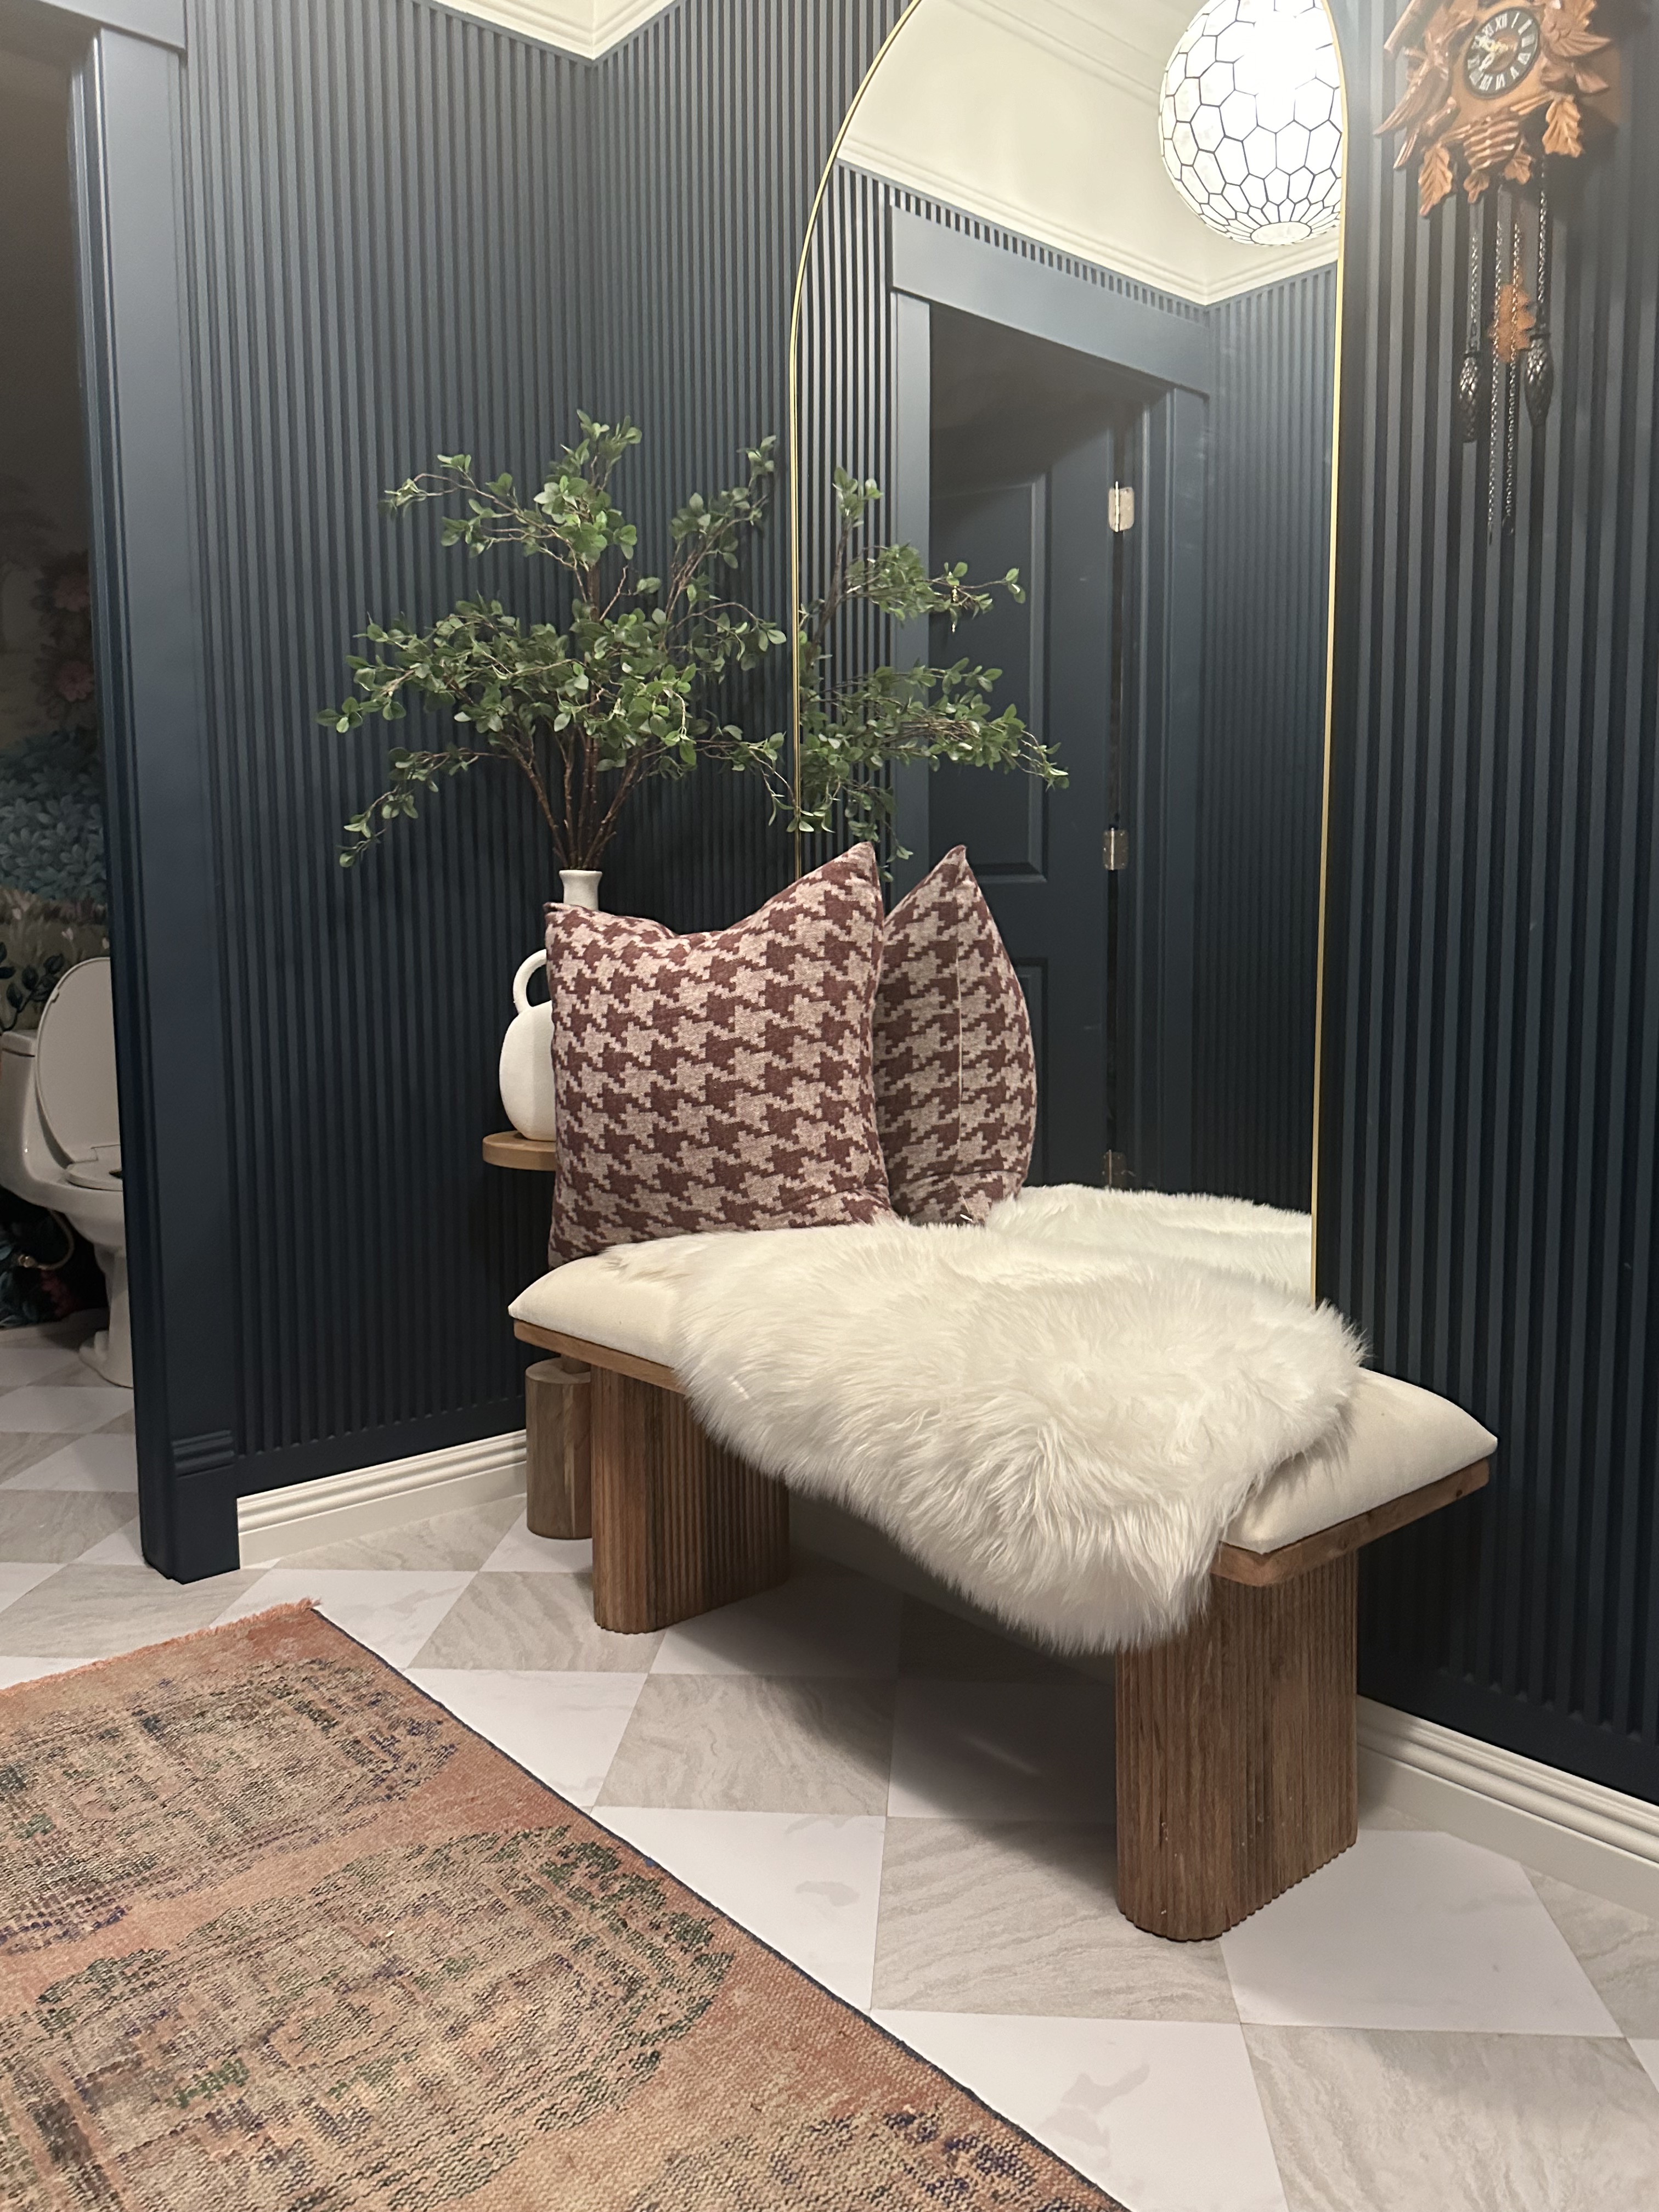
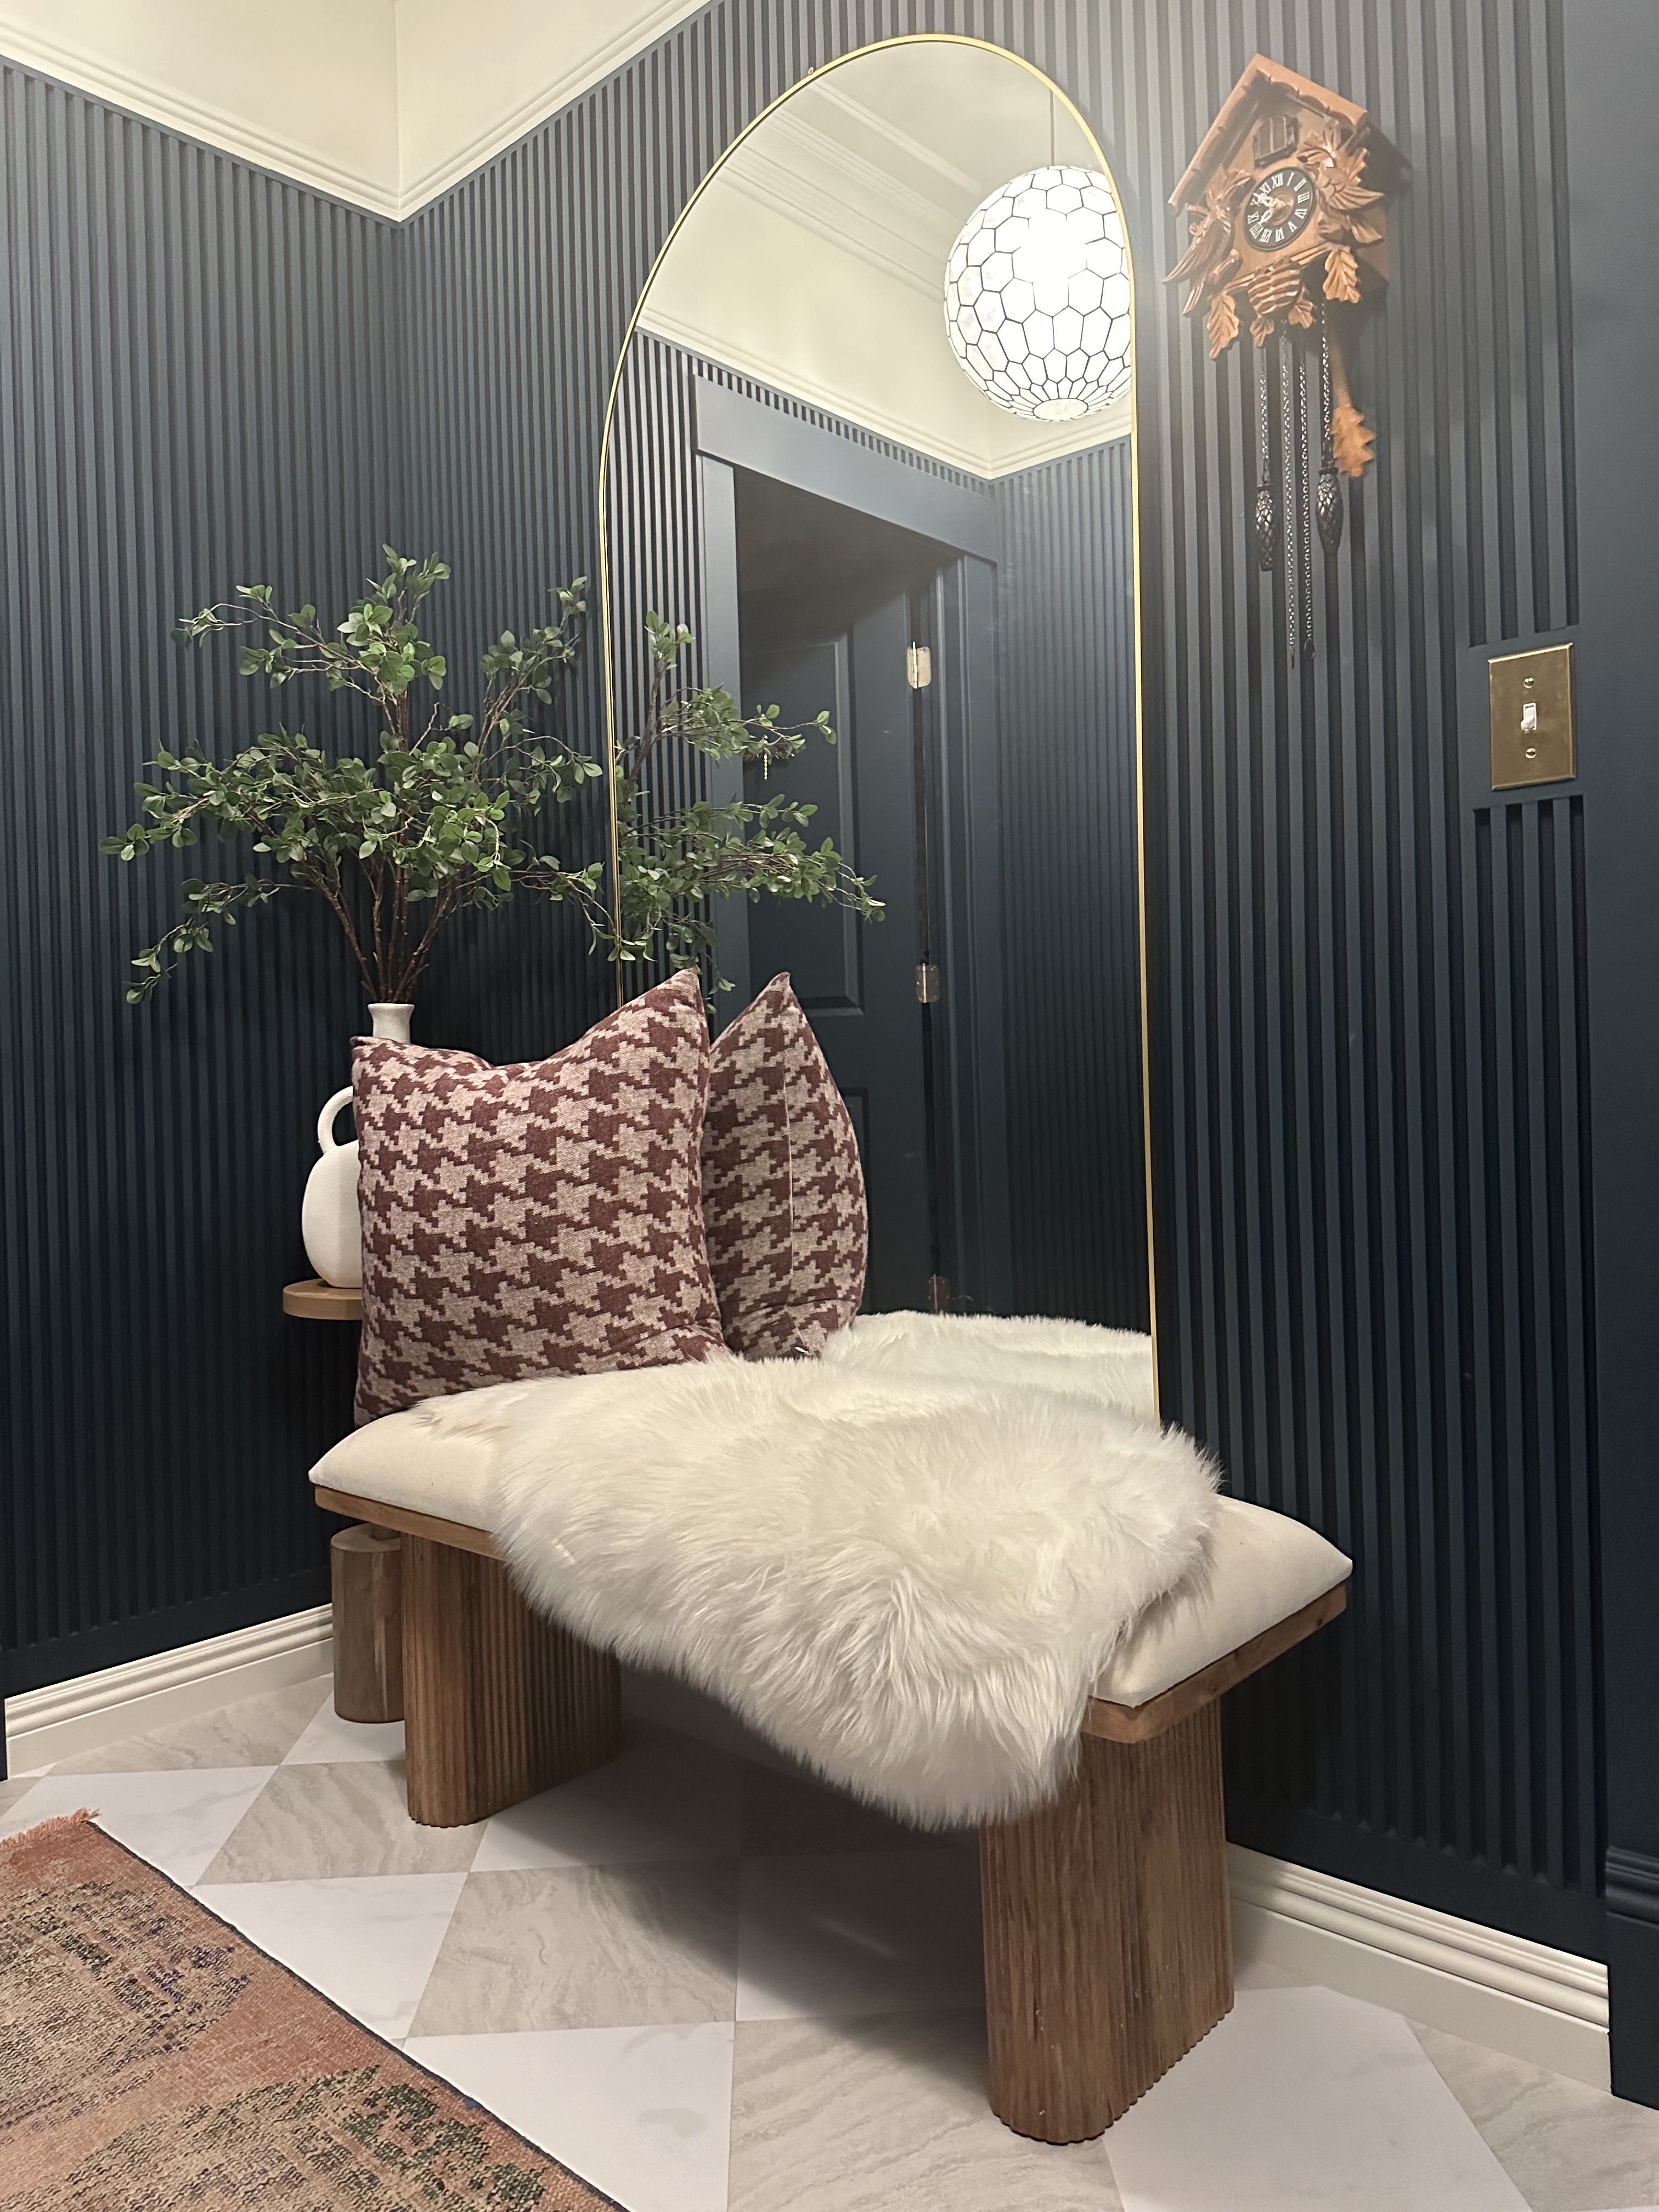
Step 7: Enjoy Your New Floor!
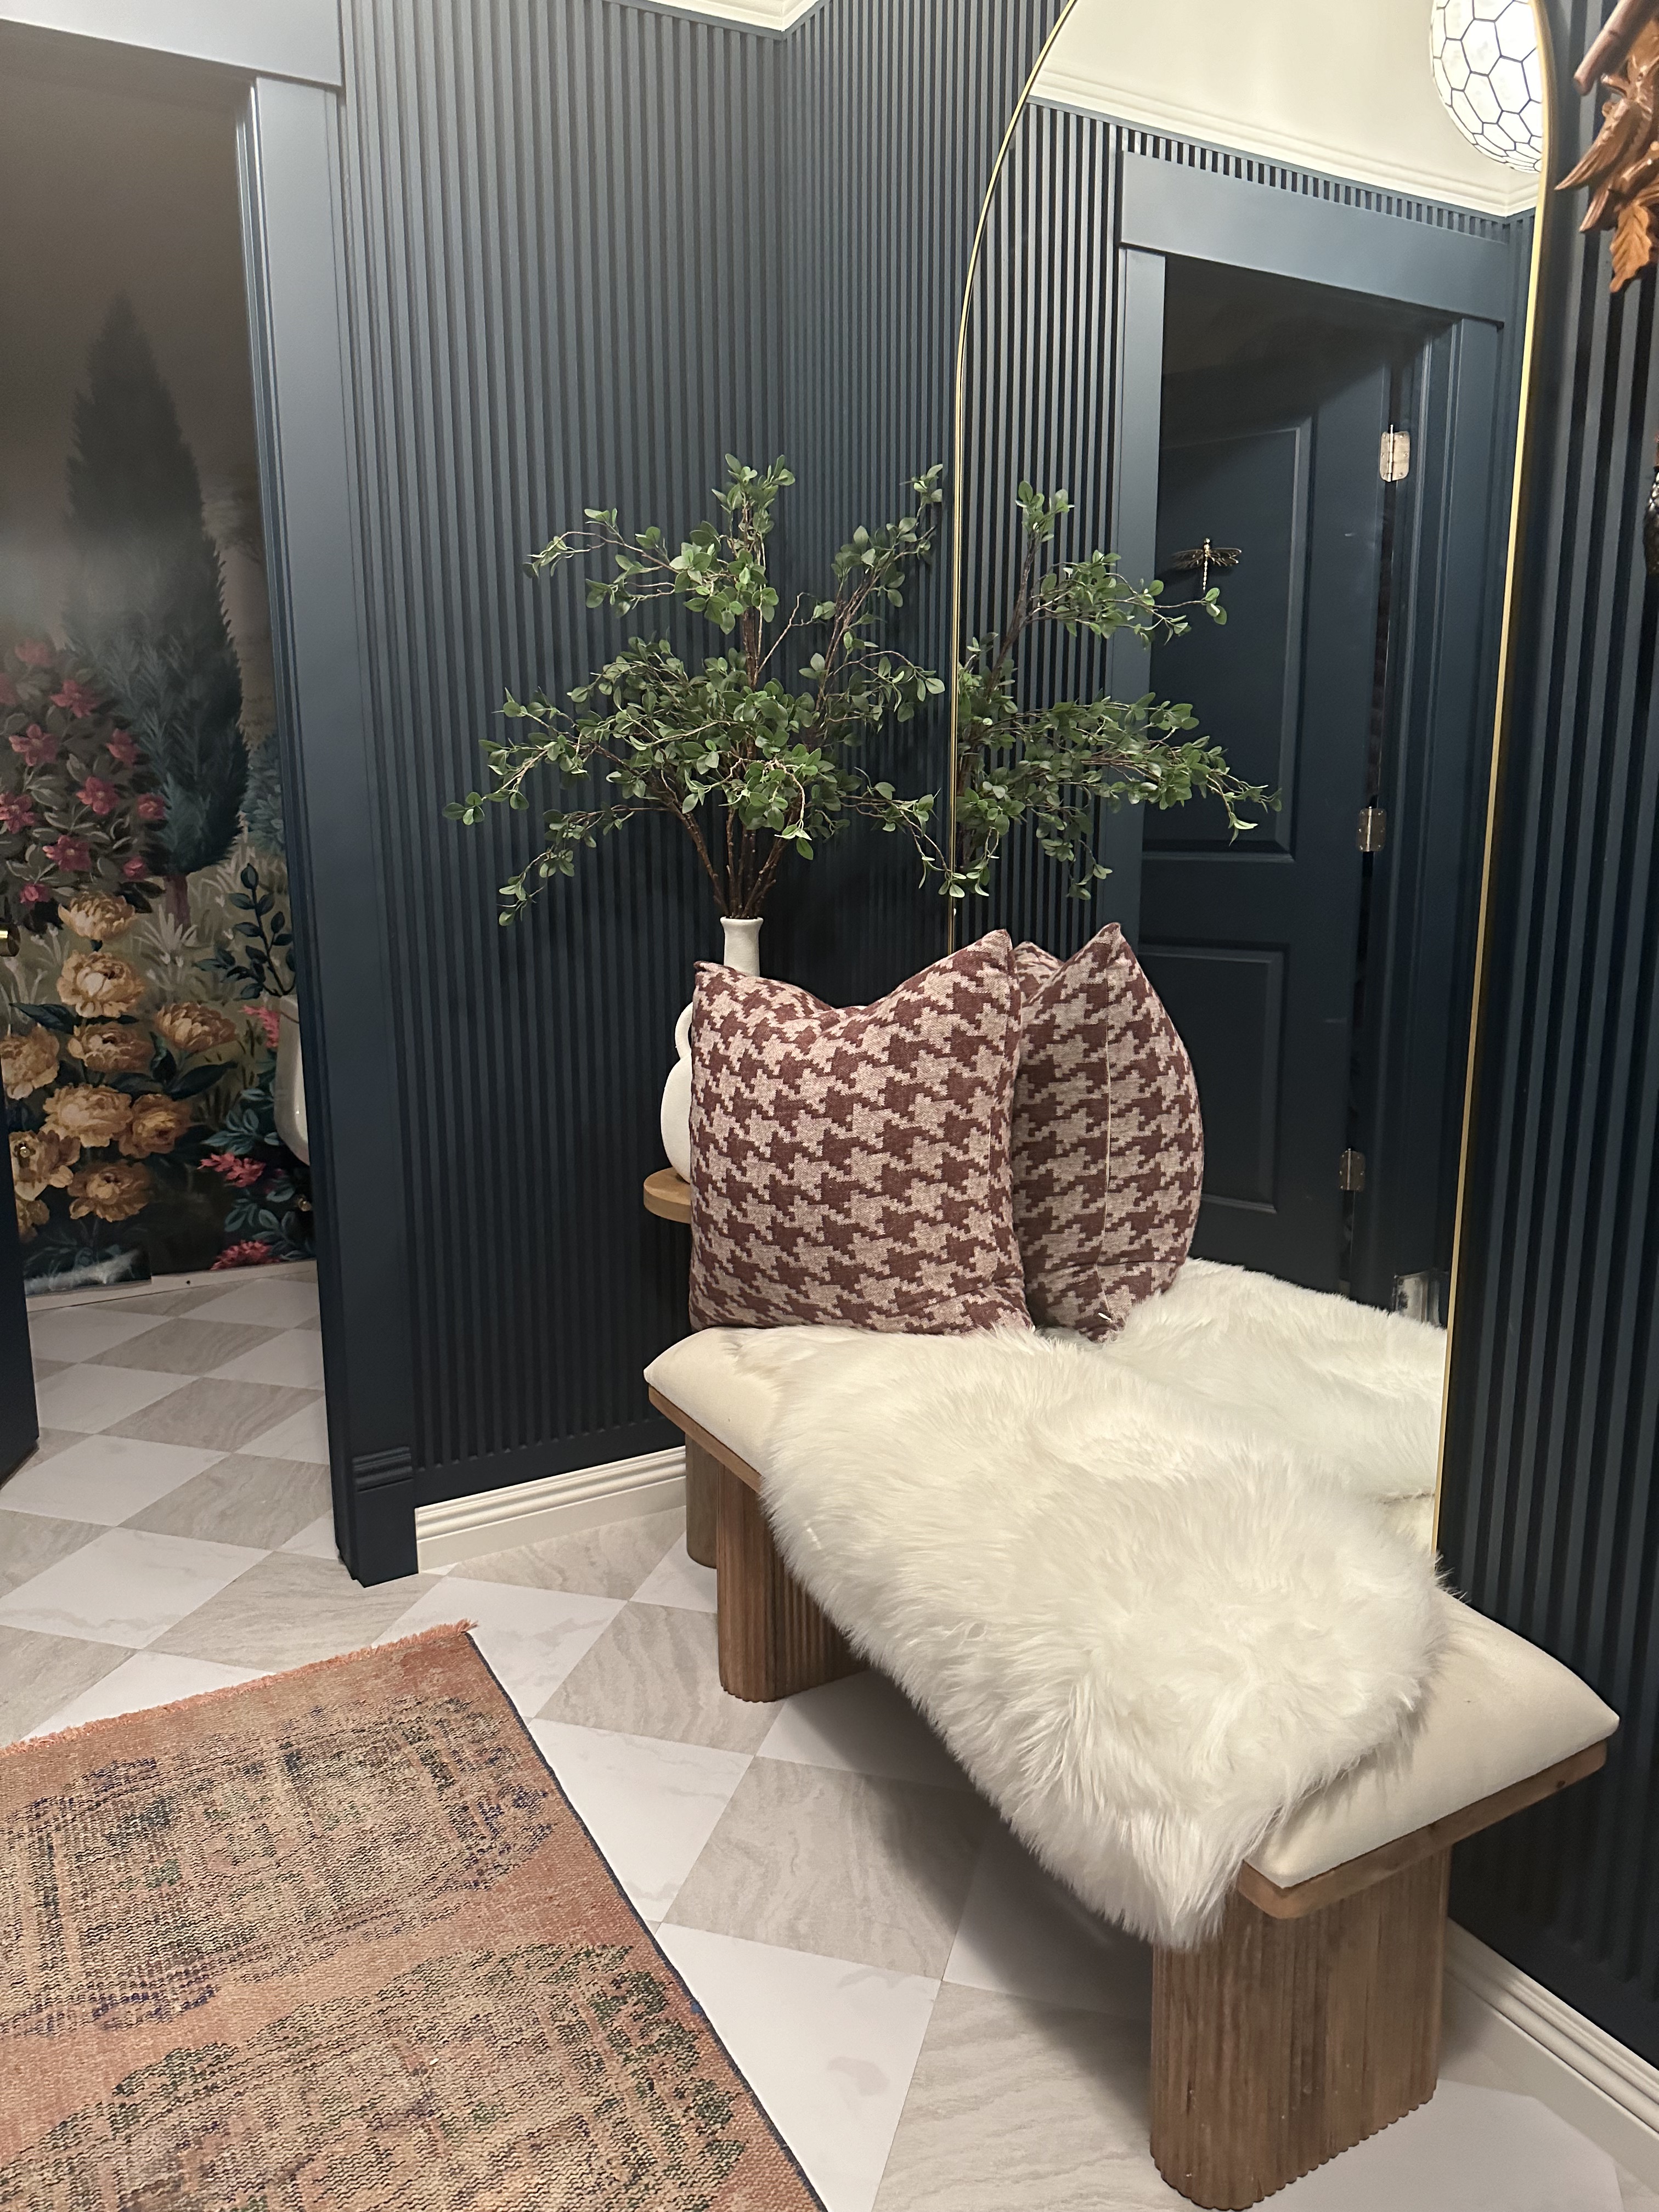
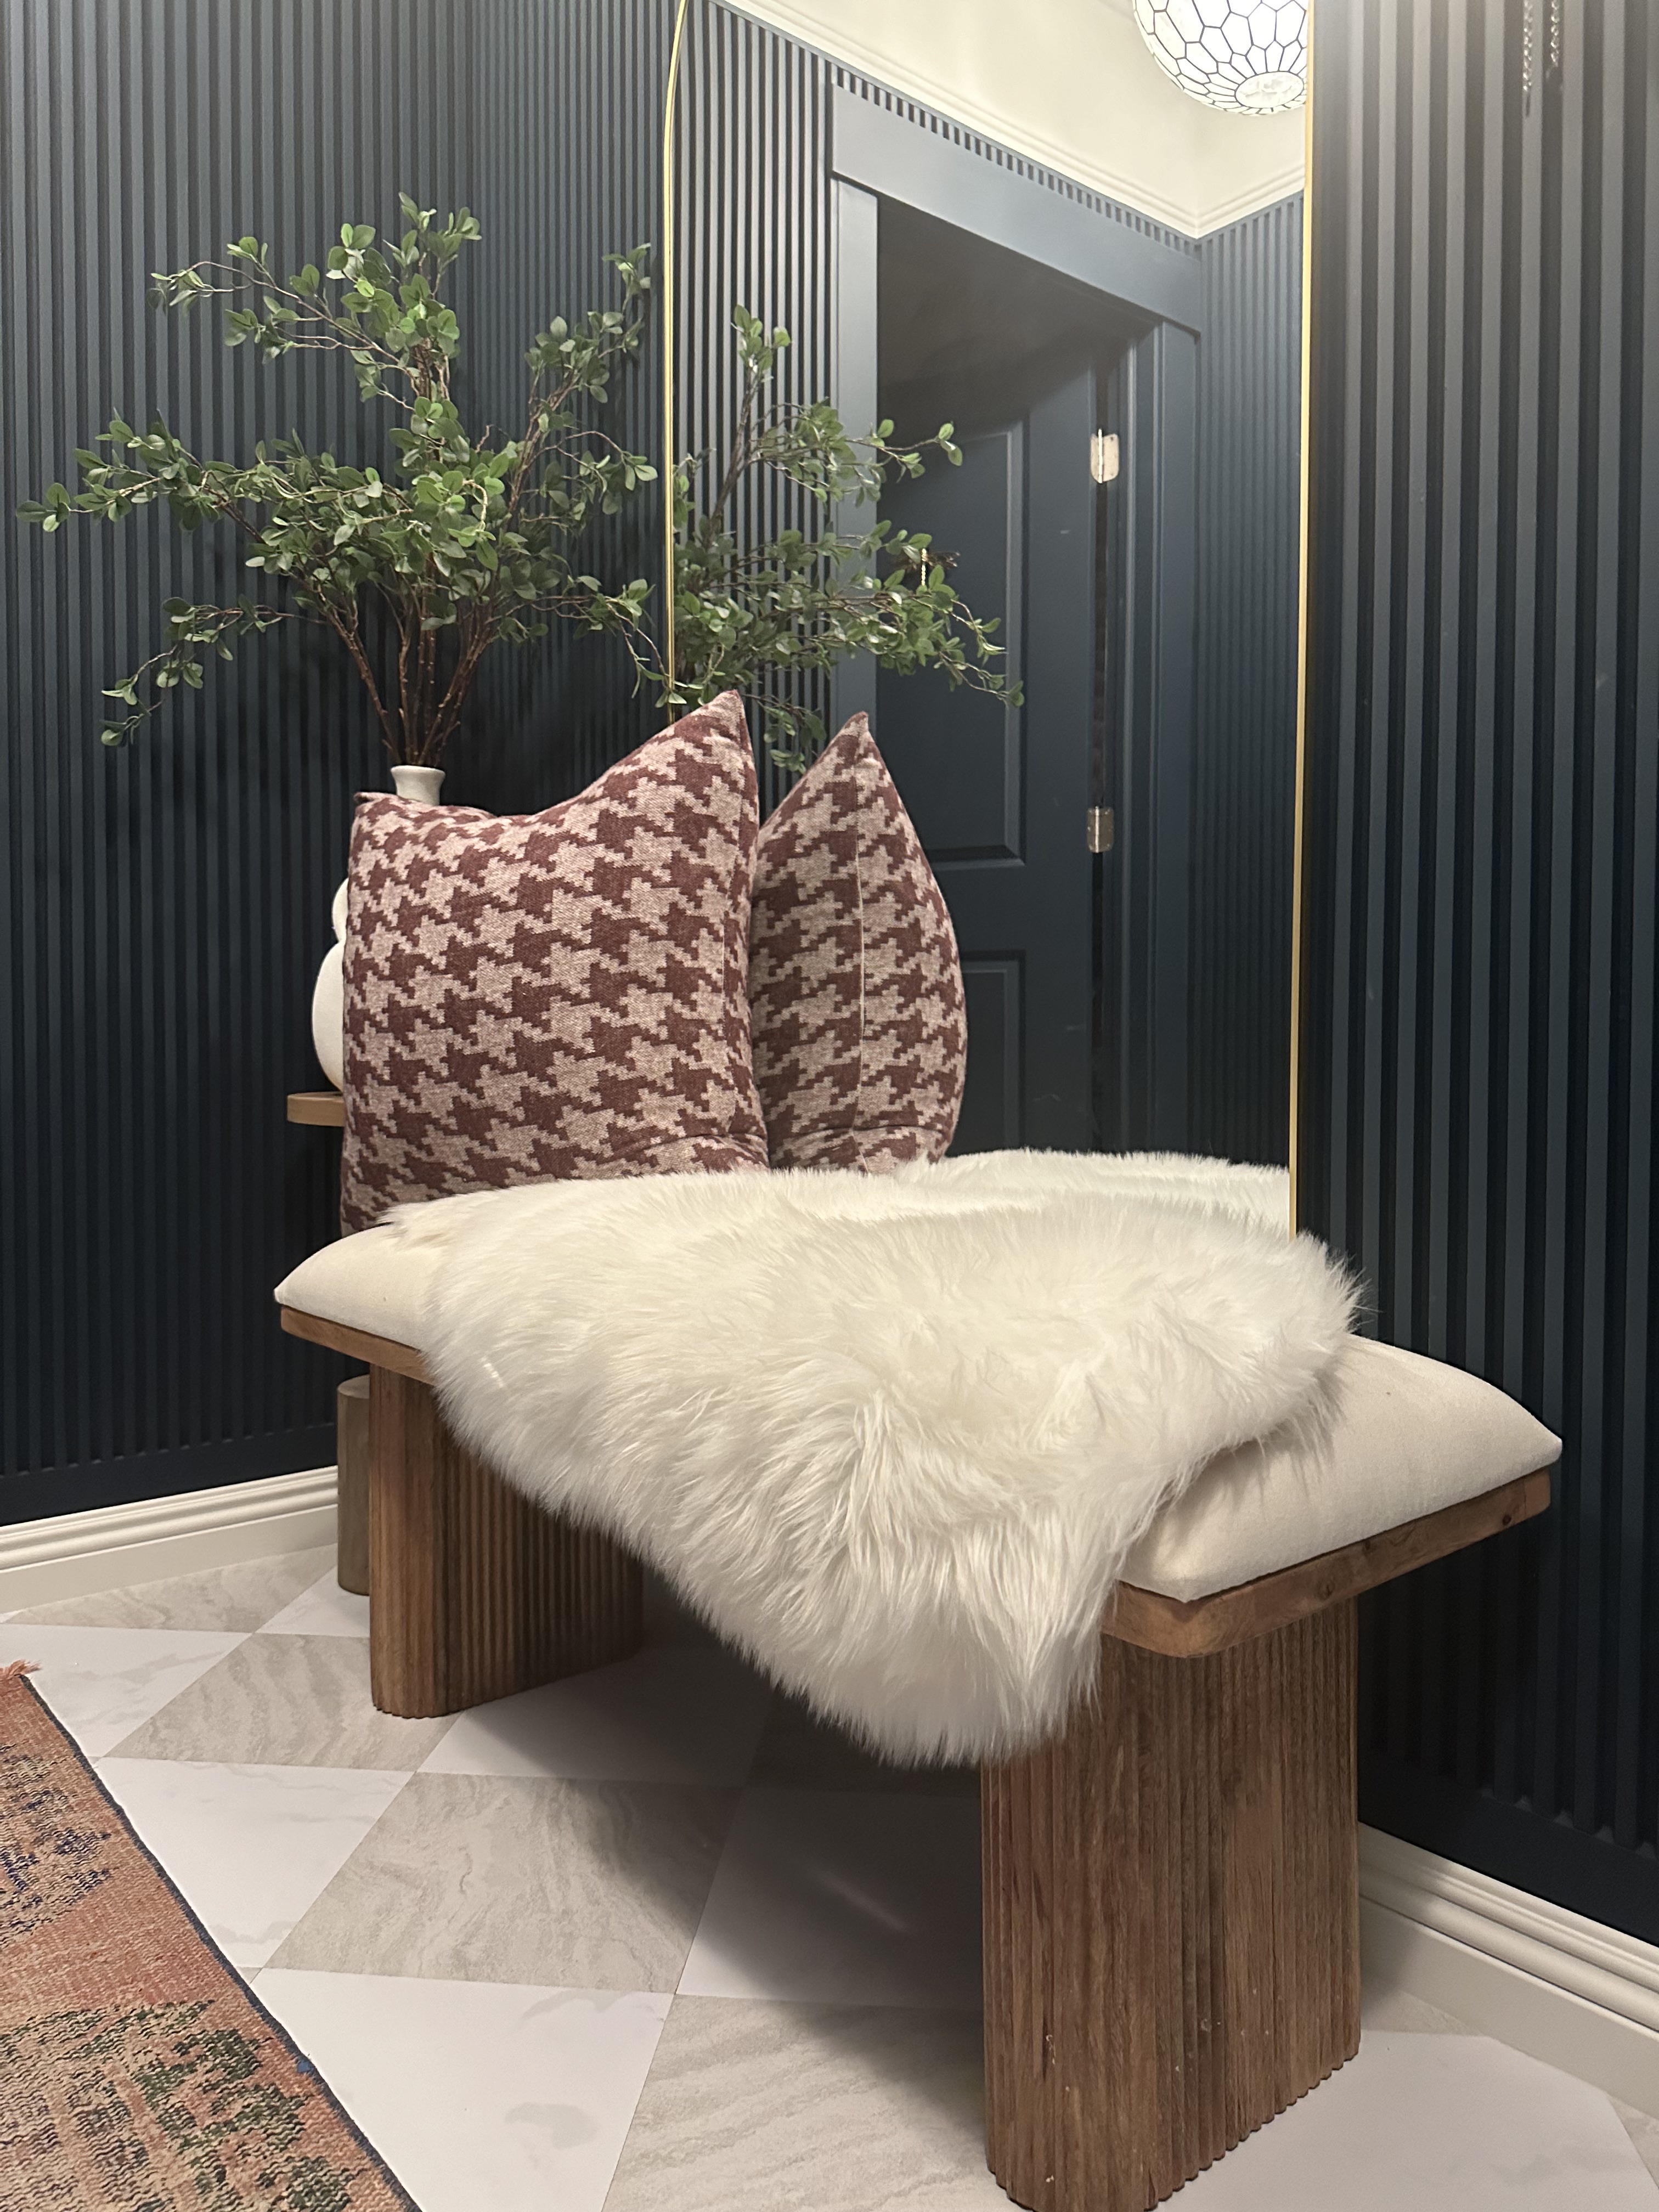
Once the adhesive has had a chance to set (usually within 24 hours), your new Floor Pops floor is ready to be enjoyed! Step back and admire your handiwork – you’ve just transformed your space with style and ease. And an added bonus, you saved time and money by not installing real tiles!
Installing Chris Loves Julia Floor Pops is a simple and rewarding DIY project that can breathe new life into any room in your home. With just a few basic tools and a little bit of patience, you can achieve professional-looking results that will impress for years to come. So go ahead, unleash your creativity and start flooring!


Leave a reply to The Swan Faucet: A Feathered Finish to Your Powder Room – Home With Q Cancel reply