We had one of those “office” rooms at the entry of our home that really wasn’t serving much of a purpose. The entry way seemed crammed and tiny and that awkward room started collecting everyone’s junk. We decided it needed a bit of a face lift… and when I say “face lift” I mean full reconstructive surgery. Everywhere. We wanted to create a magical library! Before we get into the details, keep in mind this entire project was “DIY”! If we can do it, so can you! Keep an eye out for other posts breaking down each section of the room design.
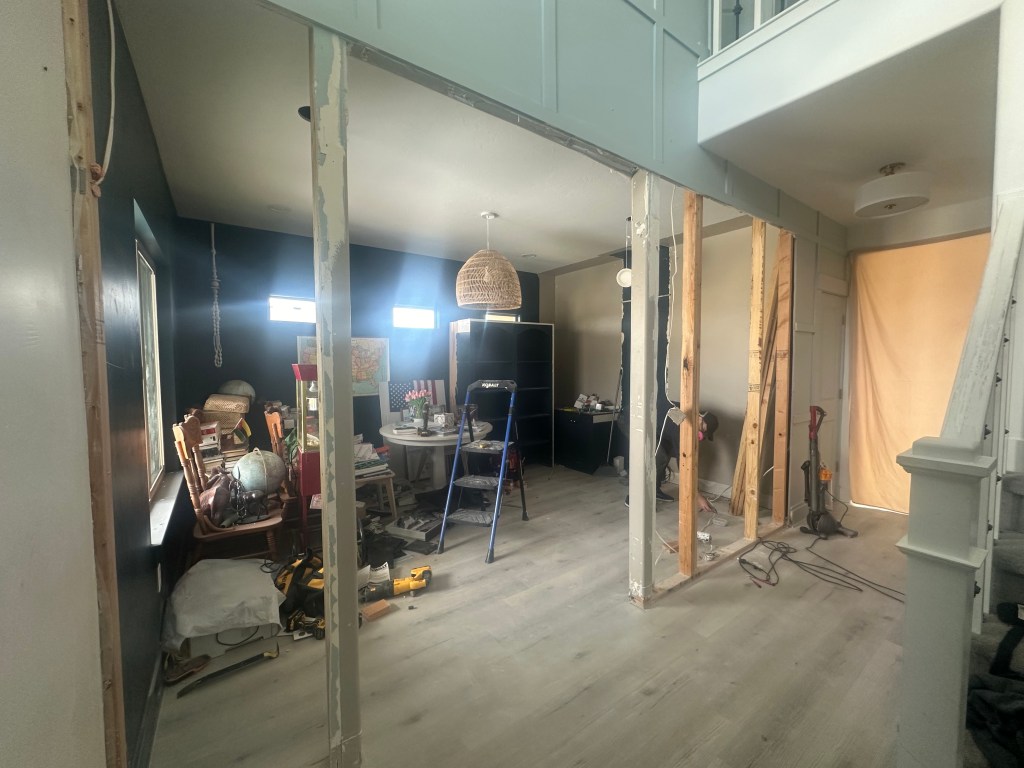
Our first thoughts were to knock down the hallway wall and open up the space to create a more comfortable entry. We got our GC friend to come over and check out the structure of our home to make sure that idea was A-okay. Once getting the go-ahead, Spencer went to work taking down the wall and installing a beam to support the area. Check out this quick little magical reel to see the process.
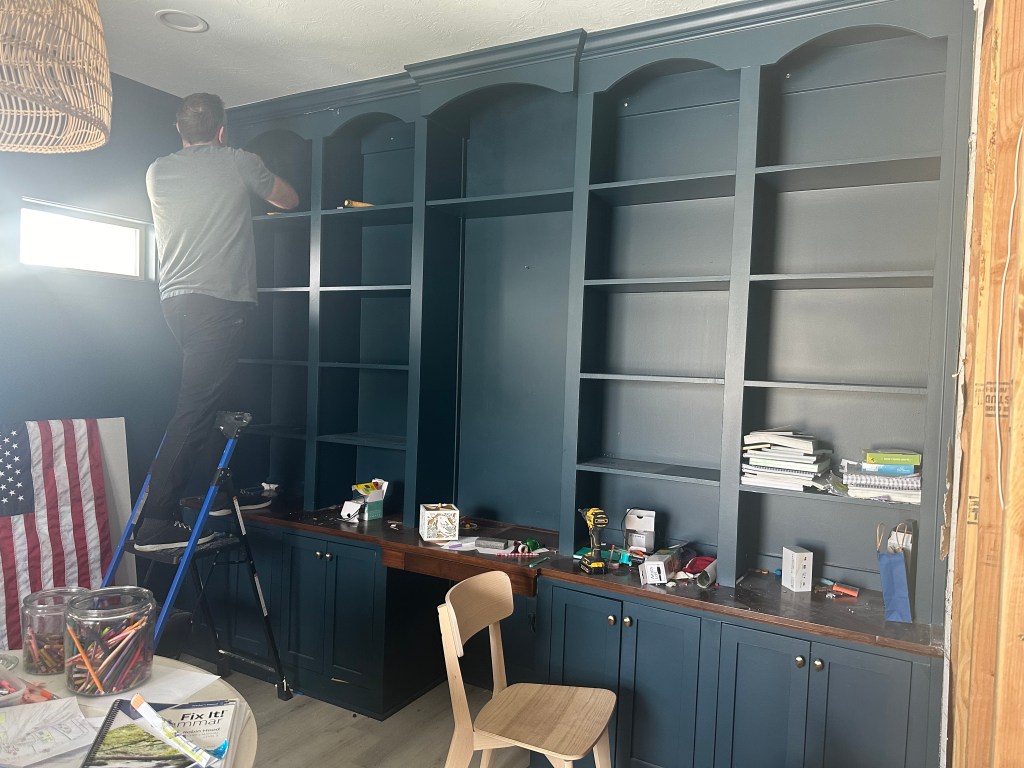
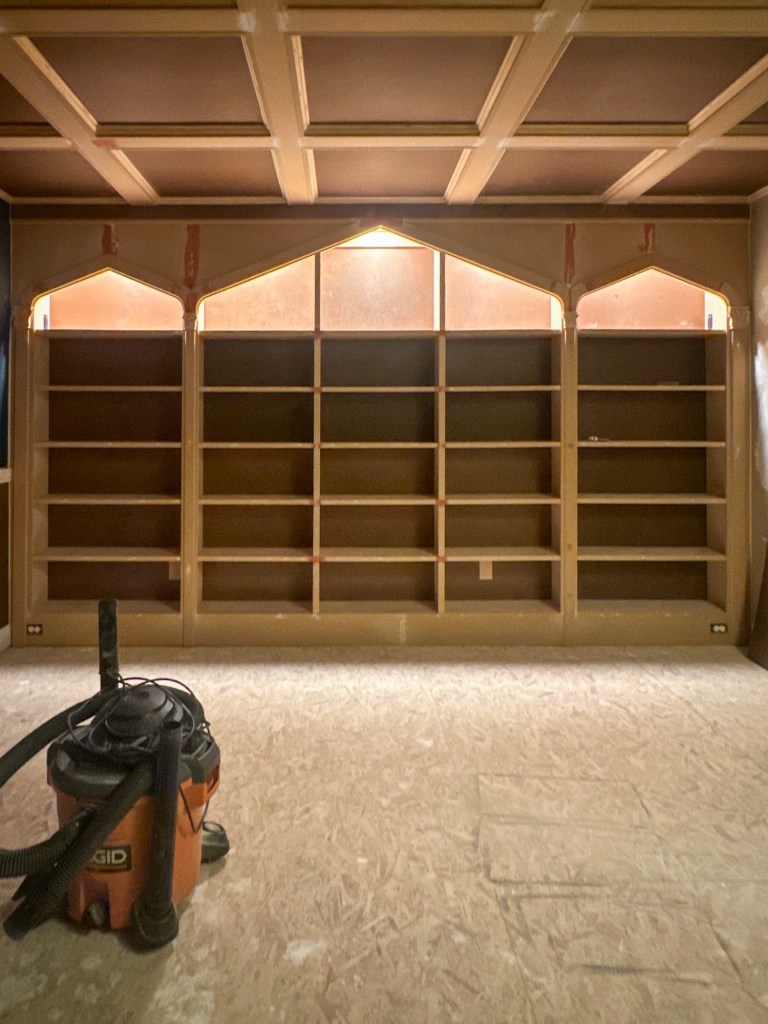
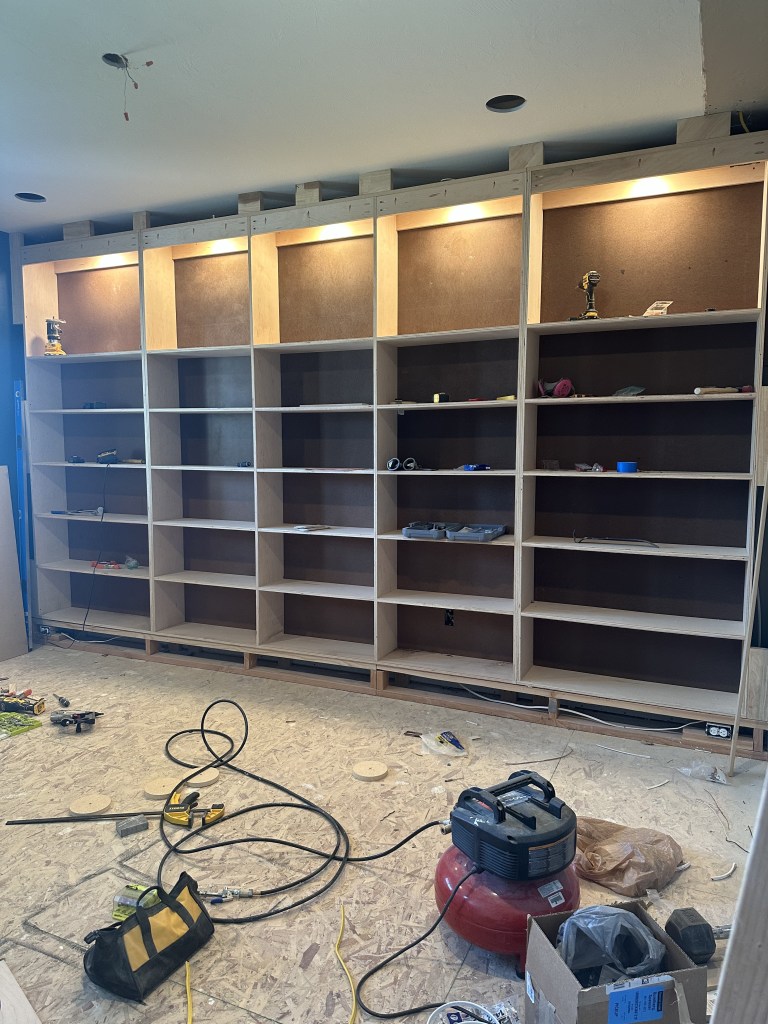
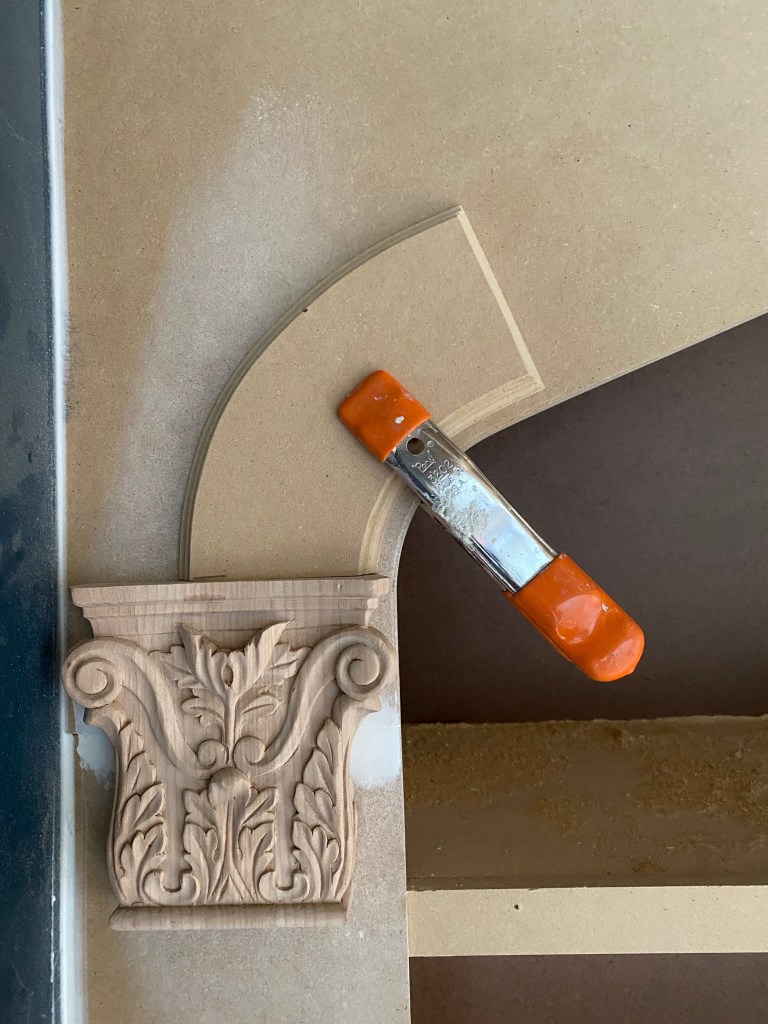
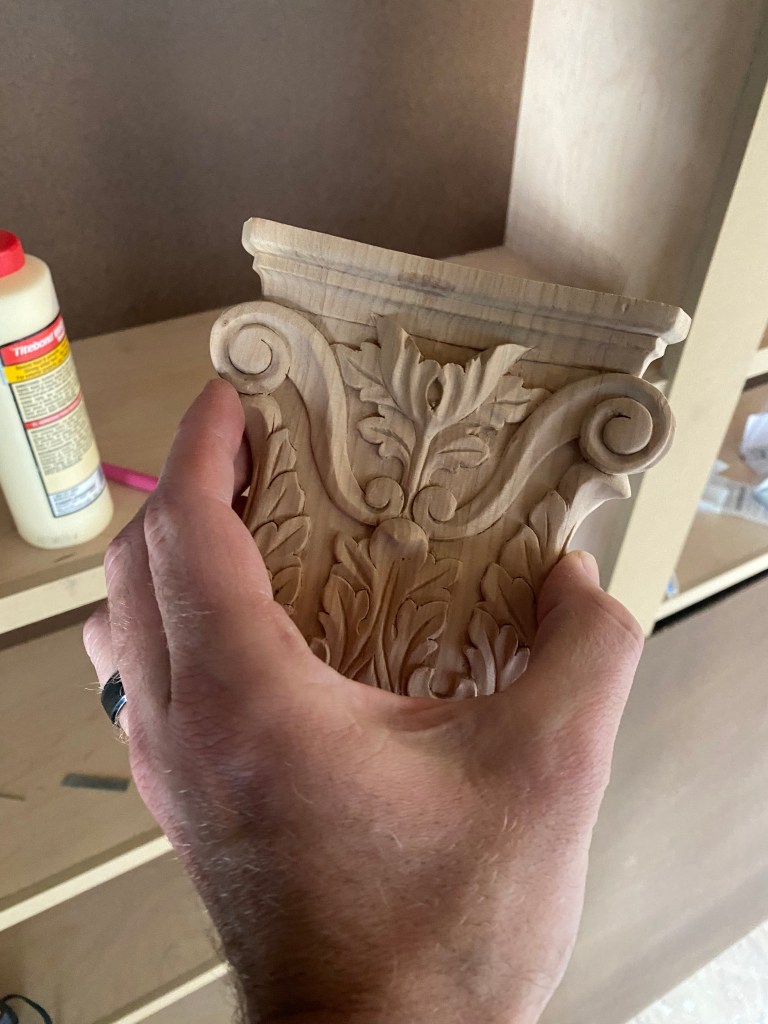
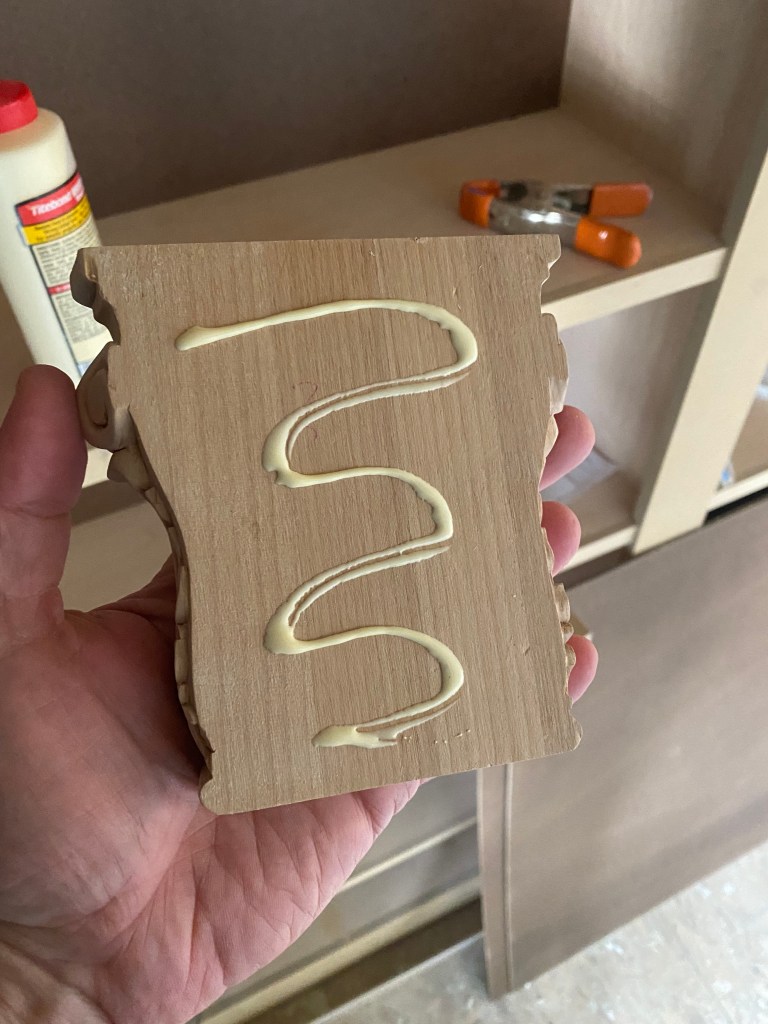
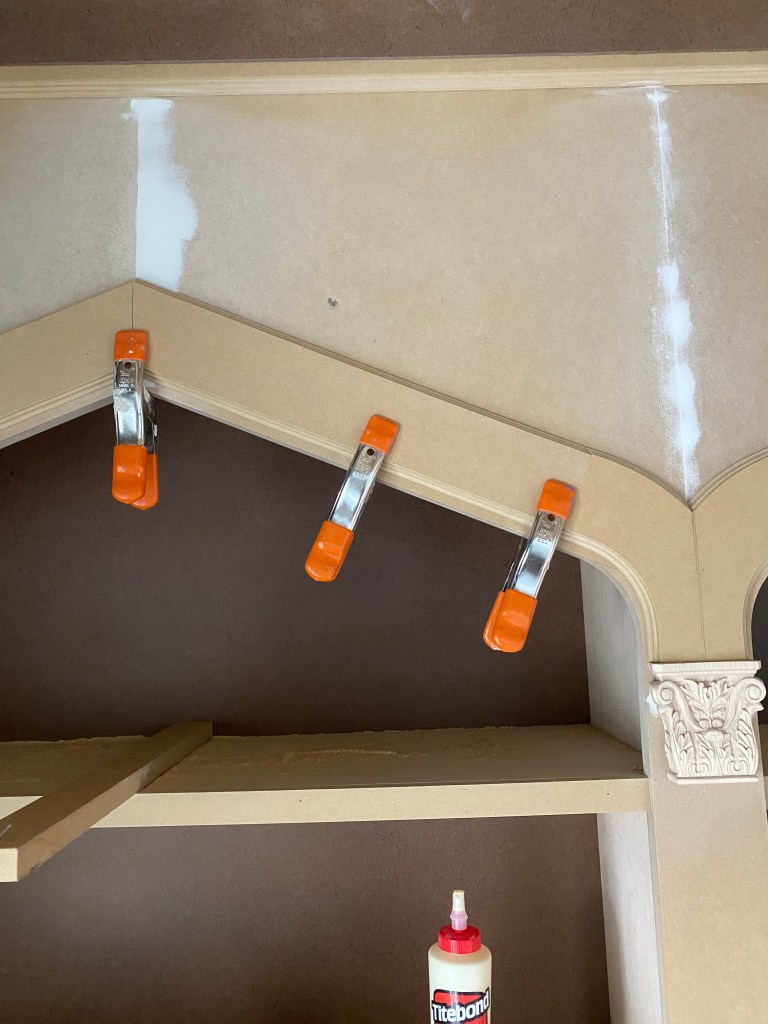
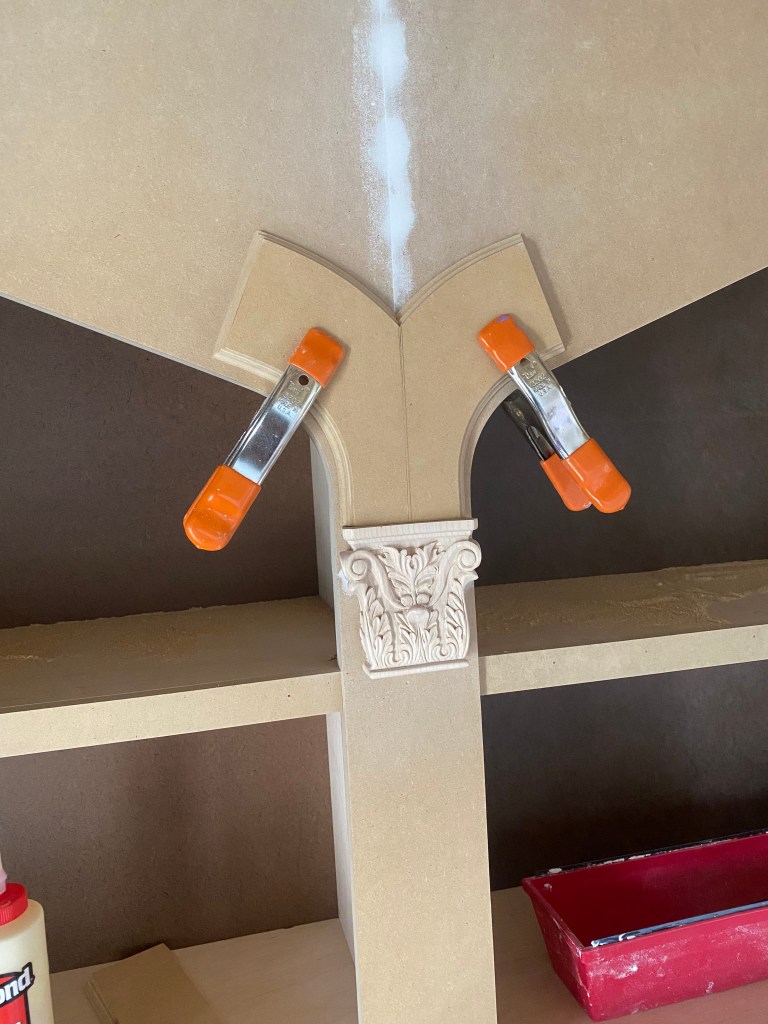
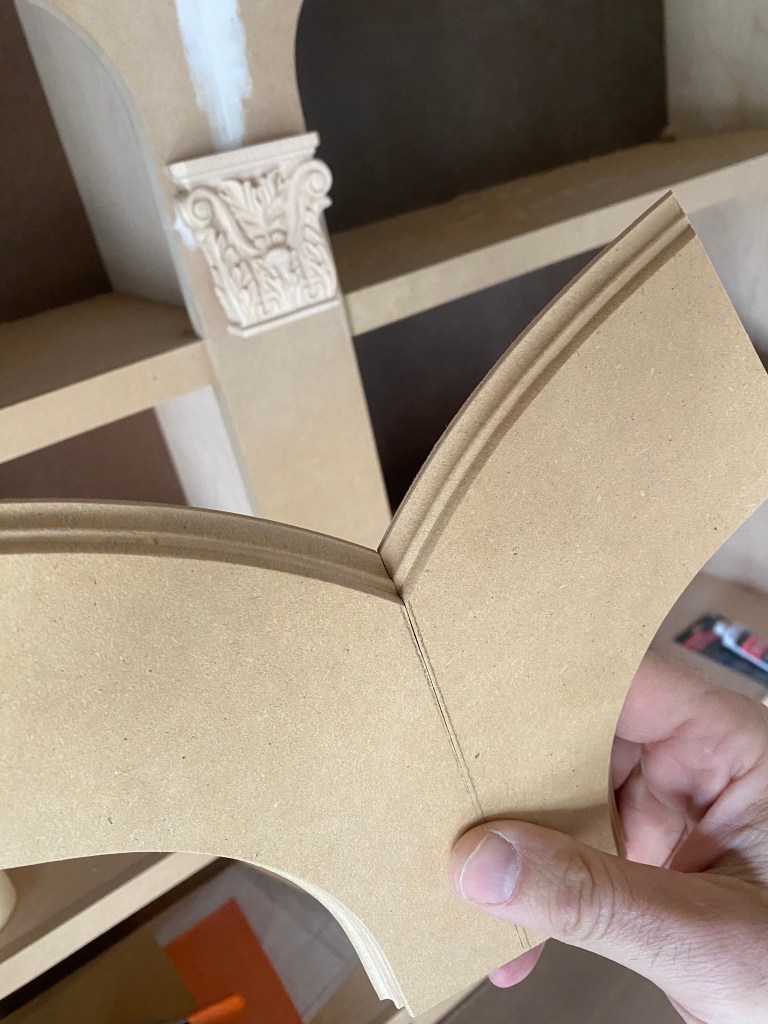
Now that the wall was down, we needed to adjust the focal point of the room! The room was long and skinny with some built-in book shelves on one of the smaller walls. They were fairly….unimpressive. So, we needed to fix that! We built five book cases to put along the long wall. We couldn’t stop there. It was absolutely necessary to add some flair (you know- I don’t like things too minimal or simple). Spencer nailed the construction of my vision and I couldn’t be happier about them. The “downside”….covering up some windows on that long far wall. Except it really wasn’t a downside at all (I know, I know, unpopular opinion). The windows originally on that wall were little tiny block windows with zero purpose. They were incredibly awkward and impossible to incorporate into decor or work around them with design elements. By fully covering the windows, we eliminated that little dilemma and adjusted the focal point to be a little more conducive with the entryway plan.
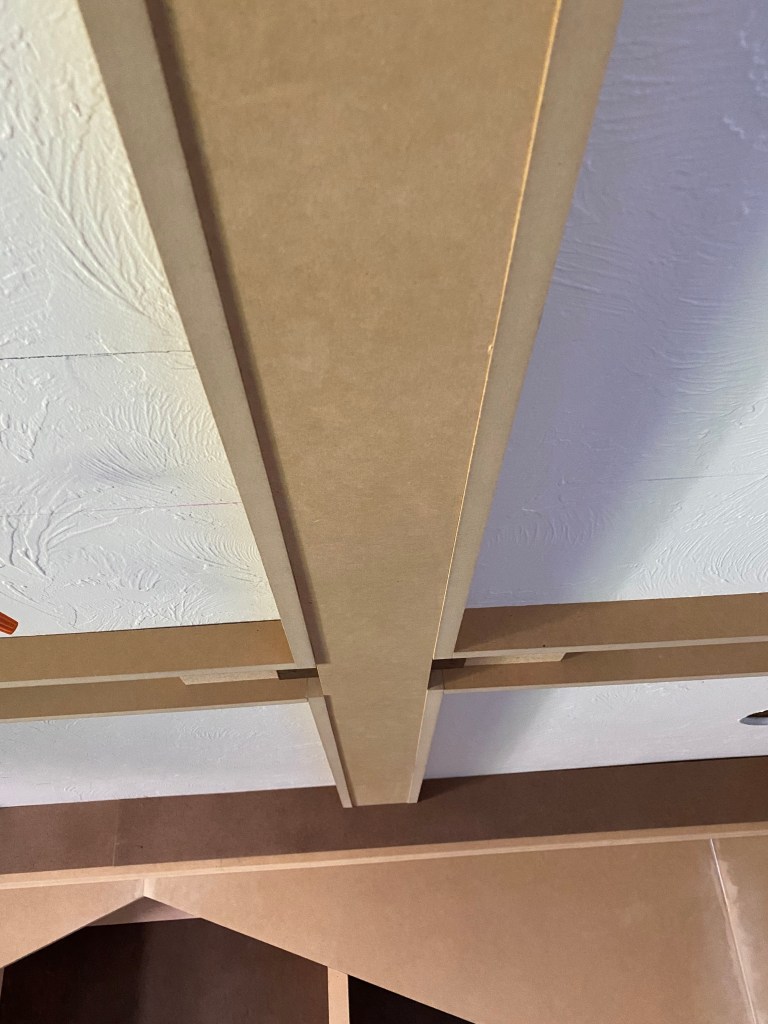
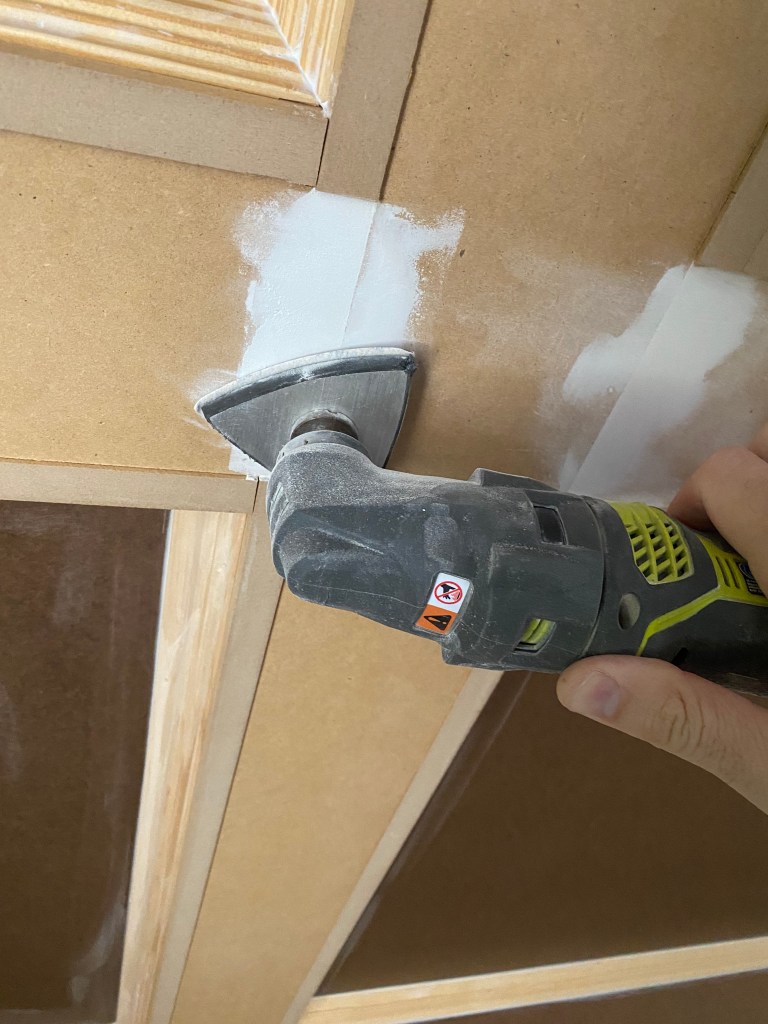
Once the shelving was up, we worked on the coffered ceiling. Our first plan was maybe some shiplap or wood beams but I’ve gotta say, the coffered ceiling was Spencer’s brain baby and as I sit here writing this post, I cannot think of a more perfect ceiling detail for this room! It truly adds a touch of elegance to go along with the bold crazy colors/design!
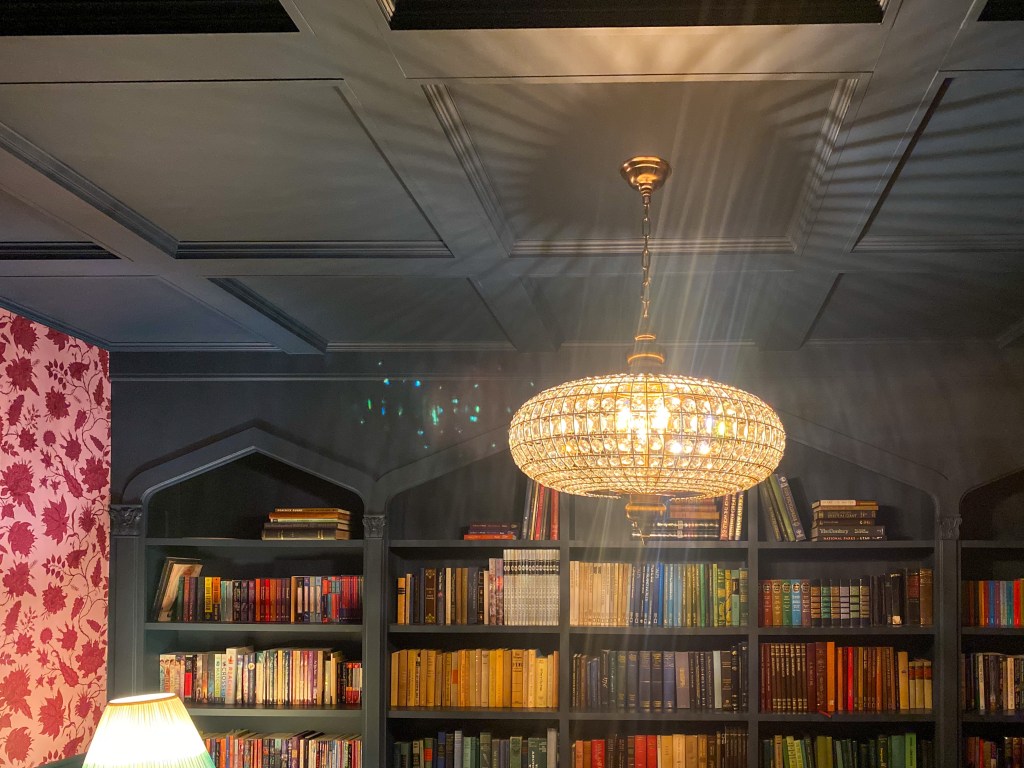
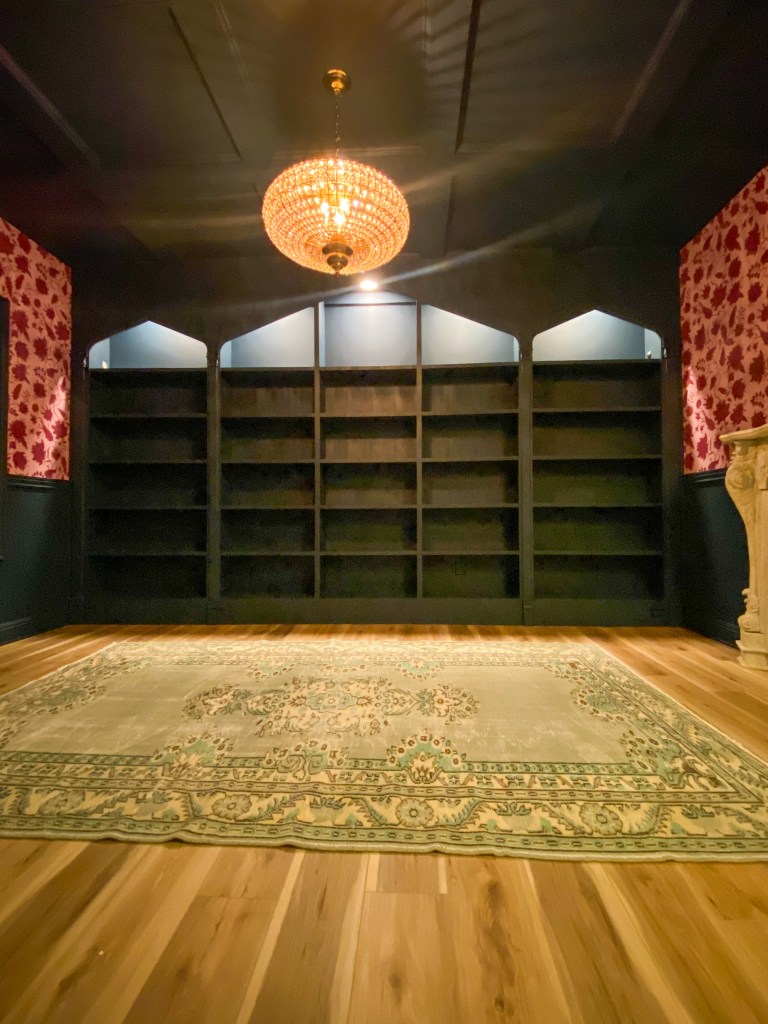
My favorite part always begins once the construction is finished; adding COLOR! I found the perfect wallpaper from Wallpaper Direct – the designer is Wear the Walls. It’s bold, it’s fun, it’s unique, and it’s crazy! Just my style! We paired the Hermosa wallpaper in ruby with Farrow and Ball’s Hague Blue paint (our favorite deep teal/blue color). That combo against the fireplace was the perfect contrast of funky and classy!
One other thing we needed to consider when designing and DIY’ing this room was COST! No one wants to spend a million dollars transforming a room- okay, maybe not “no one” but I can imagine that most people don’t. Obviously, DIY-ing saves costs in a BIG way, but we also got very comfortable with thrifting and repurposing items. It kind of sparked excitement in me to discover vintage treasures!
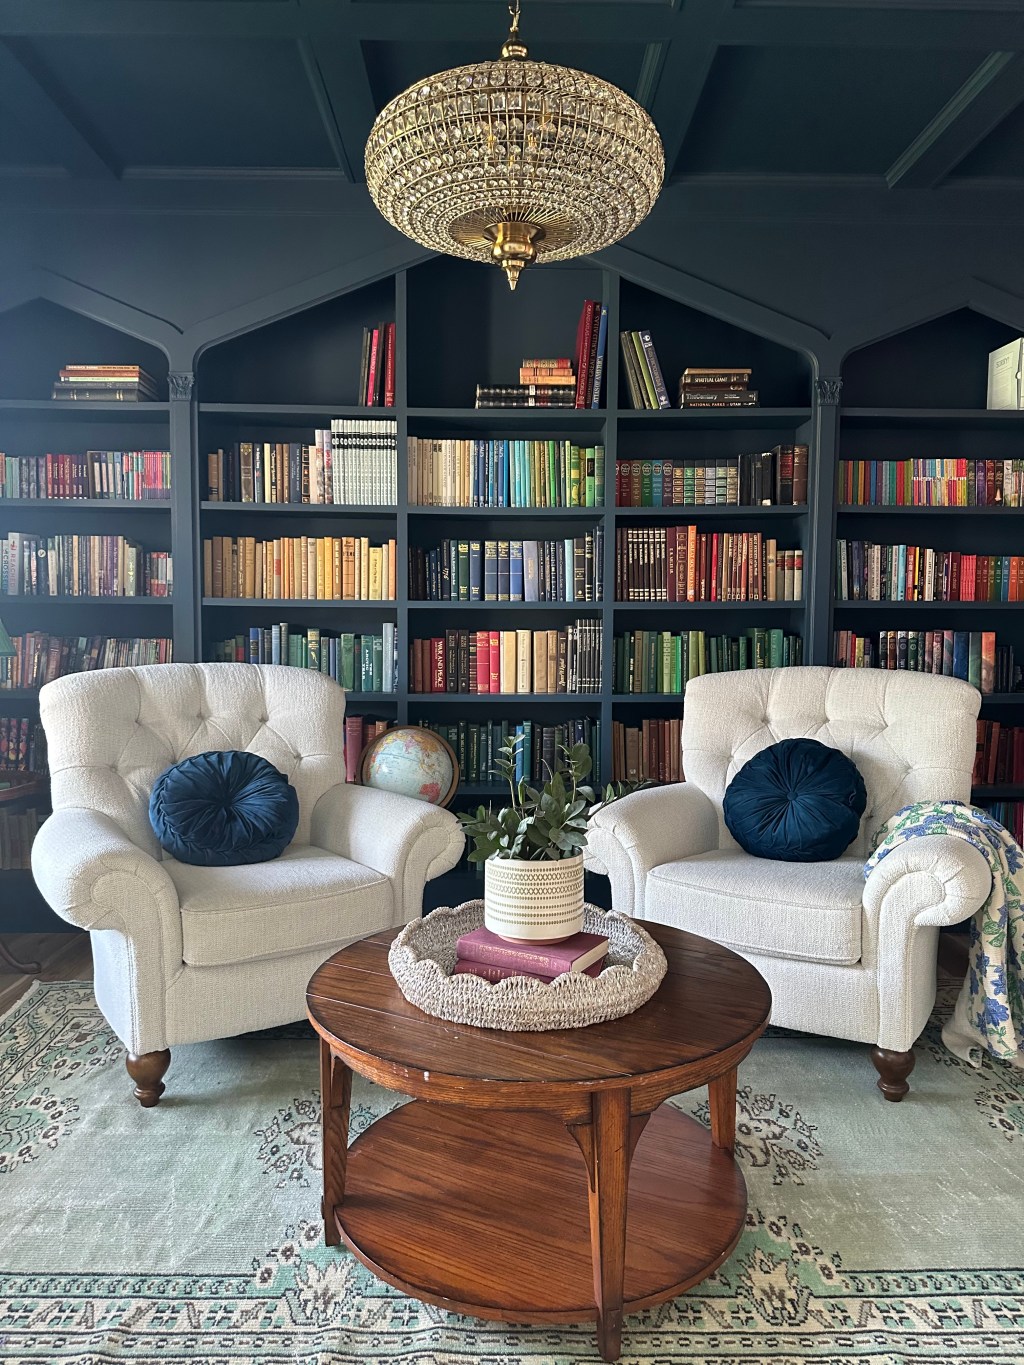
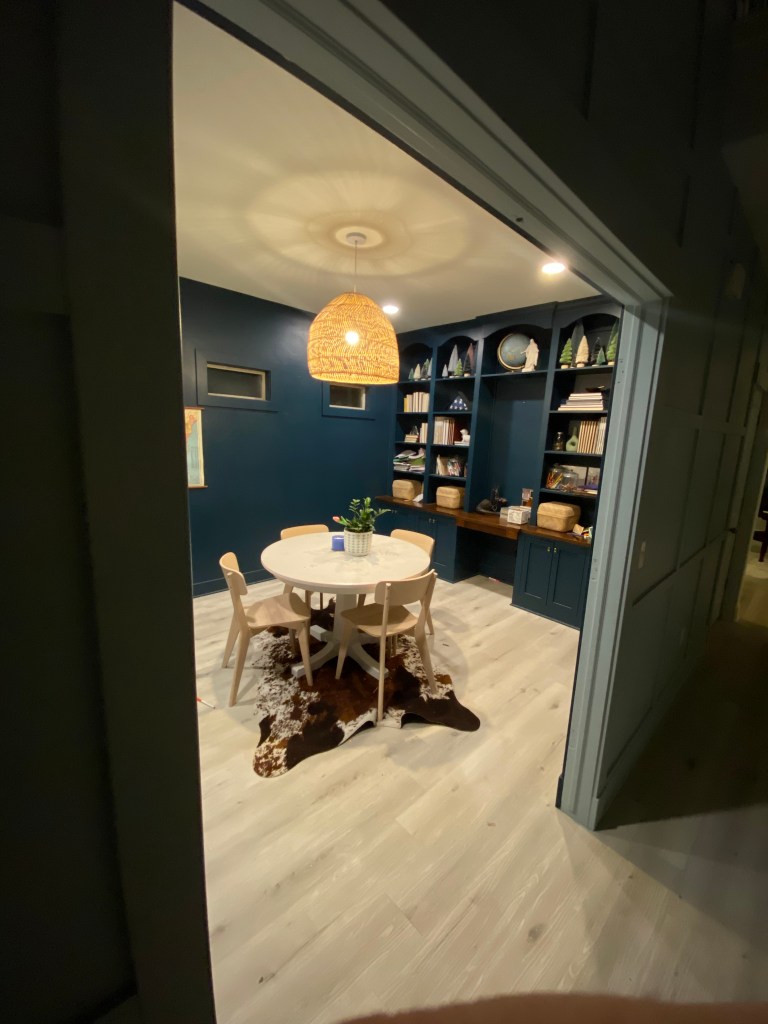
Initially we had planned to put a table in this room but as it came together, that just didn’t feel like the right move. We put the chairs from our primary bedroom in the library and loved how they completed the space! The bench under the window was a clearance Home Goods find and the cushions on top of it were from a different part of our house that we’re planning to redo in the near future anyway! We thrifted A TON of books (I think those are my favorite parts of the decor)! We found some incredible and beautiful vintage books on Facebook Marketplace that we just couldn’t pass up. The coffee table was given to us about a year ago and has been in our basement going unused until this perfect moment! Most of our mantel decor was repurposed from other areas of our home. I often say “we shop our home” and I truly mean it! I love moving things around and finding fresh places for them. It keeps the items exciting and I don’t get bored of the decor as quickly.
This room has seen five different looks in its lifetime. FIVE! It started out beige, then progressed to gray with white shelving. The white shelves were eventually painted a charcoal color with a switch up of furniture and decor before we opted to paint the entire room Hague Blue. We loved the Hague Blue but the room itself just felt off…which lead us to this massive overhaul. I think we have finally landed on a space with purpose that we love and can fully enjoy!

Leave a comment