
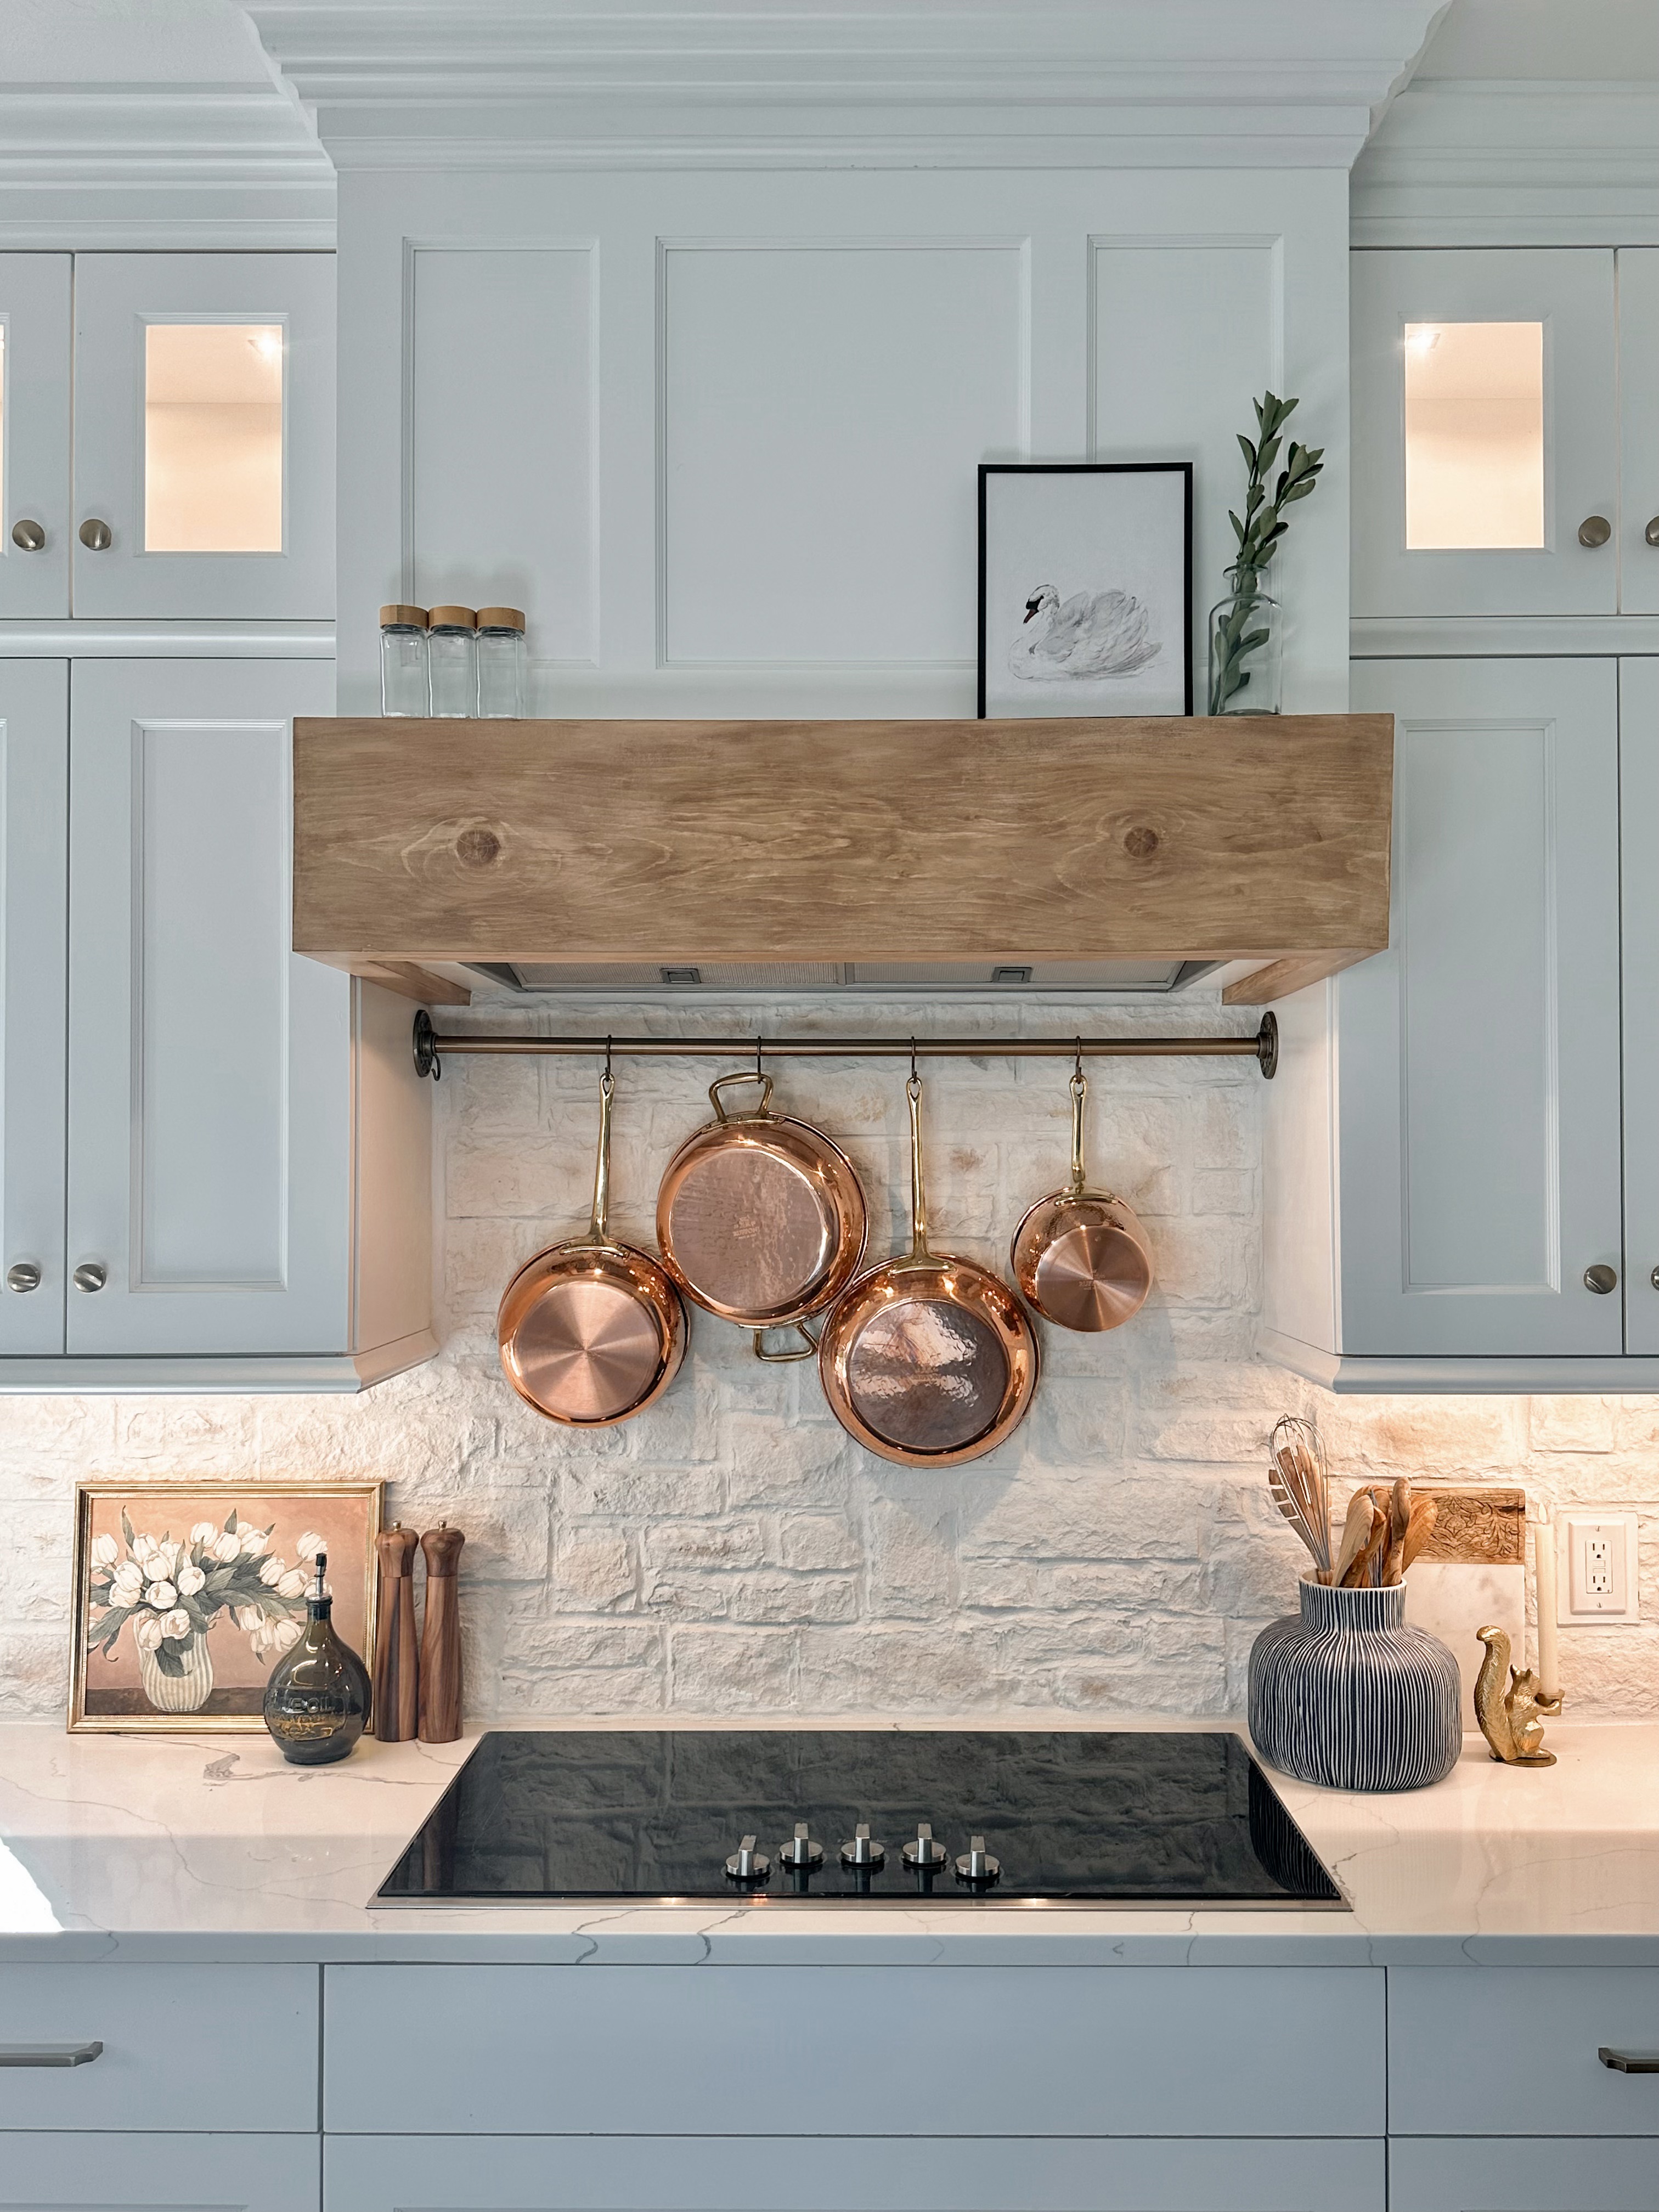
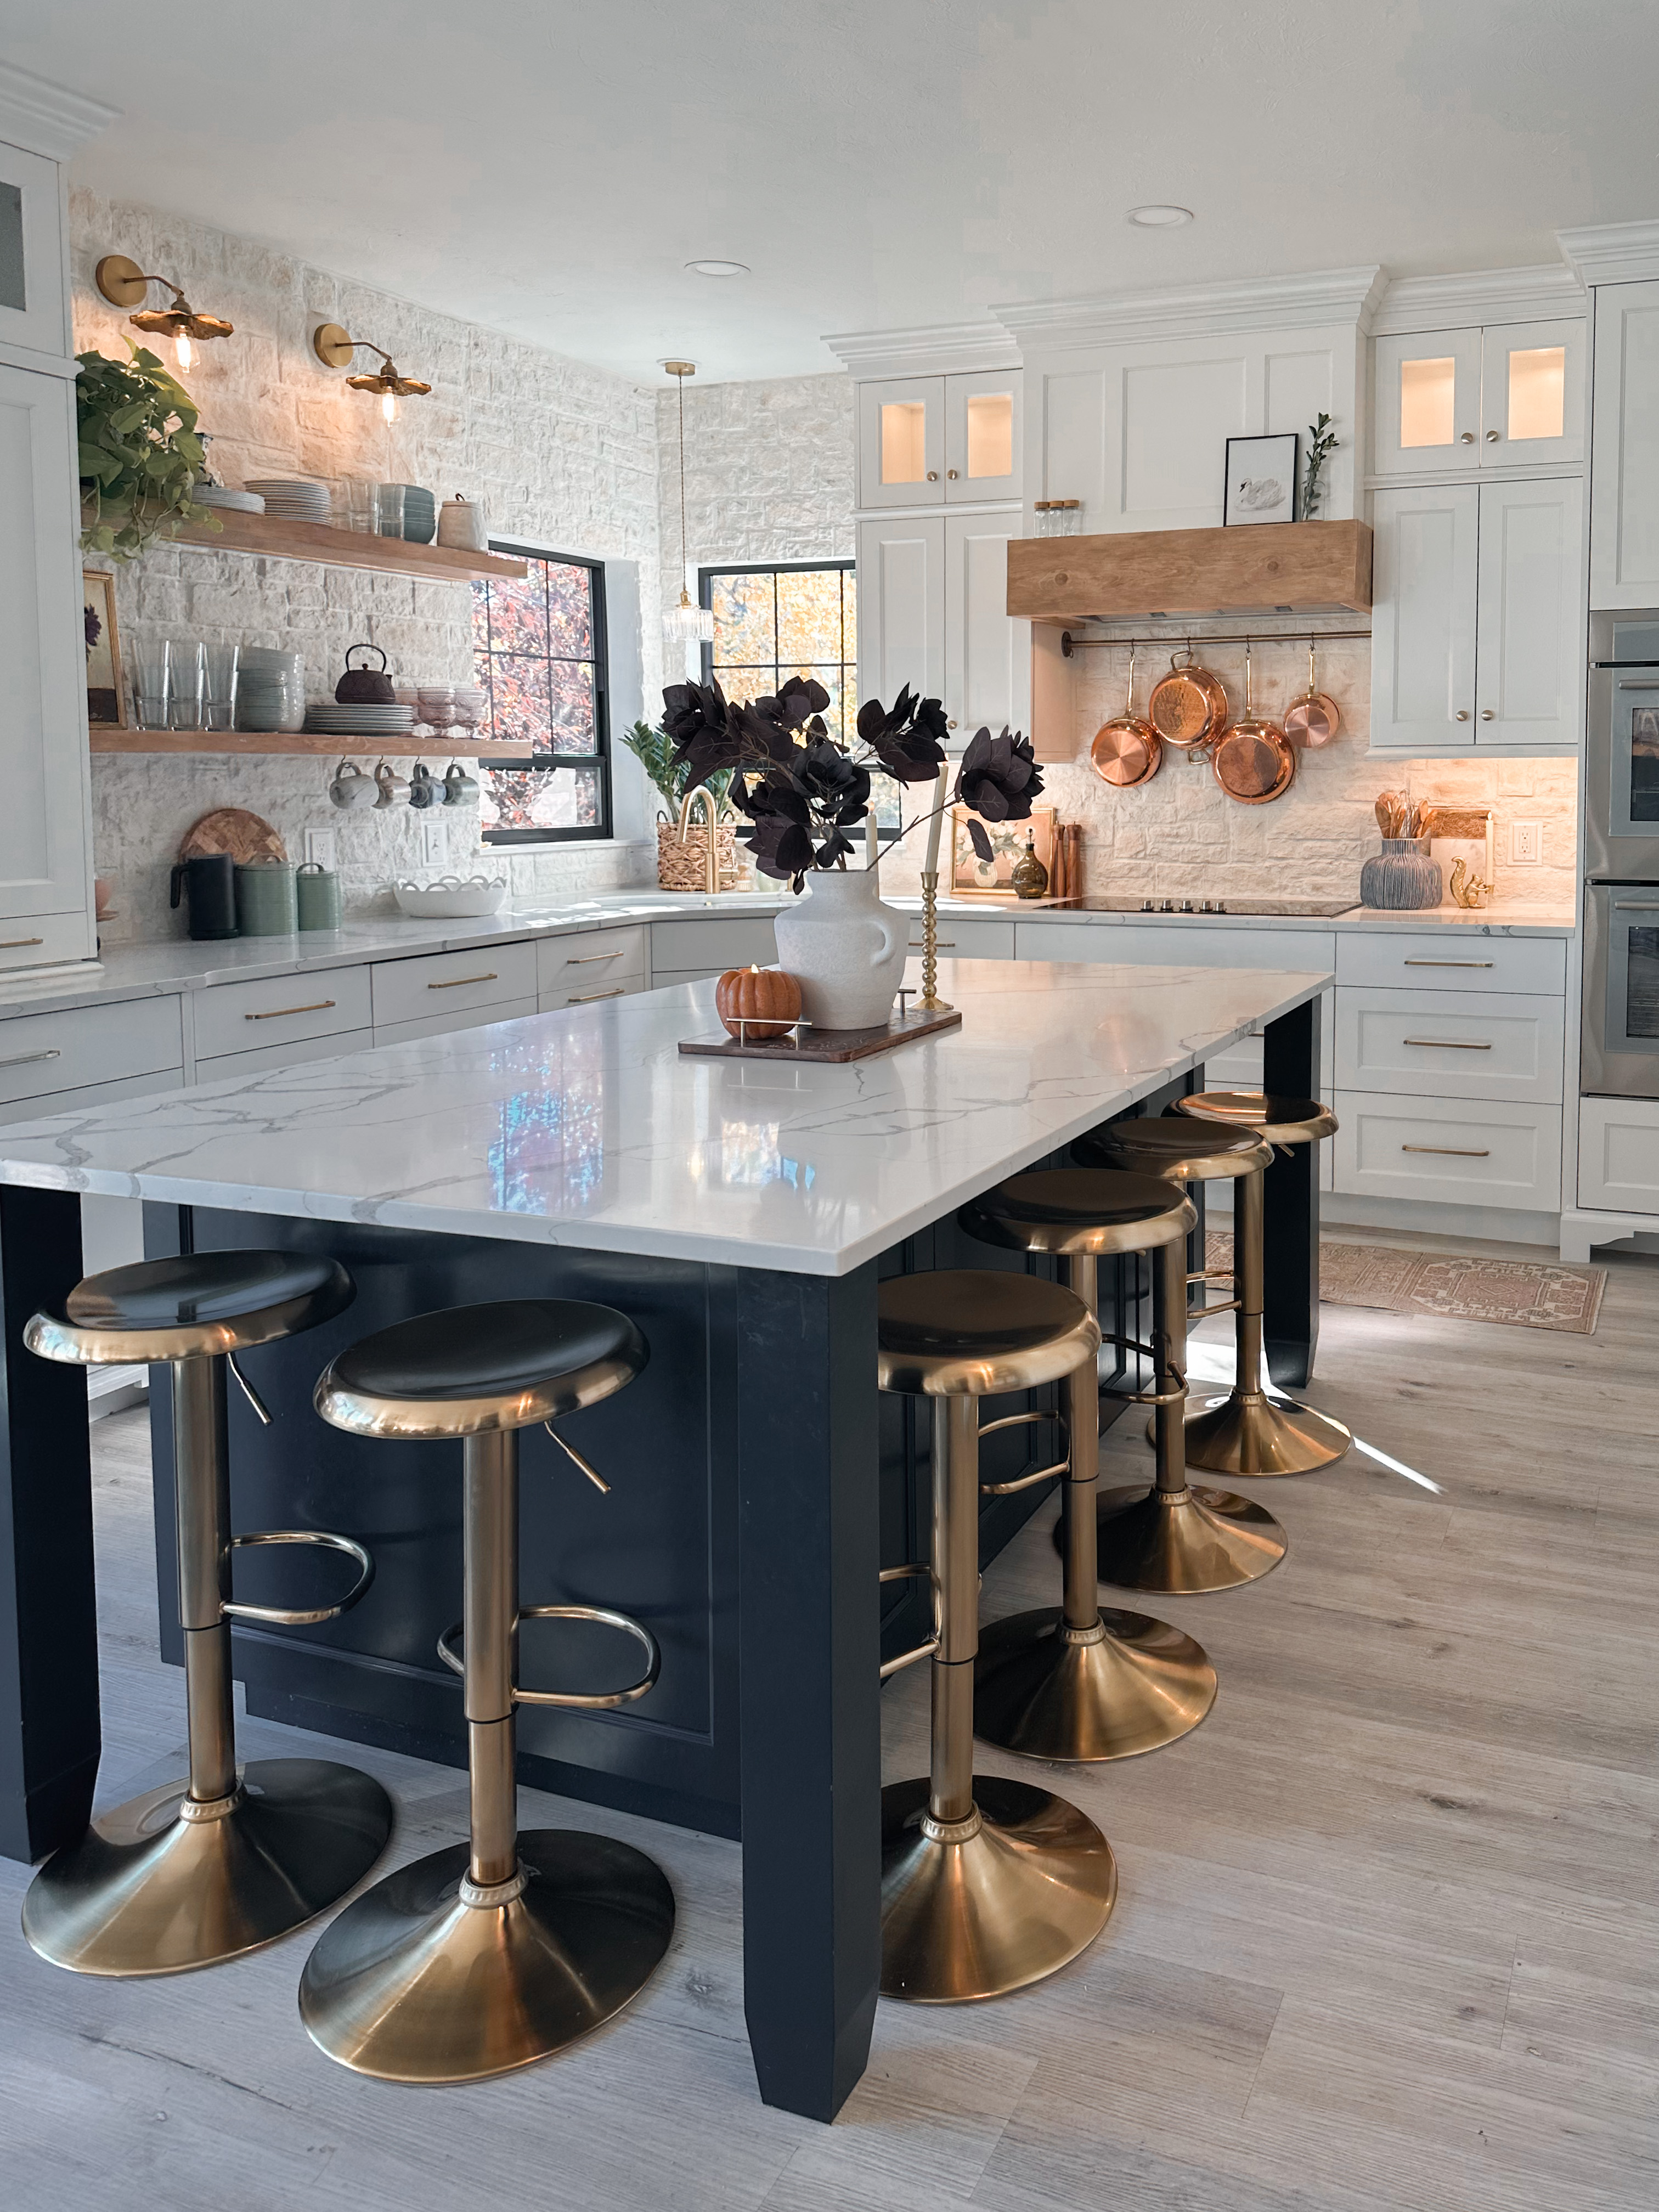
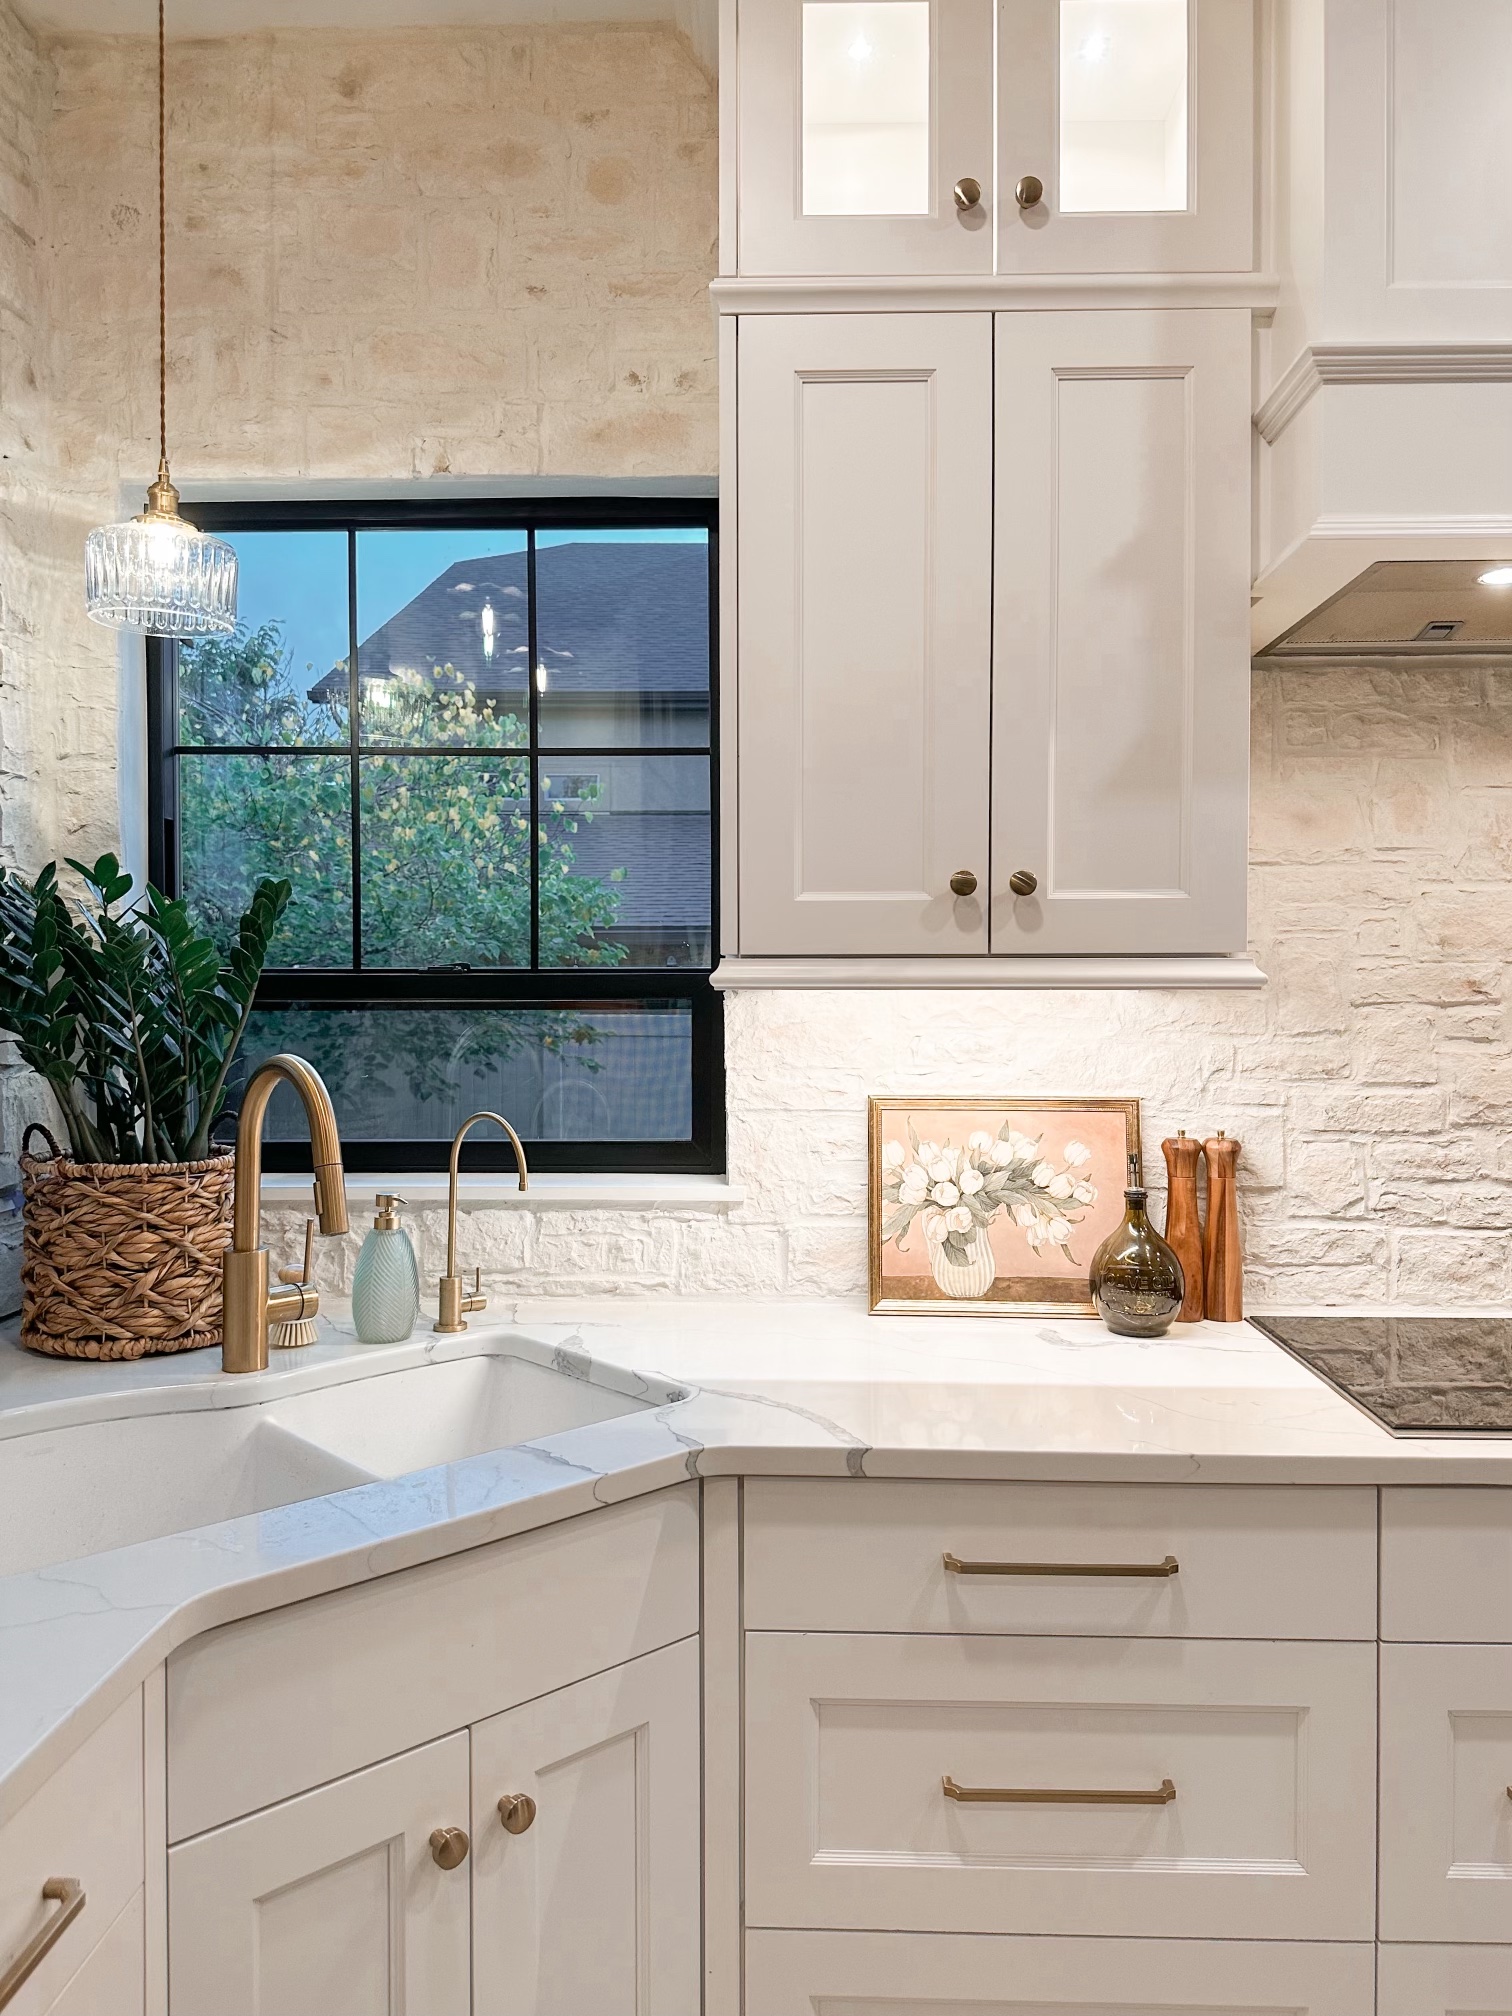
When we decided to install a new backsplash in our kitchen, we knew we wanted something that was going to add a bit of rustic charm without being too “farmhouse-y.” After a little research (and some convincing myself I could totally handle this), we landed on LiteStone Artik Faux Stone Veneer from Lowe’s. It was the perfect choice for adding texture and character to our space—but as with all DIY projects, it quickly turned into a labor of love.
Getting Everything Prepped
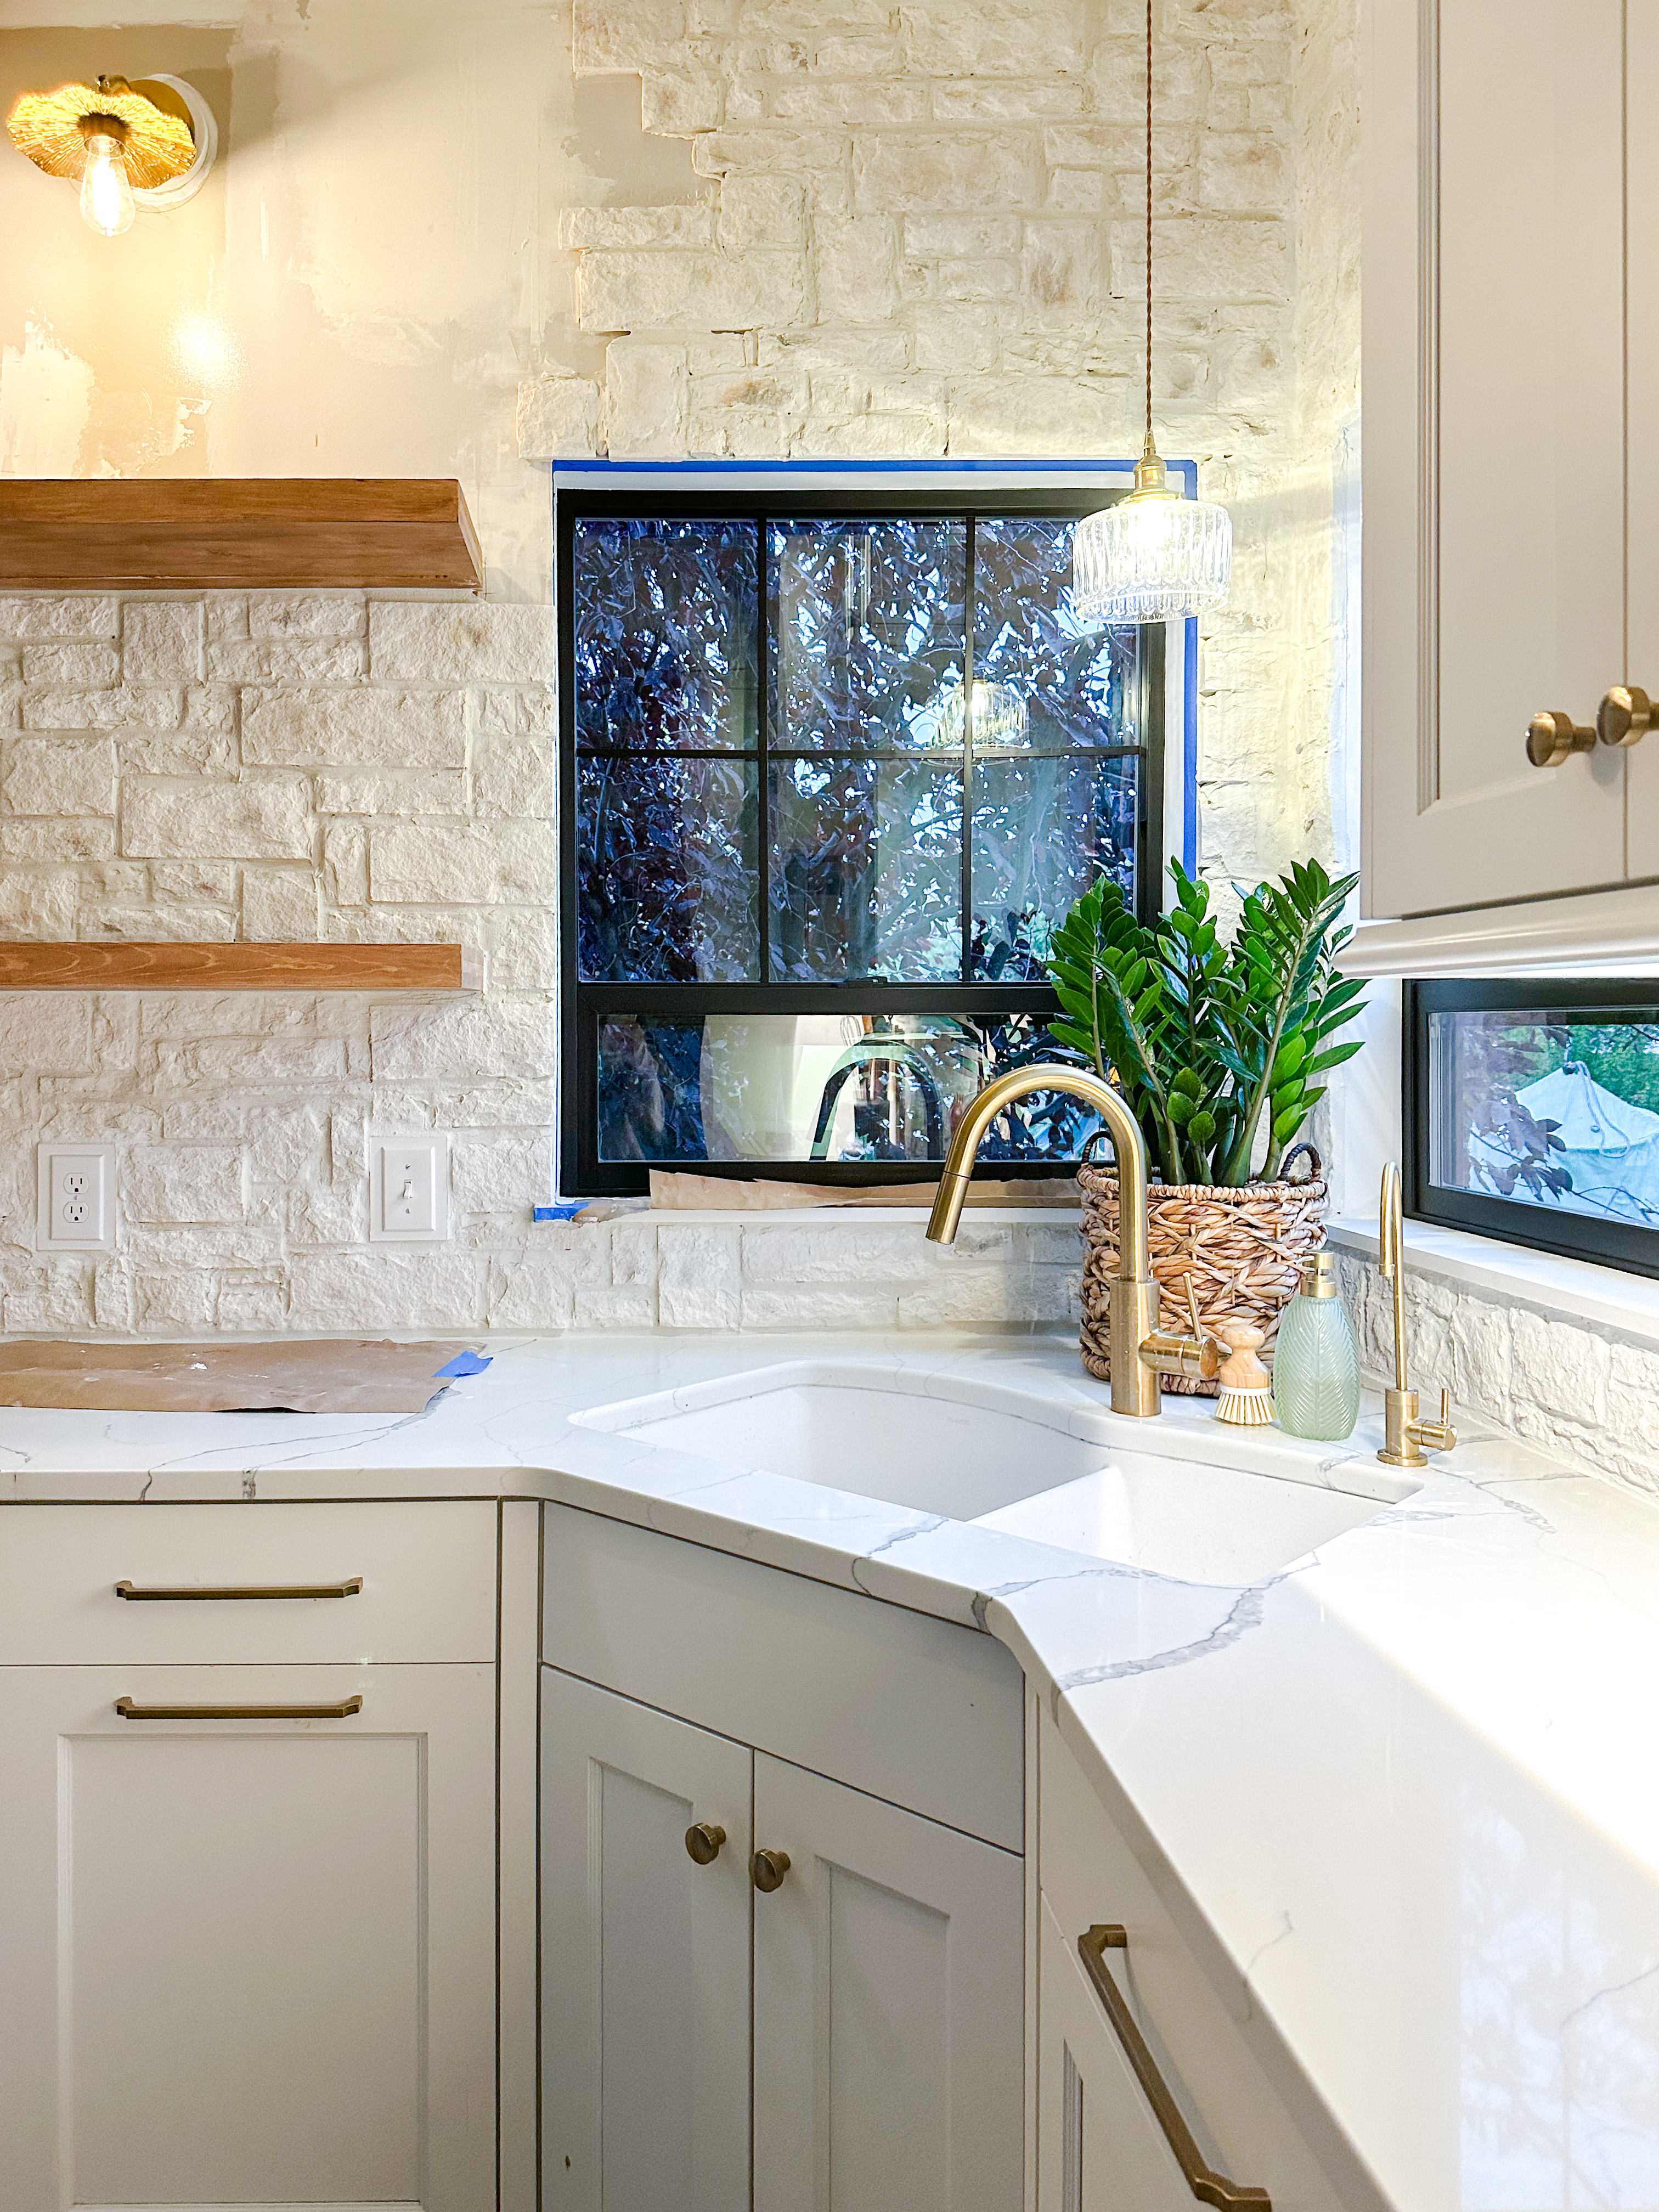
We started with the plan to space the stones 1/2 inch apart, which seemed easy enough at the time. The product was great to work with—lightweight and easy to cut—but laying the stones felt like playing an intense game of Tetris. You think it’s going to be fun until you’re squatting on the counter for what feels like the 30th hour, adjusting tiny pieces of stone by millimeters.
We used a premium light-weight tile adhesive allowing an easy installation. No dealing with mixing mortar or messy cement. Simply apply a fair amount of adhesive to the back of the veneer and place it on the wall.
Mortar Magic (and a German Smear)
Now, here’s where the magic happened: over-grouting and the German smear technique. We decided to use pure white mortar instead of traditional grout, since mortar is better for those wider spaces between stones. Plus, we added a little white paint into the mix to give it that slightly lighter worn, timeless look. The mortar filled the spaces beautifully, and using the German smear gave the whole backsplash a textured, aged appearance that made it look like it had been there for a hundred years. (Who knew a little white smear could make your kitchen feel like it was plucked from an old-world British café?)
Of course, applying the mortar was like frosting a cake. A cake made out of stone, that is, where each ‘slice’ weighs a few pounds, and the ‘frosting’ never quite does what you want it to. If you’ve seen the mortar bags you know what I’m talking about. But once we got into a rhythm, it was kind of satisfying.
Sealing It Up
After a few rounds of meticulous grouting, we sealed the backsplash to protect it from stains and moisture. This step was quick and painless, like putting the final bow on a very long but rewarding gift to ourselves. Once the sealer dried, the kitchen instantly looked brighter and cozier.
Final Thoughts
If you’re thinking about tackling a stone veneer backsplash yourself, know this: it’s a process. A tedious, but ultimately satisfying process. The end result was more than worth it. The LiteStone Artik Faux Stone Veneer added that touch of texture and charm we were hoping for, and now, every time I walk into the kitchen, I get to admire not only the beautiful stone but also the hours of work that went into it.


Leave a comment