
Have you ever looked up at your ceiling and thought it needed a little something extra? Coffered ceilings can add elegance and depth to any room, transforming an ordinary space into a stunning focal point. If you’re ready to take on a DIY project that will elevate your home’s interior, creating a coffered ceiling using 4×8 MDF sheets might be just what you need. In this guide, I’ll walk you through the process step by step, including a clever use of leftover particle board for added support.
What You’ll Need:
- 4×8 MDF sheets (3/4 inch thick)
- 2-inch drop grid
- Masonite or similar material for flattening the ceiling
- Particle board or other sturdy material for securing the coffered ceiling (2x4s)
- Measuring tape
- Saw
- Square
- Chalk line
- Nails or screws
- Wood glue
- Paint or stain
Plan Your Design
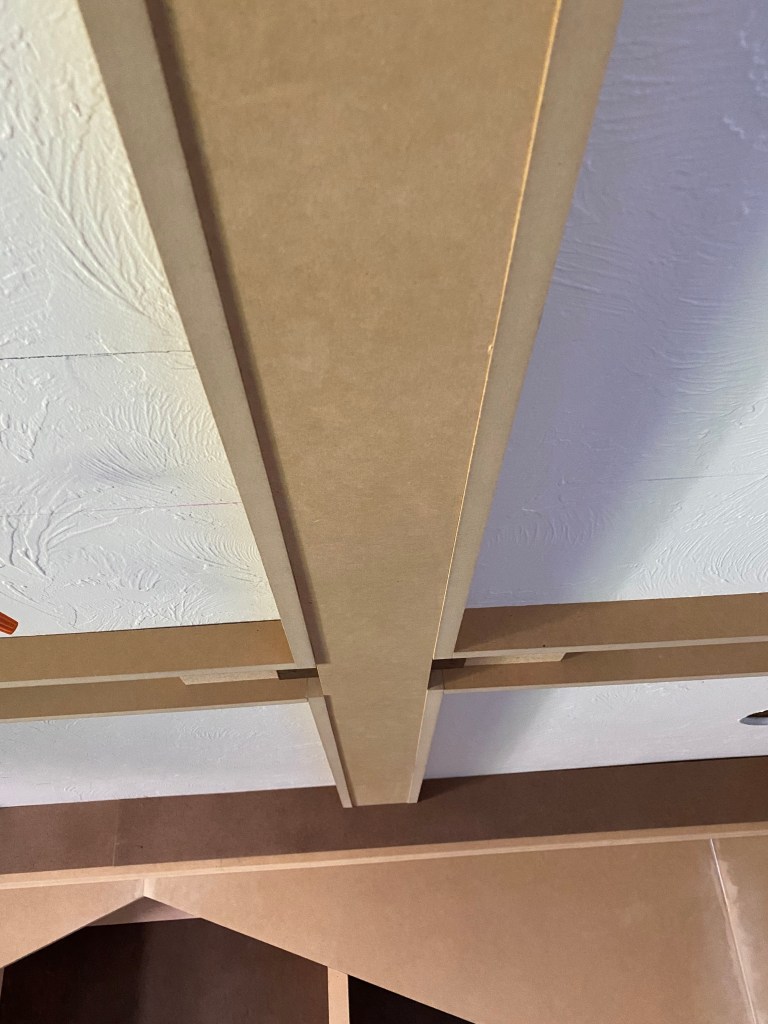
Before diving into the project, it’s essential to plan out your coffered ceiling design. Decide on the size and spacing of your coffers based on the dimensions of your room and personal preference. A standard coffer size is typically around 3 feet by 3 feet, but you can adjust this to suit your space. The space we were working with was roughly 180 inches by 111 inches. The grids measured at 6 inches wide with a 2 inch drop. The inner part of the grid measured at 32 inches. The outer squares did not measure to a perfect square but it worked for the space we were dealing with.
Install the Drop Grid
Start by installing the 2-inch drop grid onto your ceiling. This will create the recessed areas where the coffered panels will sit. Use a measuring tape to ensure that the grid is installed evenly and at the correct height. Make these measurements are perfectly square by using a square.
Measure and cut the 4×8 MDF sheets to fit the dimensions of your coffers. Be sure to account for any additional space needed for the drop. Once cut, attach the MDF sheets to the drop grid using construction adhesive and nails or screws. This video explains how I cut the “drop” pieces of the coffers.

Create a Flat Surface with Masonite
To ensure that your coffered ceiling looks seamless, use Masonite or a similar material to flatten the surface. Cut the Masonite into strips that fit between the MDF panels and attach them with construction adhesive. This step will hide any gaps between the panels and create a smooth, flat ceiling.
Secure the Coffered Ceiling
Now, here’s where your leftover particle board comes in handy. Cut the particle board into strips that match the width of the MDF panels. Secure these strips perpendicular to the panels, using construction adhesive and nails or screws, to add extra support and stability to your coffered ceiling.
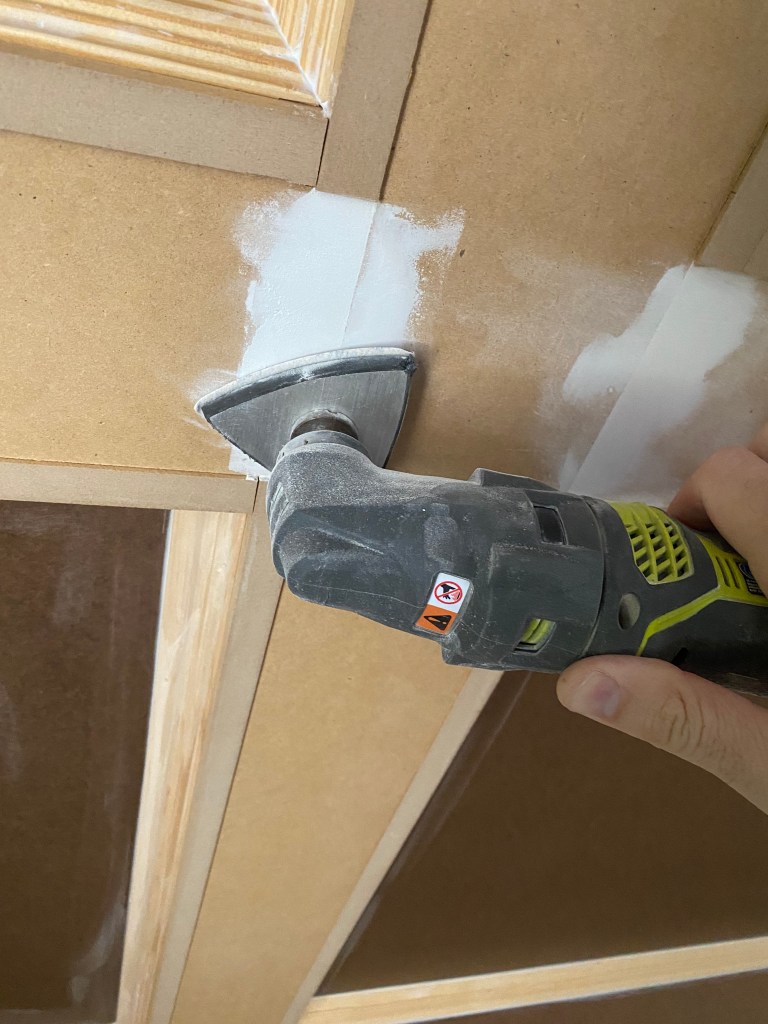
Finish and Paint
Once everything is securely in place, you can choose to paint or stain your coffered ceiling to match your room’s decor. A fresh coat of paint can really make the details pop and give your space a polished look.
With the final touches complete, step back and admire your handiwork! Your DIY coffered ceiling has transformed your room into a stylish and sophisticated space that’s sure to impress.
Creating a coffered ceiling using 4×8 MDF sheets is a rewarding DIY project that can add architectural interest and elegance to any room. By following these steps and utilizing leftover materials like particle board for added support, you can achieve a professional-looking result without breaking the bank. So why wait? Get started on transforming your space today!

Leave a comment