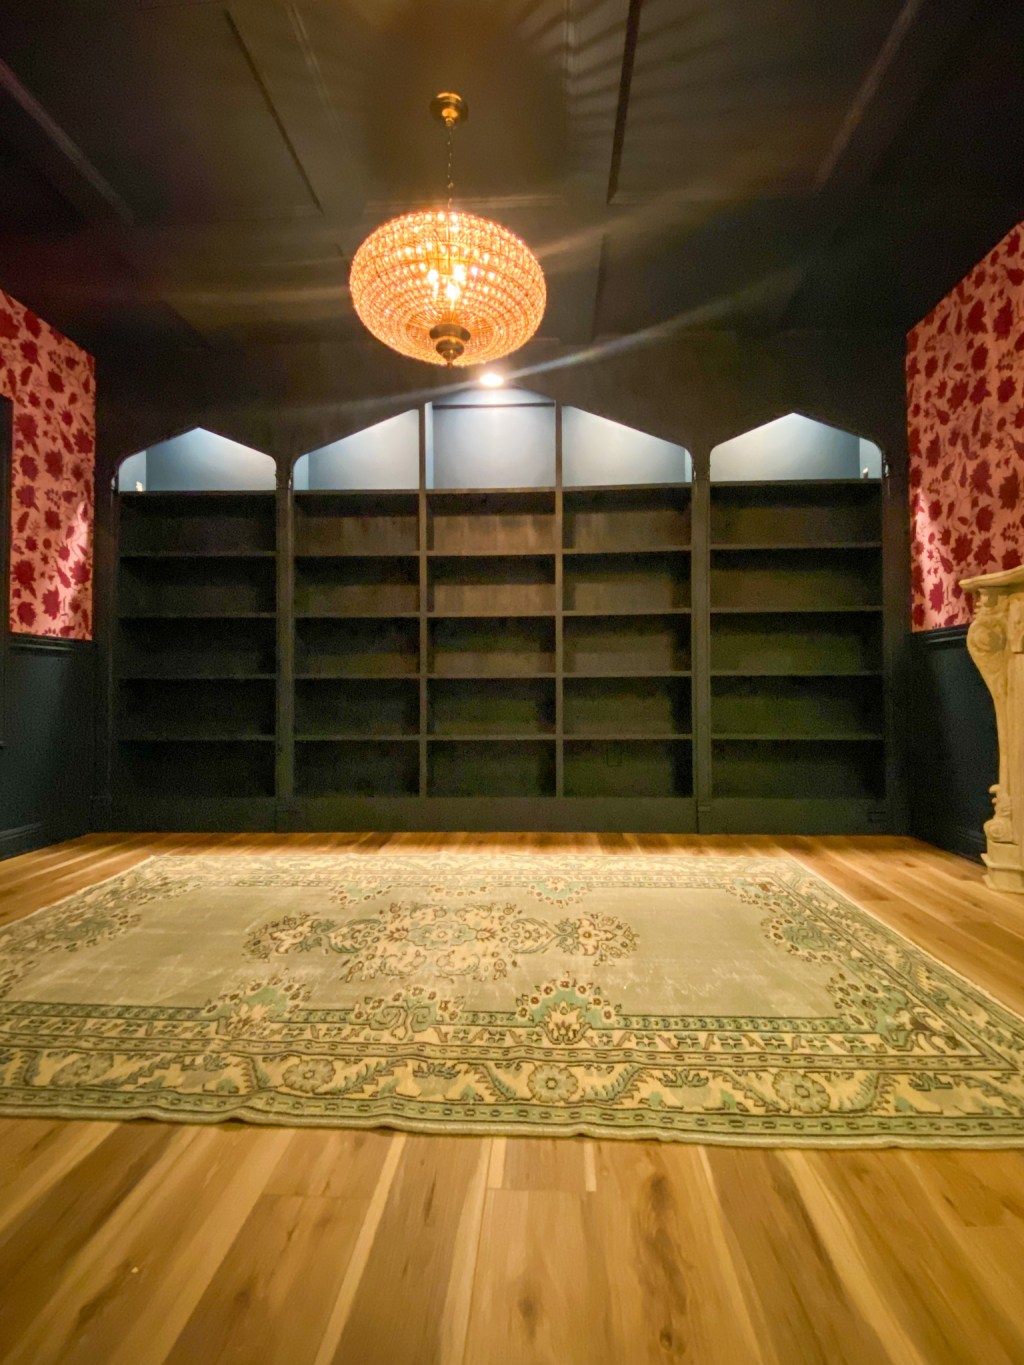
When you walk through the front door of our home, the first thing that captures your attention is the elegant library that graces the front room. This inviting space, filled with carefully curated books purchased and collected from various locations, sets the tone for the rest of the house. The custom-built shelves, seamlessly integrated into the walls, create a focal point that draws you in and invites you to explore. The deep, painted finish of the maple plywood, accented with intricate corbel appliques, adds a touch of charm. This library is more than just a storage solution; it’s a statement piece that embodies our love for literature and craftsmanship, making every entrance into our home a memorable experience.
Creating a beautiful and functional library at home involves more than just stacking books on a store-bought shelf from IKEA. Custom built-in shelves not only add a touch of elegance to your space but also offer a personalized storage solution tailored to your needs. Here’s a step-by-step guide to building your own built-in shelves using high-quality materials and tools.
Materials You’ll Need:
- Maple Sanded Plywood: Ideal for painted surfaces due to its smooth finish.
- Masonite: Used for the backing of the shelves.
- MDF: Perfect for the shelf face and trim finishes.
- Corbel Appliques: Decorative elements to add a touch of class.
- Pocket Screws: For sturdy, hidden joints.
- Paint for Cabinets: Choose a durable paint that complements your room.
- Lots of Wood Glue: Used for extra security of joints.
- Wood filler
- Bondo filler
Tools You’ll Need:
- Paint Sprayer: For an even, professional finish.
- Table Saw: Essential for cutting plywood to size.
- Router: Useful for creating grooves and decorative edges.
- Rib Saw: Ideal for large plywood sheets.
- Orbital Sander: To smooth all surfaces before painting.
- Square: Ensures all angles are accurate.
- Finishing Nails: For securing trim and appliques.
- Drill
- Clamps
Step-by-Step Instructions:
1. Planning and Measuring
Begin by measuring the space where your built-in shelves will be installed. Make sure to account for the height, width, and depth. In our case, the dimensions were 15 feet wide, 9 feet high, and 11 inches deep. Create a detailed plan to the nearest sixteenth of an inch, specifying the number of shelves and their spacing. Use painter’s tape or chalk lines to mark the layout on the wall, allowing you to visualize the actual design since a 1:16 scale drawing might not provide a clear sense of the layout.
We aimed for a distinctive arched look, steering away from the typical plain square built-ins commonly seen in DIY projects. To achieve this, we opted for a Pseudo Three Centered arch design with the peak in the middle. Our typical rule when designing a room is the rule of odd numbers, so we went with a large middle opening and smaller side openings.
2. Cutting the Plywood
Using a rip saw, cut the maple sanded plywood to your desired shelf dimensions. Be sure to consider the thickness of the MDF that will be added to the edges for the face of the shelving. For a quick guide on the various cuts and sections of the shelves, check out this video.
3. Building the Frame
Construct the frame of your shelves using pocket screws to join the pieces of plywood. Use wood glue as well for extra security. Ensure the frame is square by checking with a carpenter’s square. The pocket screws will keep the joints strong and hidden. You can fill the pocket holes with wood filler or all purpose bondo.
Use a template spacers for even spaces. See the video below on how I accomplished it.
4. Adding the Backing
Cut the Masonite to fit the back of your shelves and attach it using crown staples. This will provide stability and a clean backdrop for your books. Given the large size of these shelves, I recommend using 1/2-inch plywood for added support and durability.
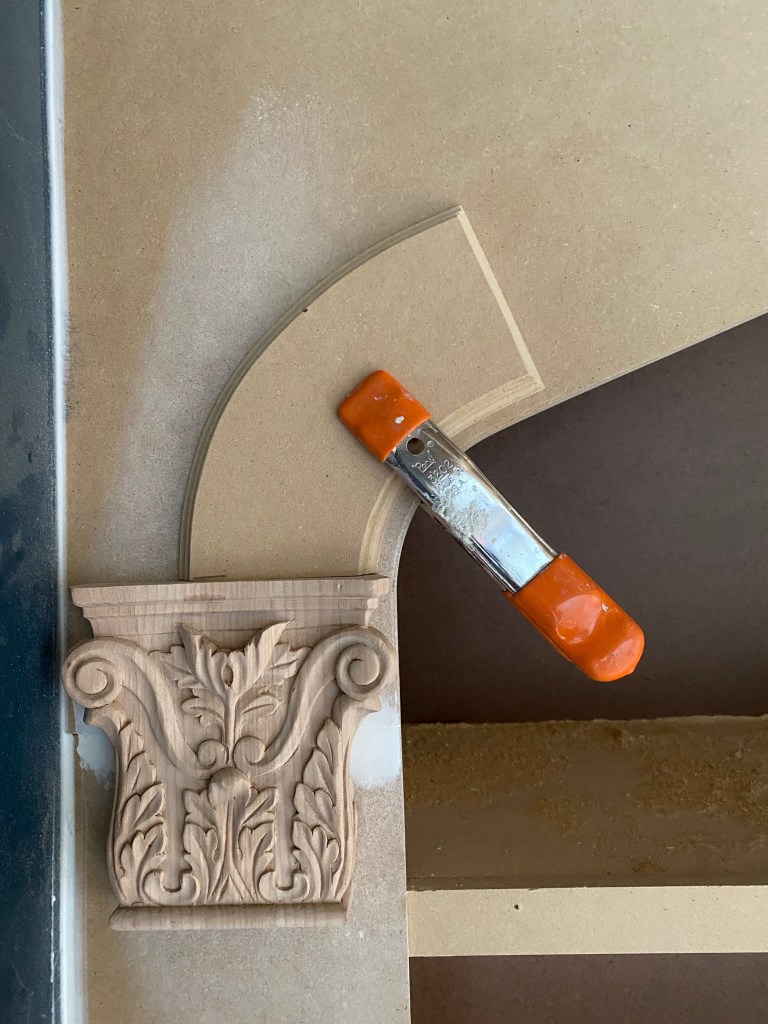
5. Creating the Shelf Faces and Trim
Cut the MDF into strips to cover the front edges of the shelves and for any additional trim. Employ the router to craft decorative edges on the trim pieces if desired, and subsequently affix the MDF strips to the front of the shelves using finishing nails to achieve a seamless aesthetic.
6. Sanding
Use the orbital sander to smooth all surfaces, paying extra attention to edges and corners where paint might accumulate.
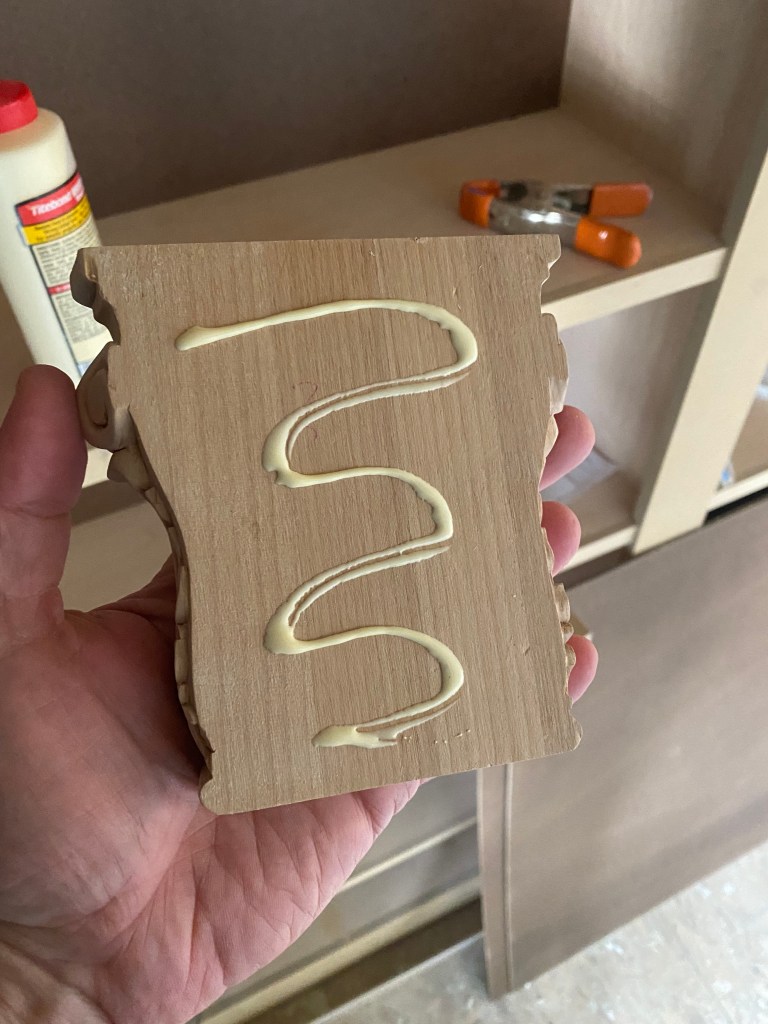
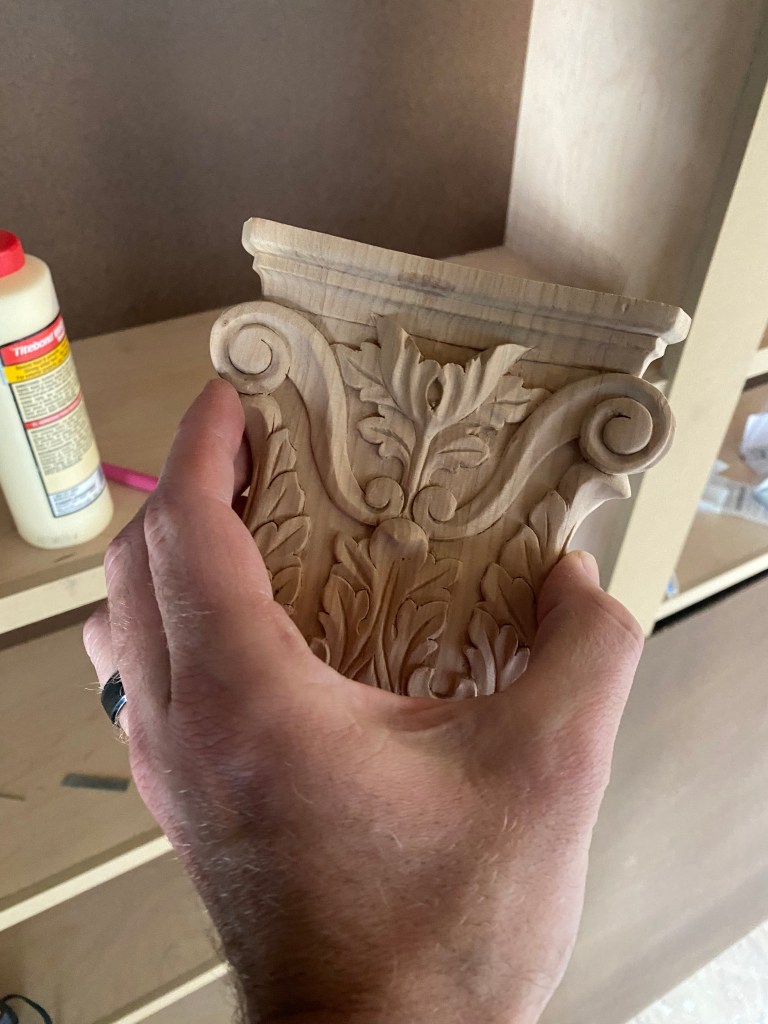
7. Applying the Corbel Appliques
Attach the corbel appliques to the desired locations on your shelves. These can be purely decorative or serve as additional support for the shelves. Use finishing nails and a bit of wood glue for added strength.
8. Painting
Fill any holes or imperfections with wood filler and sand smooth once dry. Use the paint sprayer to apply a smooth, even coat of paint to the entire structure. Multiple thin coats are better than one thick coat to avoid drips and achieve a professional finish.
9. Final Assembly and Installation
Once the paint is dry, assemble any remaining parts and install the shelves in your designated space. Secure the unit to the wall studs with screws for stability, especially if the shelves will hold heavy items.
Tips for a Professional Finish:
- Take your time with sanding: A smooth surface is crucial for a flawless paint finish.
- Use high-quality paint: This will not only look better but also stand up to wear and tear.
- Double-check measurements: Ensure everything fits perfectly in your space to avoid last-minute adjustments.
Building your own built-in shelves is a rewarding project that will enhance the look and functionality of your home library. With careful planning, precise cutting, and meticulous finishing, you can create a beautiful and durable set of shelves that reflect your personal style and craftsmanship. Enjoy your new library space!

Leave a comment