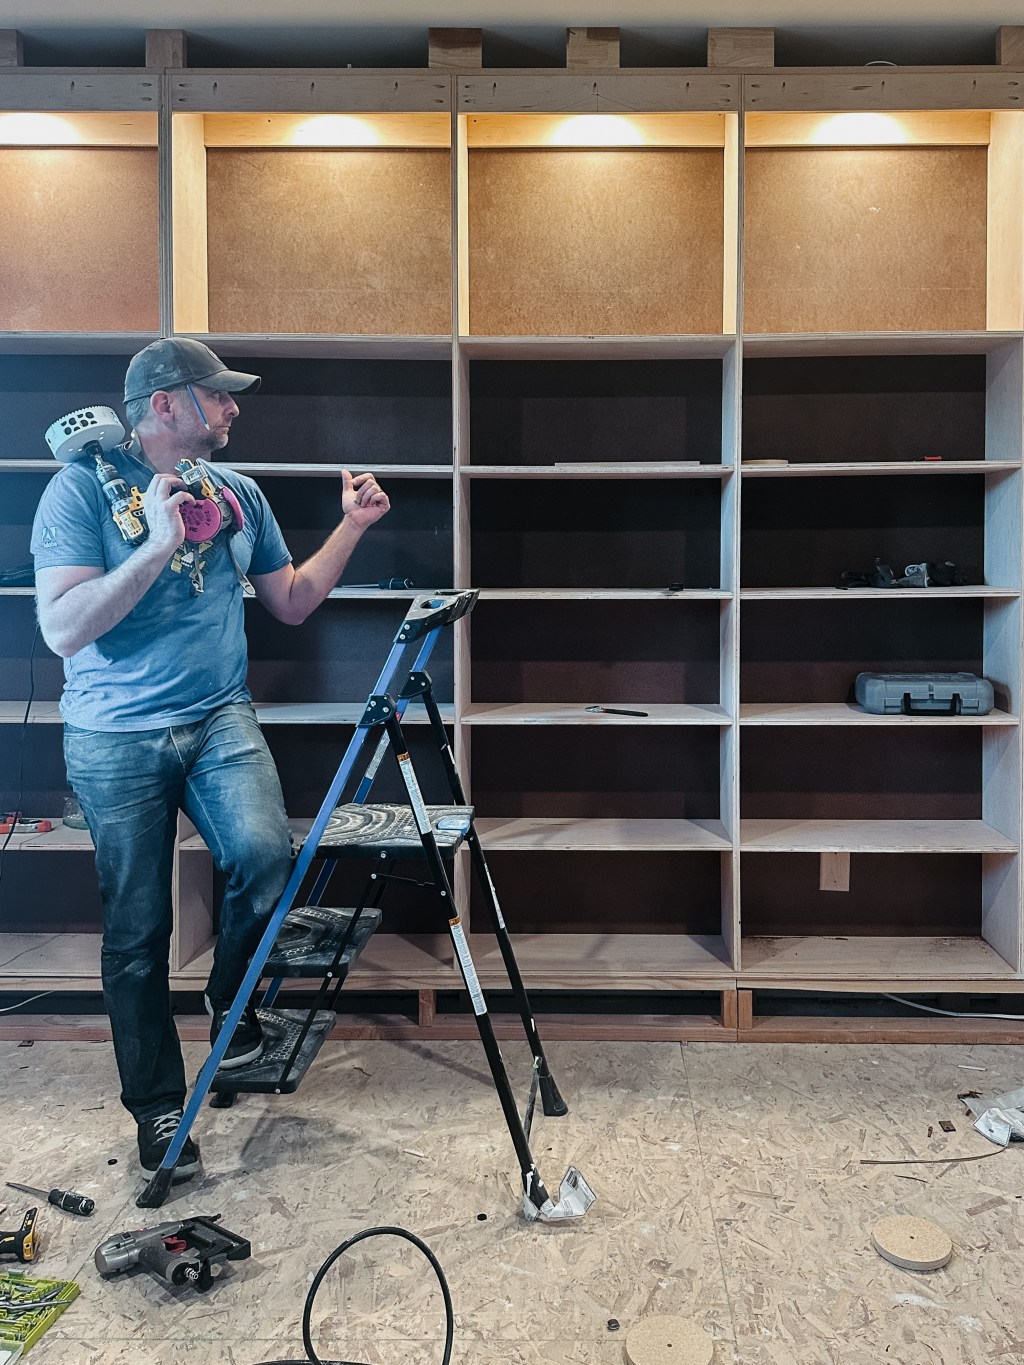
Welcome back to the latest update on our One Room Challenge journey! If you’ve been following along, you know that we’ve embarked on a mission to transform a space in just a few weeks, tackling everything from design dilemmas to DIY projects. Today, we’re excited to share our progress on one of the most significant elements of the room: the built-in shelves.
After careful planning and consideration, we decided to opt for a sleek look with maple plywood for our built-in shelves. Maple plywood offers a beautiful balance of durability and affordability, making it the perfect choice for our project. Maple plywood offers a smooth surface for paint. Oak plywood would be a better option for a wood exposed finish with stain. Oak plywood shows more wood grain and texture, making it a great durable, but aesthetically pleasing.
The assembly process was a true labor of love. With precise measurements (to the sixteenth in some cases) and meticulous attention to detail, we began piecing together each shelf, ensuring a snug fit and seamless integration into the room. As the shelves took shape, we couldn’t help but feel a sense of accomplishment and excitement for the final result.
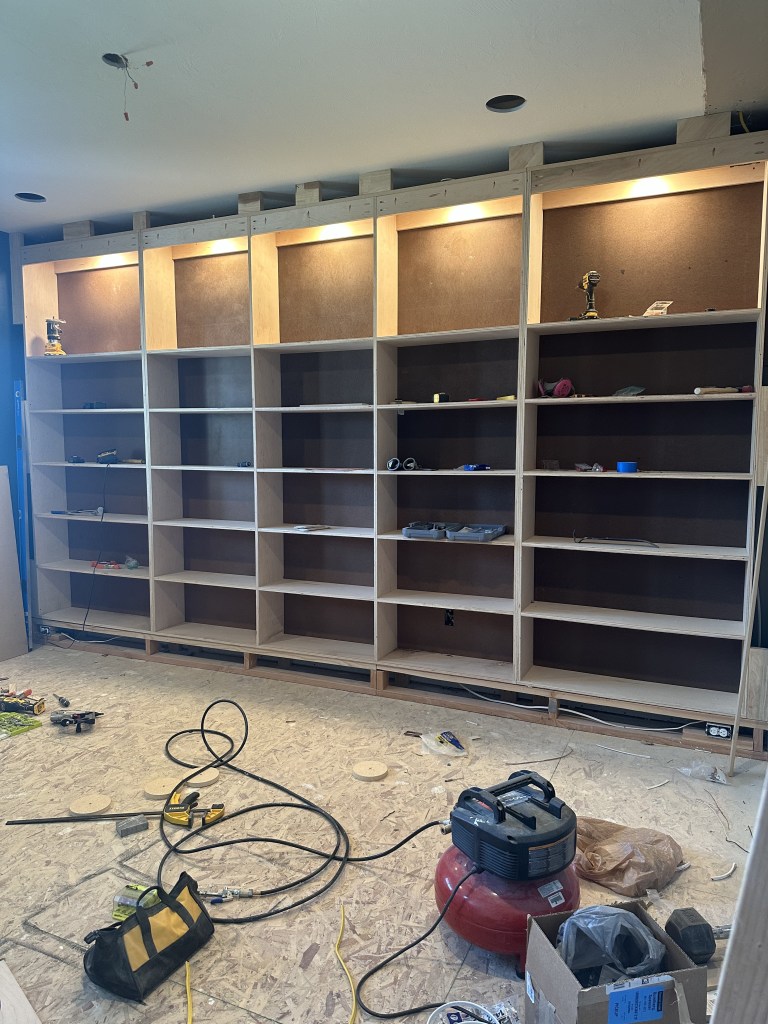
One of the fantastic aspects of working with maple plywood is its versatility. Not only does it provide a clean backdrop for our books and maybe a few decor items, but it also offers the opportunity for customization.
In addition to its visual appeal, maple plywood is also incredibly sturdy, ensuring that our built-in shelves will stand the test of time. This durability is essential, especially in a high-traffic area where the shelves will be used to display books, decorative accents, and more.

As we admire the newly assembled shelves in our space, we can’t help but feel a sense of pride in how far we’ve come. What once was just a vision on an orange piece of construction paper is now a tangible reality, thanks to hard work, determination, and a little bit of creativity.
With the built-in shelves in place, we’re one step closer to completing our One Room Challenge transformation. But we’re far from over. In the coming days, we’ll be focusing on adding a coffered ceiling, wainscoting trim, lighting, paint, new flooring, and bringing the entire room together in time for the big reveal.
We invite you to continue following along as we navigate the One Room Challenge. We’re excited to share every step with you. Stay tuned for more updates! We will plan on sharing more details on how we assembled the shelves on YouTube.

Leave a comment