There’s something undeniably enchanting about the rustic charm of an English cottage. Take a step into the past or imagine the scenery of your favorite Jane Austen books. If you find yourself yearning for the cozy ambiance of a countryside retreat, a fantastic DIY project awaits you – faux ceiling beams. In this guide, we’ll walk you through the steps to create these eye-catching features that can instantly elevate your living room into an English cottage haven embracing elements for a cottage core retreat.
Materials You’ll Need:
Before you embark on this delightful project, gather the following materials:
- Lightweight, hollow faux beams (we used common pine board to make our beams)
- Wood stain or paint (Early Amercian, our favorite!)
- Paintbrush
- Finishing nails
- Construction adhesive
- A miter saw (to cut beams to size)
- Ladder
- Level (preferably a laser level)
- Measuring tape
- Sandpaper
Step 1: Inspiration and Planning:
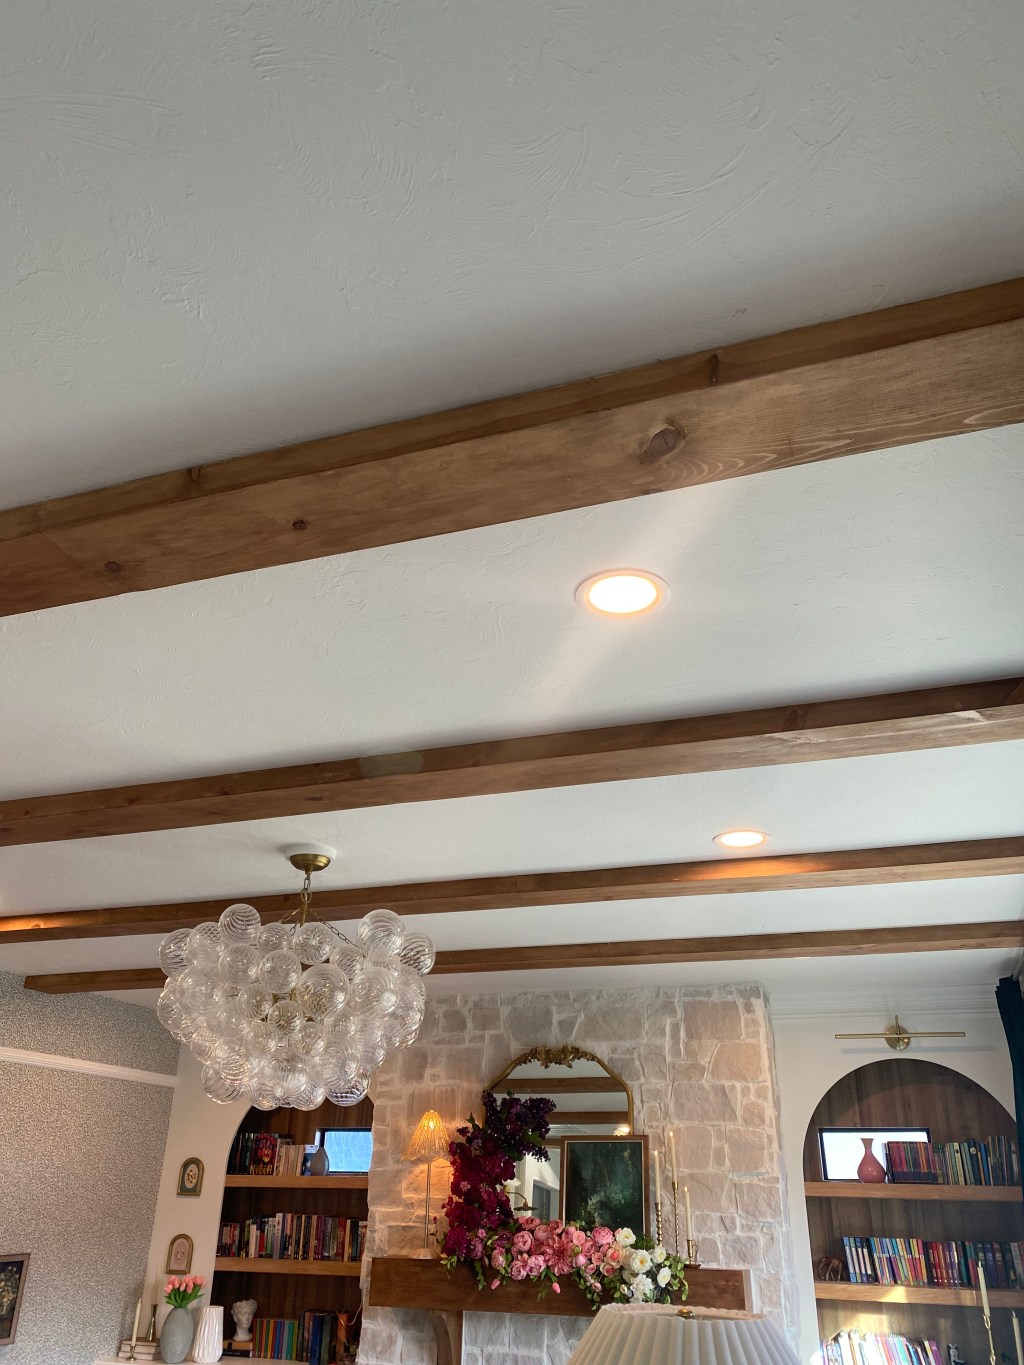
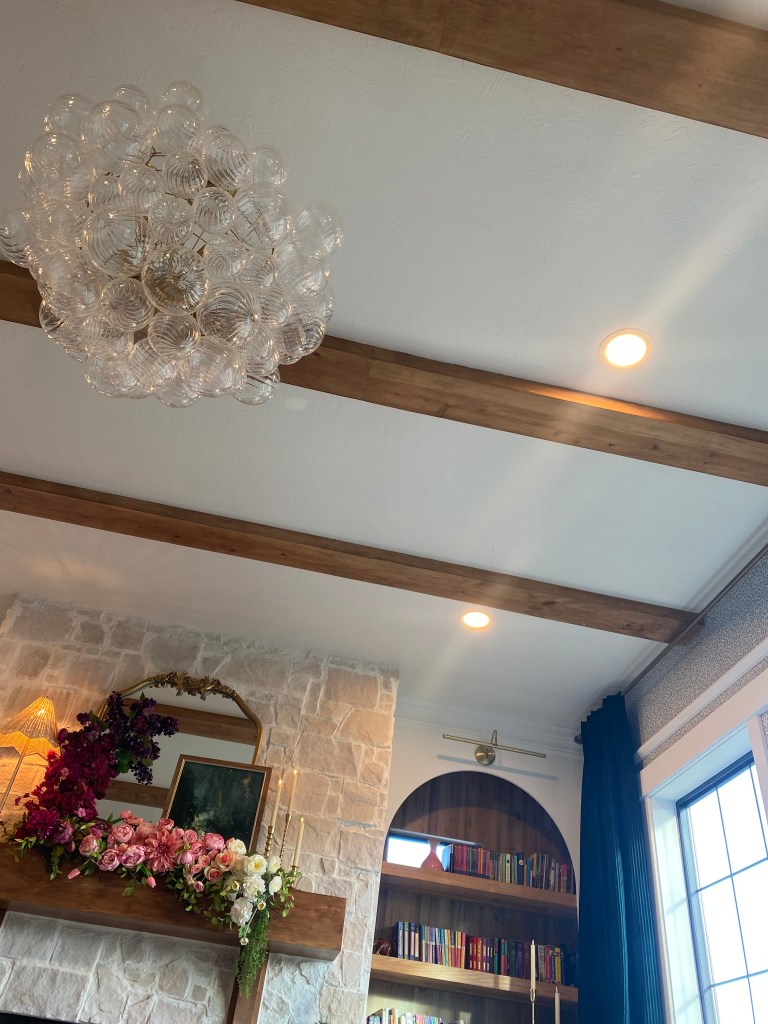
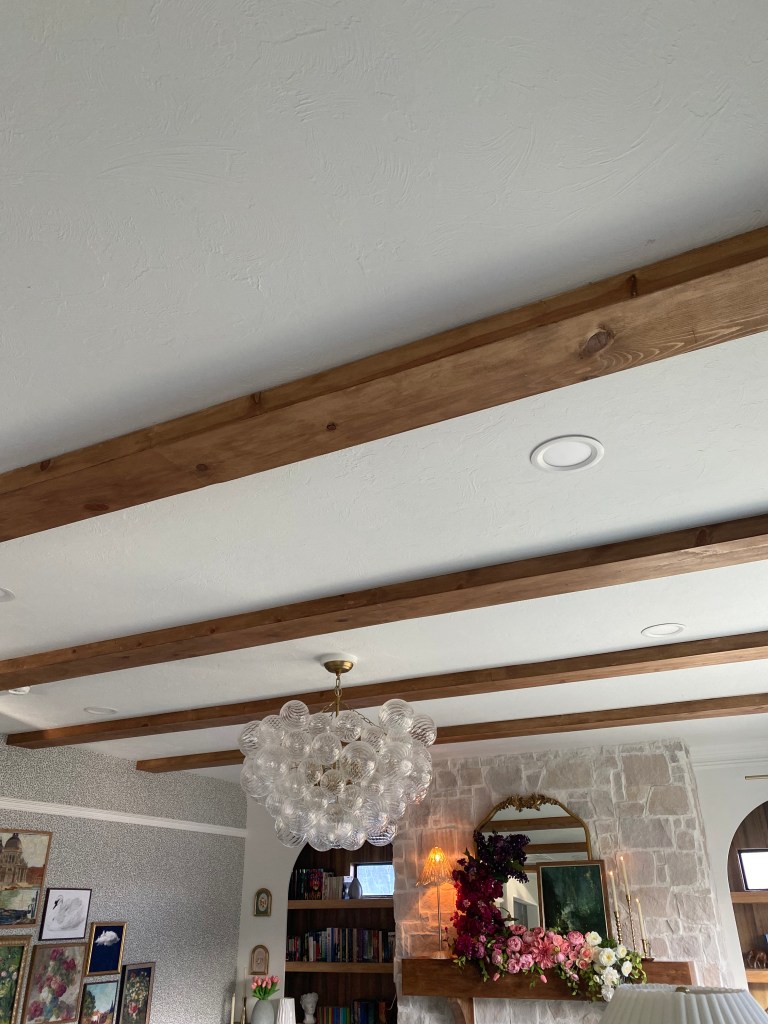
Start by gathering inspiration from English cottage interiors. Note the placement and style of the beams in these spaces and decide how you want to incorporate them into your living room. Consider the size and color of the faux beams to complement your existing decor. Our beams measured at 8″ wide with a 2″ drop. Early American stain is our favorite wood stain to bring in that old English cottage vibe.
Step 2: Selecting Faux Beams:
Choose lightweight, hollow faux beams, which are easier to handle and install. These can be found at home improvement stores or online retailers. Ensure they are suitable for ceiling installation. We made our beams from using common pine boards from Lowes measuring at 12″ x 8′.
Step 3: Preparing the Beams:
If the faux beams come in a finish that you like, you can skip this step. However, if you want a specific color or finish, use wood stain or paint to achieve the desired look. Sand the beams lightly before applying the finish for a smooth surface. As previously stated, we used an Early American stain. Read our detailed post about getting the best results for wood stain.
Step 4: Measuring and Cutting:
Measure your ceiling to determine the placement and size of the faux beams. Use a table saw to cut the beams to the appropriate length. Ensure accuracy by measuring twice and cutting once. If you want a seamless look, cut miter corners as shown in the videos below:
Step 5: Installation:
Position the beams on the ceiling according to your plan. Use a ladder to reach the ceiling and have a helper assist you in holding the beams in place. Use a level to ensure the beams are straight, and attach them securely with finishing nails.
Step 6: Securing with Adhesive:
Apply construction adhesive to the back of the beams before securing them with screws. This will provide additional stability and ensure a strong bond with the ceiling.
Step 7: Finishing Touches:
Touch up any visible screw holes with wood filler and sand the beams for a seamless finish. If desired, add additional distressing or detailing to enhance the rustic, cottage-like appearance.
Conclusion:
Congratulations! You’ve successfully transformed your living room into a cozy English cottage retreat with the addition of DIY faux ceiling beams. Enjoy the newfound character and charm these beams bring to your space, creating an ambiance that feels straight out of a storybook. So, sit back, relax, and relish in the warmth and character of your enchanting English-inspired living room.


Leave a comment