Transforming the look and feel of your home can be as simple as revamping your window casings. In this DIY guide, we’ll take you through the steps to create a Mission Style lintel window casing using MDF (Medium-Density Fiberboard) board. This classic and timeless design will add an architectural element to your space, infusing it with character and sophistication.
Materials You’ll Need:
- MDF or plywood (various widths and 3/4″ thick)
- Measuring tape
- Miter saw
- Wood glue
- Brad nailer or finishing nails
- Sandpaper
- Wood filler
- Putty knife
- Primer
- Paint (color of your choice)
- Painter’s tape
- Caulk
- Paintbrushes
Step 1: Measure and Plan:
Begin by measuring the dimensions of your window. Plan the design of your Mission Style lintel casing, taking into account the desired width and height. Sketch your design on paper to serve as a visual guide.
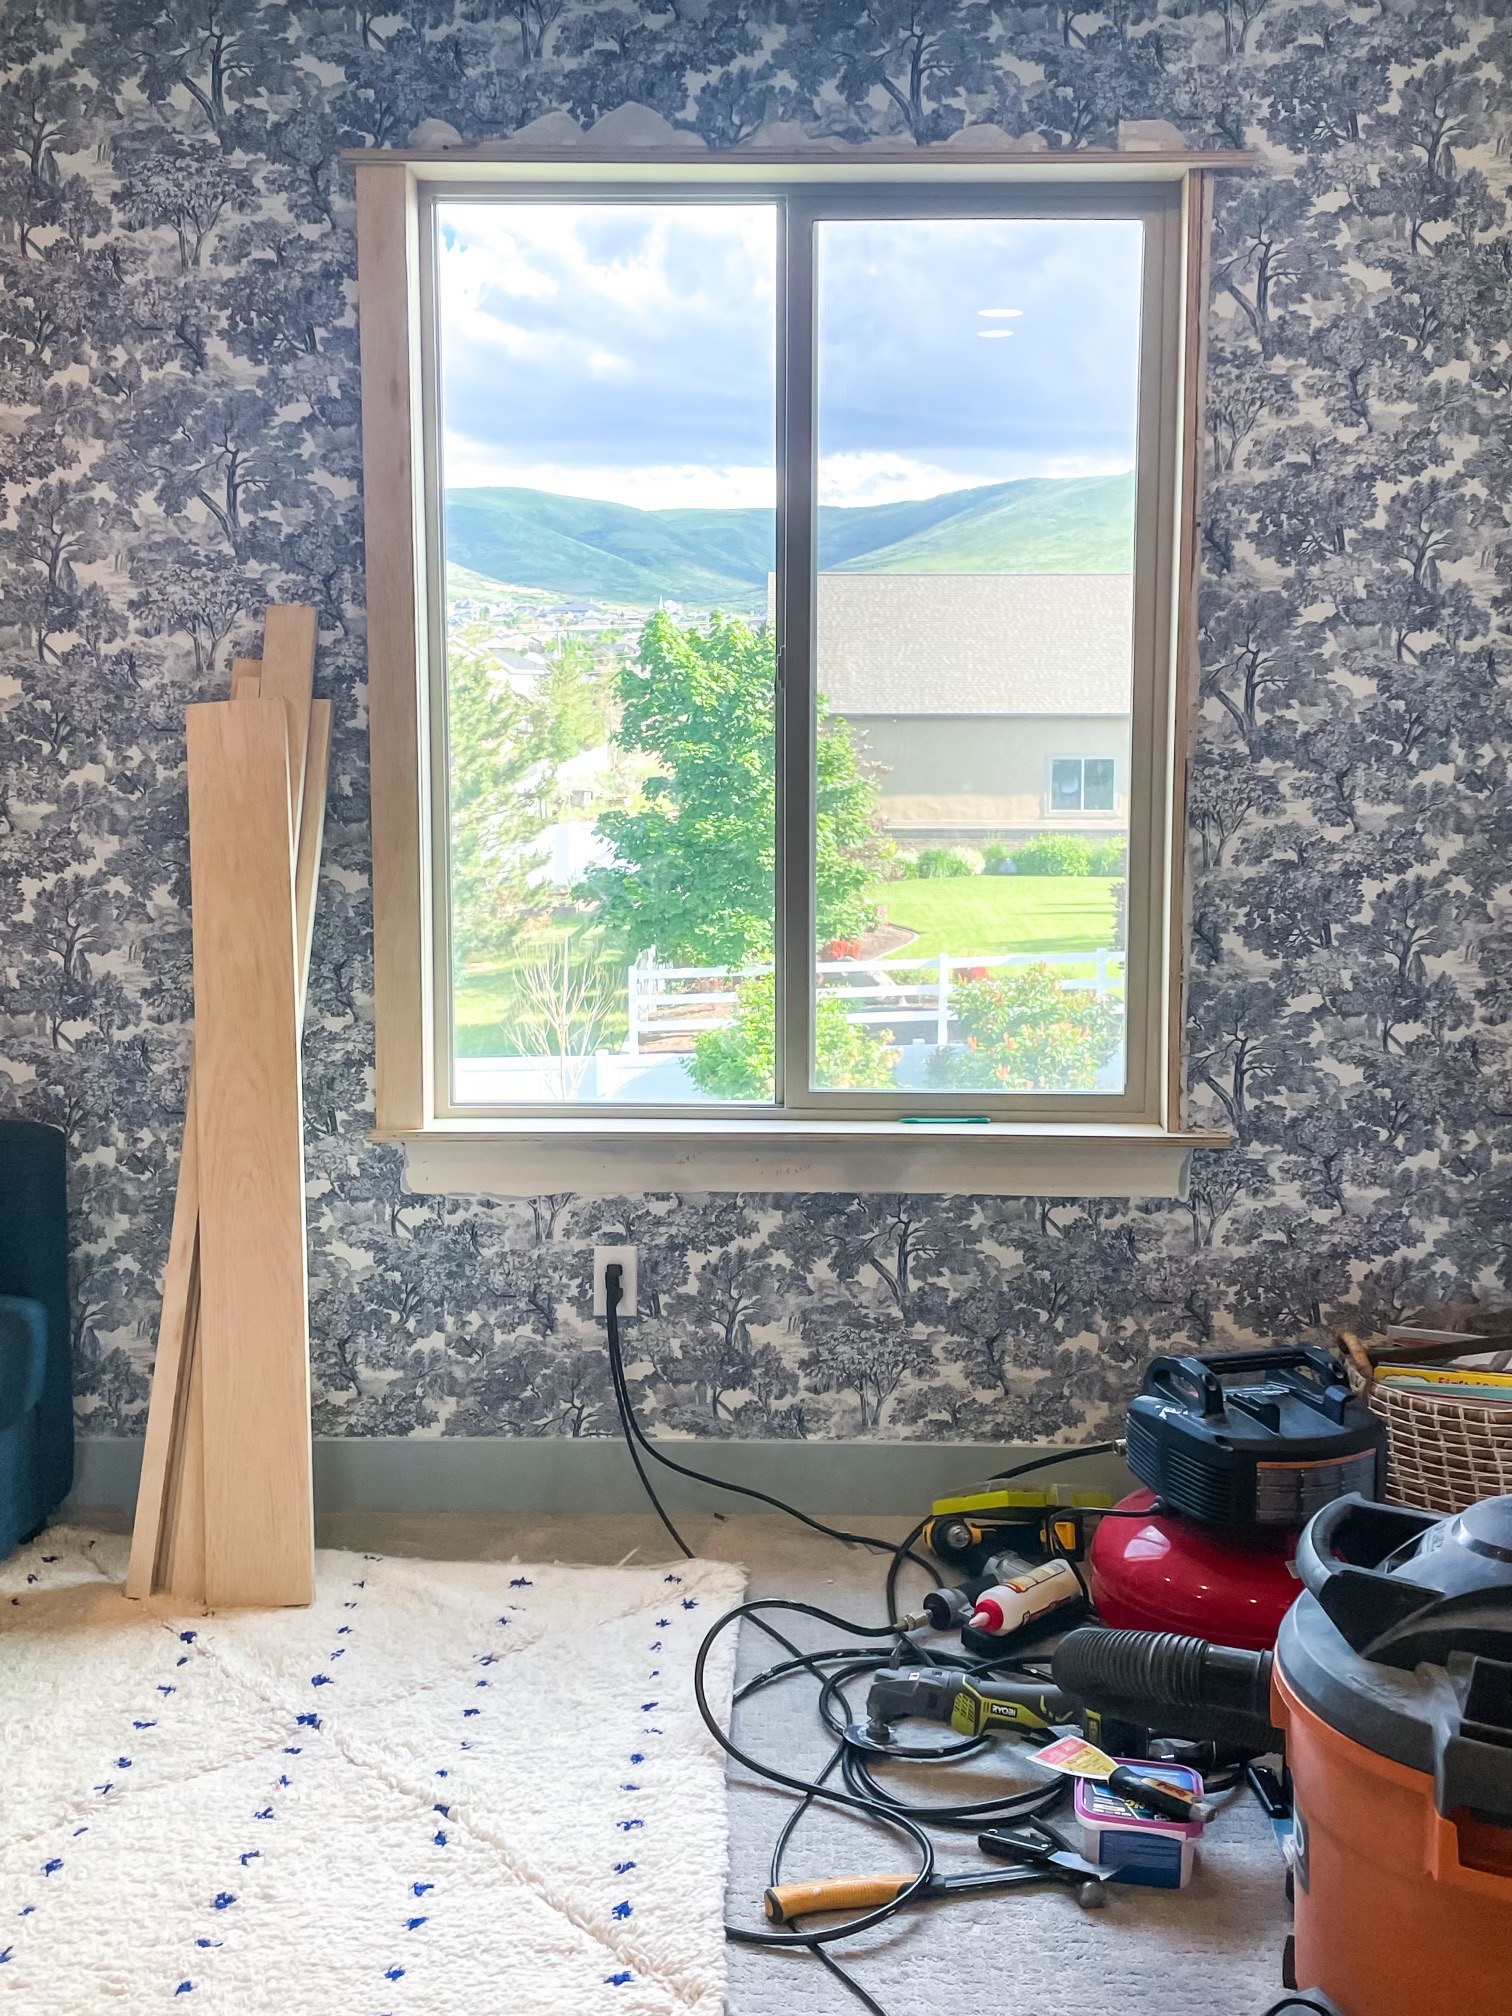
Step 2: Cut MDF Boards:
Using a miter saw, carefully cut the MDF boards according to your measurements.
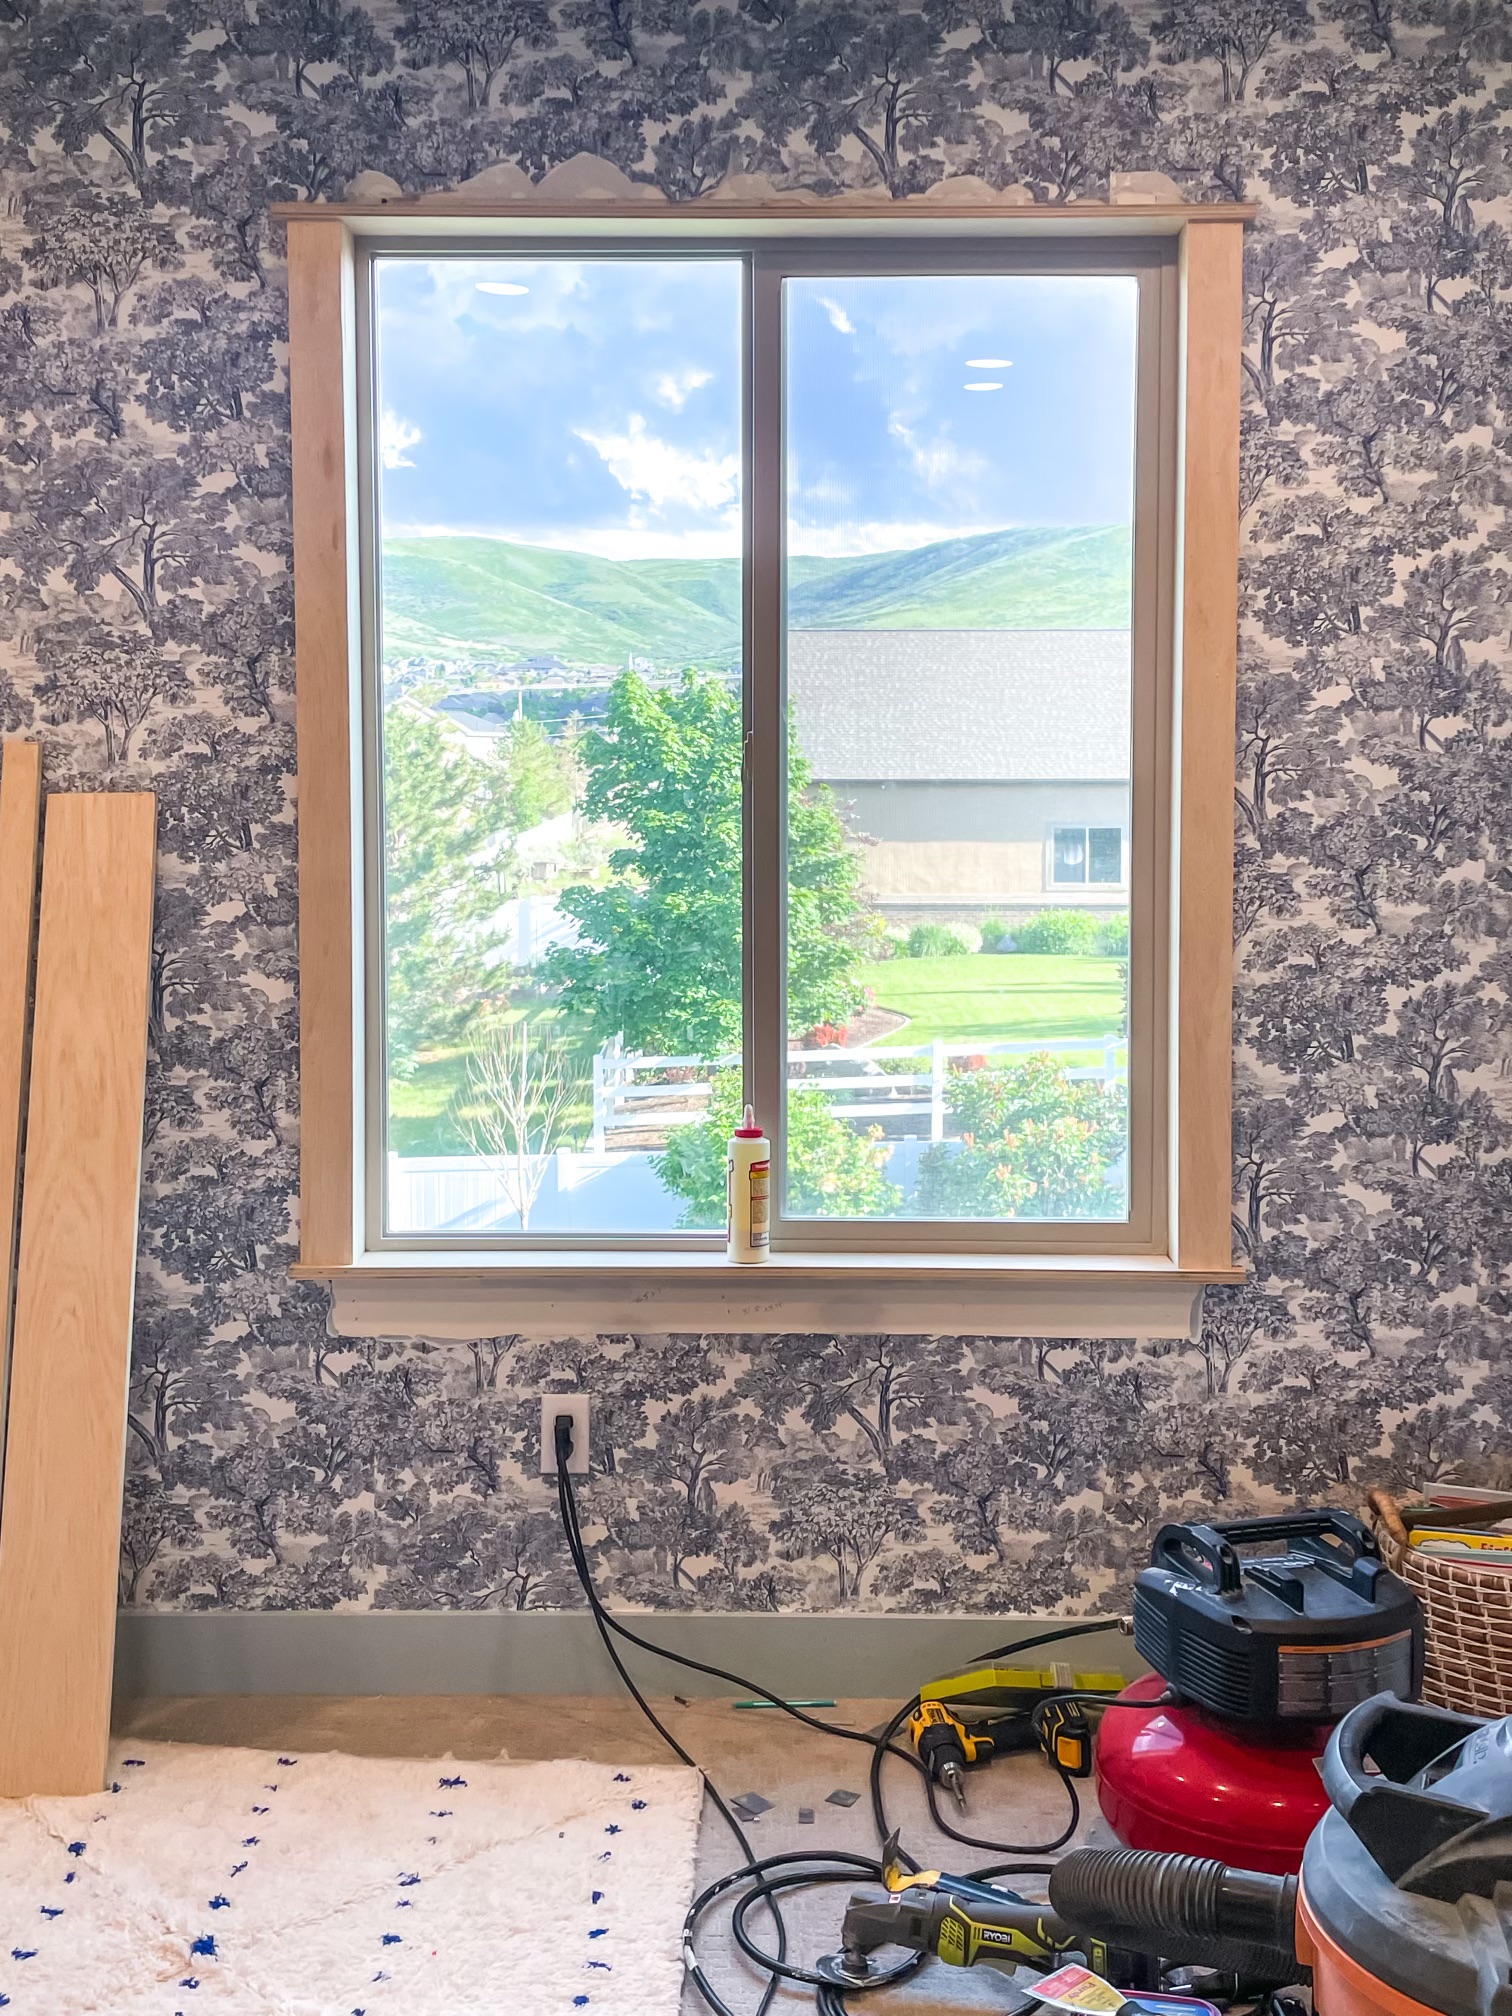
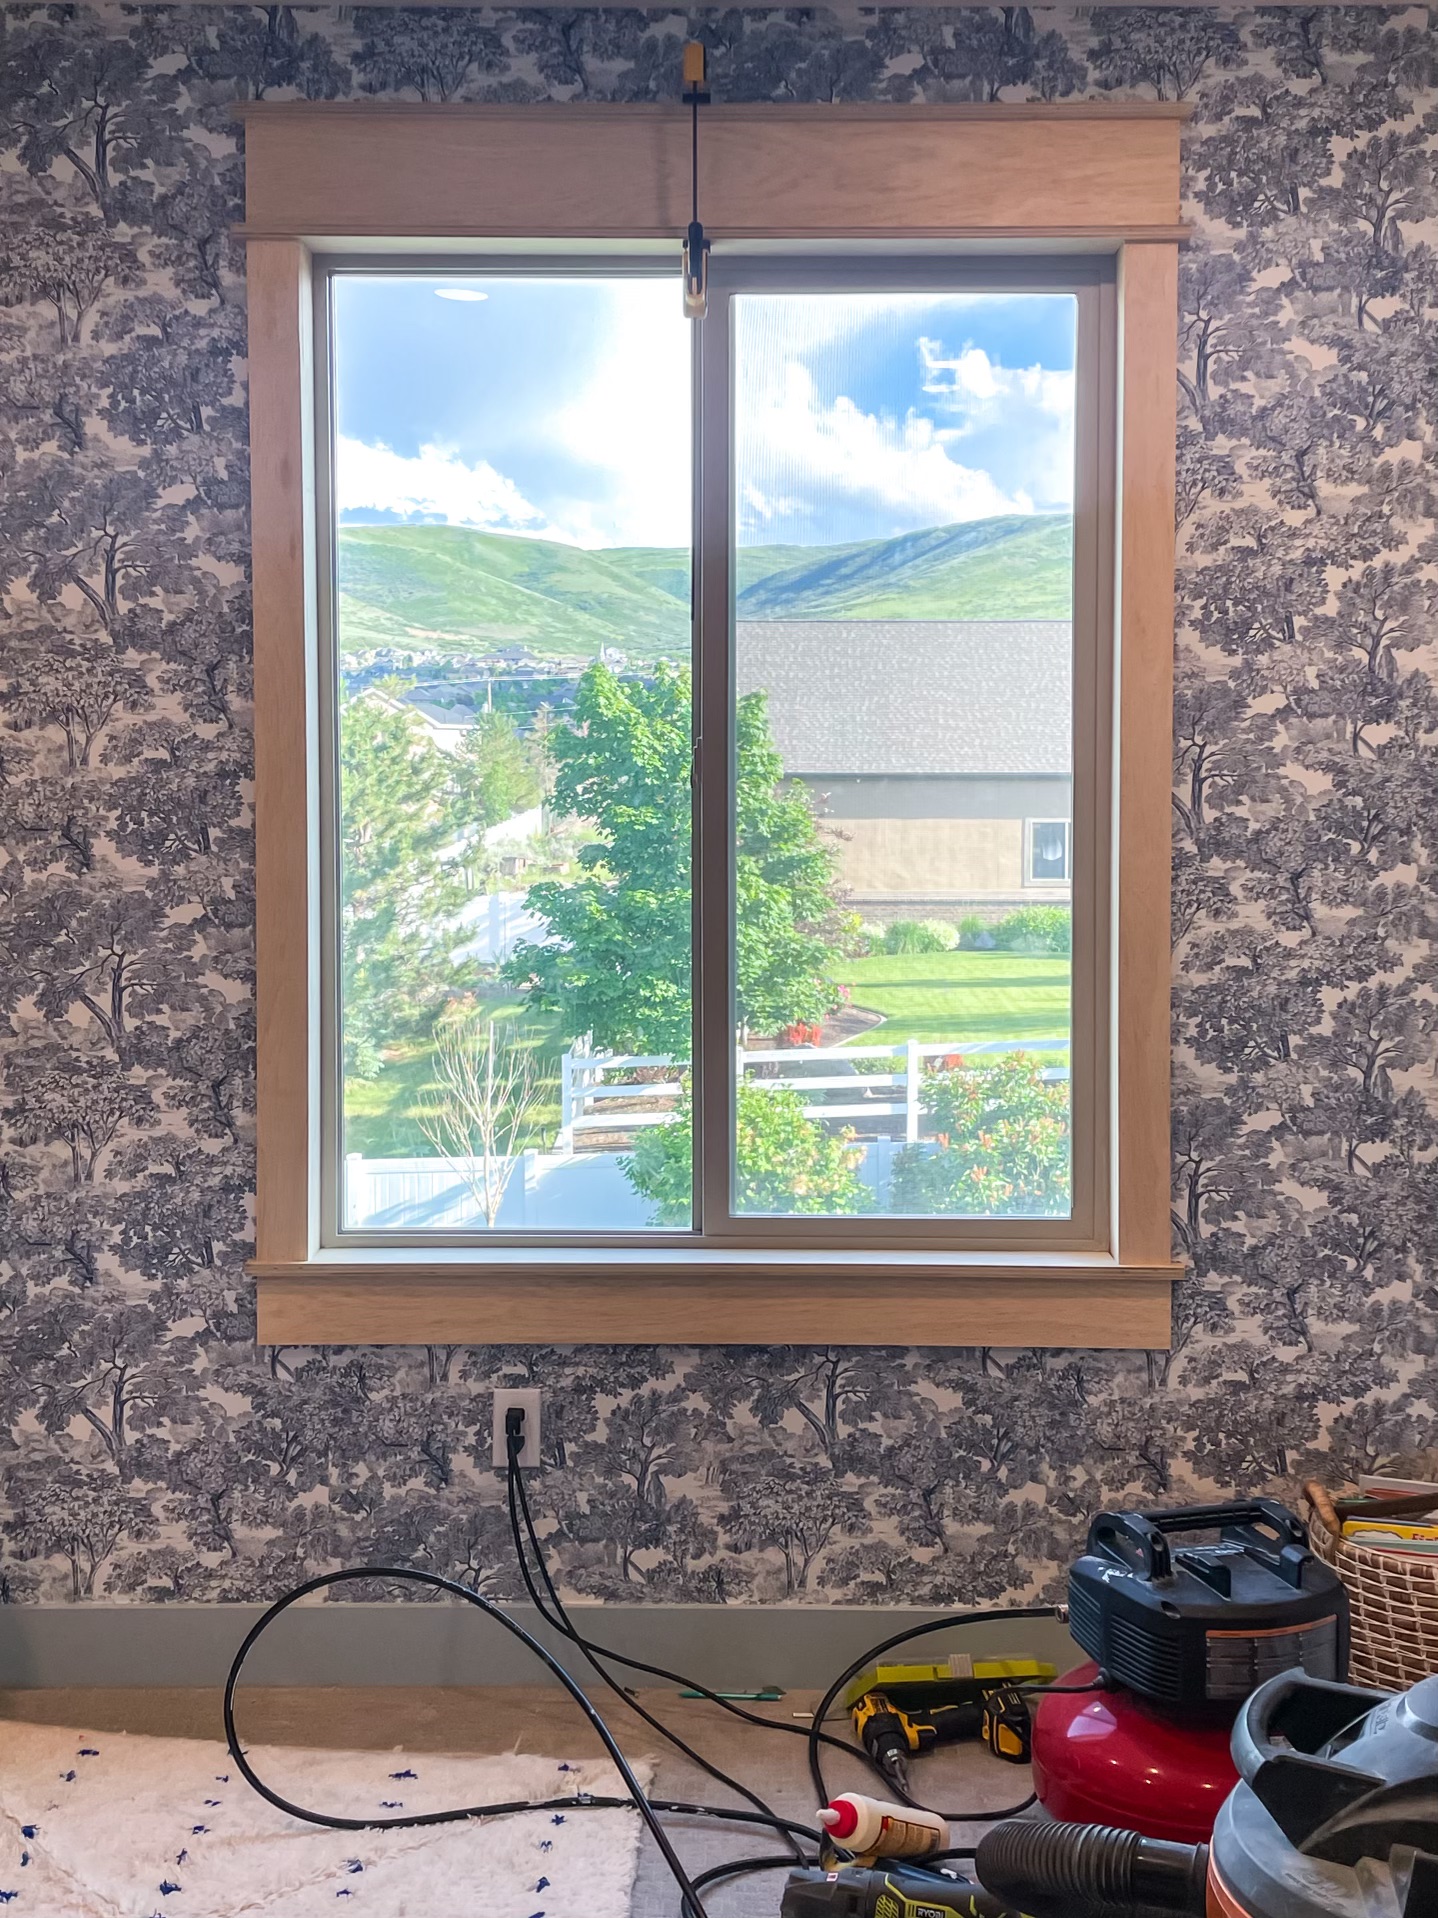
Step 3: Assemble the Casing:
Lay out the cut MDF pieces on a flat surface to visualize the casing design. Apply wood glue to the mitered edges that join and use a brad nailer or finishing nails to secure the pieces together. Work your way around the window, assembling the lintel casing.


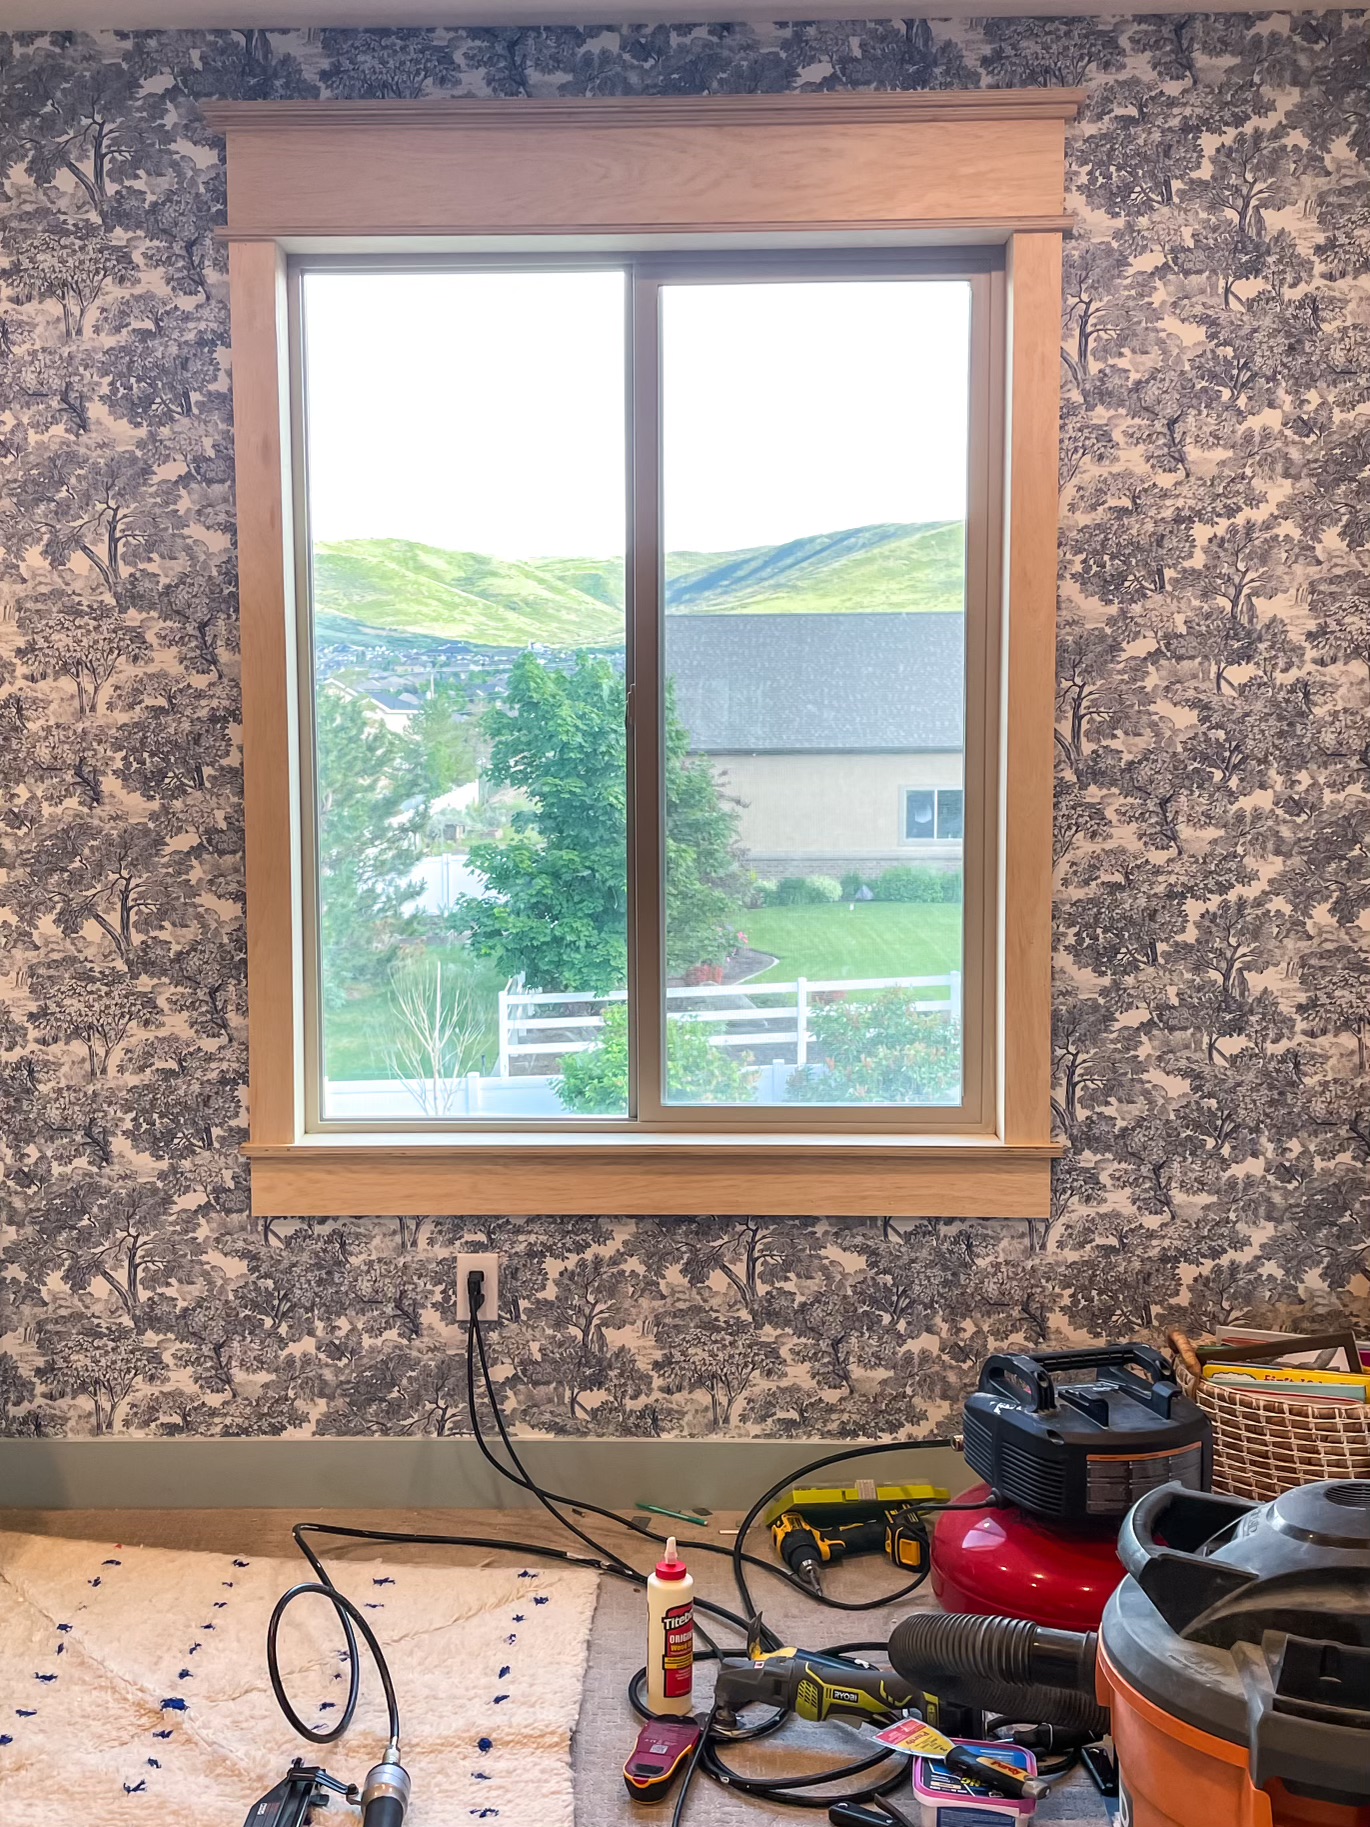
Step 4: Sanding and Filling:
Smooth any rough edges or imperfections with sandpaper. Use wood filler to fill in any gaps or nail holes. Once dry, sand the surface with 220 grit sandpaper again for a flawless finish.
Step 5: Prime the Casing:
Apply a coat of primer to the entire casing. This not only prepares the surface for paint but also enhances the MDF’s durability.

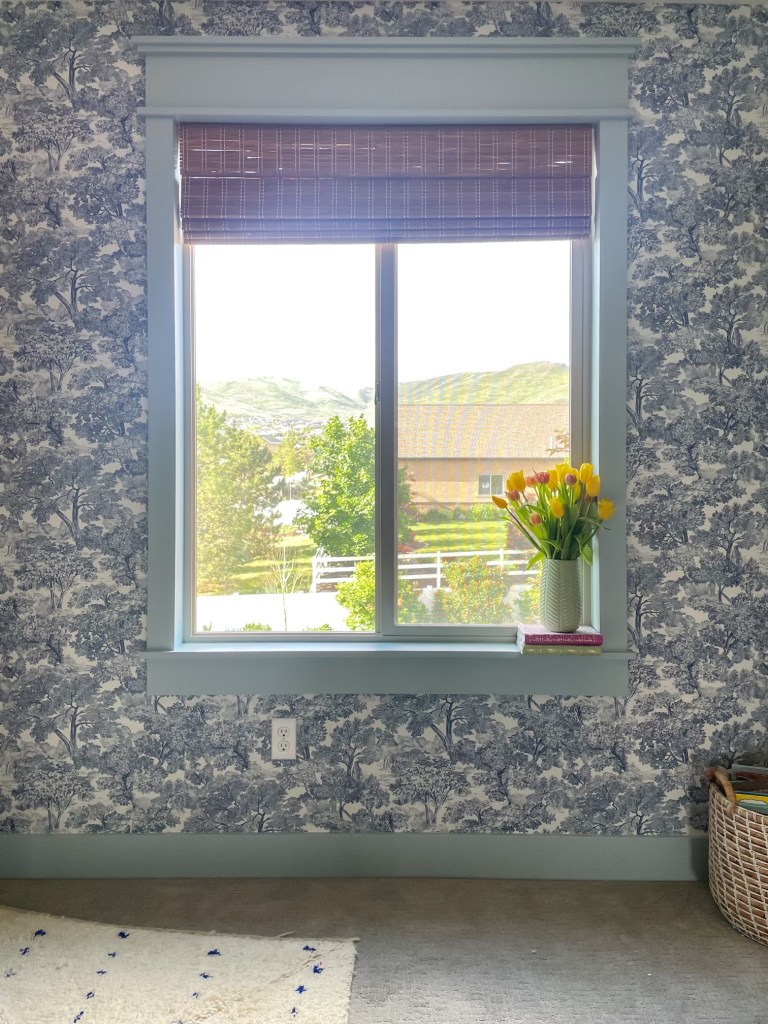
Step 6: Painting:
Choose the paint color that complements your interior. We used Silver Lake by Benjamin Moore. Apply two coats of paint, allowing each coat to dry thoroughly. Painter’s tape can help achieve clean lines and precise edges.
Step 7: Caulk for a Seamless Look:
To achieve a professional finish, run a bead of caulk along the edges of the casing where it meets the wall. This step not only conceals gaps but also provides a seamless look.
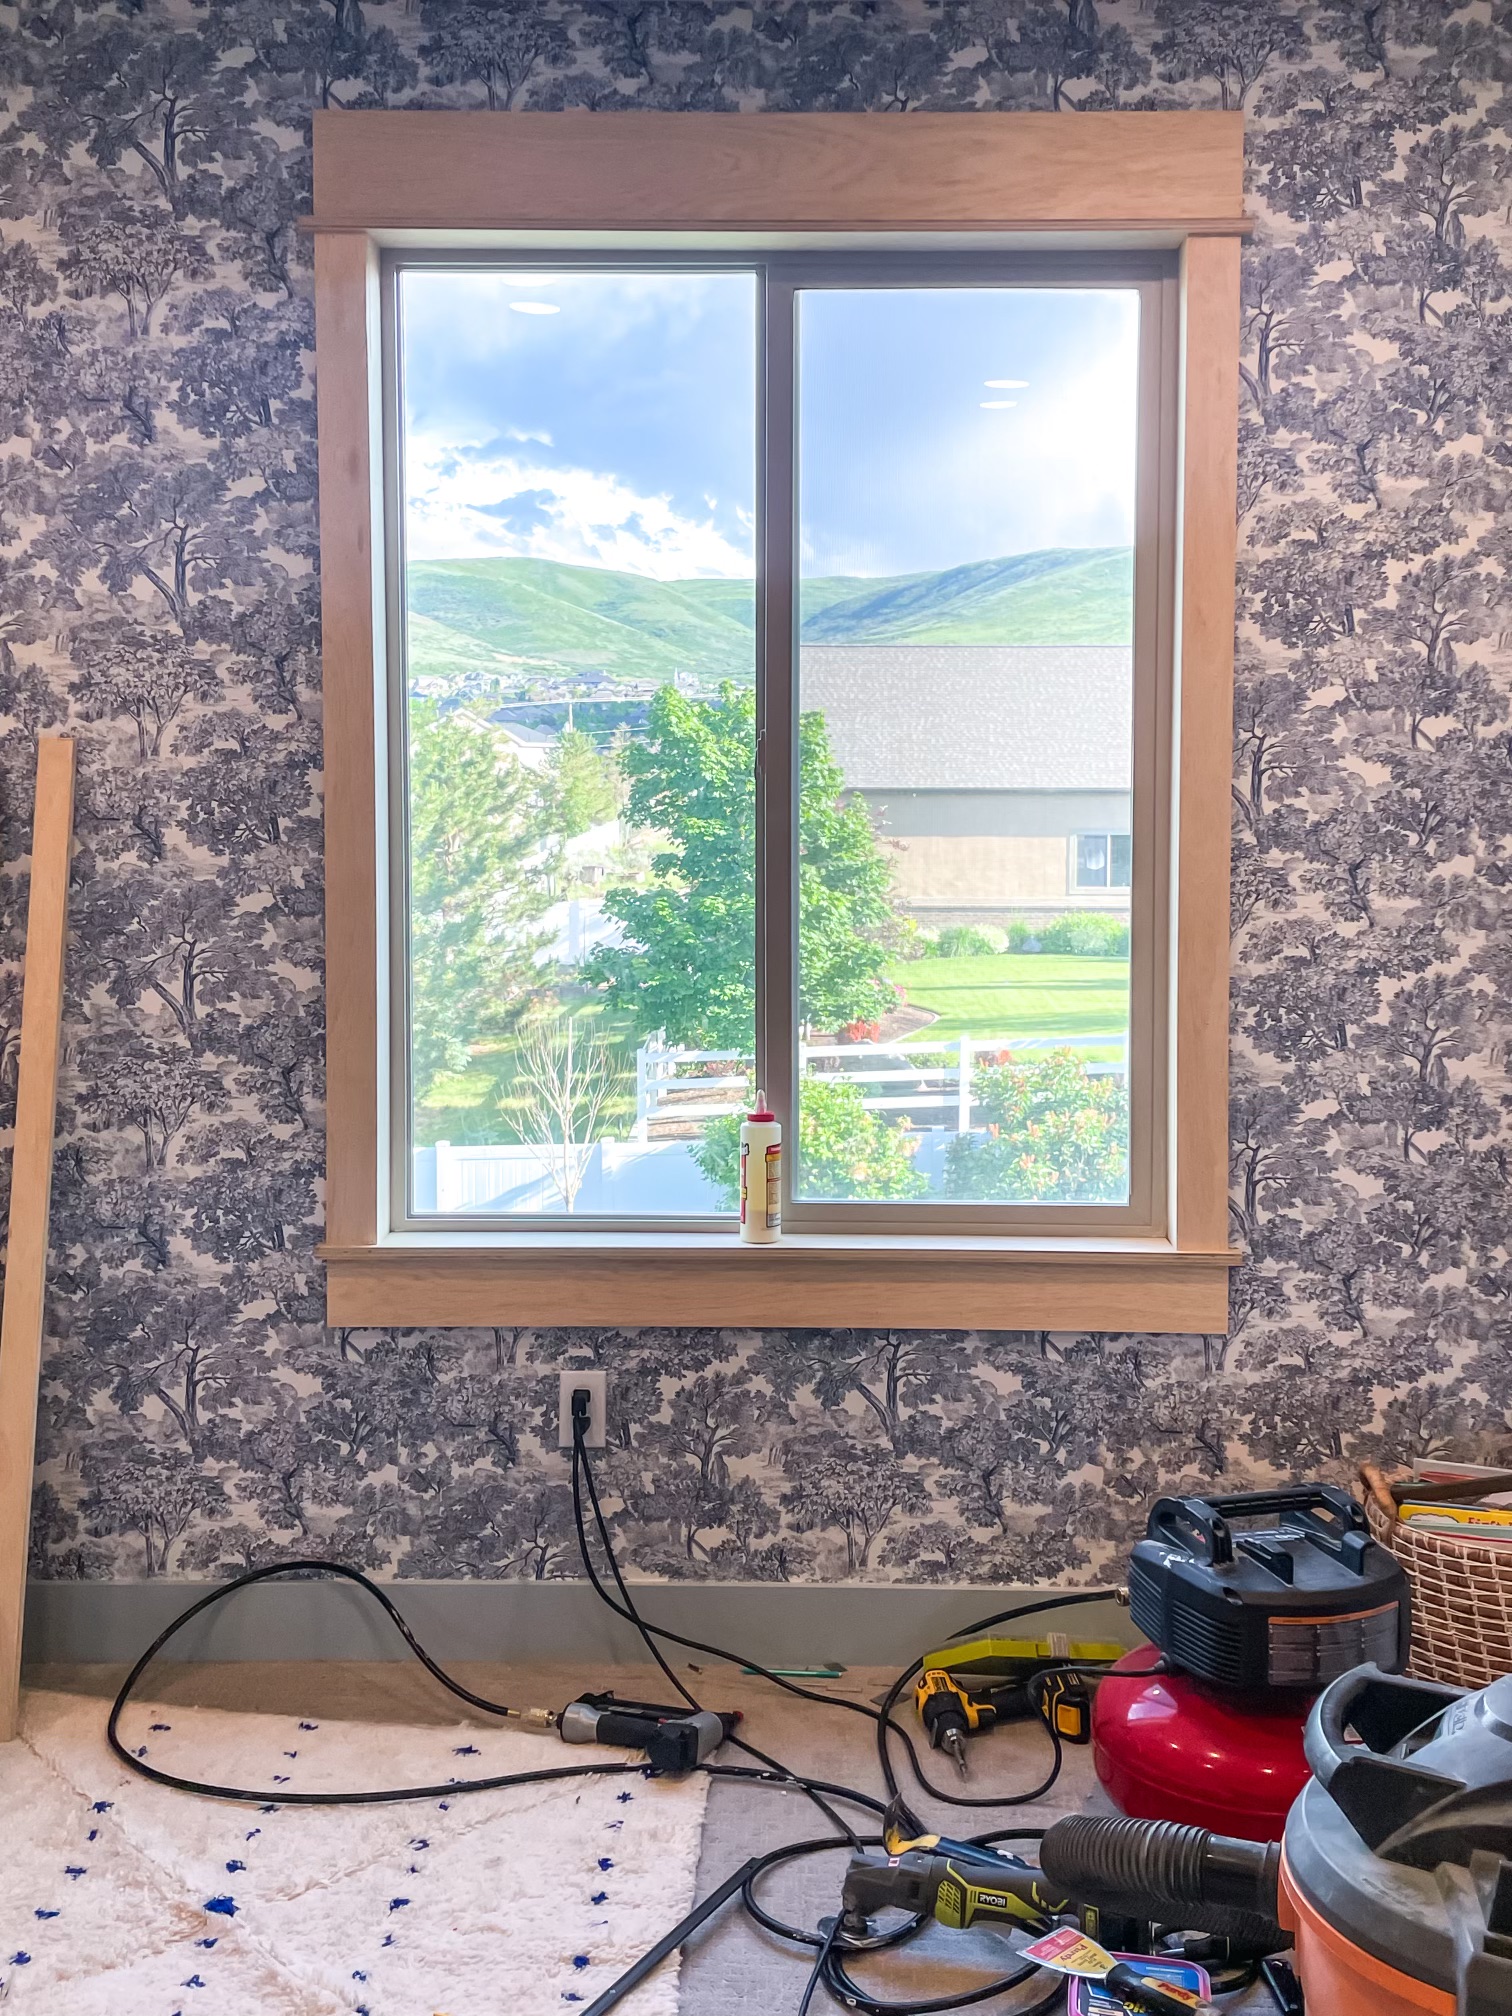
Step 8: Install the Casing:
Using finishing nails or a brad nailer, secure the completed Mission Style lintel casing around your window. Ensure it is level and centered for a polished appearance.
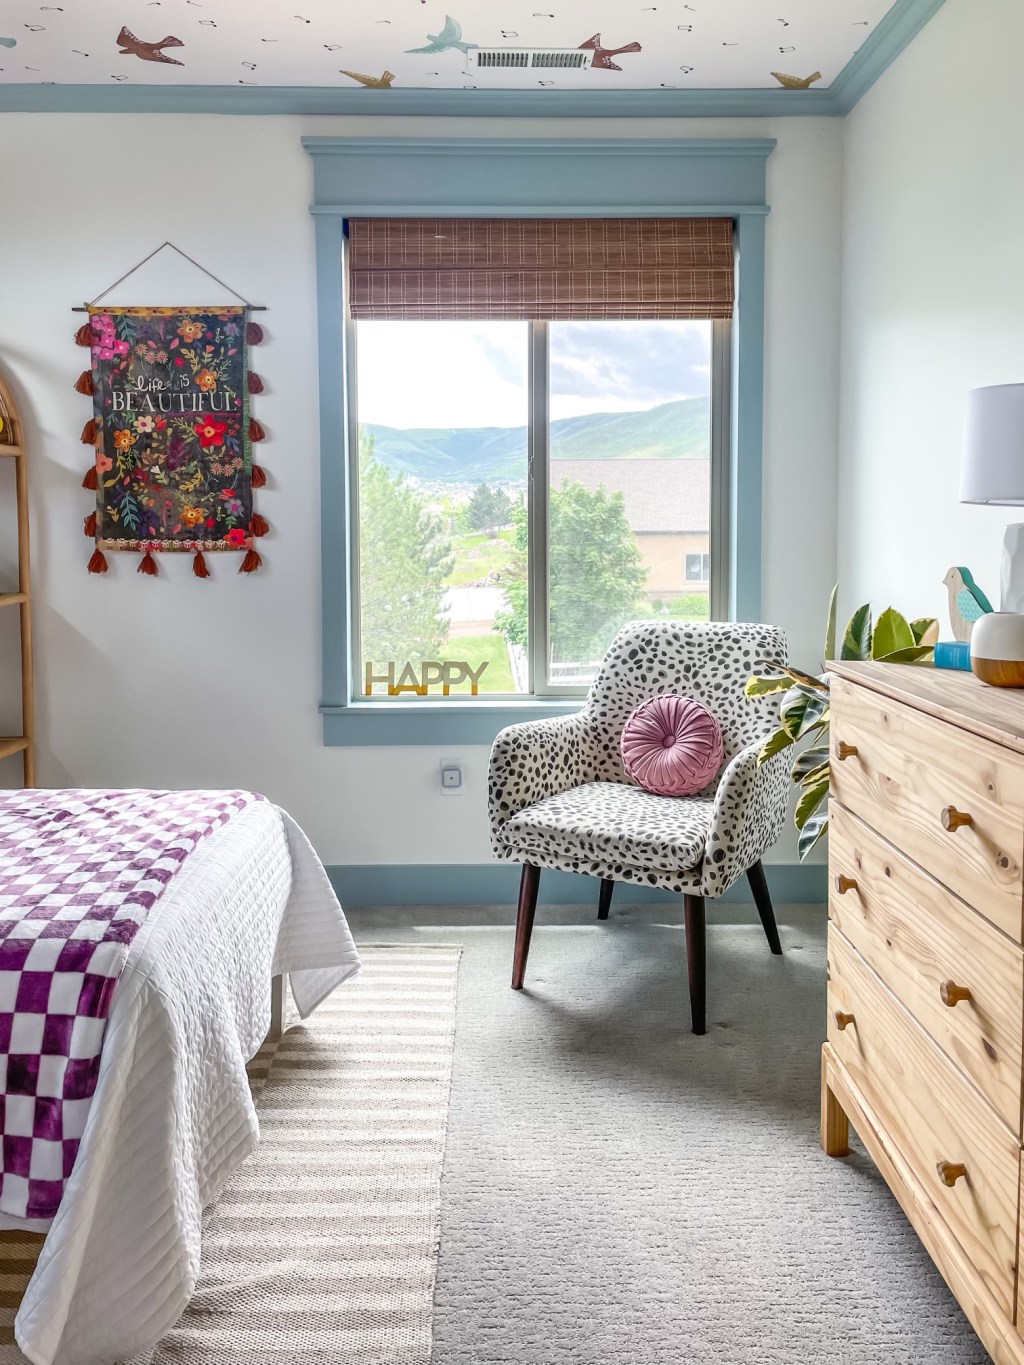
Step 9: Final Touches:
Inspect the casing for any touch-ups needed. Make any necessary adjustments and admire your newly crafted Mission Style lintel window casing, adding a touch of timeless elegance to your home.
Conclusion:
With a few simple materials and a touch of creativity, you’ve successfully crafted a Mission Style lintel window casing using MDF board. This DIY project not only enhances the architectural appeal of your space but also allows you to customize your home with a classic and enduring design. Embrace the satisfaction of creating a piece that adds character and sophistication to your windows, transforming your living space into a haven of timeless elegance.

Leave a comment