In the pursuit of creating a warm and inviting living room, a DIY project can transform a plain fireplace into a focal point of charm and coziness. In this guide, we’ll explore how to craft a unique MDF arch bookshelf using a router, adding character and elegance to your living space. Embrace the warmth of a personalized fireplace nook that not only showcases your book collection but also becomes a conversation piece for family and friends.
Materials You’ll Need:
- MDF sheets (medium-density fiberboard)
- Router with flush trim bit
- Measuring tape
- Pencil
- Circular saw or jigsaw
- Sandpaper
- Wood glue
- Clamps
- Pocket wood screws
- Primer
- Paint (color of your choice)
- Paintbrushes
- Level
Step 1: Designing the Arch:
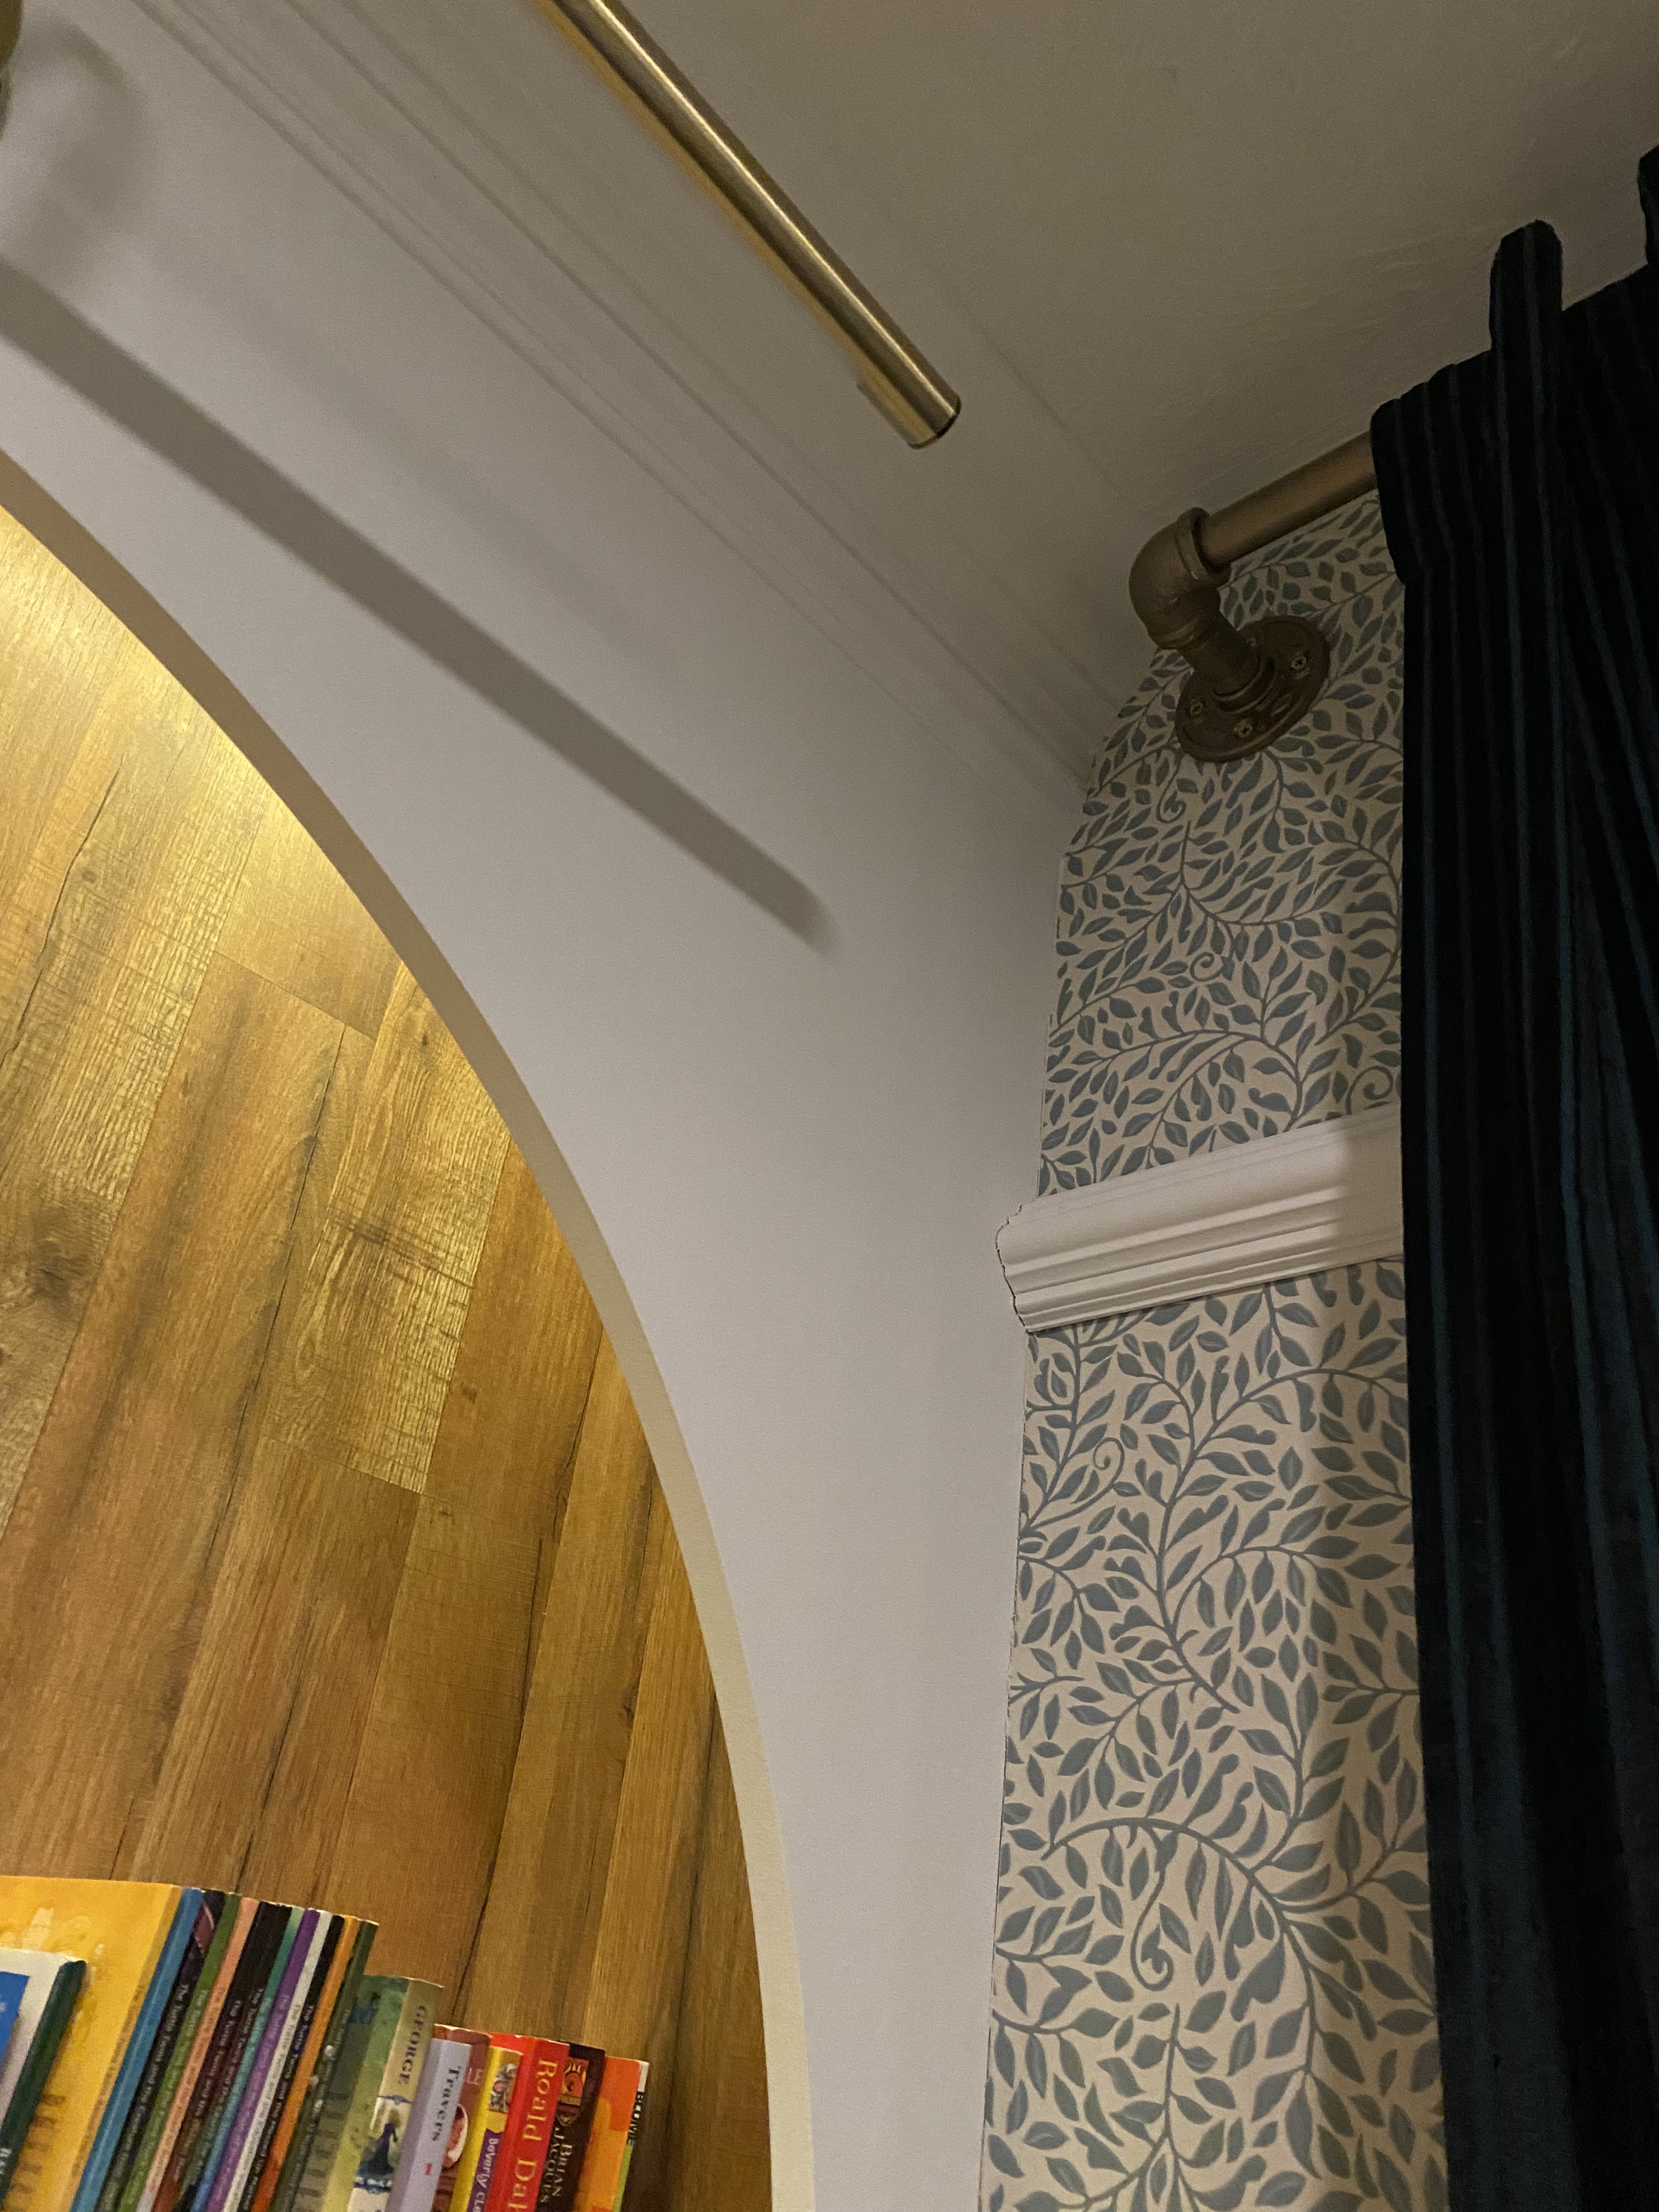
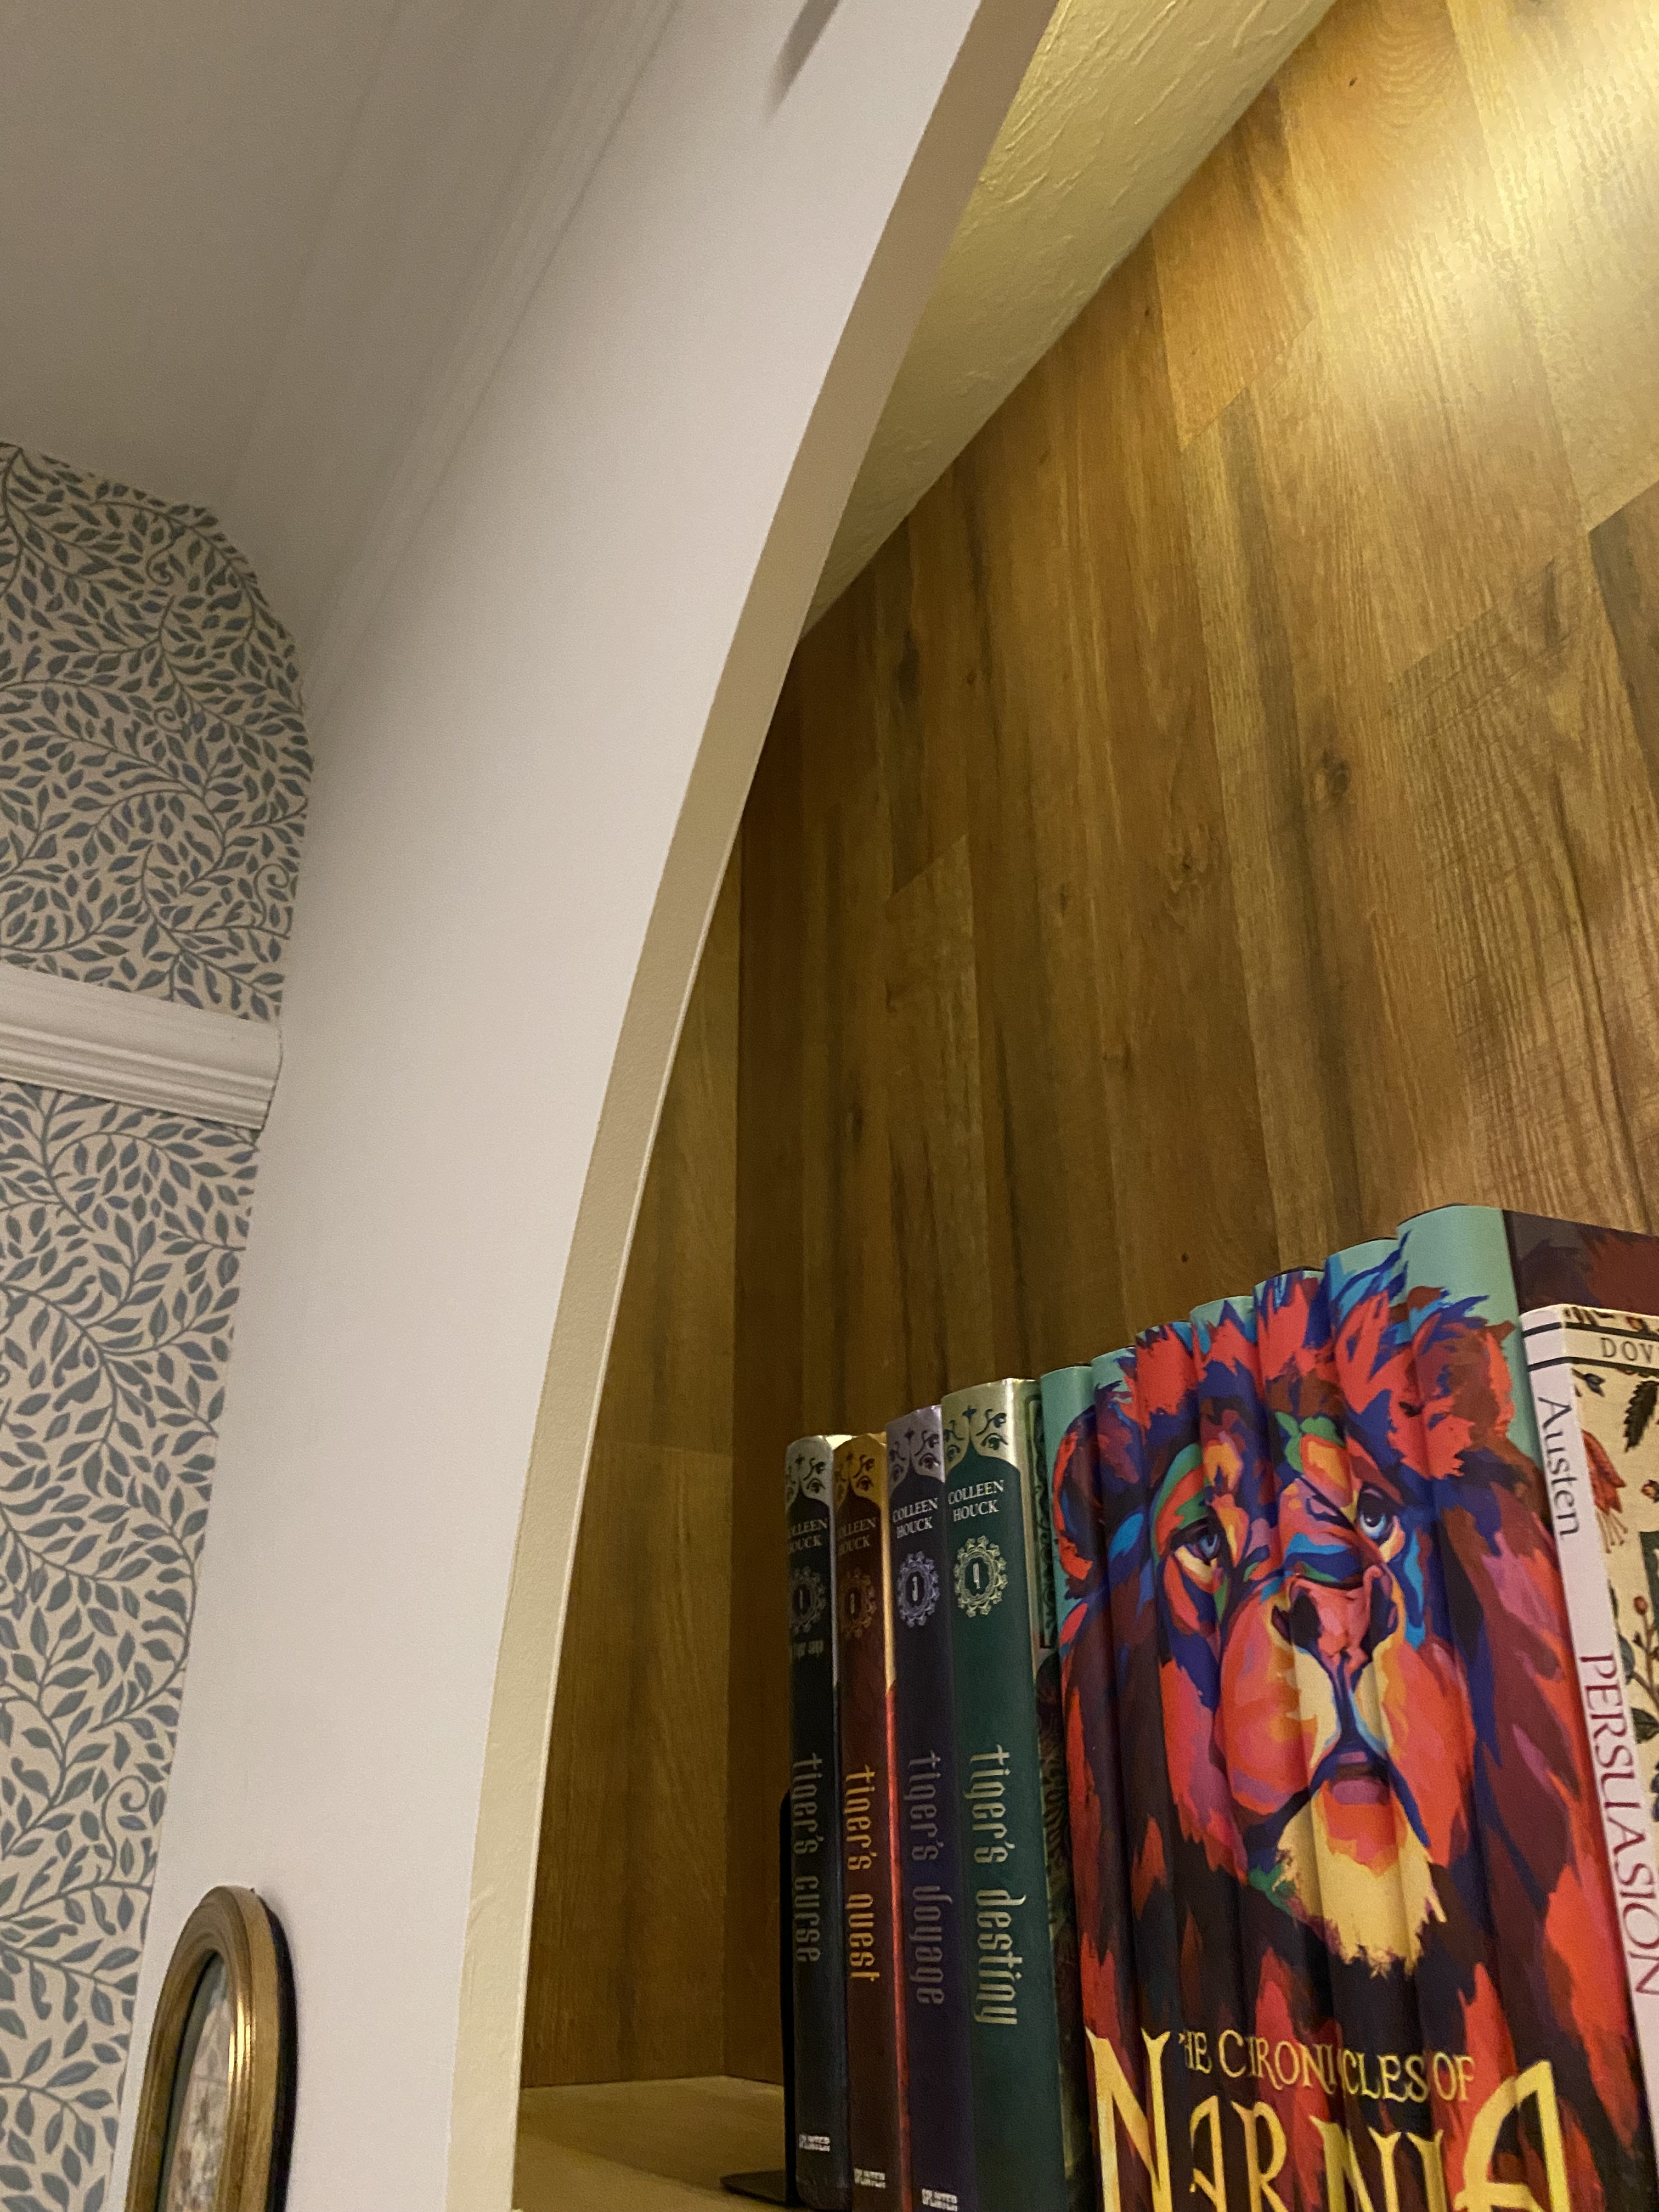
Measure the width and height of your fireplace to determine the dimensions of your arch. Sketch a design for the bookshelf face, keeping in mind the desired arch shape. A router with a flush bit will add clean edge to the MDF.
Step 2: Cutting the MDF:
Using a router, carefully cut the MDF sheets according to your arch design. Take your time to ensure smooth and precise cuts, and remember to wear appropriate safety gear. I created a jig that attached to the router and fastened a screw to the middle of the arch. Slowly and steadily guide the router along the edges of the arch, allowing the bit to create a clean inside edge. Take breaks to check your progress and make any adjustments if necessary. I made 3 passes with the arch, slowly sinking the router on each pass.
Step 3: Sanding and Smoothing:
Once the router work is complete, sand the MDF arch thoroughly to create a smooth and flawless surface. Pay attention to any rough spots or imperfections, ensuring the bookshelf face is ready for finishing. Use wood filler to for any imperfections.
Step 4: Assembly:
Apply wood glue to the edges of the MDF arch and carefully press the pieces together. Use clamps to hold them in place while the glue dries. For added stability, secure the pieces with wood screws from the back.
Step 5: Priming and Painting:
Prime the entire bookshelf face to prepare it for painting. Kilz paint primer is our favorite primer. Once dry, apply the paint color of your choice. Consider a color that complements your living room’s decor and adds to the cozy ambiance you’re aiming for.
Step 6: Leveling and Mounting:
Place the arch bookshelf face against the fireplace, ensuring it fits snugly. Use a level to make sure it’s straight and centered. Secure the bookshelf in place by attaching it to the wall with wood screws.
Step 7: Styling Your Bookshelf:
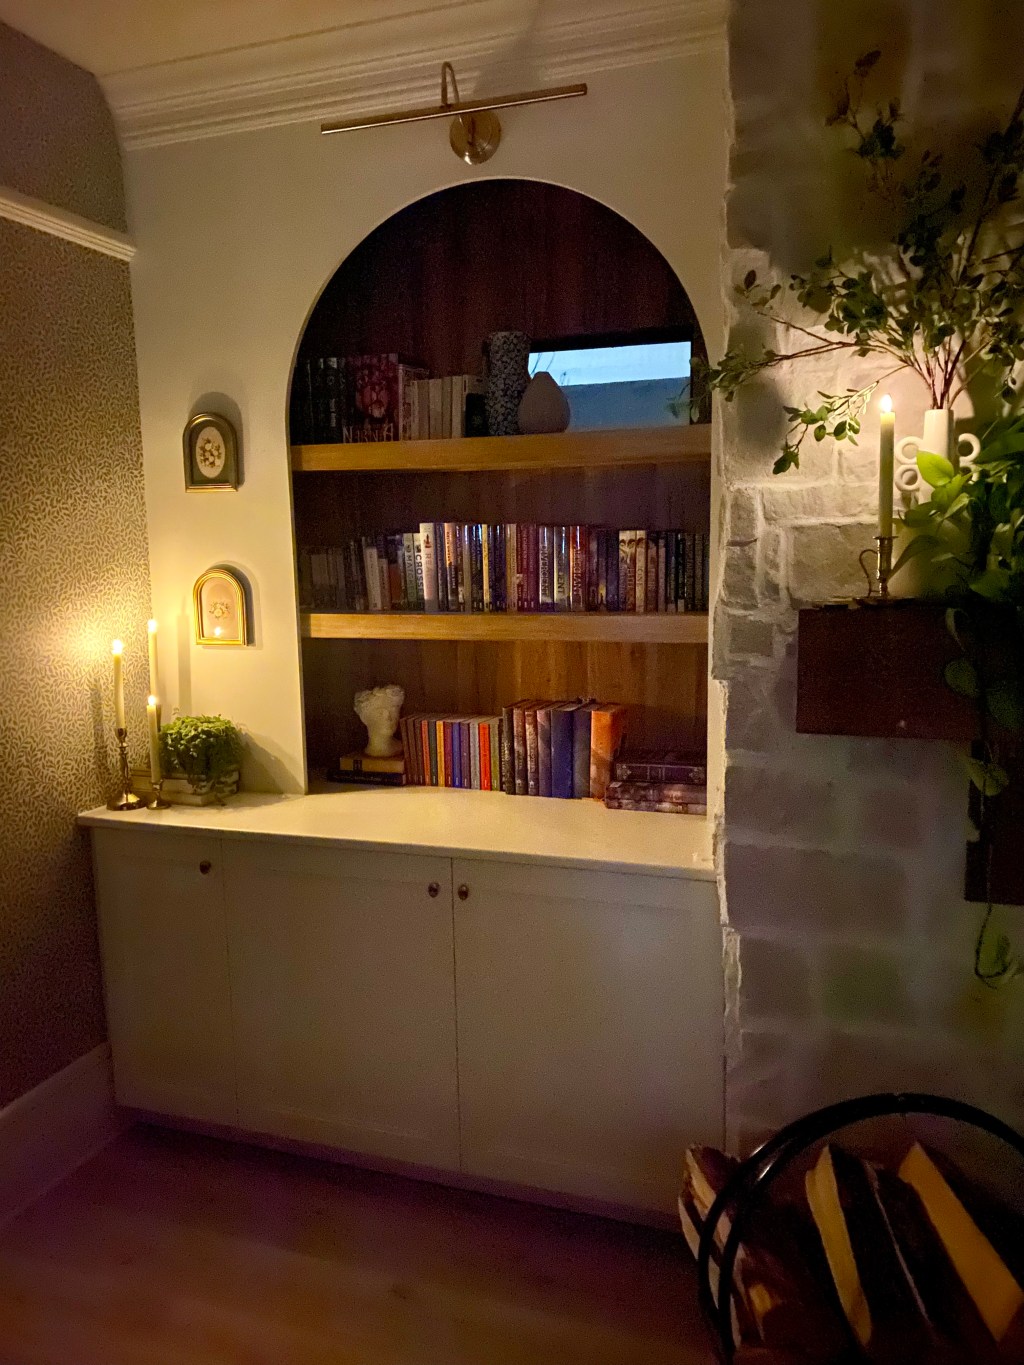
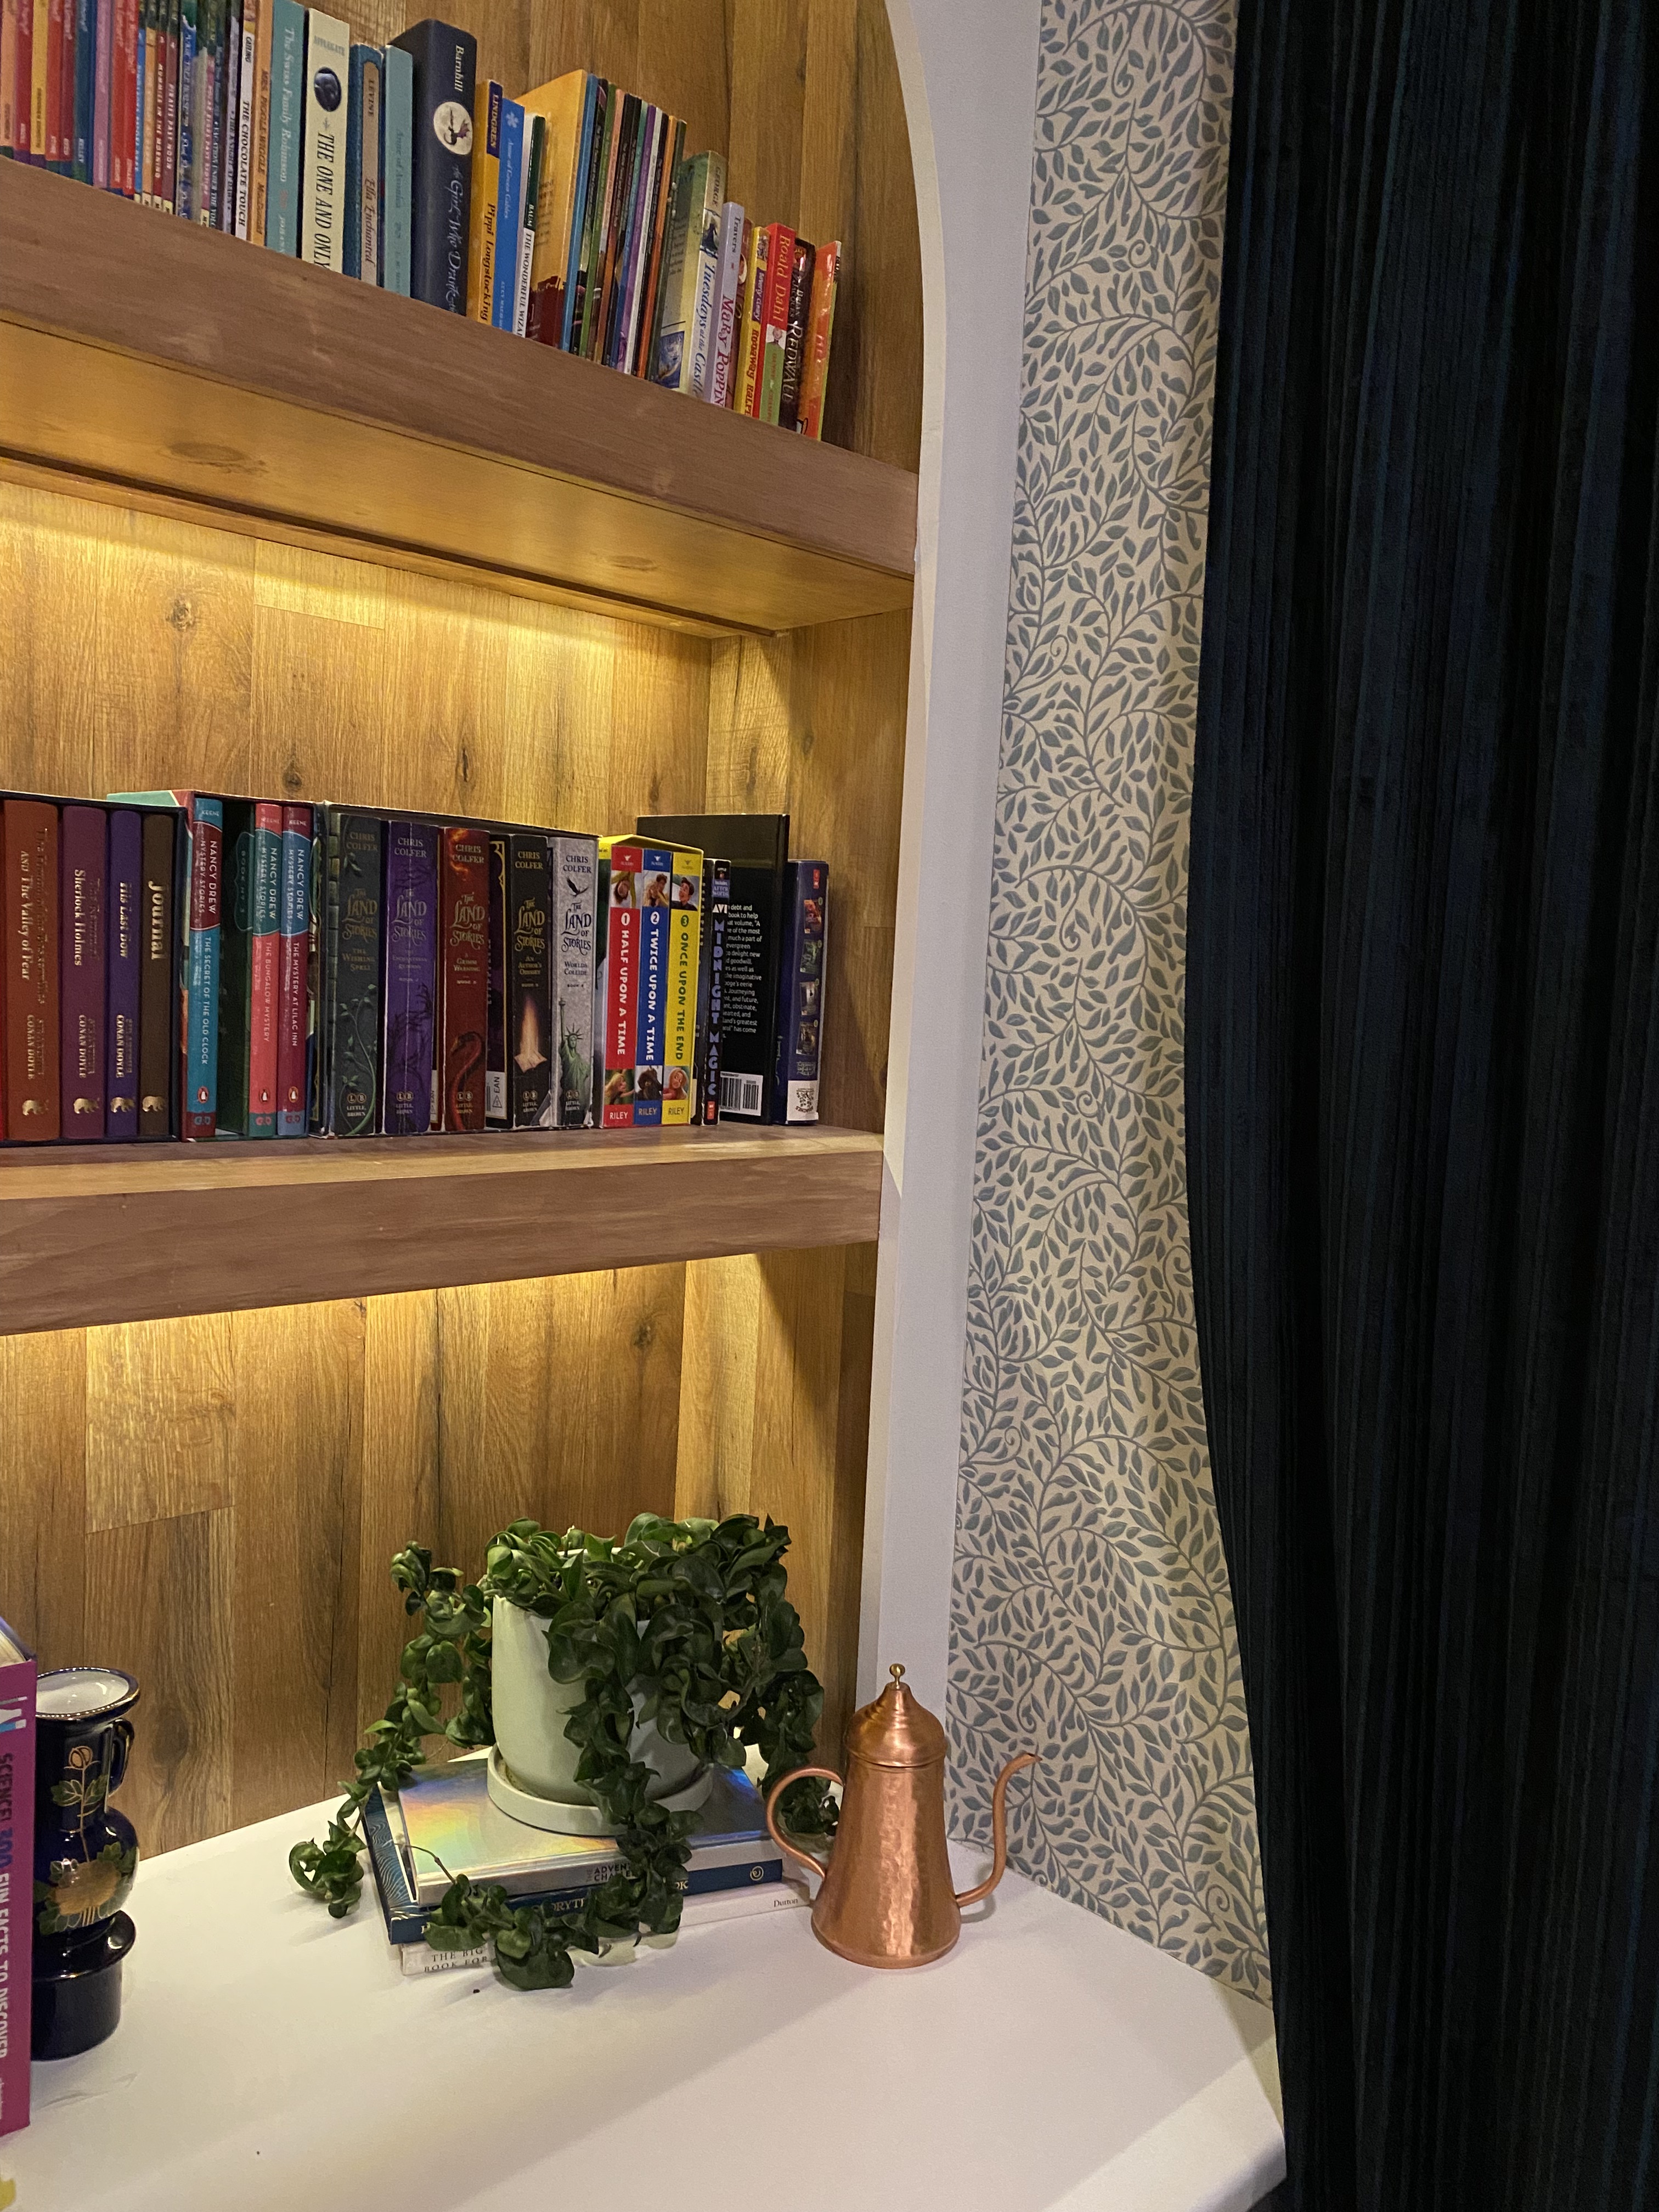
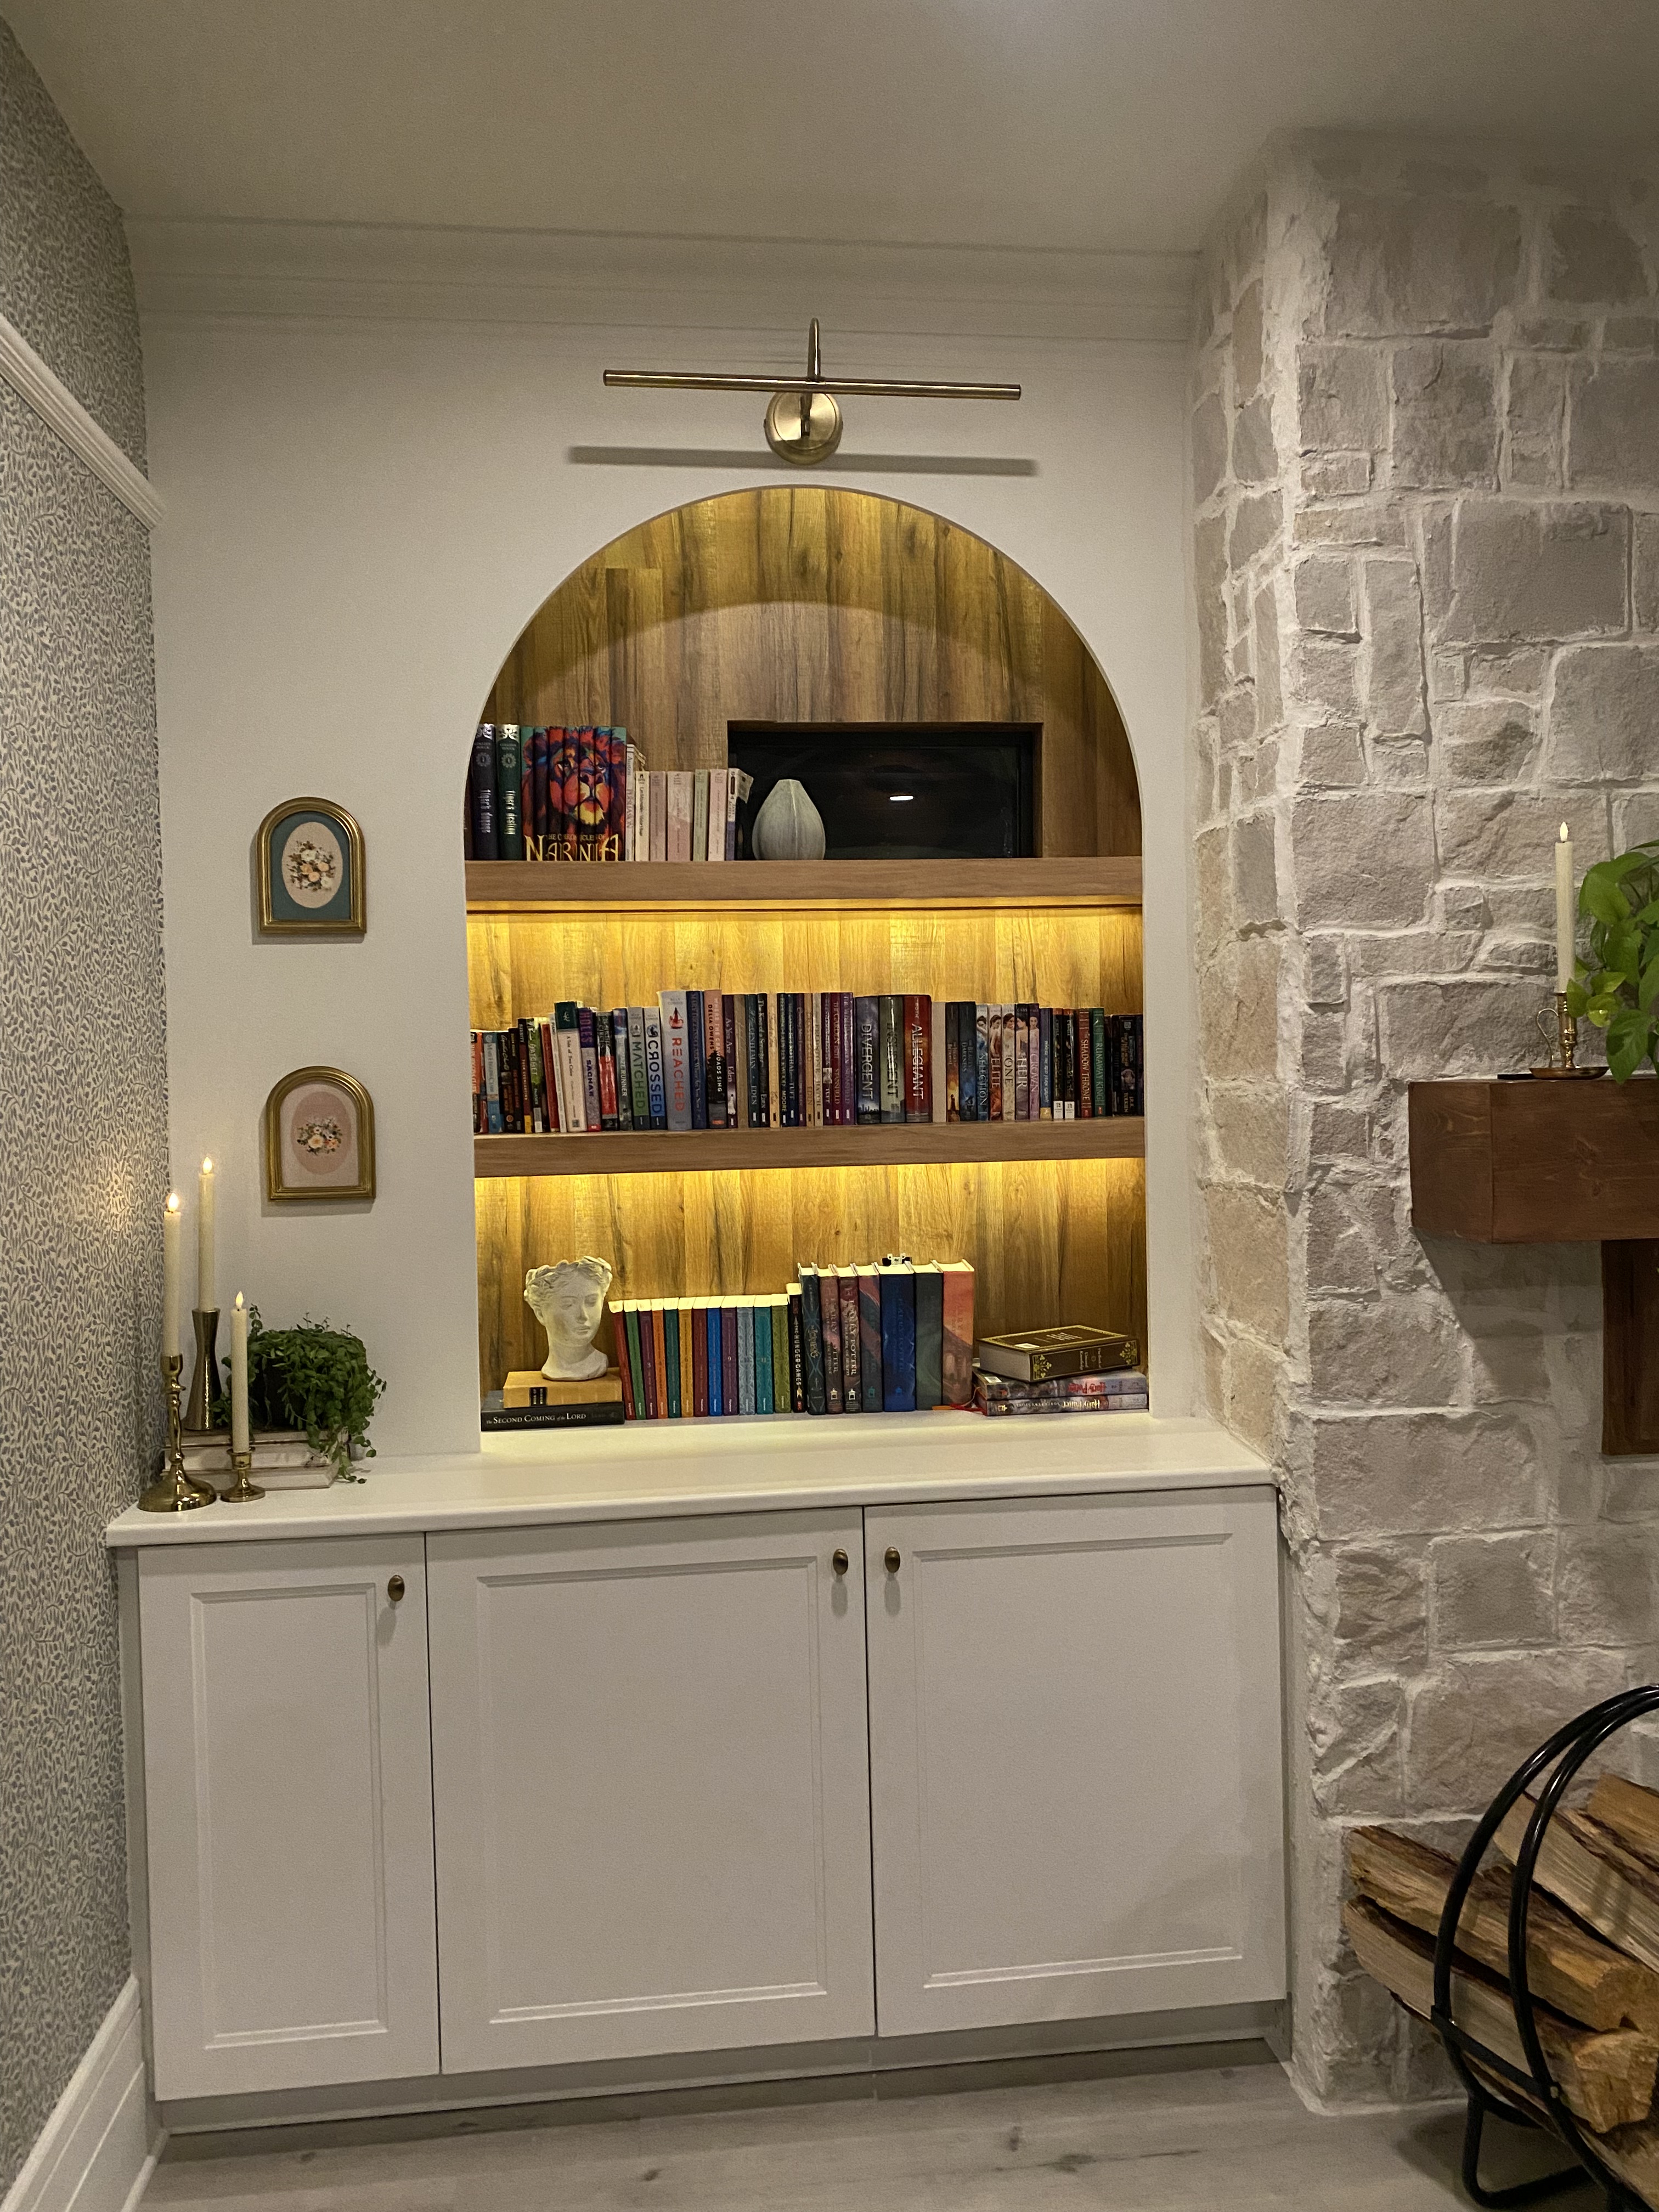
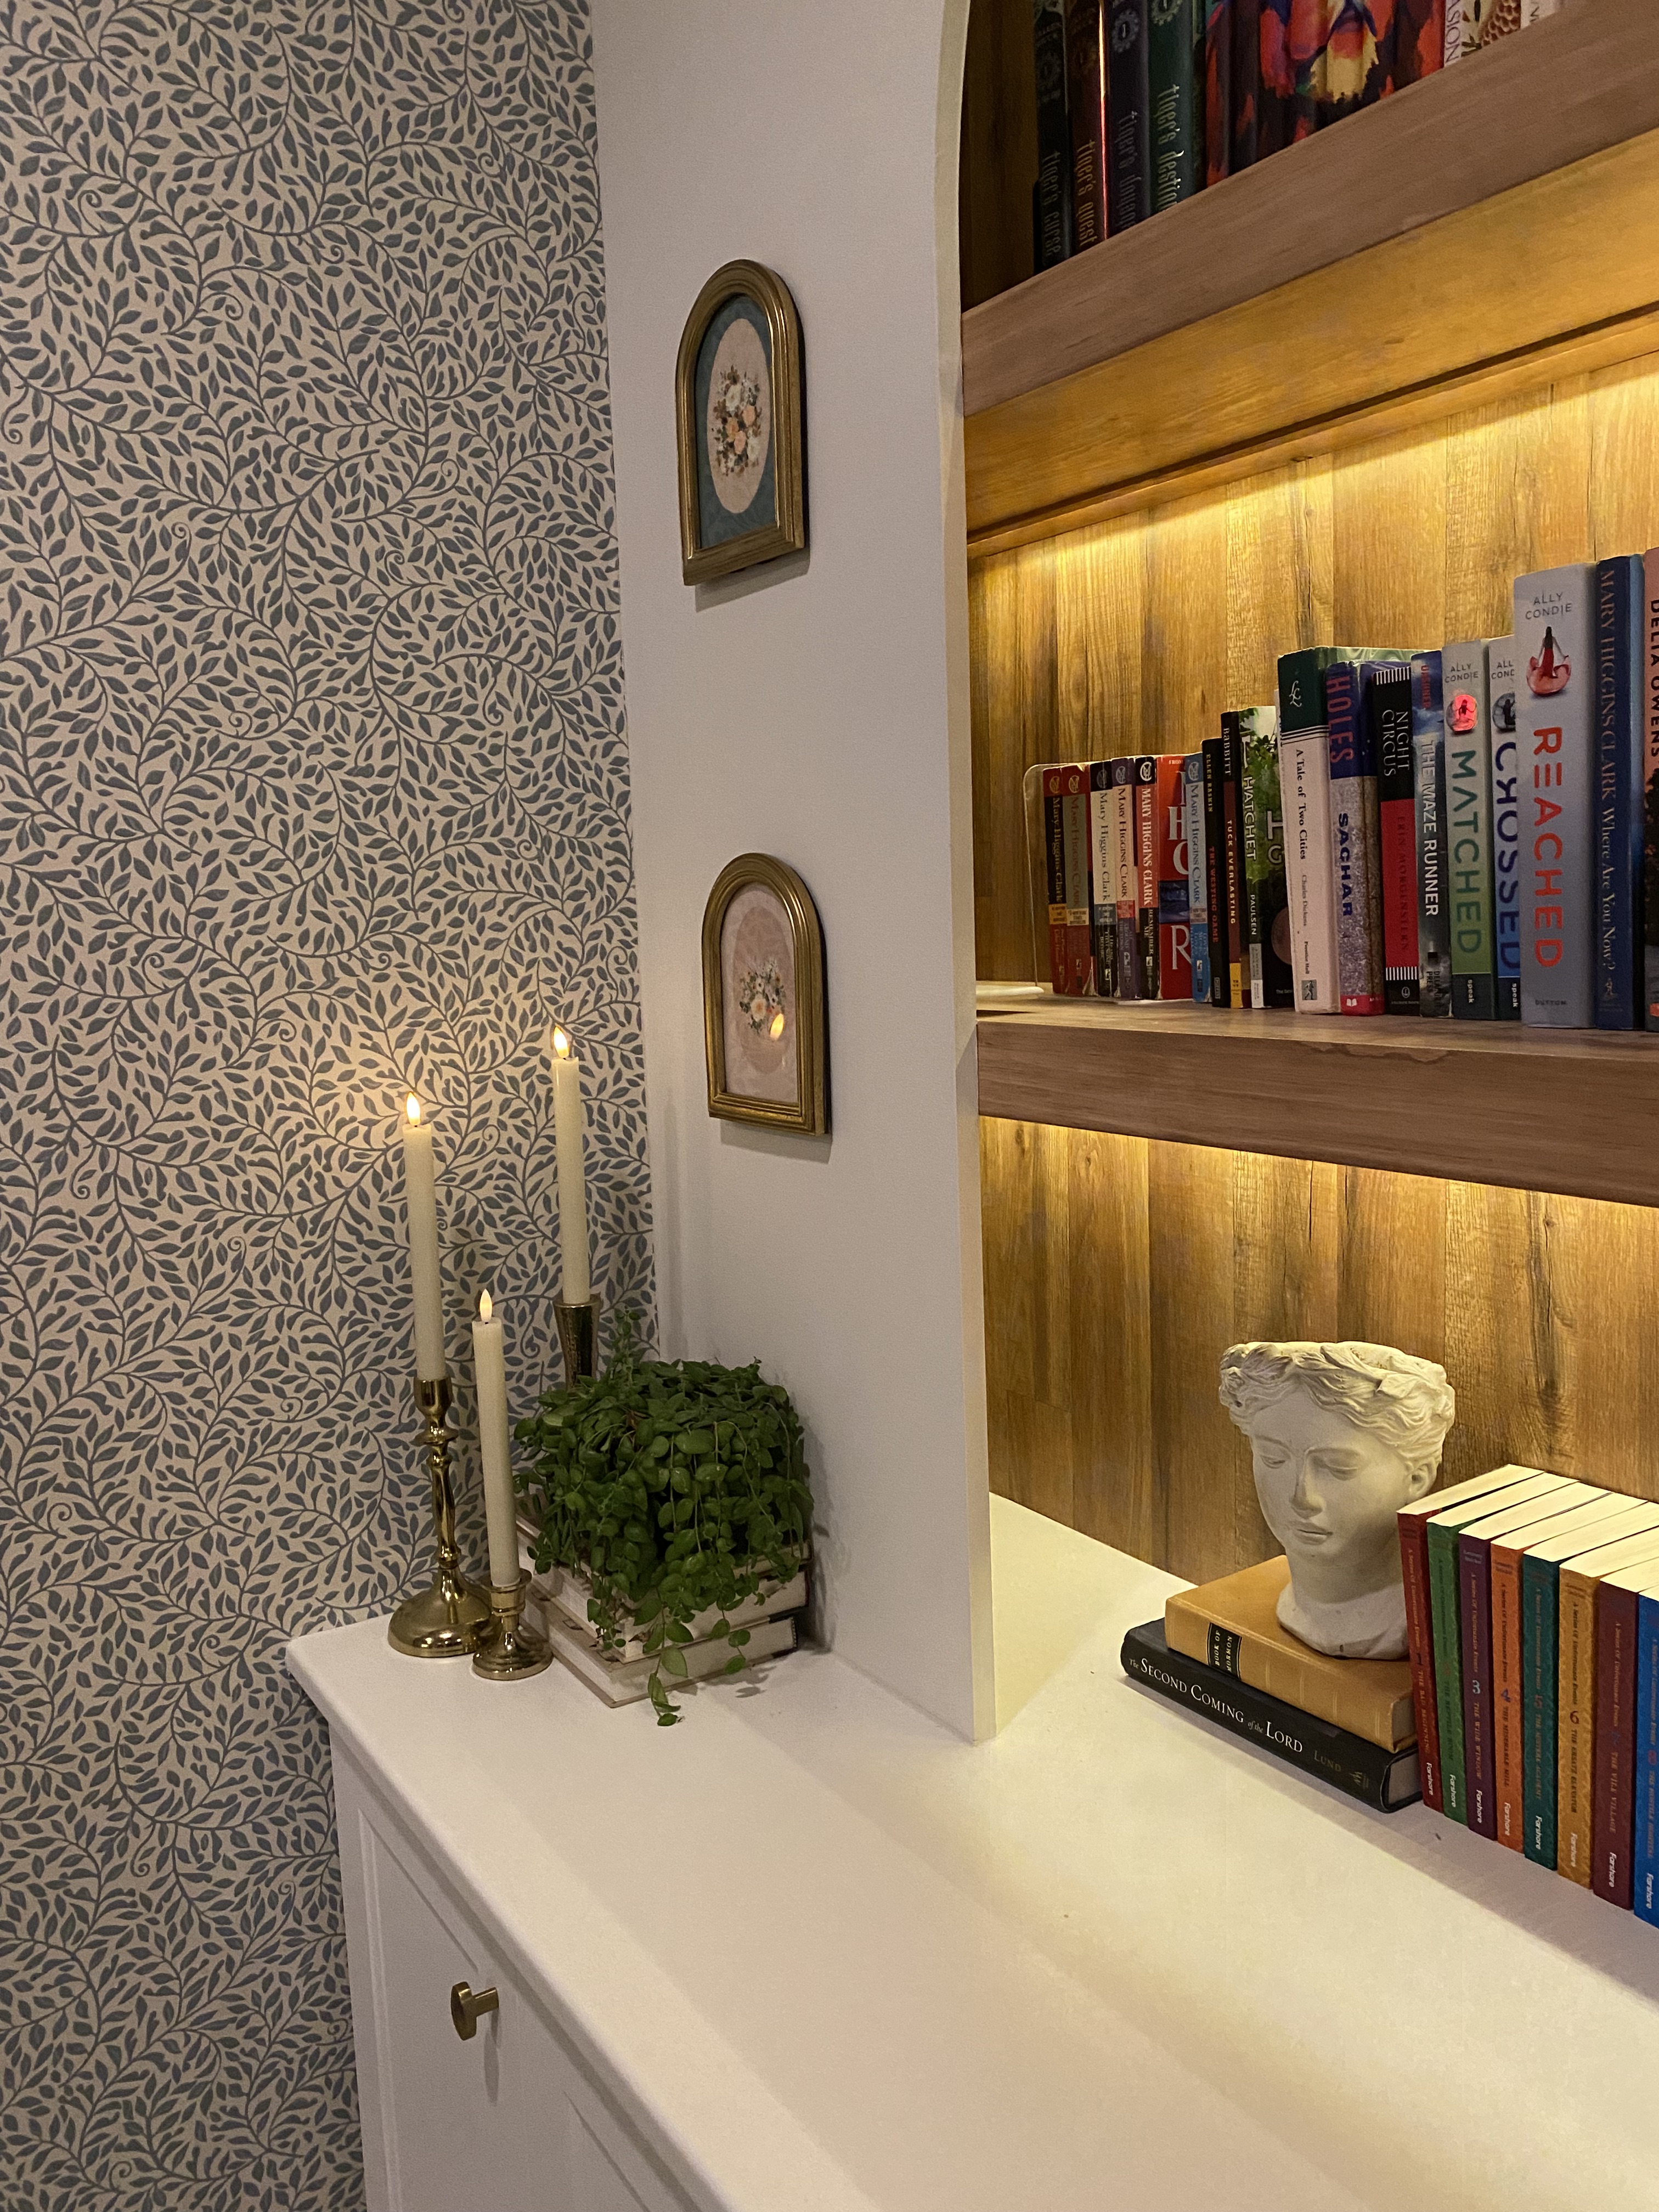
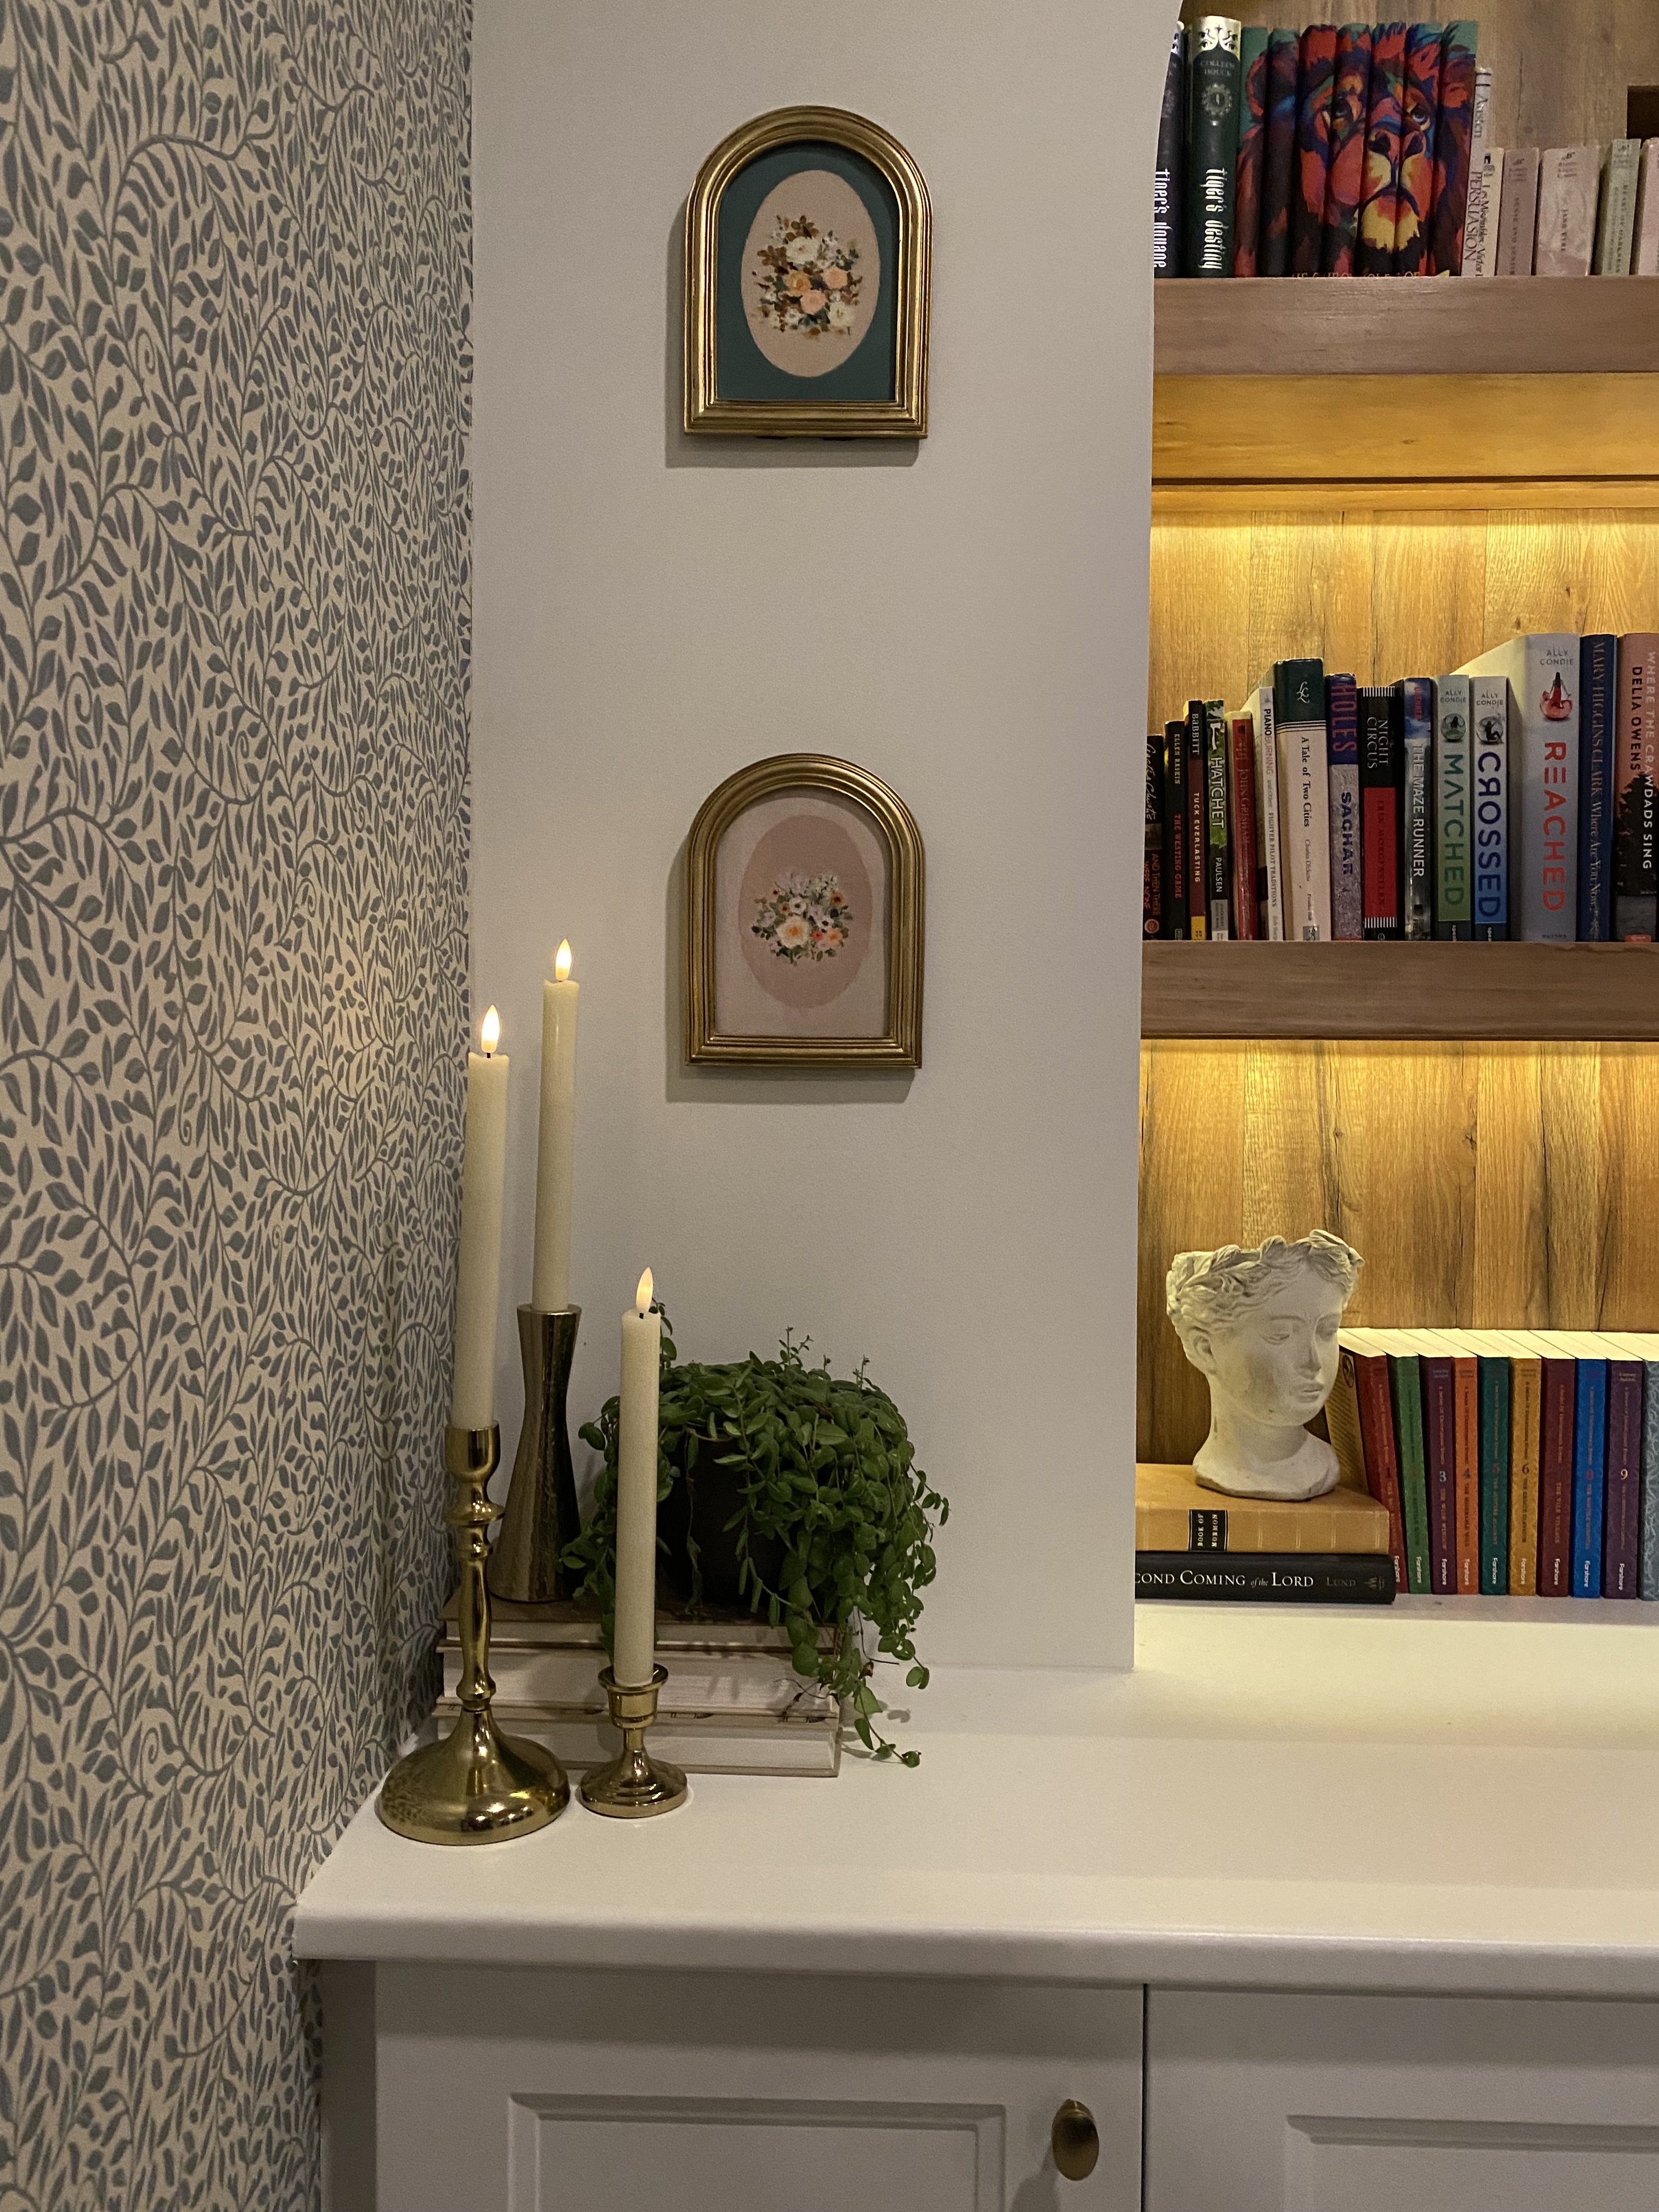
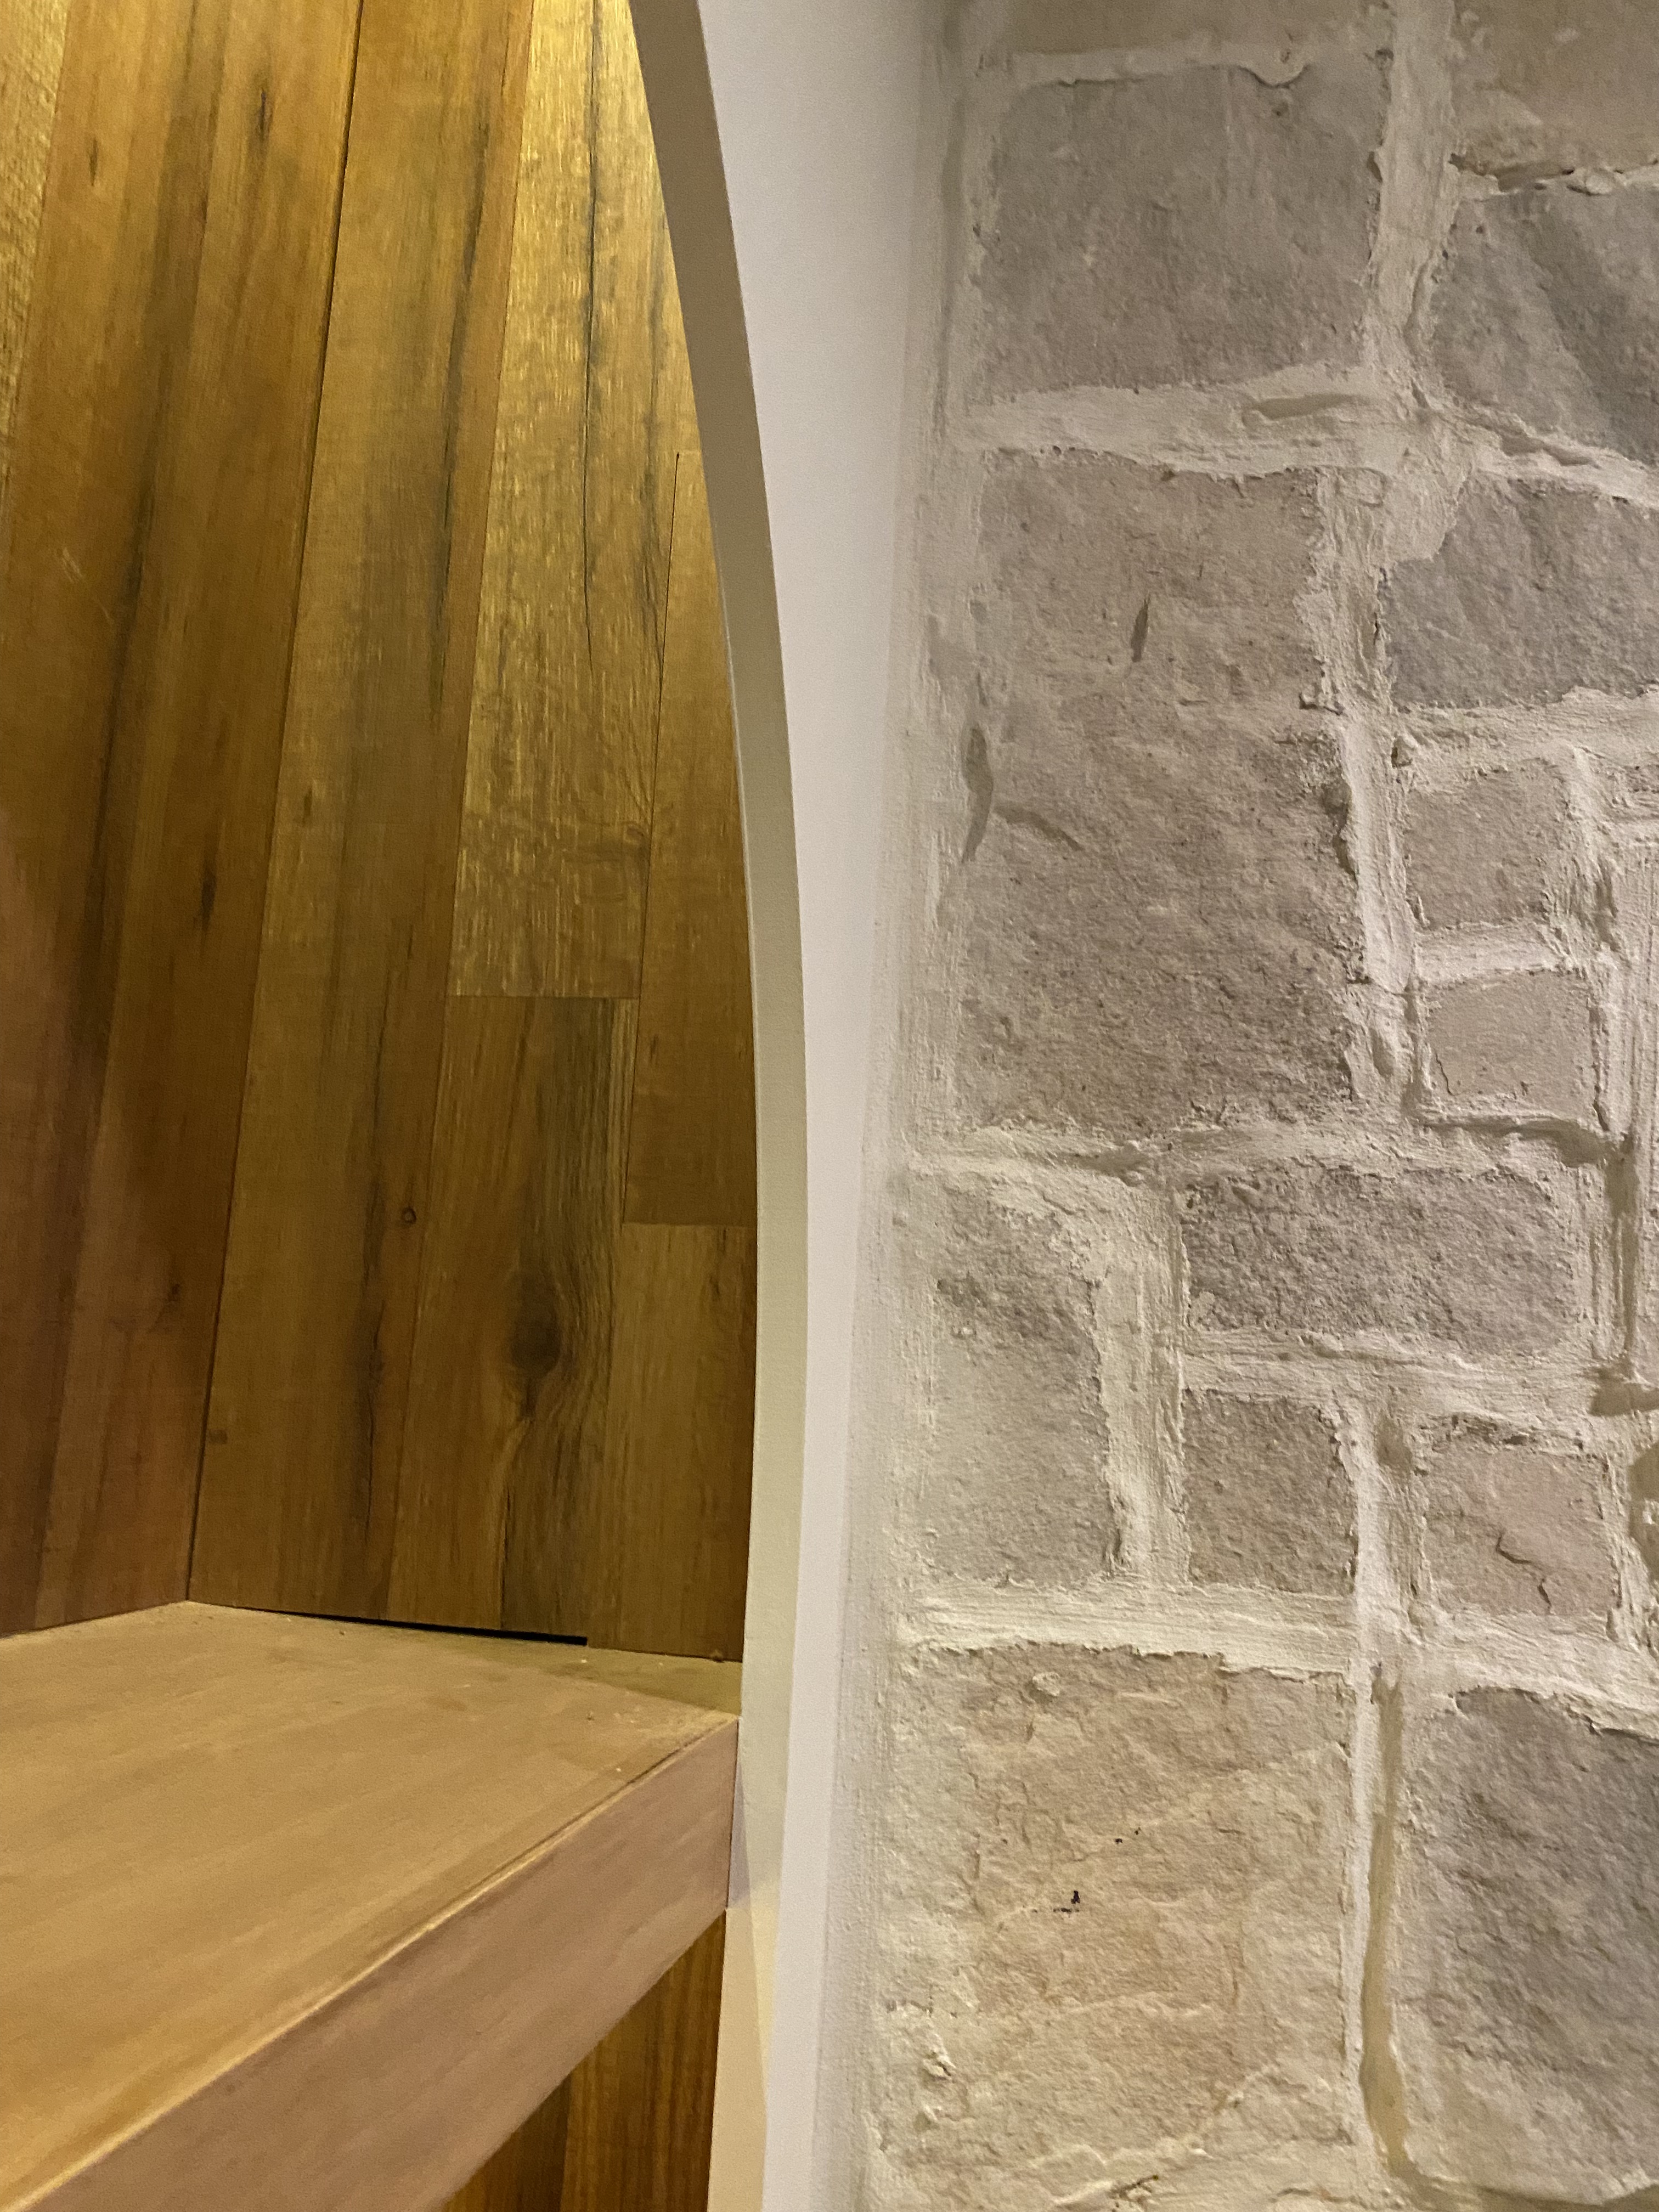
Fill your new arch bookshelf with your favorite books, decorative items, and personal touches. Consider incorporating warm-toned accessories and cozy elements to enhance the inviting atmosphere. Adding a natural wood enhanced the interior part of the bookshelves.
Conclusion:
With a bit of creativity and craftsmanship, you’ve successfully transformed your living room’s fireplace nook into a charming and cozy space. The DIY MDF arch bookshelf adds a touch of elegance and character, making it a perfect showcase for your favorite books and cherished decor. Enjoy the warmth and style that this personalized project brings to your living space, creating a cozy haven for relaxation and conversation.


Leave a comment