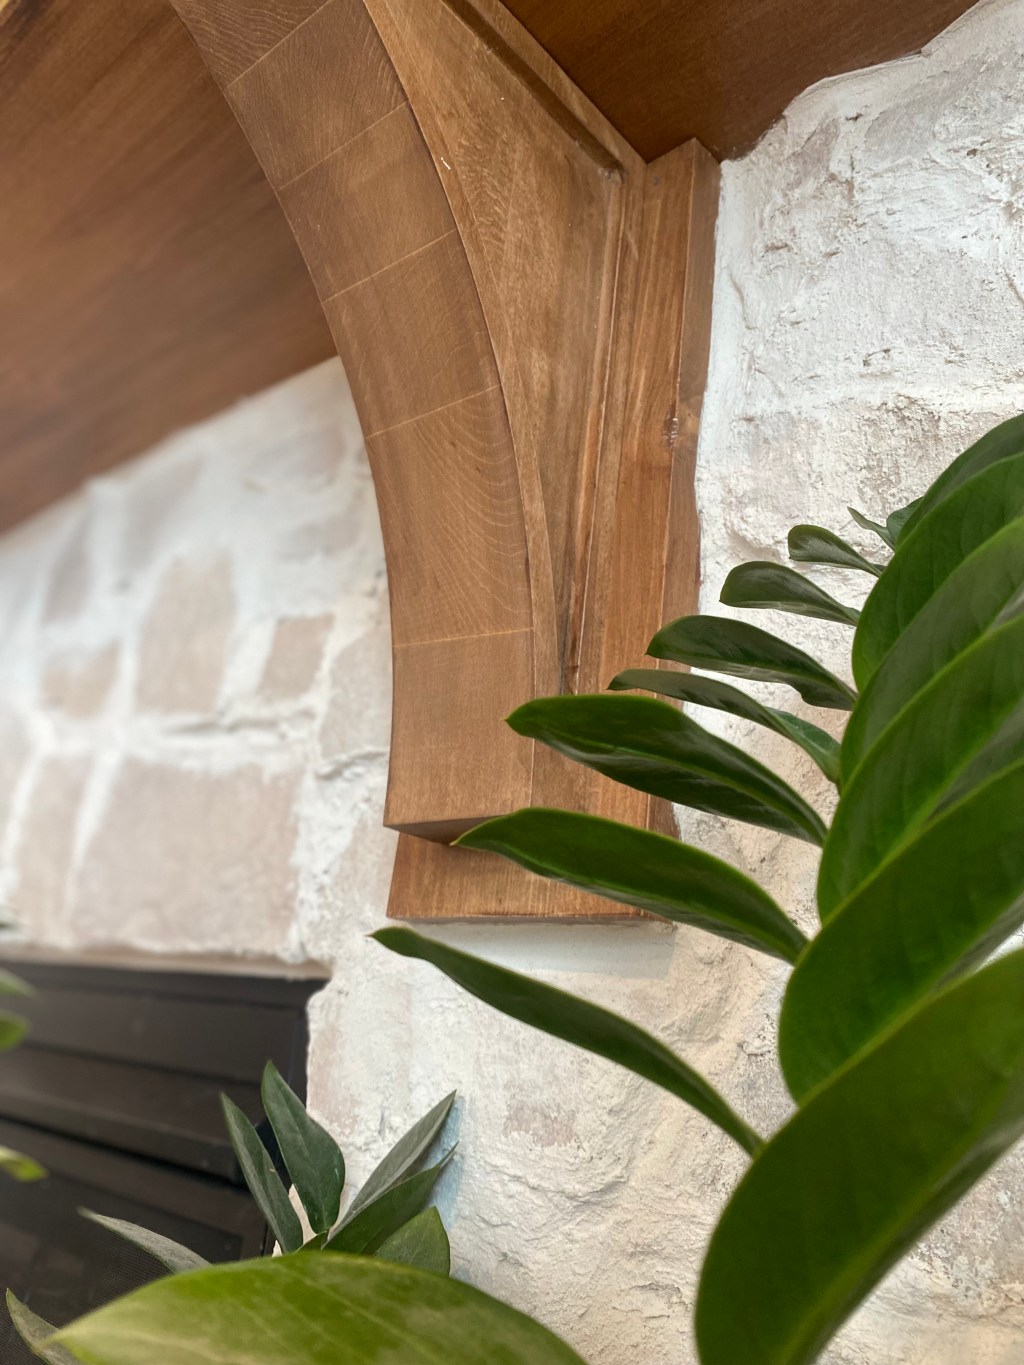
The fireplace is often the heart of the home, and transforming it with natural white stone can bring a touch of timeless elegance and warmth to your living space. In this comprehensive guide, we’ll take you through the process of installing large format stone around a fireplace mantel, using tile mortar, and applying a German smear for a rustic finish. Get ready to elevate the aesthetic of your fireplace with this stunning DIY project.
Materials You’ll Need:
- Large format natural white stone tiles
- Tile mortar
- Trowel
- Grout
- Rubber float
- Wet saw or tile cutter
- Spacers
- Level
- Sponge
- Bucket
- German smear mixture (lime wash or mortar mix)
- Paintbrush
- Drop cloths
- Painter’s tape
- Cement backerboard, fiba tape, thinset motar
Step 1: Preparing the Surface:
Ensure the surface around the fireplace is clean and dry. If there’s existing tile or material, remove it carefully. Smooth surfaces will help the mortar adhere properly with a taping knife. Install cement backer board for best adhesion. The seams in between cement boards should be closed with fibatape and filled with a thin set mortar.
Step 2: Cutting and Dry Fitting:
Use a wet saw or tile cutter to cut the large format natural white stone tiles to fit the dimensions of your fireplace. Using a hatchet or chisel can be used to fit the pieces together. Dry-fit the pieces on the floor to ensure they align well and make any necessary adjustments before adhering them to the wall. Our stones were backed by small metal rebar so each piece had its own unique stone shapes. See image below. We purchases from Floor & Decor Alamo Sandstone.

Step 3: Applying Tile Mortar:
Purchase large format tile mortar from Home Depot. Follow the directions on the label for proper mixture. Using a trowel, spread tile mortar on the wall. Press the tiles firmly onto the prepared surface, leaving spacers between them for grout lines.
Step 4: Grouting (You will actually use mortar here):
Once the mortar has set, mix the mortar according to the manufacturer’s instructions. We added a small amount of white paint. Apply the mortar with a mortar bag, filling it into the spaces between the stones. Let the grout dry to a point where you can brush away excess mortar.
Step 5: German Smear Preparation:
Prepare the German smear mixture by combining mortar mix with water and white paint. Adjust the consistency to achieve the desired look – a thinner mixture for a more subtle effect, or a thicker mixture for a bolder appearance.
Step 6: Applying the German Smear:
After the grout has fully cured, apply the German smear mixture using a paintbrush. Work in small sections, applying the mixture and then immediately wiping it off with a damp sponge or cloth. This technique creates a distressed, rustic finish while allowing the natural texture of the stone to shine through.
Step 7: Cleaning Up:
Be diligent in cleaning up any excess German smear on adjacent surfaces or the floor. Protect areas around the fireplace with drop cloths and painter’s tape to minimize cleanup.
Step 8: Final Touches:
Allow the German smear to dry completely. Stand back and admire the transformed fireplace, now boasting the charm of natural white stone with a rustic German smear finish.
Conclusion:
Congratulations! You’ve successfully installed natural white stone around your fireplace mantel and applied a German smear for a touch of rustic elegance. This DIY project not only enhances the visual appeal of your living space but also brings a timeless and cozy atmosphere to your home. Enjoy the warmth and character that this stunning fireplace makeover adds to your living room, creating a focal point that is both stylish and inviting.
Check out our post with about our DIY mantel to see more pictures of the finished product.

Leave a comment