The fireplace is often considered the heart of the home, and a beautifully crafted mantel can add character and charm to this focal point. If you’re yearning for a touch of warmth and elegance in your living space, embarking on a DIY fireplace mantel project might be just the thing to ignite your creativity. In this guide, we’ll walk you through the steps to create a personalized and inviting mantel that will become the centerpiece of your home.
Before you start your DIY adventure, gather the following materials:
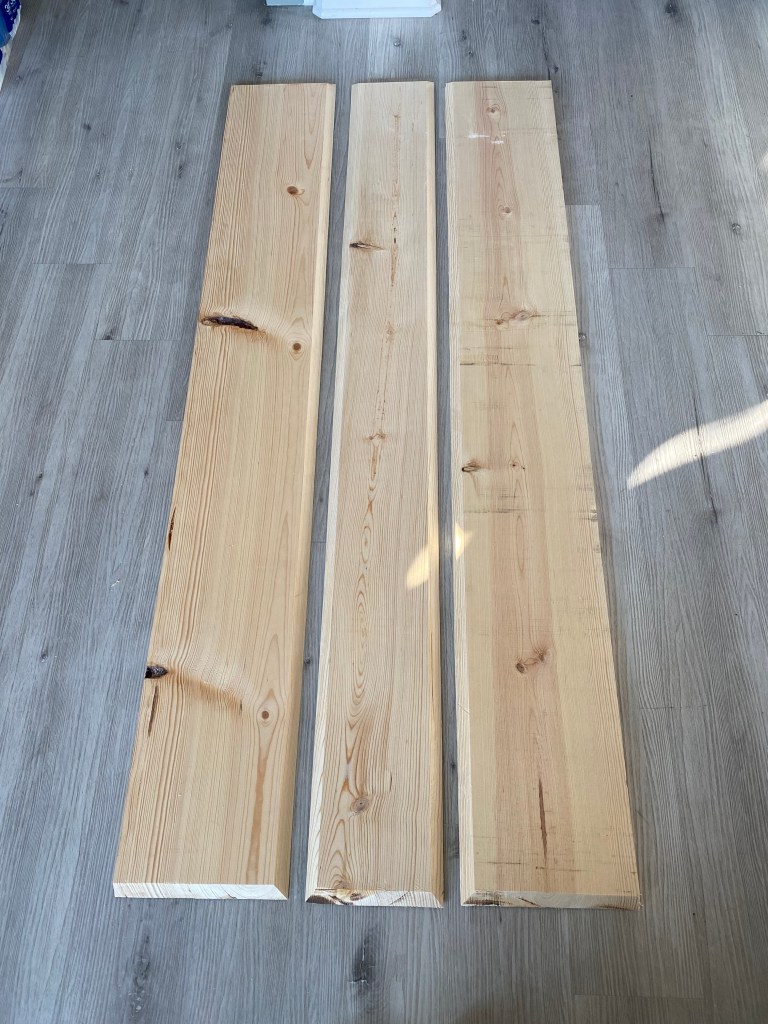
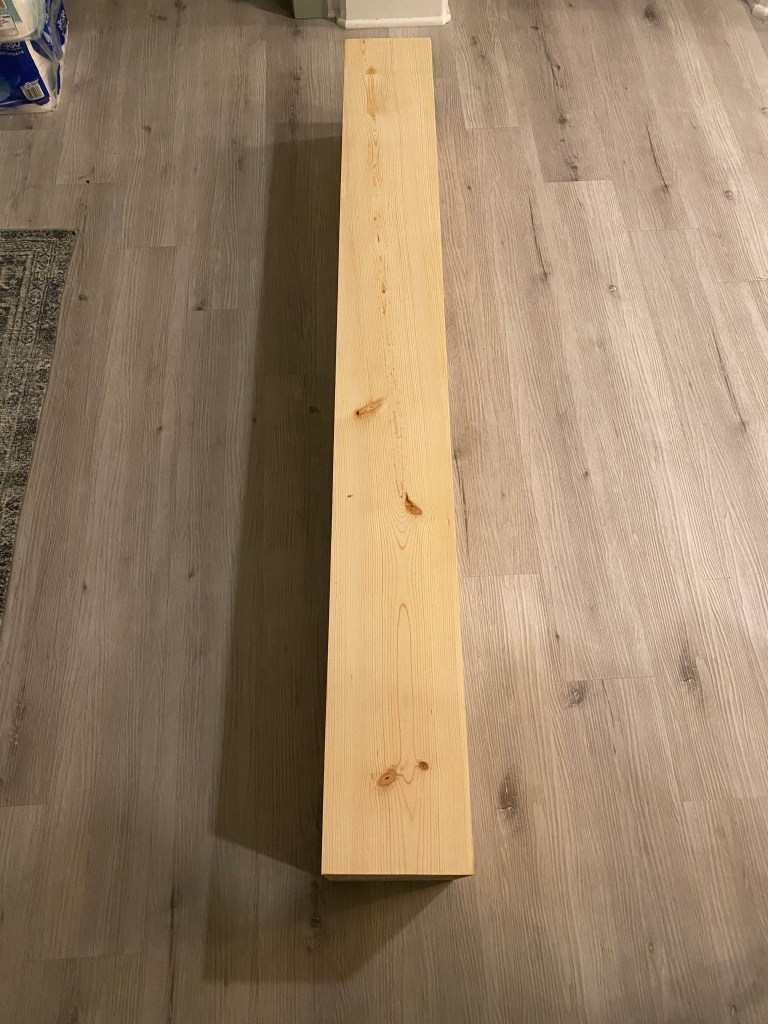
- Common pine board – Determine the size of mantel for your space. We chose the 10″ depth x 6′ long x 3/4″ thick boards.
- Sandpaper (various grits)
- Wood stain or paint
- Paintbrushes
- Wood glue
- Nail gun and screws
- Pocket screw kit– I like using the Kreg.
- Level
- Wood filler
- Putty knife
- Table and miter saw
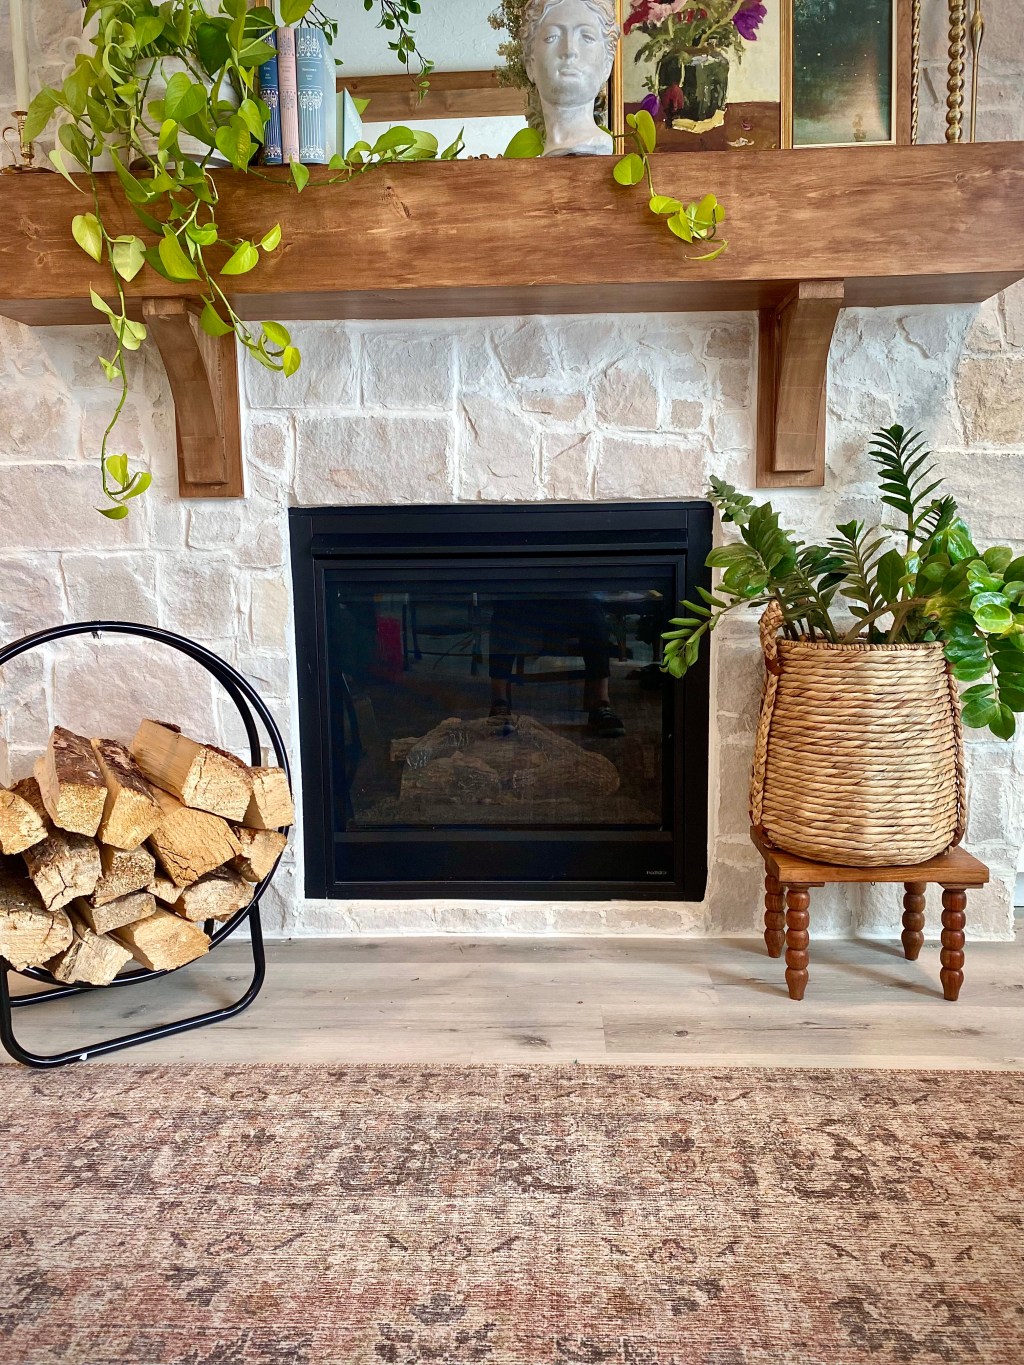
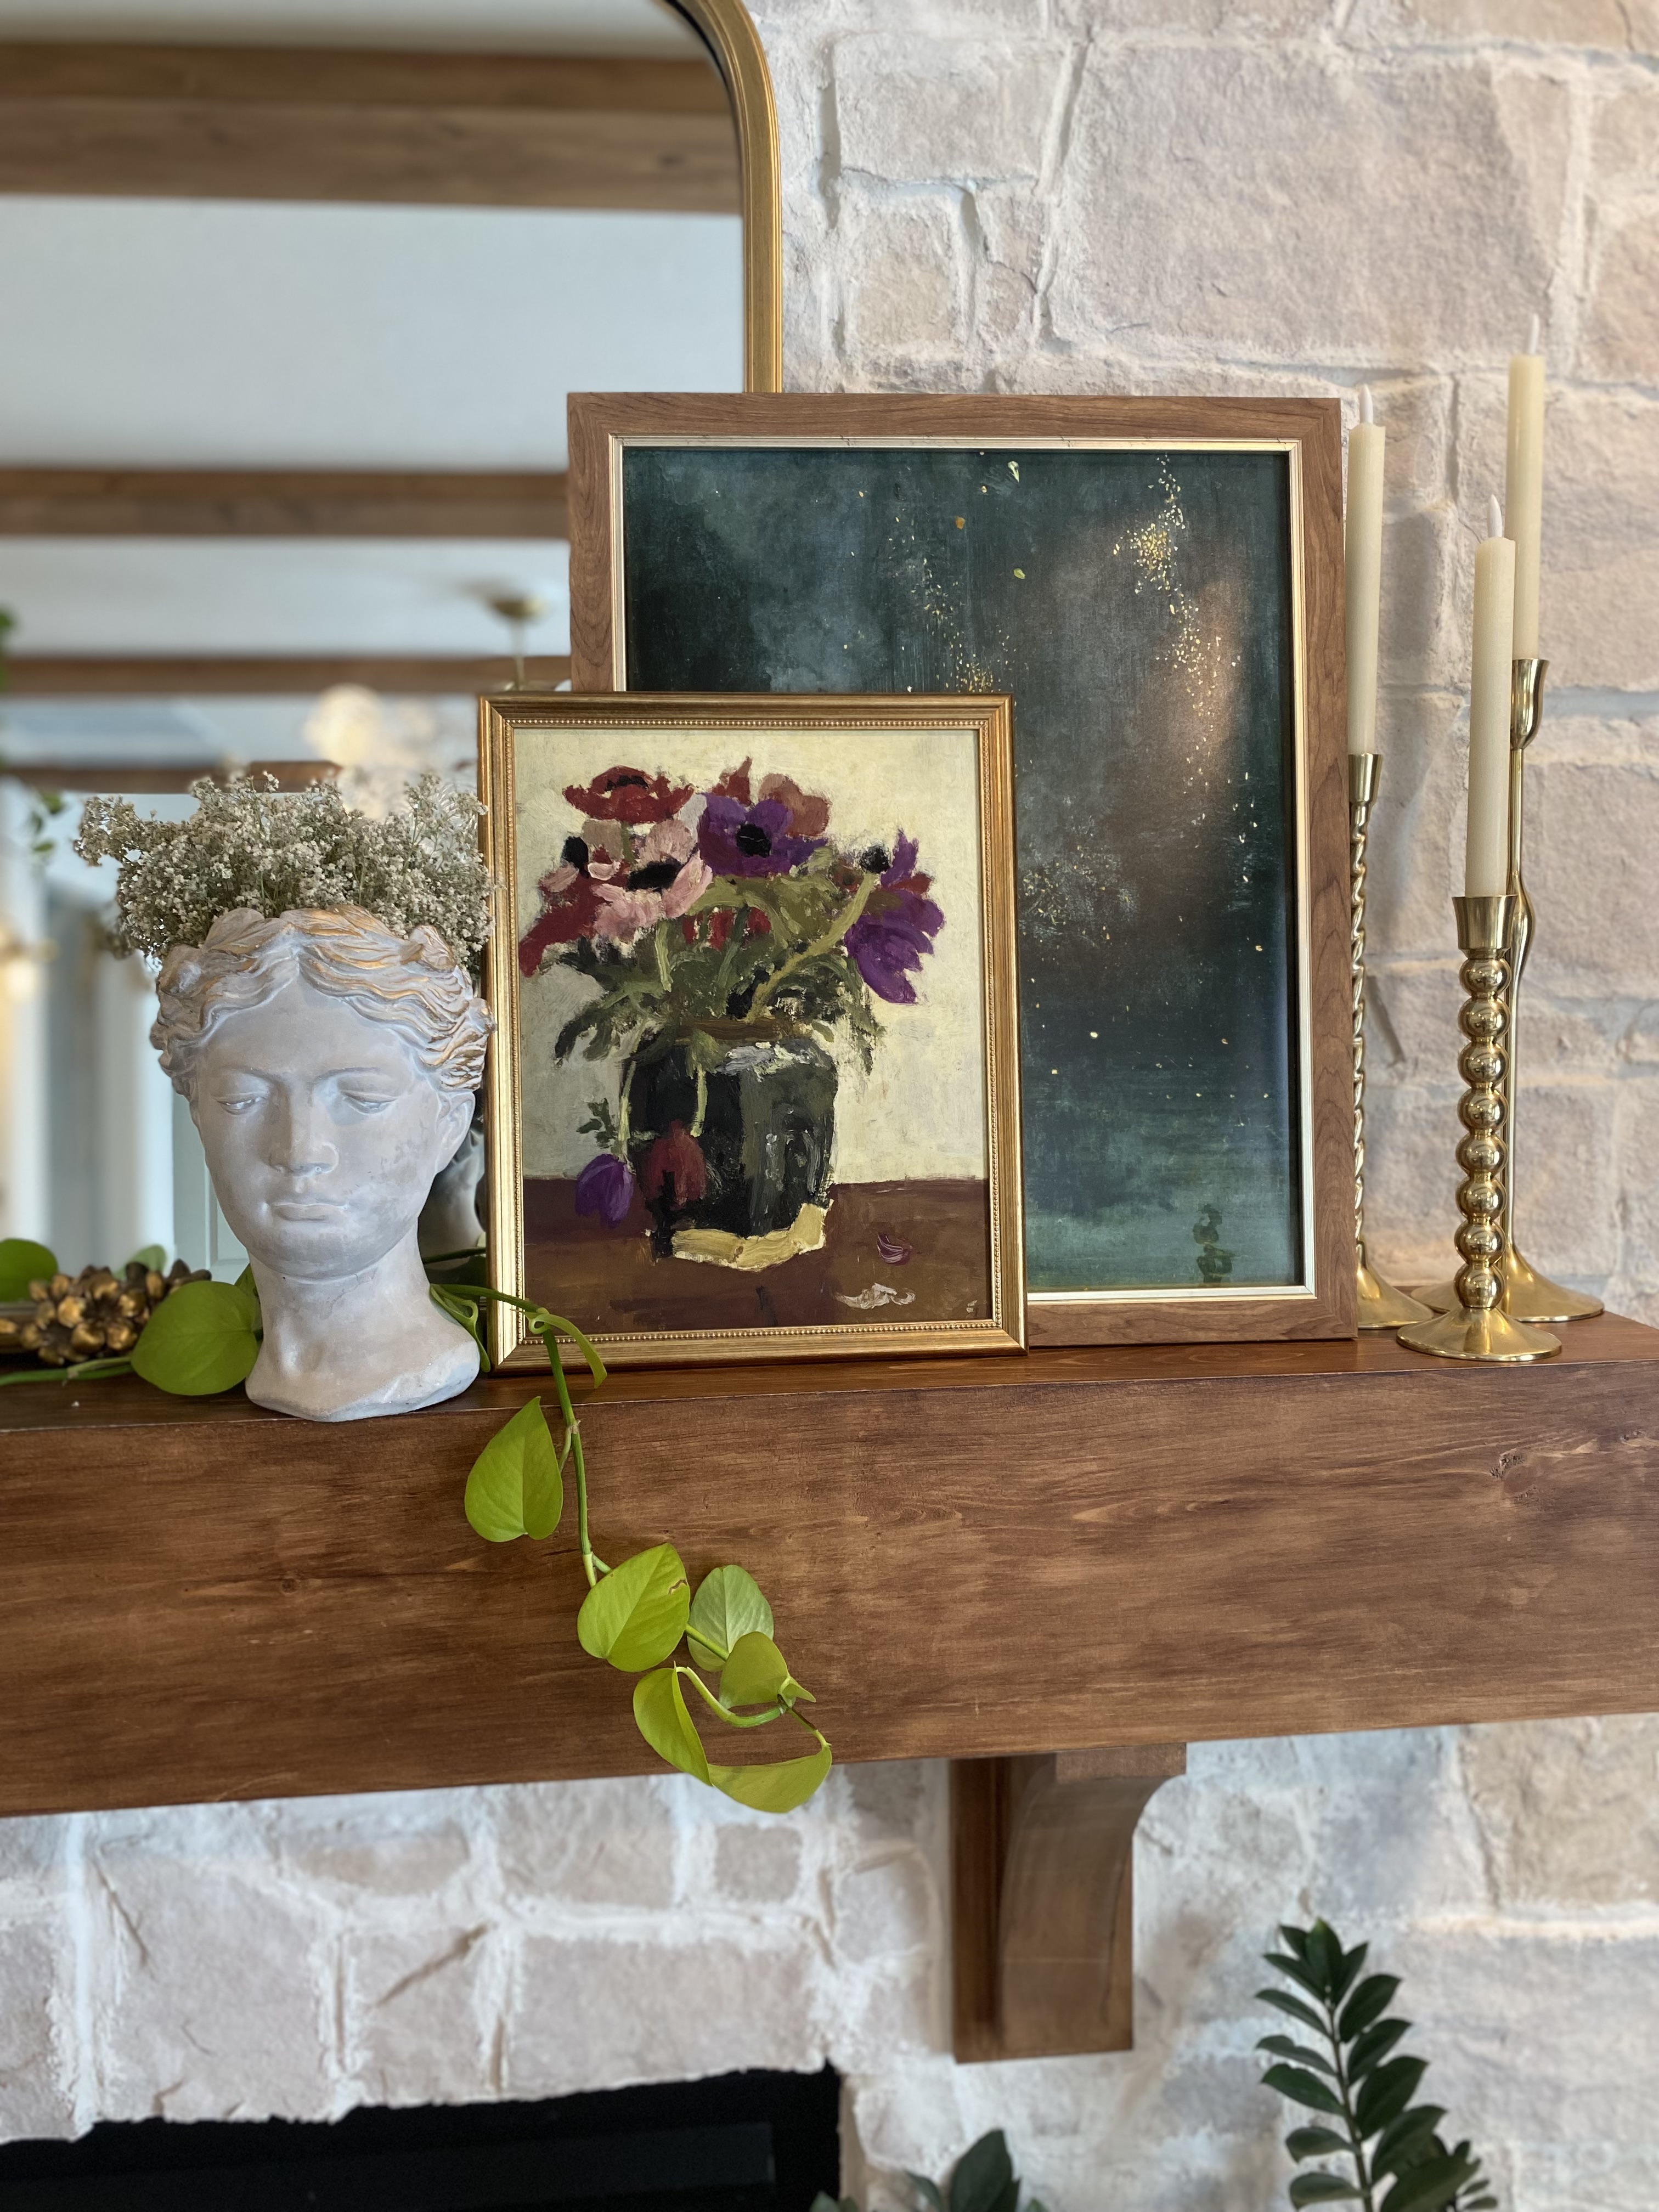
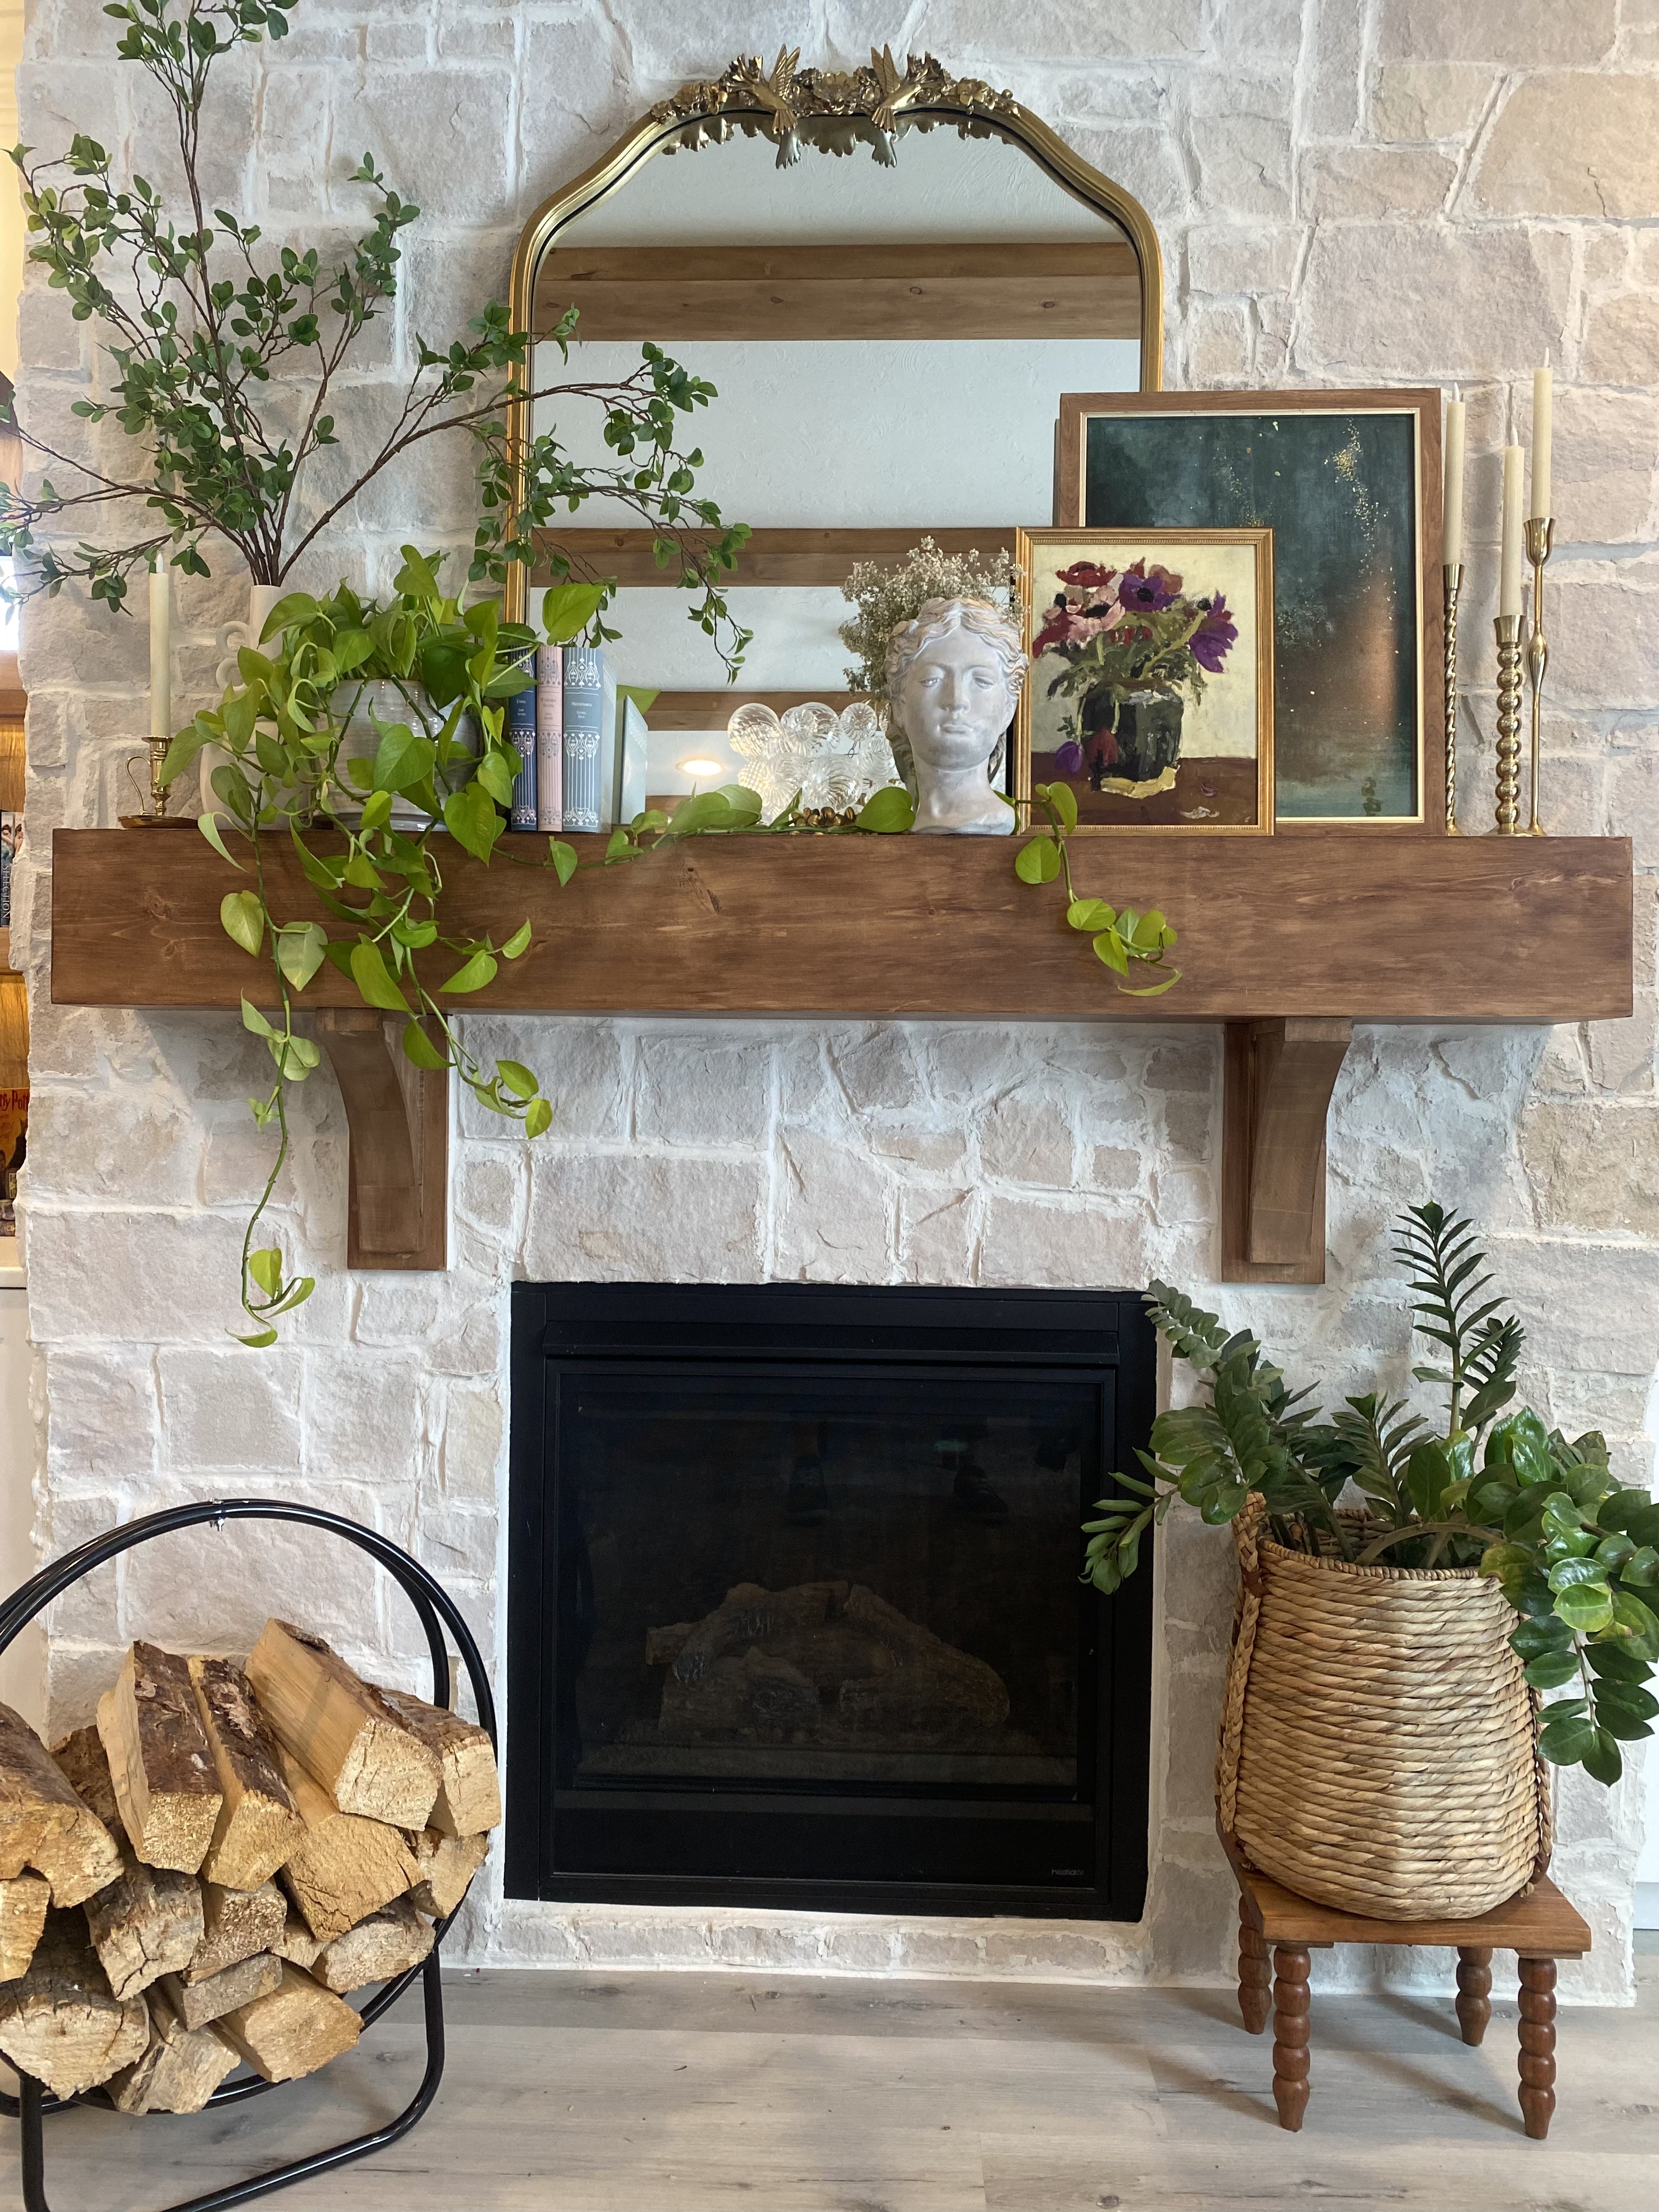
I’m absolutely thrilled by how it turned out! I think the mantel is nice break from the natural stone we added after installing the mantel. Wood adds warmth to a space to make it feel more cozy.
Step 1: Design and Inspiration:
Begin by sketching your ideal mantel design. Consider the overall style of your home – whether it’s rustic, modern, or traditional – and draw inspiration from your existing decor. Websites like Pinterest and design magazines can provide a wealth of ideas to spark your imagination.
Step 2: Selecting the Right Materials:
Choose the wood for your mantel, keeping in mind the aesthetics of your space. An unfinished mantel kit provides a convenient option, but you can also repurpose reclaimed wood for a more rustic feel. Ensure that the wood is properly treated and sanded before starting your project. We decided to use common pine board and make a faux mantel.
Step 3: Preparing the Wood:
Sand the wood thoroughly, starting with coarse grit sandpaper and gradually moving to finer grits. We like using an orbital sander to speed up the process. This step is crucial for achieving a smooth finish and ensuring that the stain or paint adheres properly to the wood surface.
Step 4: Staining or Painting:
Apply your chosen stain or paint to achieve the desired color and finish. Be sure to follow the manufacturer’s instructions and allow sufficient drying time between coats.
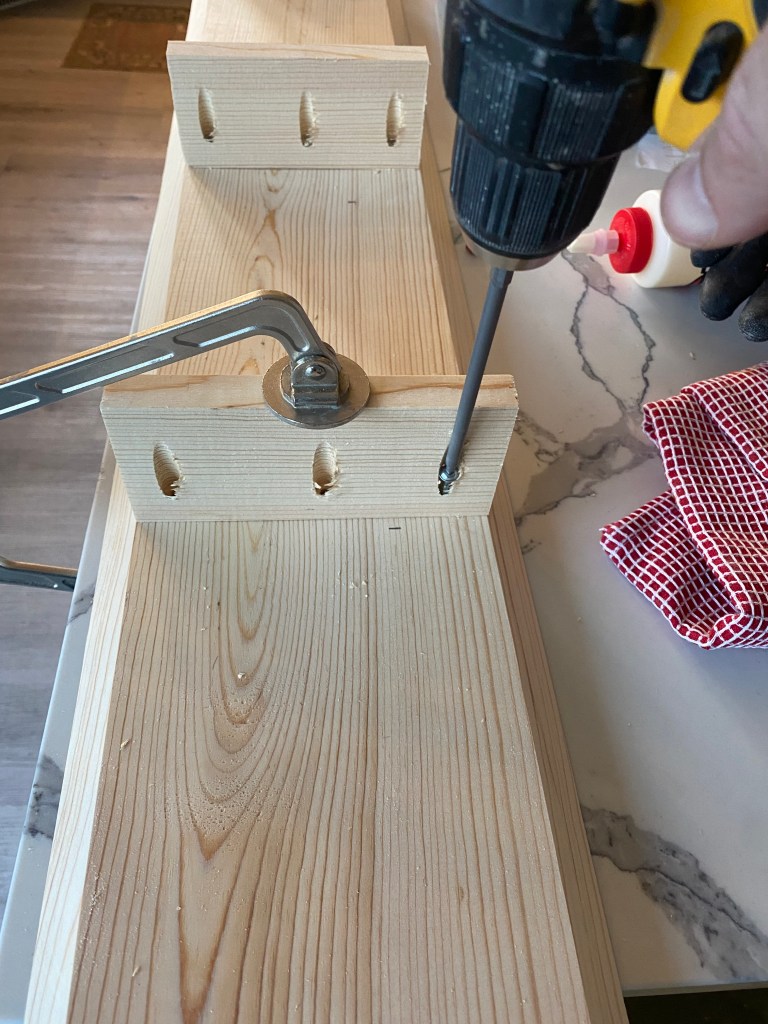
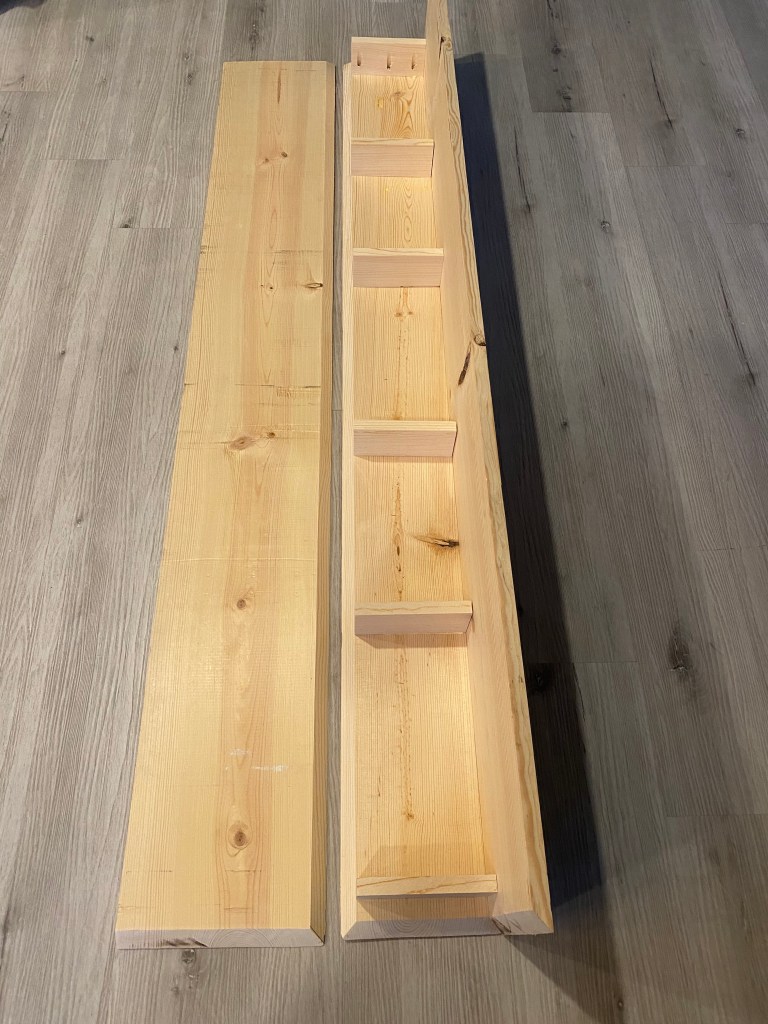
Step 5: Assembling the Mantel:
If you’re using a mantel kit, follow the provided instructions for assembly. For those using reclaimed wood, assemble the pieces according to your design, securing them with wood glue and screws or a nail gun.
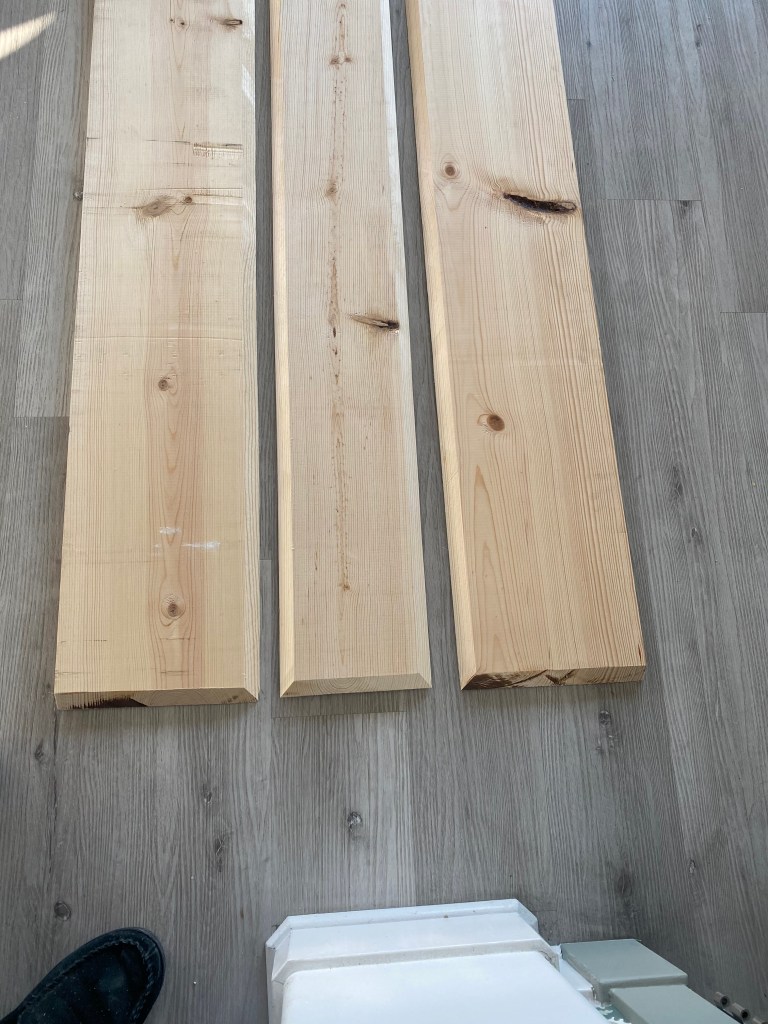
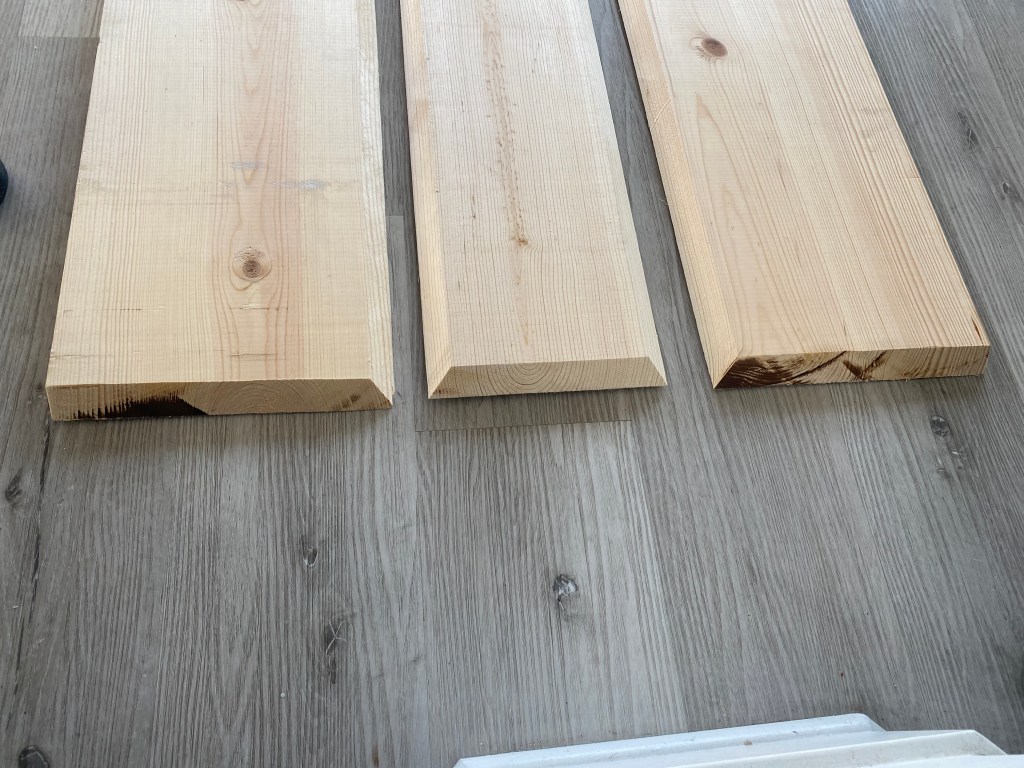
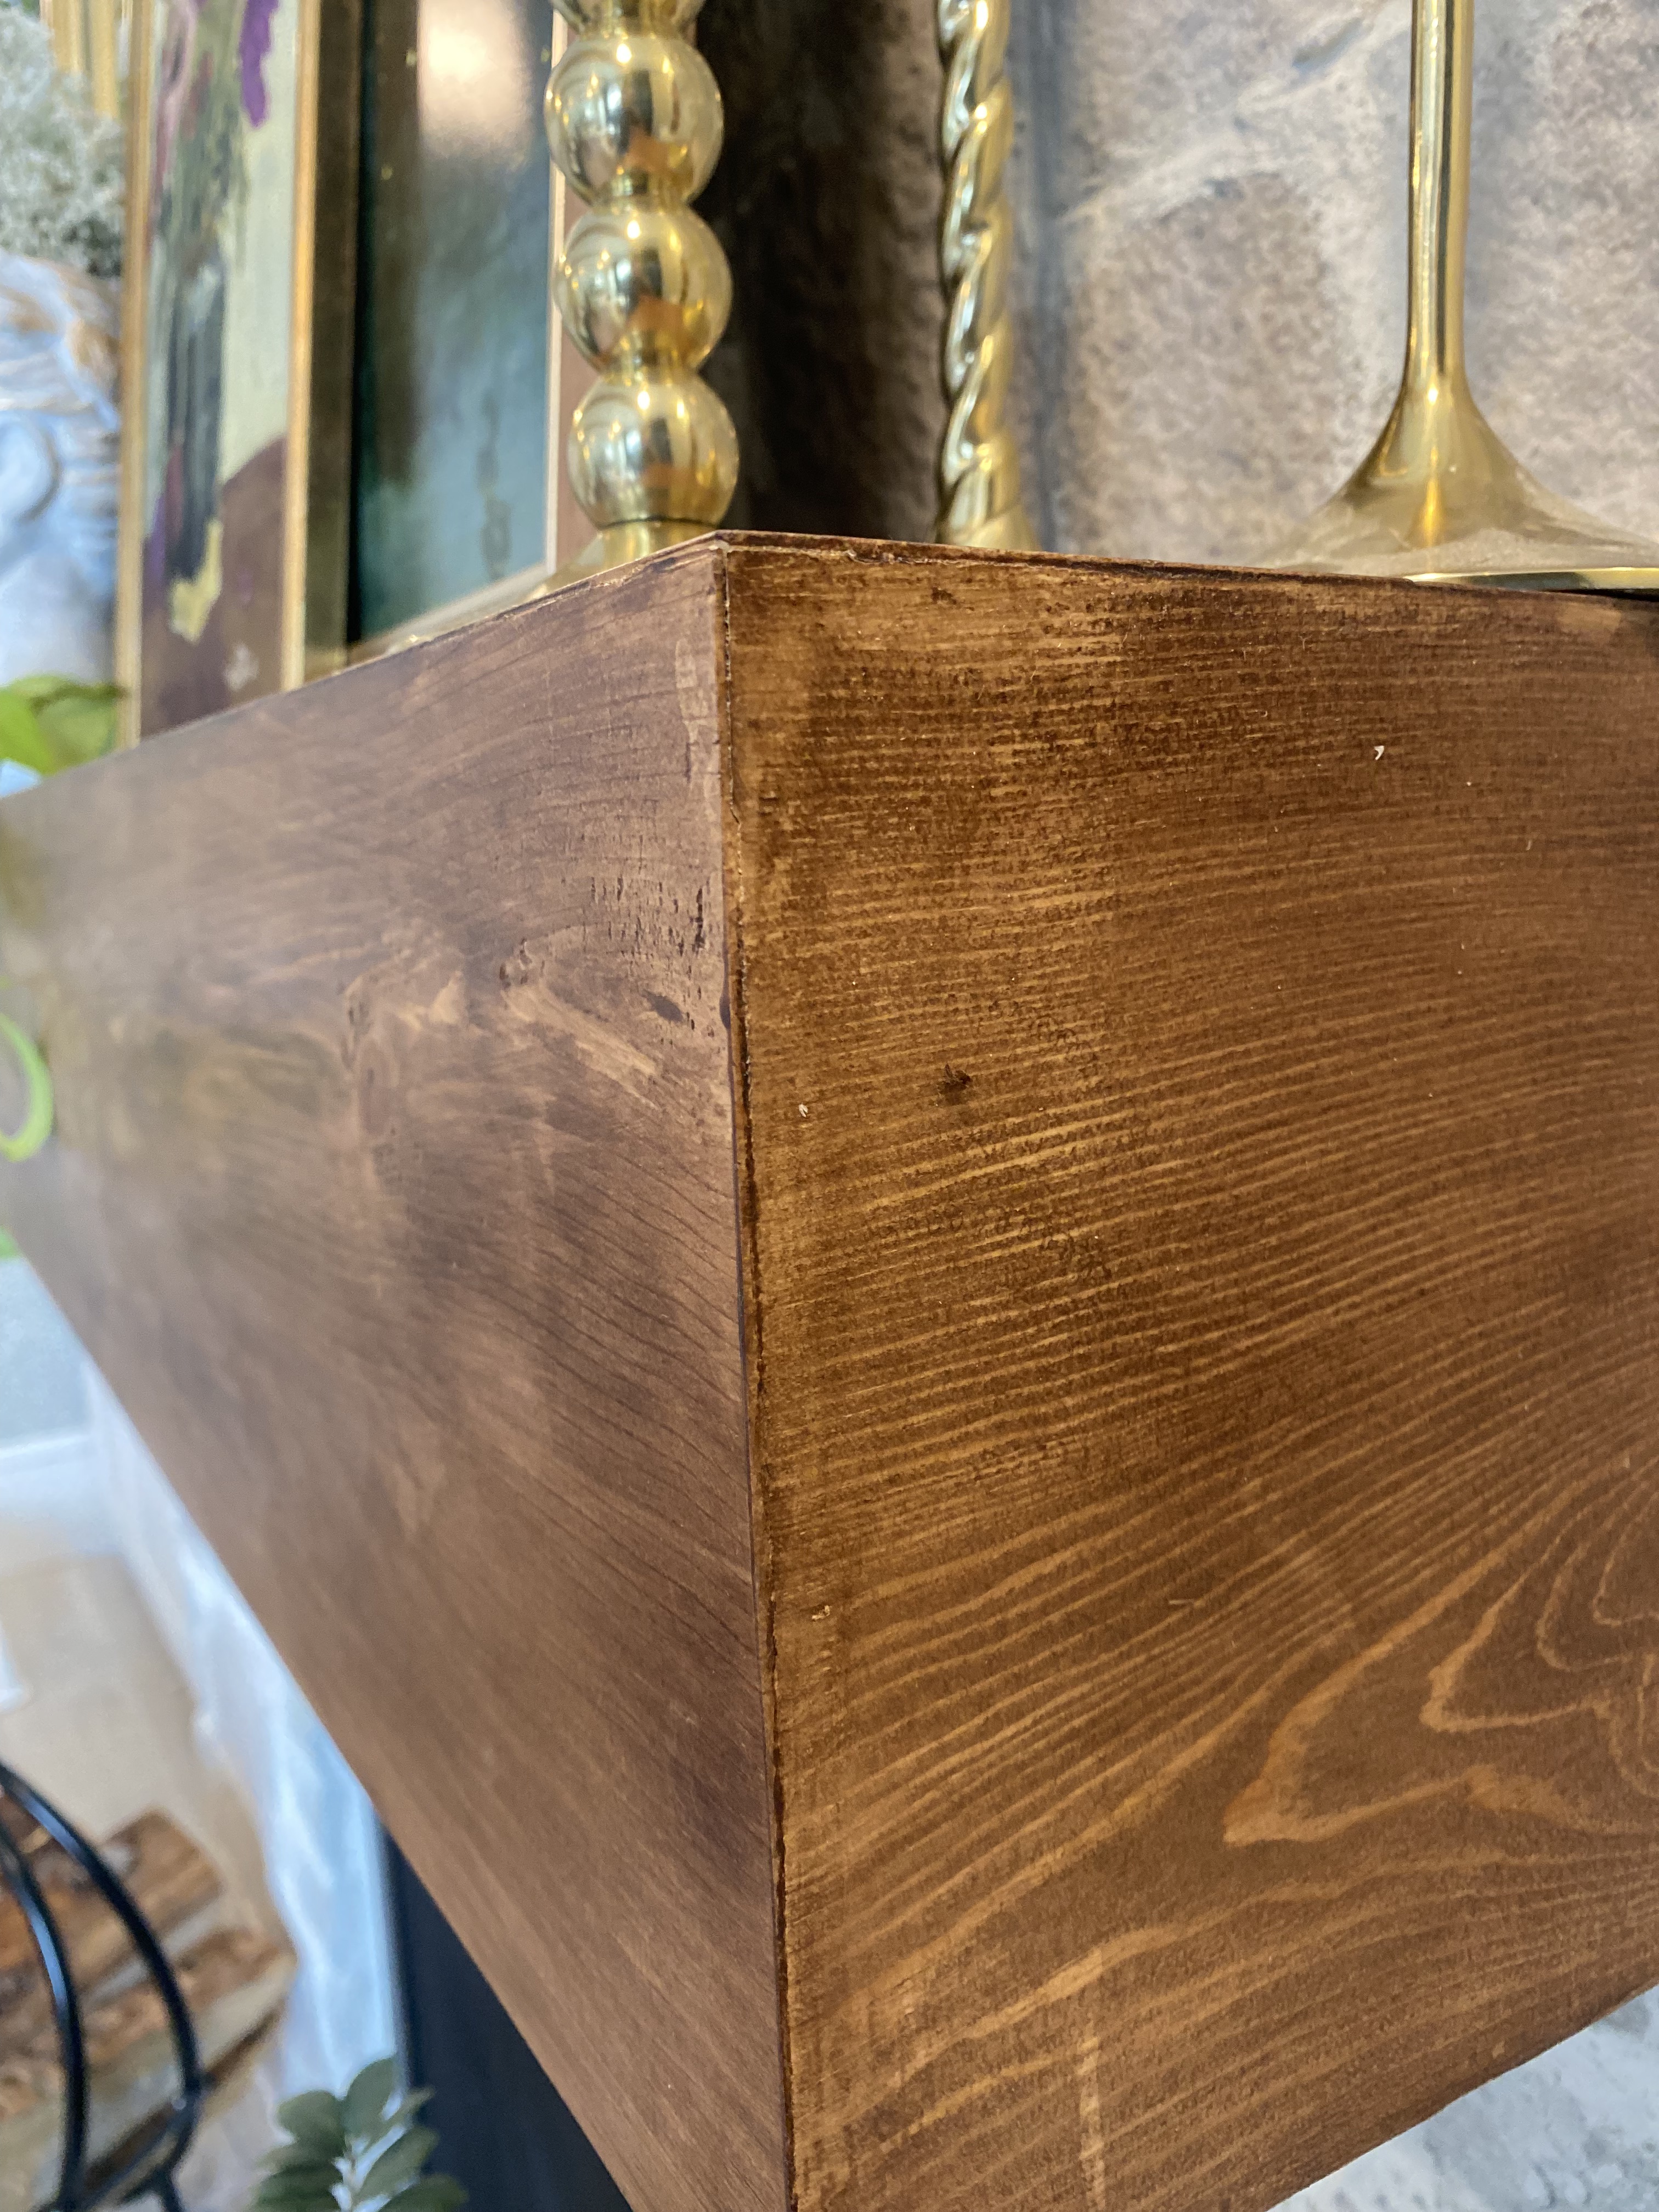
You will notice I used “seamless” in the title of this post since I didn’t want any lines showing on the joints. In order to achieve this, I had to make miter cuts all around the edges. See the step by step process with the pictures below.


Step 6: Installation:
Once assembled, use a level to ensure your mantel will hang evenly. Secure it to the wall with screws or a mounting bracket. If you’re attaching it to a brick fireplace, a masonry drill bit and anchors will be necessary.
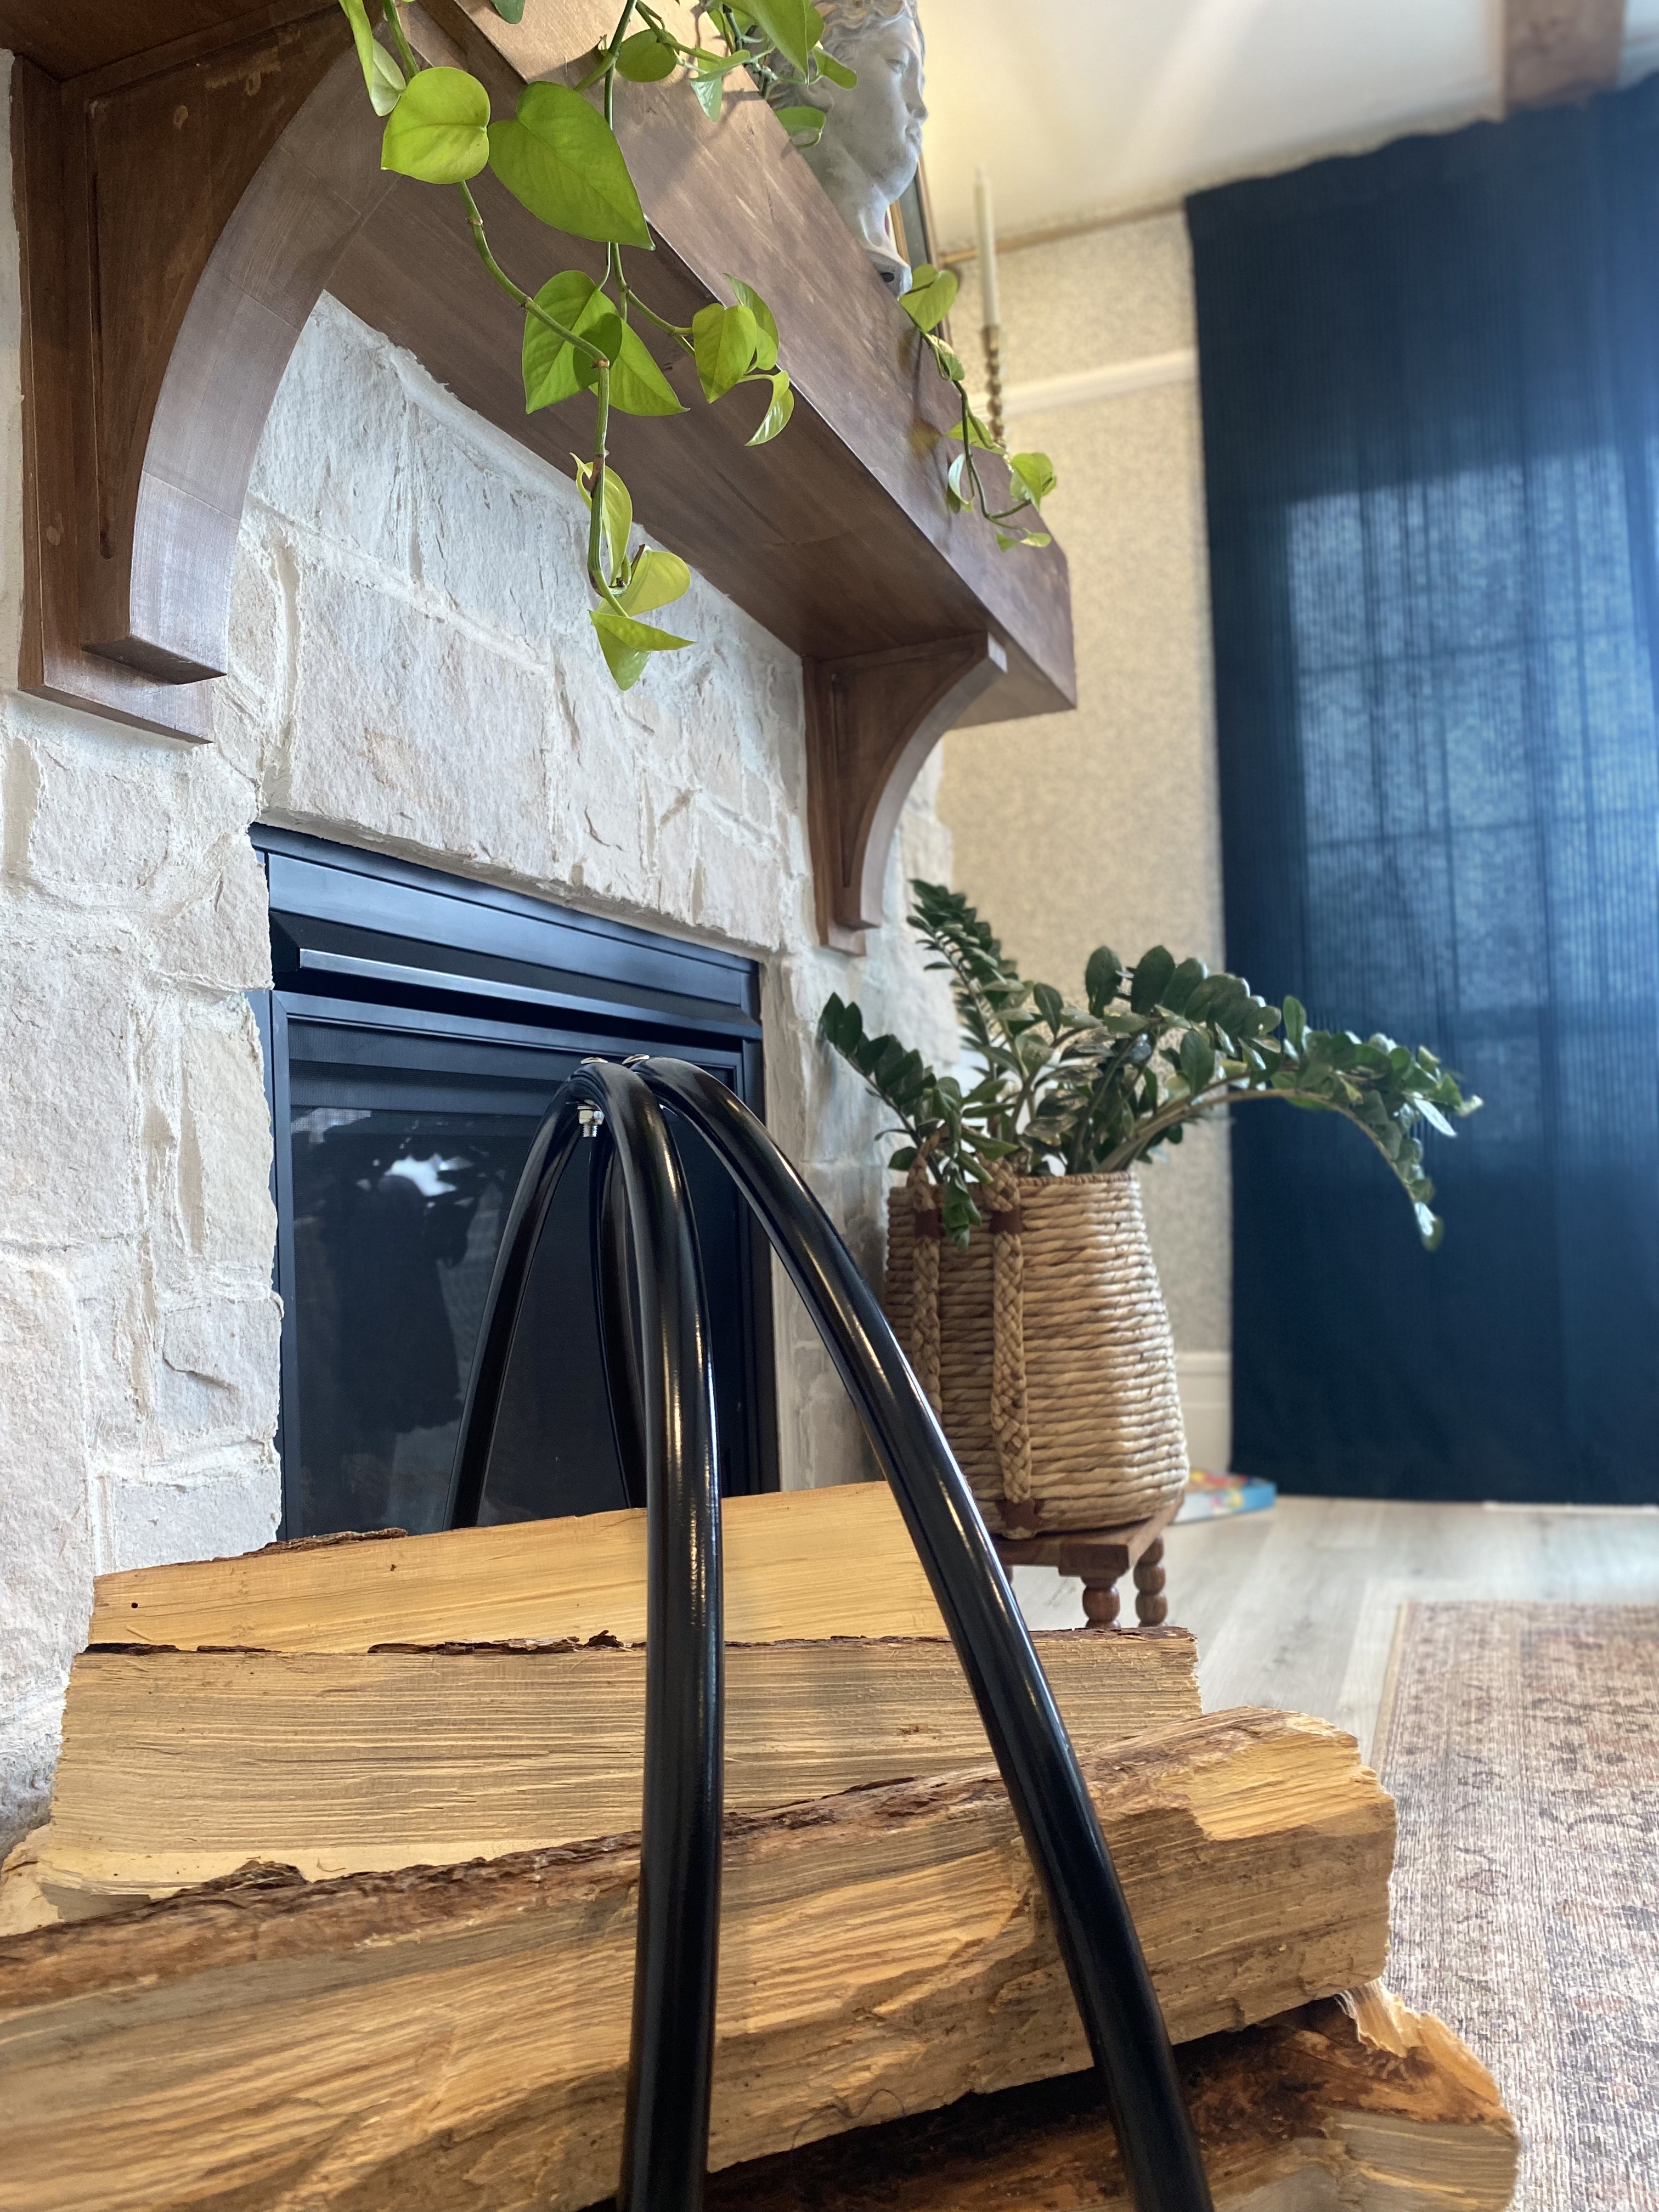
The finishing product will show natural white stone surrounding the mantel. The stone was installed post installation of the mantel thus allowing use to fasten the mantel directly into the wall studs and not the masonry/stone.
Step 7: Finishing Touches:
Fill any gaps or holes with wood filler and sand the mantel one final time for a flawless finish. We have used a technique with wood glue plus sawdust from the cuts we make with the table saw. Apply the wood glue to the gaps, cracks or blemishes of this wood. Apply generously sawdust to the wood glue. Let it dry then sand it down with a smooth grit sandpaper.
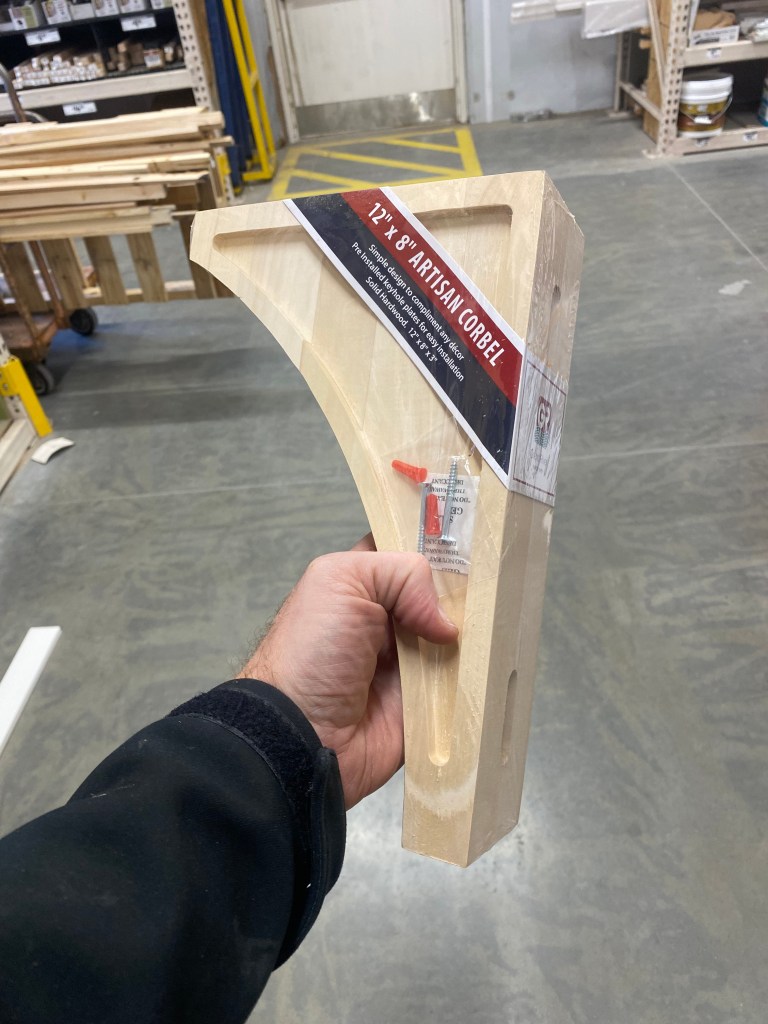
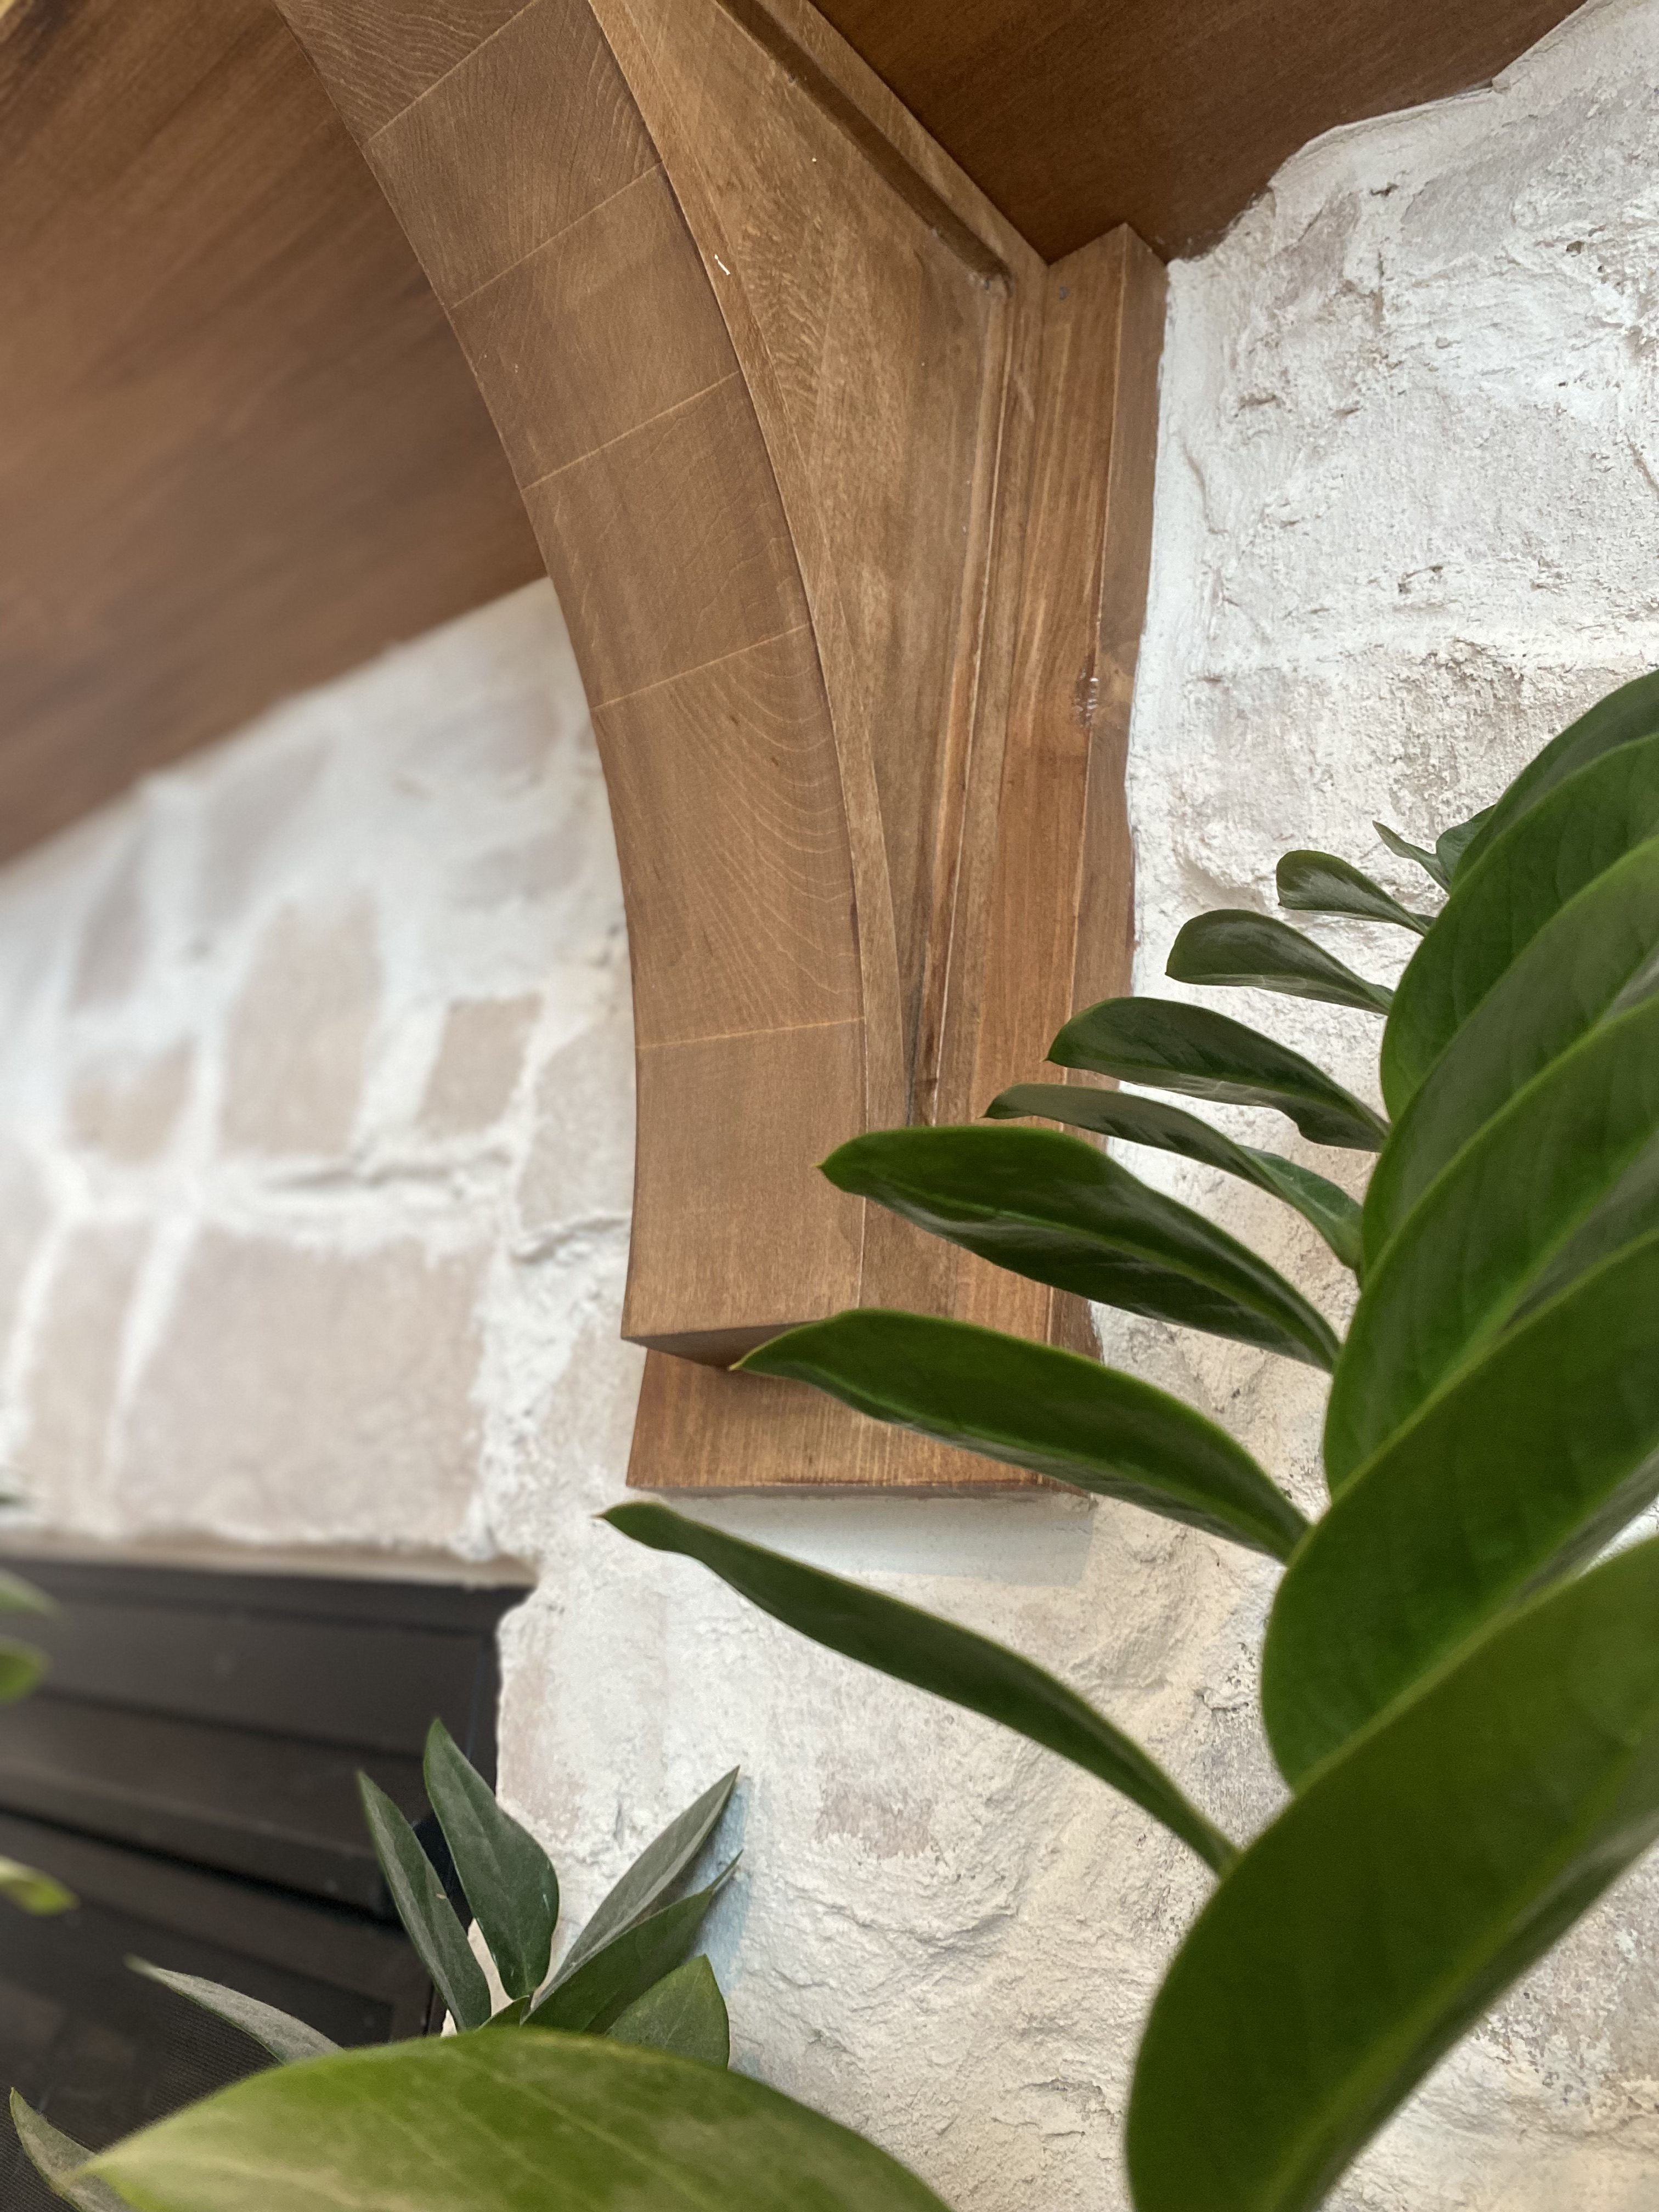
You can also add decorative elements like corbels or a distressed finish for an extra touch of character.
Conclusion:
Congratulations! You’ve successfully crafted a DIY fireplace mantel that not only enhances the beauty of your living space but also radiates a sense of warmth and personal style. With this newfound focal point, your home is bound to become an even more inviting and cozy haven for family and friends alike. So, gather around the fireplace and bask in the glow of your DIY masterpiece!


Leave a comment