Supplies
- 90 degree elbow (This can be a size of your choosing. We used 3/4 inch since our rod was extremely long)
- Tee fitting (Make sure this is the same size as the elbow)
- Steel nipple (The length depends on how far you want your curtains to stick out. We use a 2 inch nipple)
- Floor flange (This also needs to match the other fittings your purchase. Again, we used a 3/4 inch)
- EMT conduit or galvanized gas pipe (You could use a galvanized pipe that already has threads to screw onto the fittings, however, they are 3x’s the cost! See the last part of the post variations on this project.)
Total Cost For 18 Foot Curtain Rod: $55
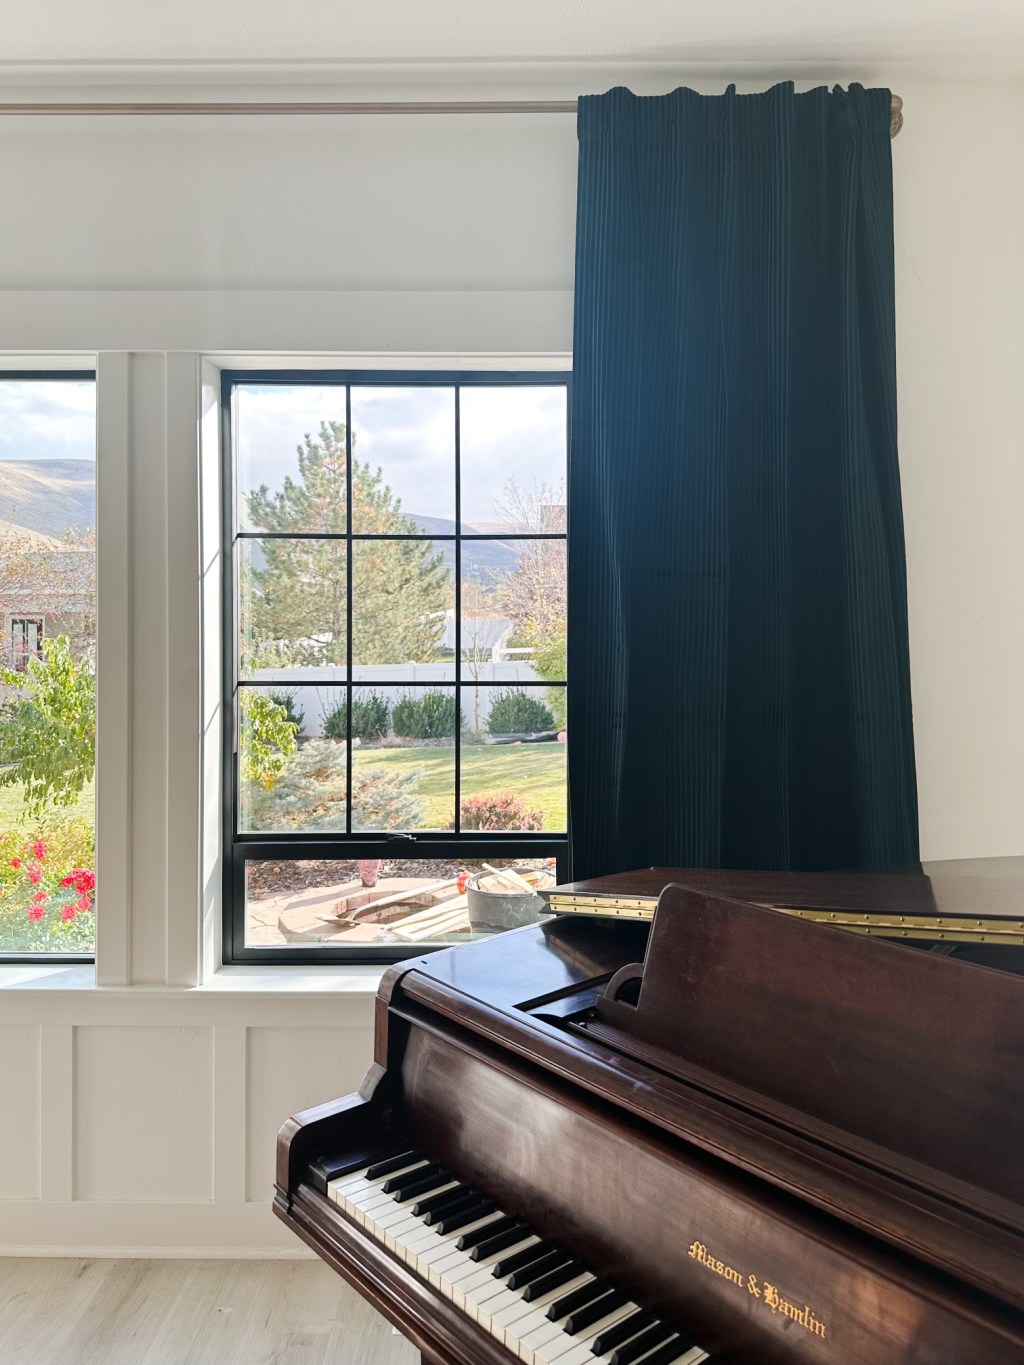
Can you guess how long of a curtain rod we need for our living room window? Well, it definitely is NOT a standard size! It is very very over-sized so we had to turn to a DIY option unless we wanted to break up and use several rods (which we didn’t) or spend hundreds of dollars on a rod to properly fit the window (also not appealing). Oh, and the other answer- we needed a 217” curtain rod!
We like to extend the curtain rods past the window to make them look bigger. The total length of our window was 14 feet. The rod needed to extend 2 feet beyond so total length ended up being about 18 feet.
- Cut your emt pipes to length. Ask someone at Home Depot to cut them for you, but they vary in length already. I believe they come in 1 foot increments. Chances are, you probably won’t need someone to cut them.
- Determine if you think you need to tee pipe for the center of the rod. If your window is any longer than 10 feet, I would recommend breaking up the rod with a tee pipe.
- Now go to Home Depot and get your supplies. The EMT conduit is going to be in the electrical section and all the pipe fittings are in the plumbing section.
- If you don’t like the industrial look get some metal primer and a paint color of your choice. We chose Antique Bronze.
- Honestly, you can spray all the parts before or after putting them together.
- Screw the nipple to the flange.
- Screw the other end of the nipple to the elbow and/or the t-pipe if your rod is super long where you need to support it in the middle.
- If you are using EMT conduit you will have to wedge the rods into the elbow and t-pipes since they do not have threads. If you chose gas pipes, you will be able to screw them in to the elbows or t-pipes.
- Now that everything is secure in place, make for the holes with the flanges where the curtain rod will be fastened to the wall. This will be a 2-person job especially if you choose to use the EMT conduit.
- Make sure you fasten this rod into the wall with drywall anchors or into studs.
I hope this DIY saves you money on your next curtain project! Good luck!

Leave a comment