Supplies
Metal primer // Kilz primer spray // black exterior paint // Clear Gorrilla glue // 1/2 in. x 36 in. Aluminum Flat Bar with 1/16 in. Thick
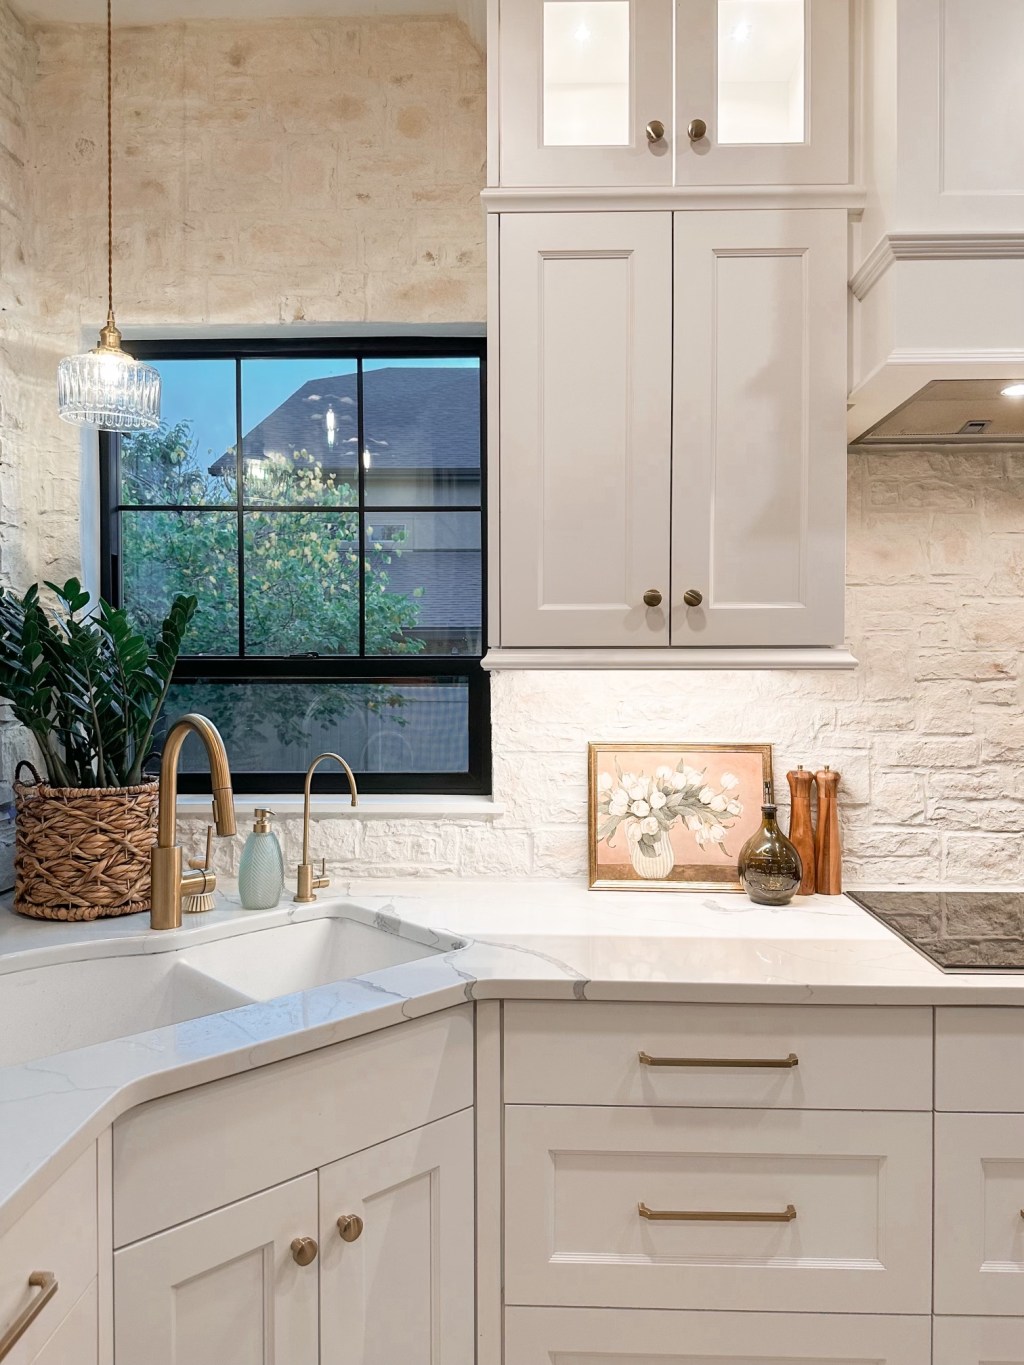
There’s just something about black grid windows, am I right? Create your own high-end designer look on a BUDGET with these five items and easy tutorial!
You’ll need: clean metal primer, interior primer (we like using Kilz), some exterior black paint (you can purchase this as a spray paint but it’s a tad more expensive. We bought the quart and used our paint sprayer- we used Limousine Leather), clear gorilla glue, and 1/16” aluminum flat bar! This is KEY! The aluminum is durable and will hold up against heat, not to mention it will give you the most realistic look since this is exactly what those pricey black windows are made of!
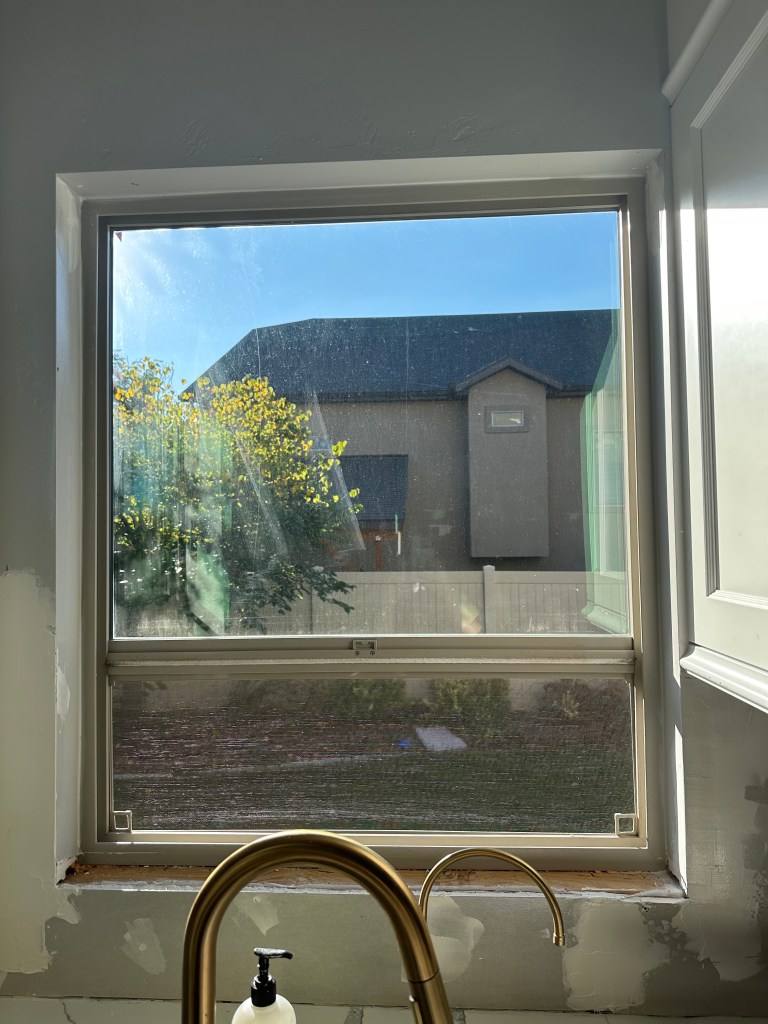
Once you’ve rounded up your items…
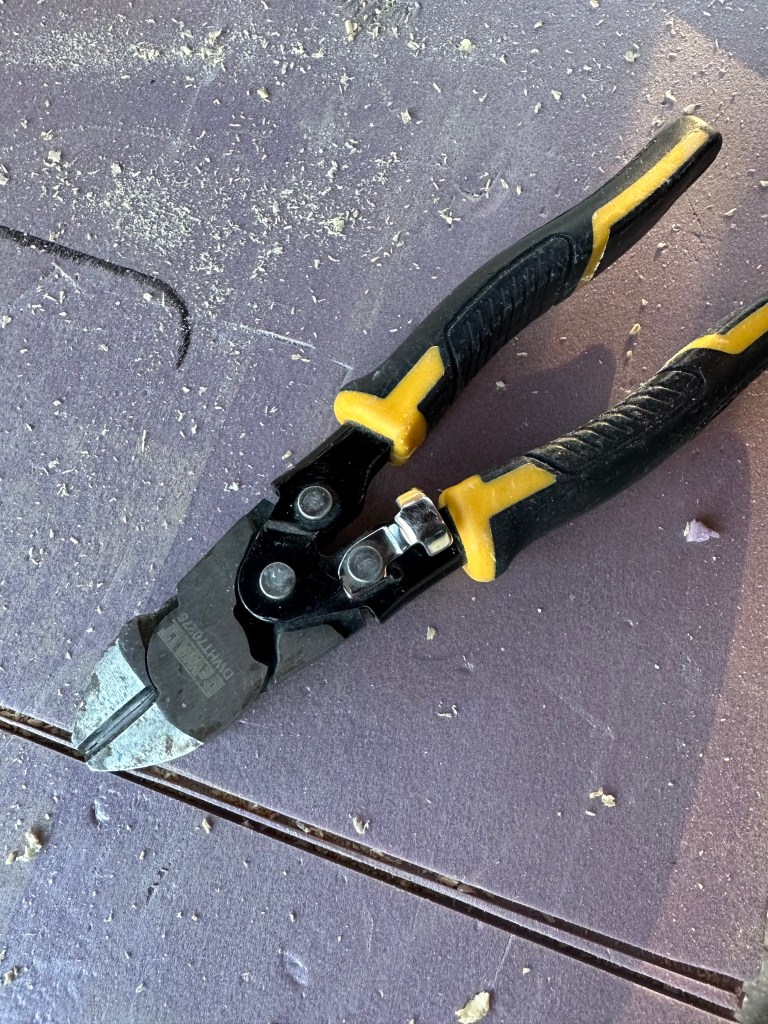
1 – Carefully measure and cut your flat bars to size. We used bold cutters. You will need to see what looks good on the window by experimenting with different grid sizes. Use painters tape to layout your grids and see what looks visually pleasing.
2 – Lightly sand your vinyl surrounding the window and apply the appropriate primers to the flat bars and window vinyl. (Make sure to mask your windows perfectly with frog tape!!!)
3 – Apply the exterior paint in very thin layers to prevent dripping.
4 – Remove your tape immediately after the final paint layer.
5 – Once all paint is dry, apply the tiniest strip of clear Gorilla glue to the back of the flat bars. You don’t want any excess squeezing out the sides.
6 – Adhere to the window and make sure your grids are even and level.
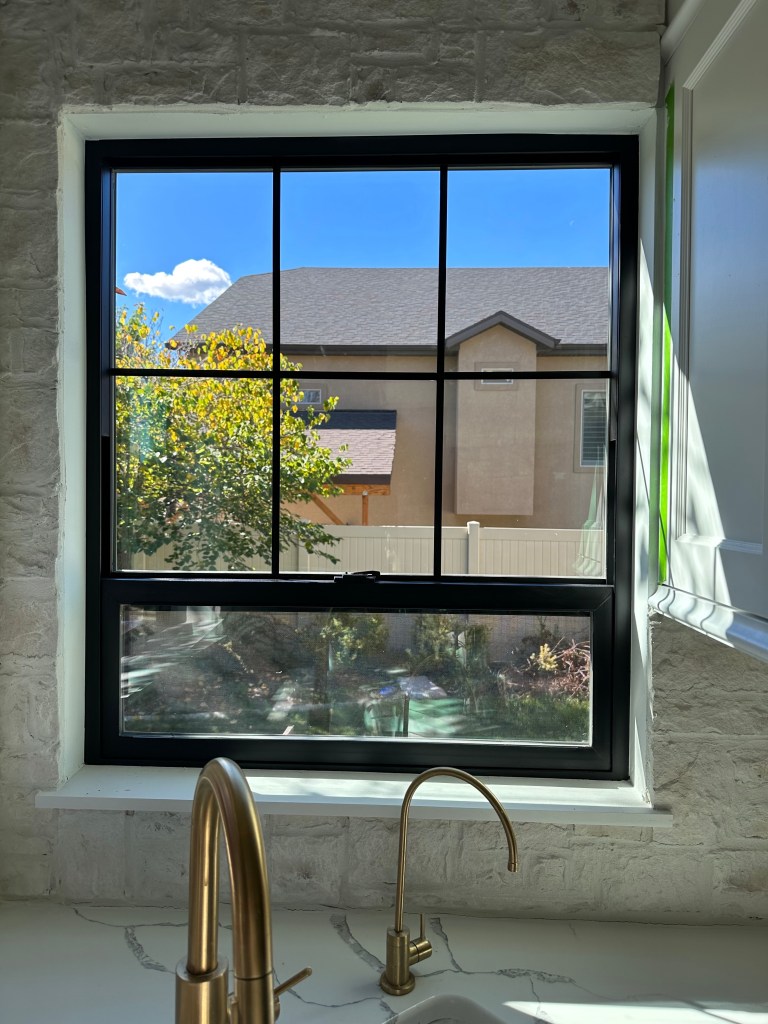
7 – Stand back and enjoy your gorgeous DIY high-end black windows that you created on a BUDGET (isn’t that the best part?)
We can’t wait to do this DIY window project on alllll the windows in our home! It immediately elevated the look! So satisfying ❤️. Happy DIY-ing!

Leave a comment