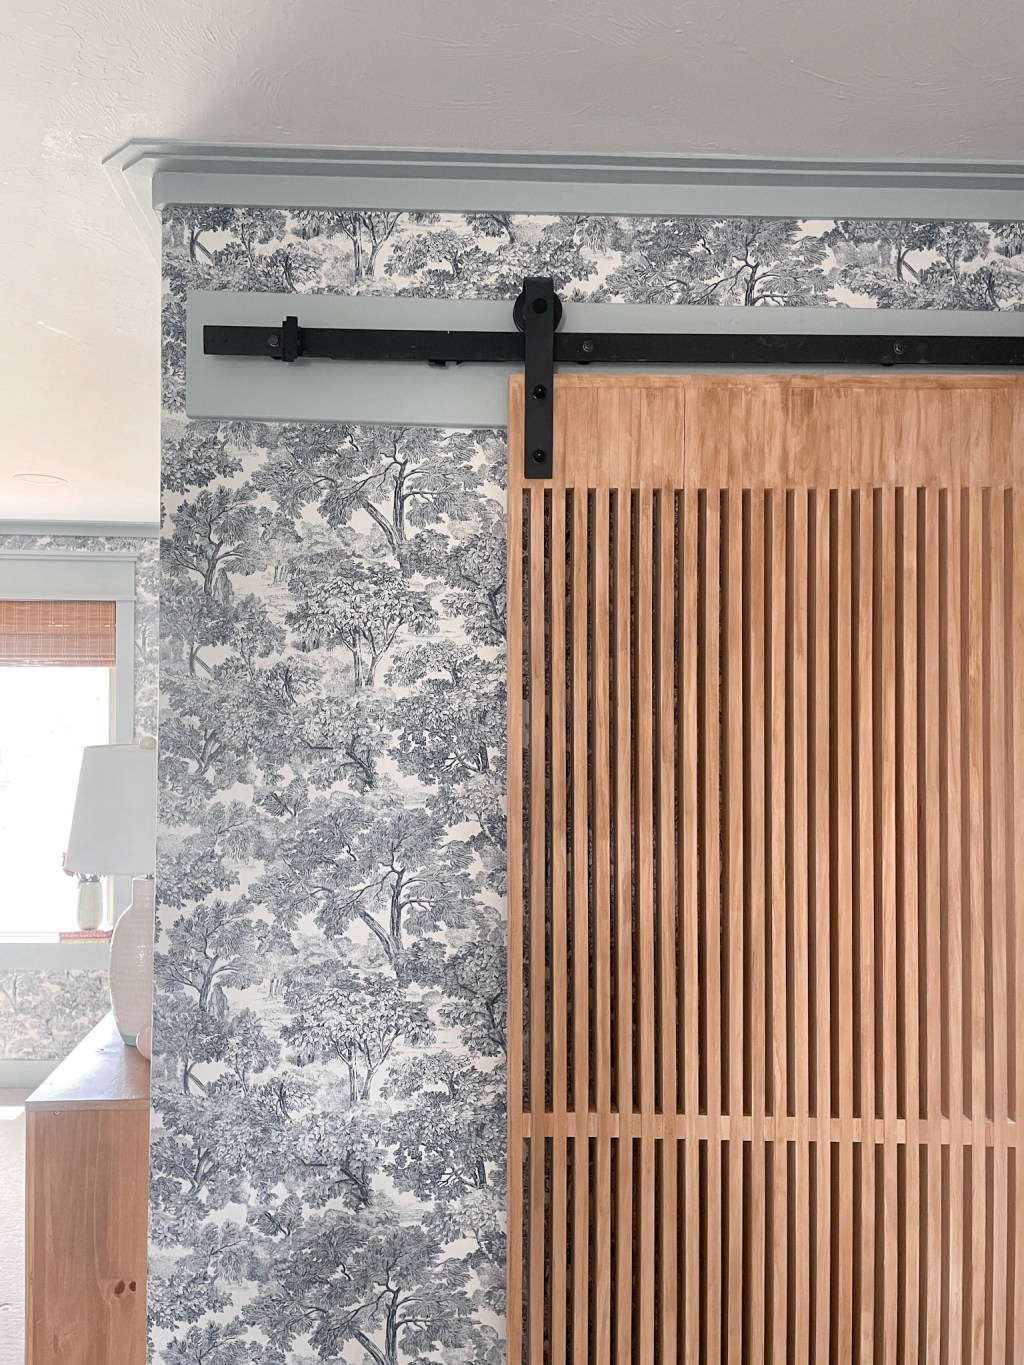

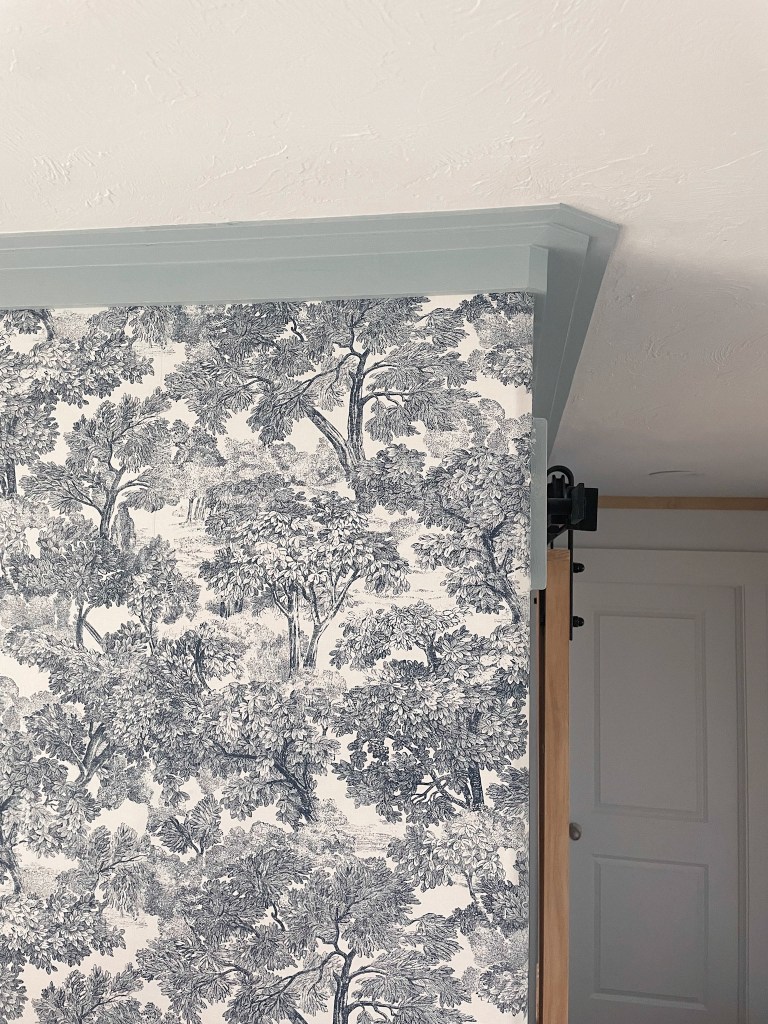
In spaces where you feel the ceilings are short (nowadays I feel like anything less that 8′ is short), we try to make the room feel bigger with paint, wall trim or even rearranging furniture in the room. Checkout our blitz room remodel we did on Jamie and Carson’s master bedroom to make their “smaller” master bedroom feel more spacious. In their room we used smaller wall trim, a crown molding that extended the length of the room and a small crown molding trim. In this project we used a combination of thinner trim to “extend” the height of the ceilings and match the trim paint throughout the room (Silver Lake by Benjamin Moore).
Supplies for this crown molding DIY:
1/4 sande plywood, 1/2 sandy plywood, 18 guage nails, wood glue, table saw, miter saw, wood filler, Kilz primer, Silver Lake Paint, painters tape.

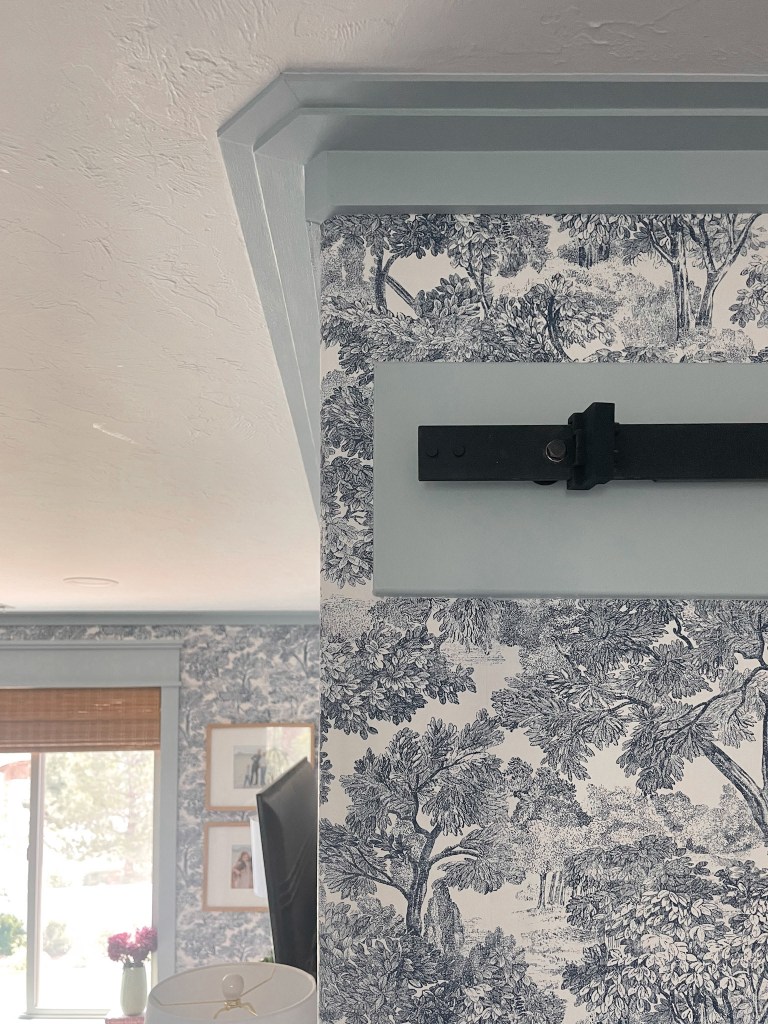
Using the 1/2 plywood, I cut a 2 1/2 inch for the wall piece. For the ceiling piece I used 2 pieces of 1/4 plywood and cut them to 2 1/4 inched and 3 inches. You can see the diagram of how I laid the trim.
The wall paper is the trim piece for the wall with 1/2 plywood. I stacked the 1/4 pieces with the 3 inch on the top followed by the 2 1/4 on the bottom.
I nailed the wall piece trim to studs and the ceiling piece with liquid nails since I didn’t have a stud to nail into. The last piece I nailed was the 2 1/4 inch ply and some wood glue on top of the 3 inch piece.
Fill in the nails with wood filler and caulk the seams between each trim piece. I like using Kilz primer which adheres nicely to wood and provides a nice finish to the final paint coat.


Leave a comment