
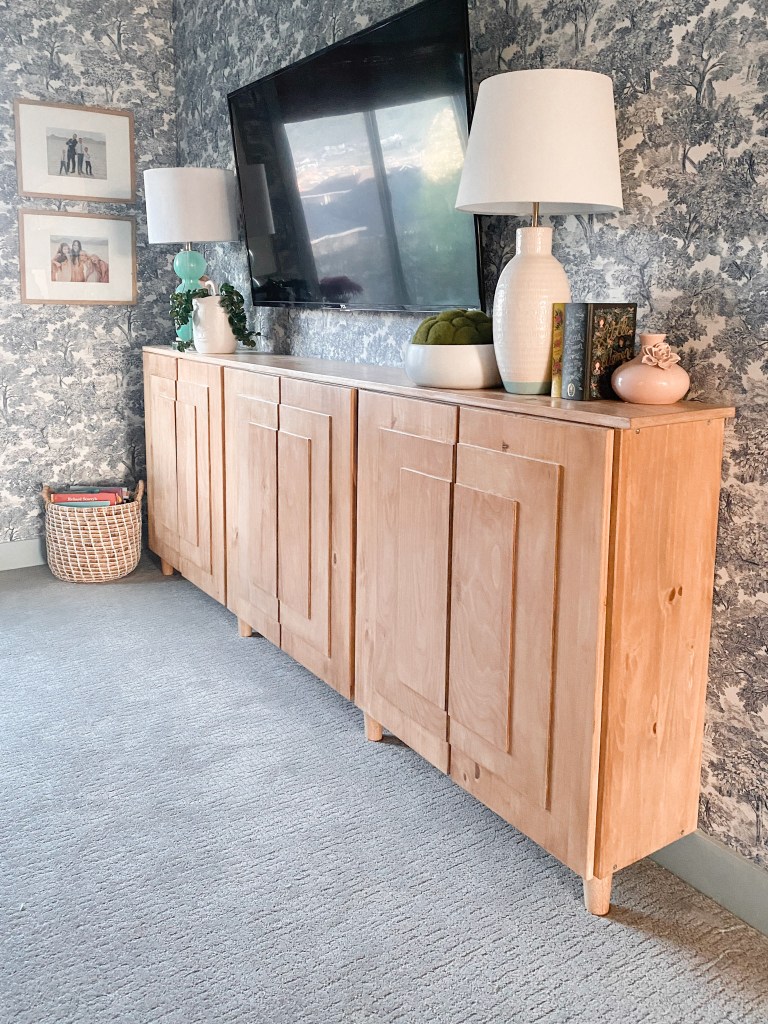
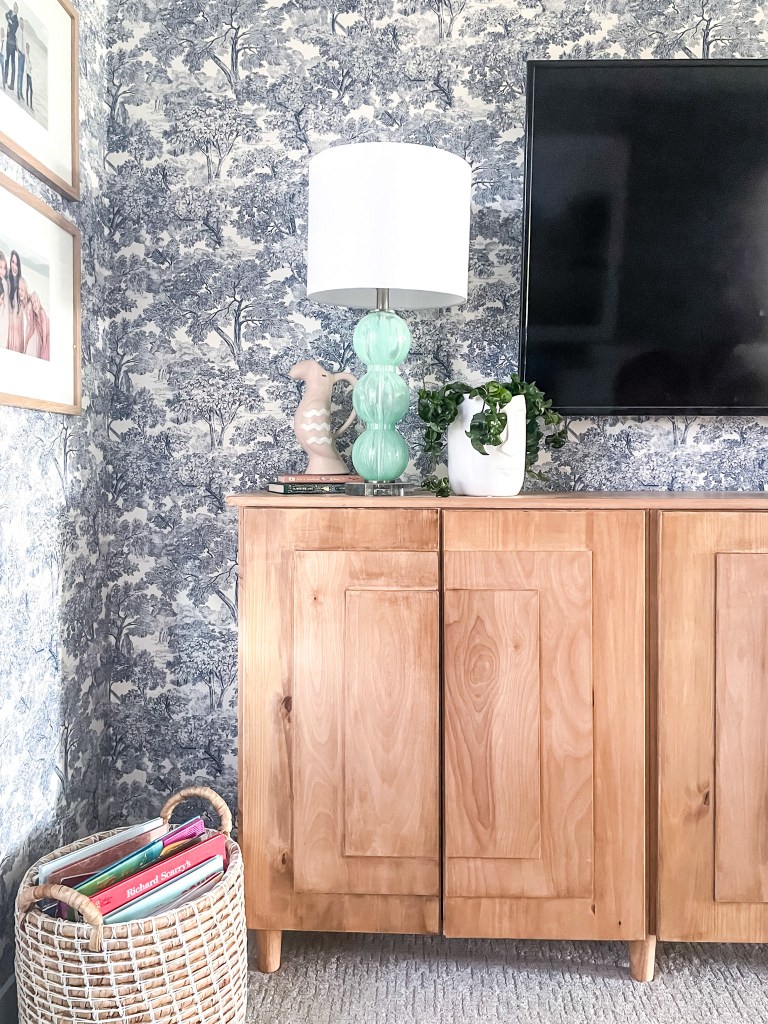
The IKEA Ivar cabinets are not only good for storage systems–they also offer a versatile assortment of finishing touches such as paint, texture or classic wood finishes. We have also used these adaptable cabinets in our laundry room remodel. For this specific project, we were looking for something that could store all of our existing children’s books, but also add a look of sophistication with the busy wallpaper we added to the room (more on that in another post). A classic wood finish was a must for this project.
Supplies: table saw // wood glue // birch wood, drill // ivar cabinets // Behr Early American Wood Stain // Behr White Wash Wood stain // Wood conditioner // Pine board // furniture legs
The door faces measure at 15×32 inches. After looking on Pinterest for ideas with this specific piece of furniture, we found one with the look we were looking for with simple panels. The main differences were the size and colors of the panels since we wanted a wood stain finish. We went through many iterations on the size and number of panels for the face of the cabinets. We decided on only two panels for the faces of the doors. The two panels measured at 11×26 and 7×20 inches. We decided to use birch plywood since it takes stain nicely. We needed 3 2×4 ft panels from Home Depot.


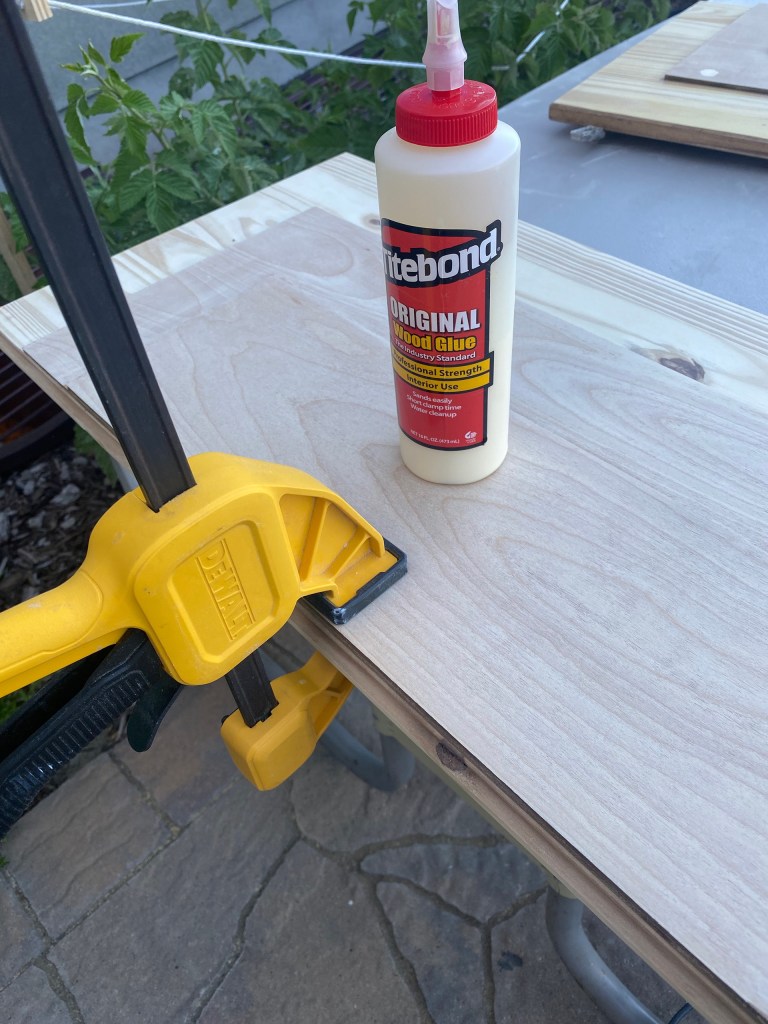
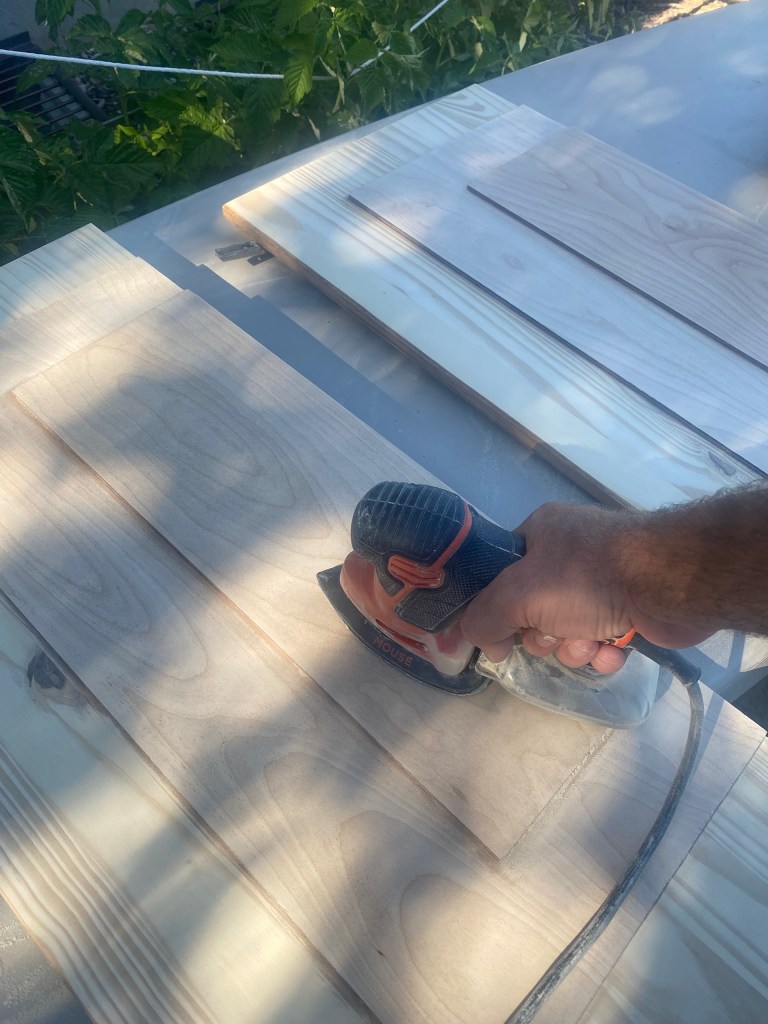
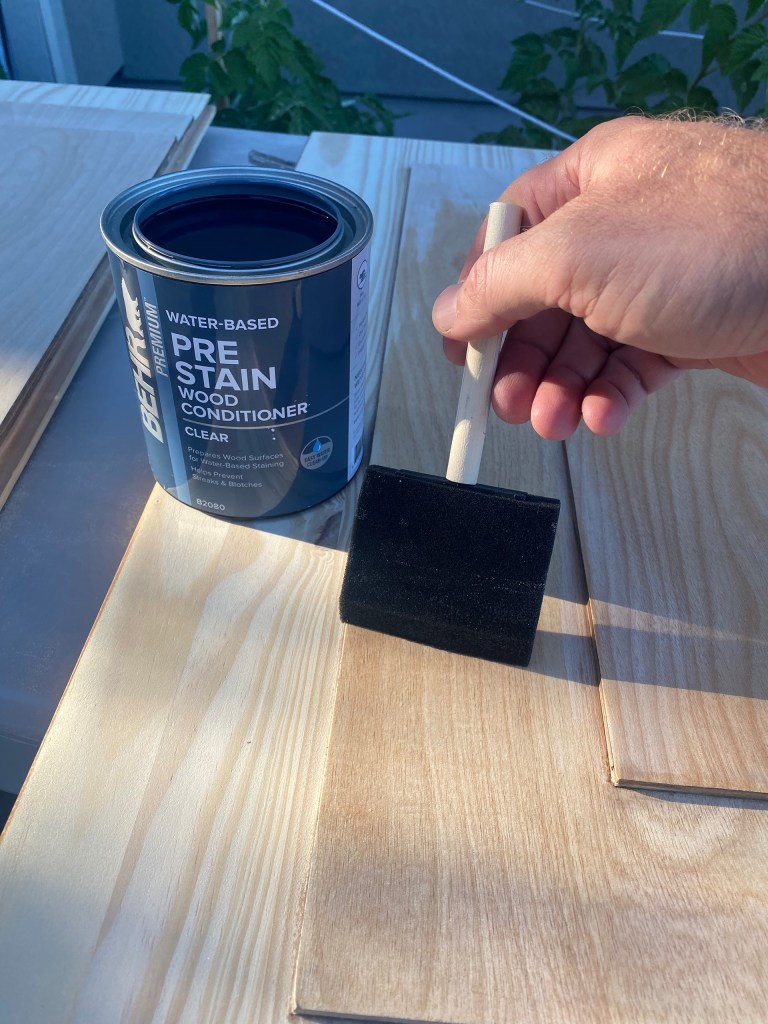
I used a table saw to cut them down to size then clamped them together with wood glue. It doesn’t take long to dry so you can sand them down after about 20 minutes of drying. The wood did not exactly match, however, the wood conditioner and white wash will help even out the wood variation. Two coats of wood conditioner and 20 minutes of drying time is sufficient.
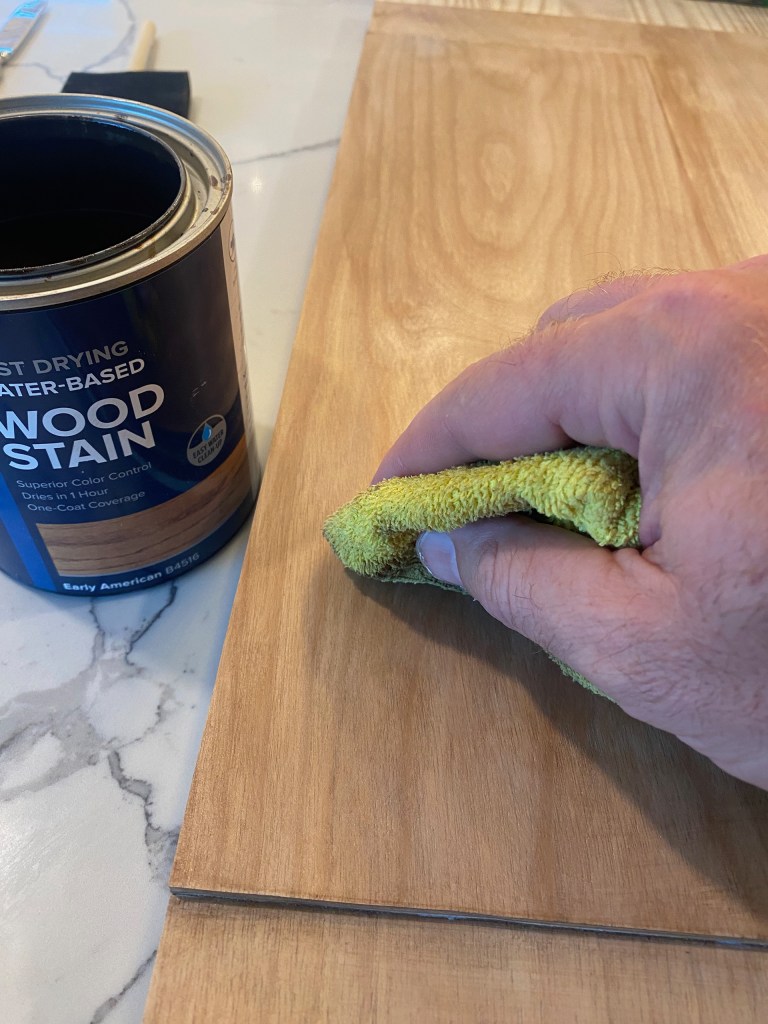
Next, I rubbed in white wash stain then the early american wood stain. This combination provides a warm finish to pine wood and is our favorite finish when staining pine. There is an art to wood staining I can’t explain. Make sure you experiment staining on small blocks of wood before staining your actual piece. I’ve used both techniques of brushing and rubbing the stain into to the wood. Do what suites you best and have fun with it causes so much grief and pain because if you screw it up, you have to re-sand the blasted wood again. Trust me, I have done that multiple times. Done with my rant! Can you tell how much I love to stain wood cause I don’t.
Repeat these steps when staining the cabinet box and the pine board for the table top.
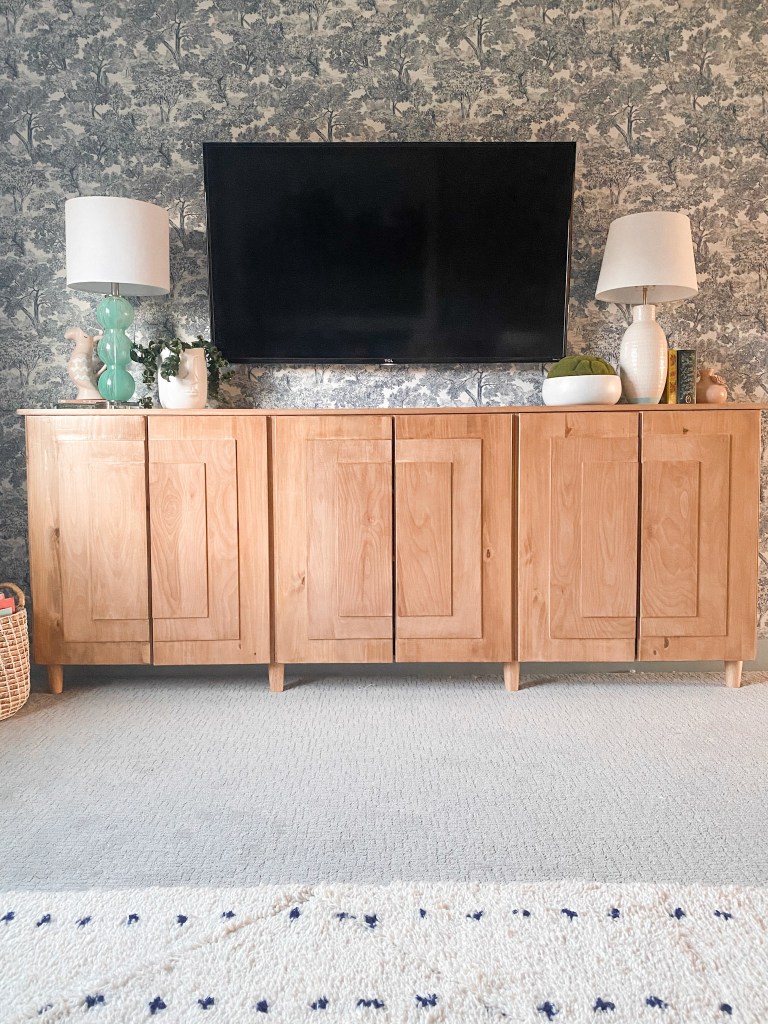
Since we are using 3 Ivar cabinets, attach all 3 together with 1 inch screws. We wanted somewhat of a “table/console” look so we purchased some furniture legs from Amazon. Fortunately, these were a super close match with our wood finish (bonus)! They also provided more support to the cabinets since they will be screwed into the wall like kitchen base cabinets.
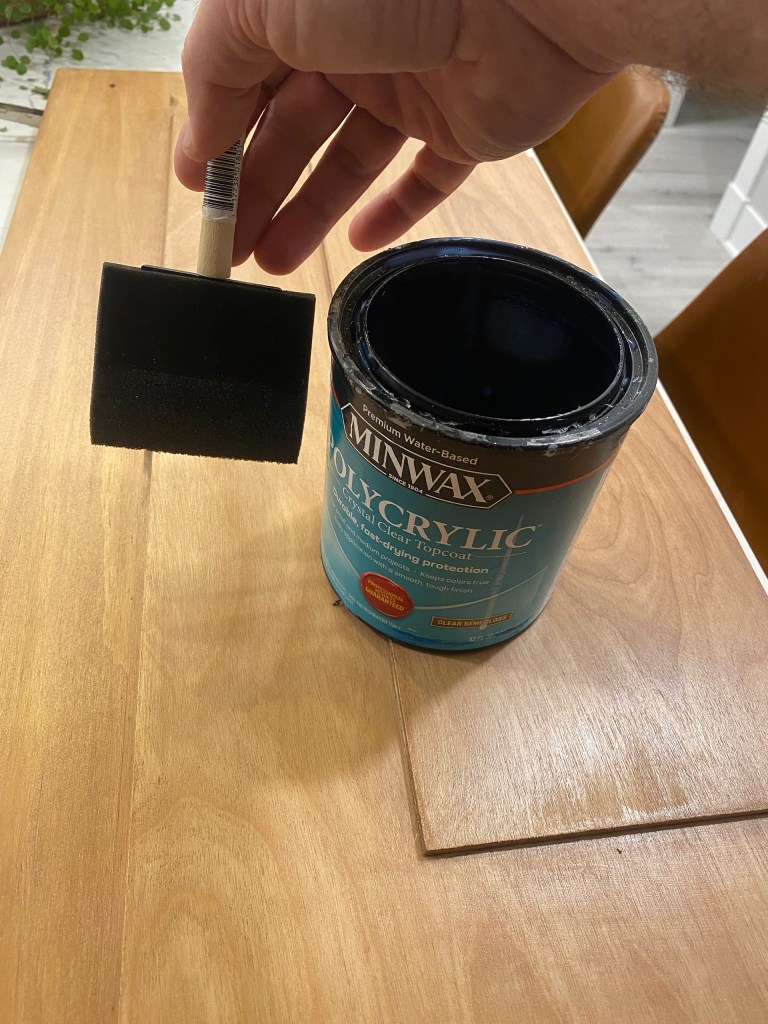
Use a Polycrylic to add a nice protective finish. I like using Polycrylic instead of Polyurethane since Polyurethane leaves a yellowish tint to the finish.
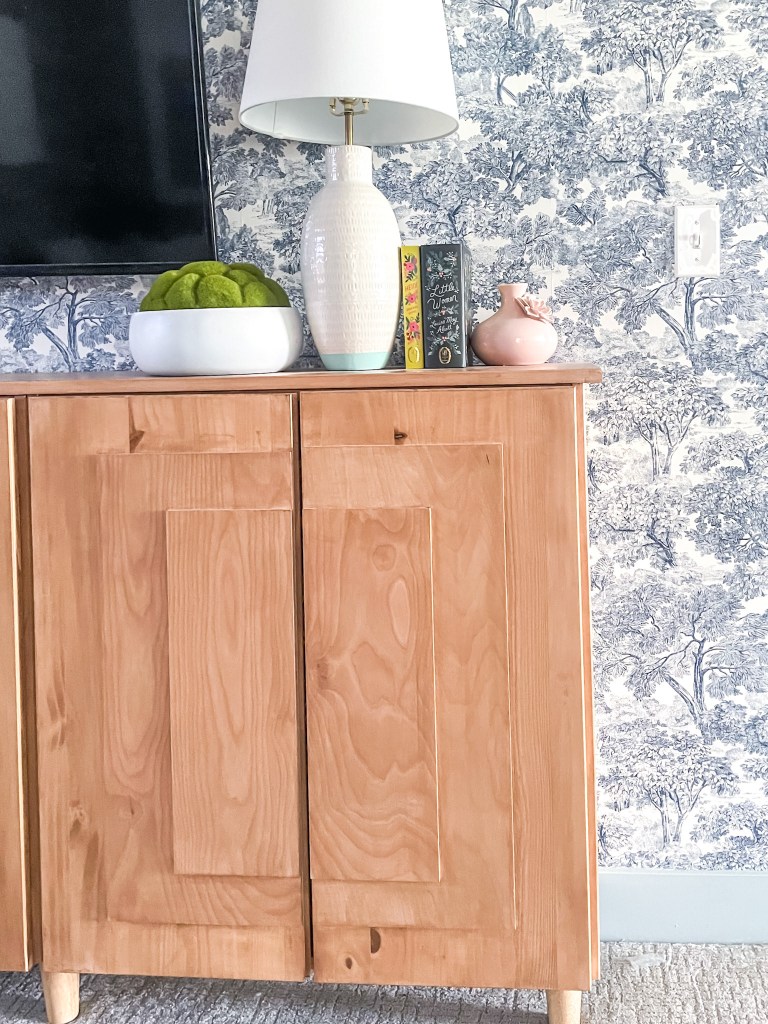
Finally, when I got the cabinets screwed to the wall, I added the stained table top by securing it with 1 inch screws as well. Bingo! Now we have a 96 inch storage unit coupled with some nice finishing decorative touches brought you by Staci since she is super awesome at this part of our projects! You may also know who actually wrote this. Enjoy!

Leave a comment