
Hello there! Thanks for stopping by our little collection of ideas and projects! Isn’t creating a home the most marvelous thing? Spencer and I have been married for a little over a year and a half and have discovered a serious love for creating a home that is uniquely “us”. We hope some of our ideas can help with whatever space you are creating! We have tackled many a project and we will spill all the deets (do people even use that word anymore?) on our website and in mini-form right here! We would also love to hear from YOU! That’s right, you. We’d love for you to share your “inspo” and design preferences with us! Shoot us a message any time- we love new friends!! Especially me (Staci)!
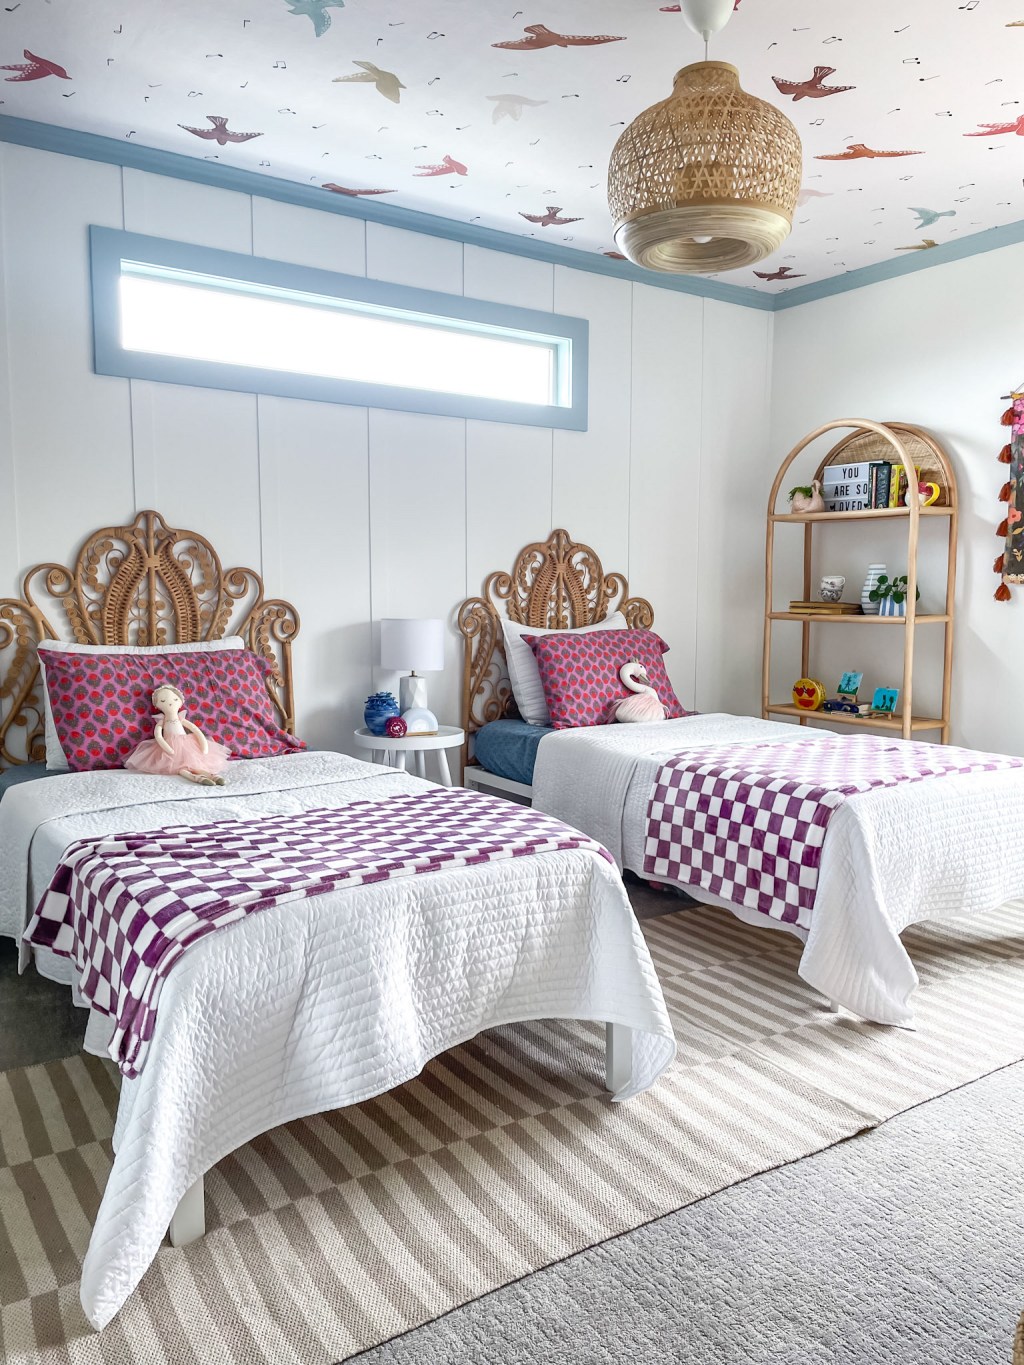
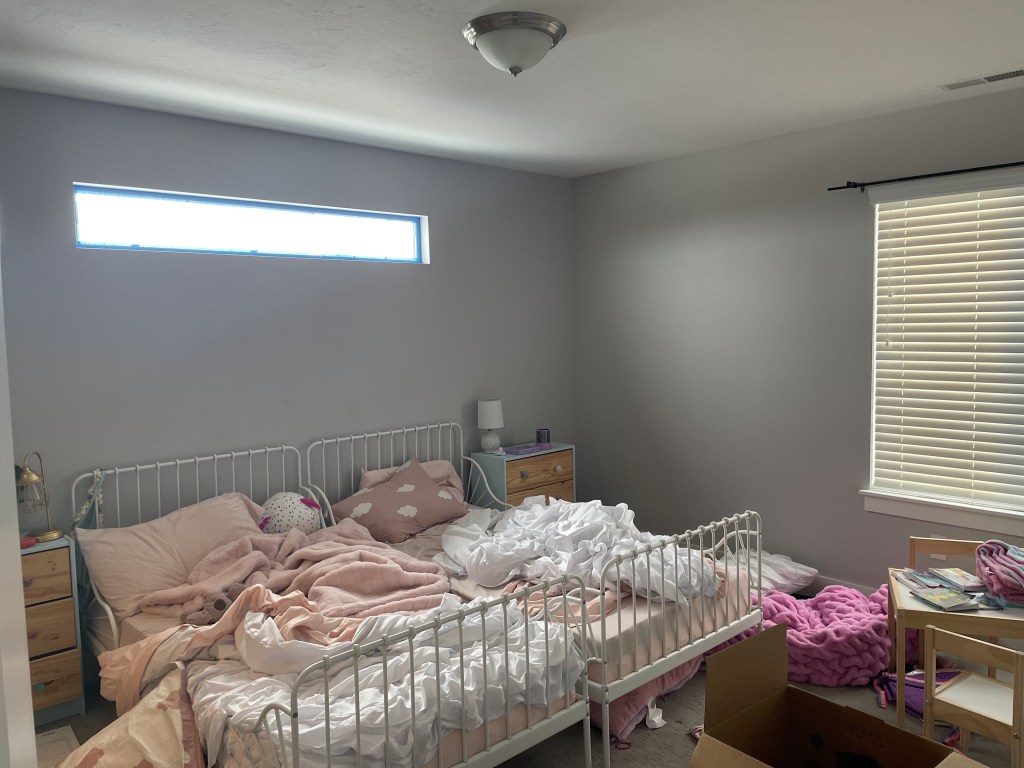
First up: my little girls’ bedroom!
Let me start by listing links because, let’s be honest, sometimes you want the links and just gotta have them here and NOW! No time for scrollin’…
Lyra in Rainbow. Hot tip: Loomwell puts out some awesome discounts throughout the year! Don’t be discouraged by the price. Just keep your eyes on their promotions like a hawk!
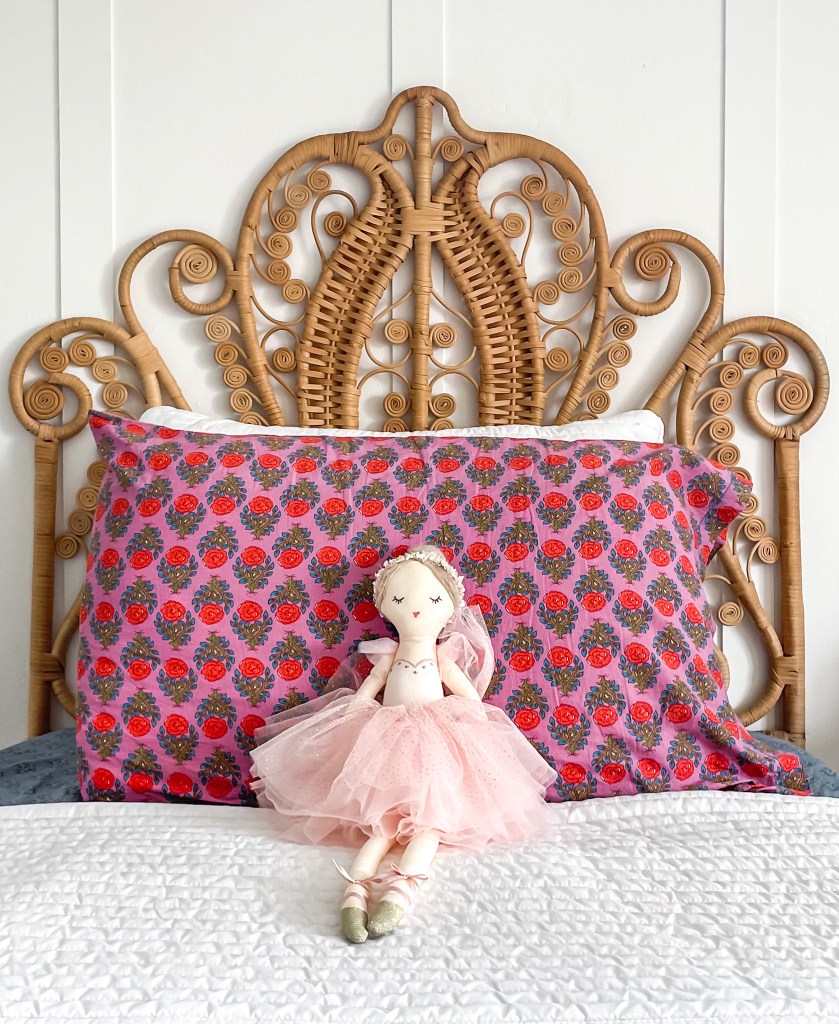
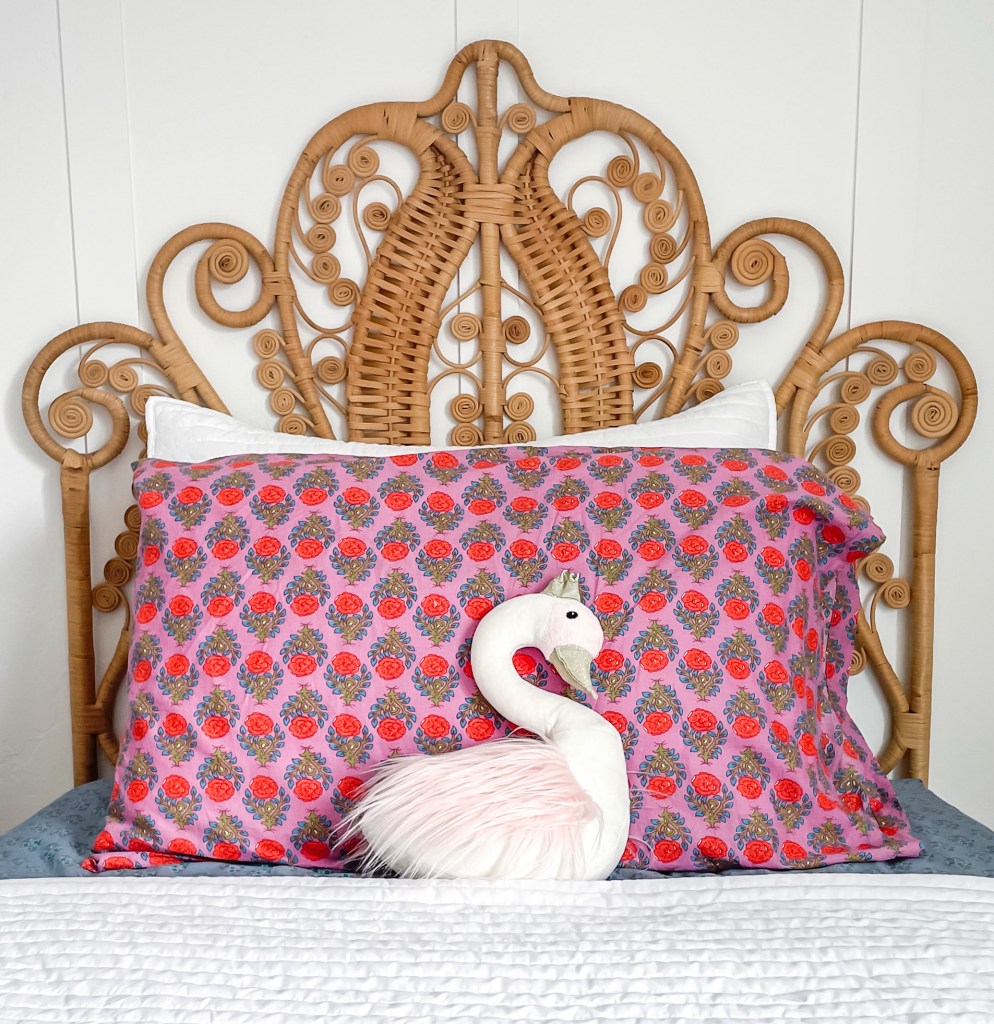
I actually got Pink Rose but it is no longer available – still, some great options though! I also loved Pink Emma and Ditzy Floral! Pink Emma wasn’t available in the size I wanted when I was ordering and I was heartbroken but I love how Pink Rose turned out on their beds.
Crown molding, floorboards, and doors color:
Silver Lake by Sherwin Williams in a satin finish. Did you know most paint places color match? I’ve had Home Depot color match Silver Lake for me once on another project! A great option if you don’t have a SW near you or maybe want a little lower price point!
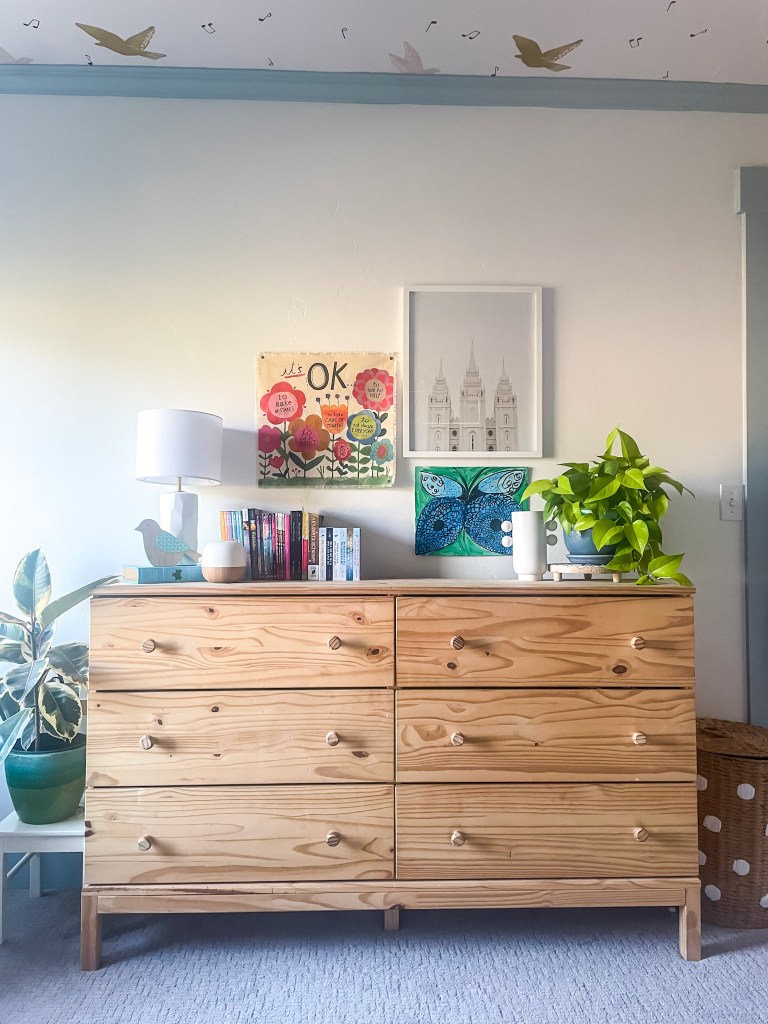
Pure White in Sherwin Williams but in a FLAT finish. Is that the strangest thing you’ve ever heard of for walls? I’ve come to find that a flat finish on walls creates a rich creaminess that makes you feel like you’re wrapped in a blanket!
Super sturdy! I love these! Not too bad on the pocketbook and they are extremely hearty, which is necessary; one of my little ladies is quite the bed-jumper/circus performer.
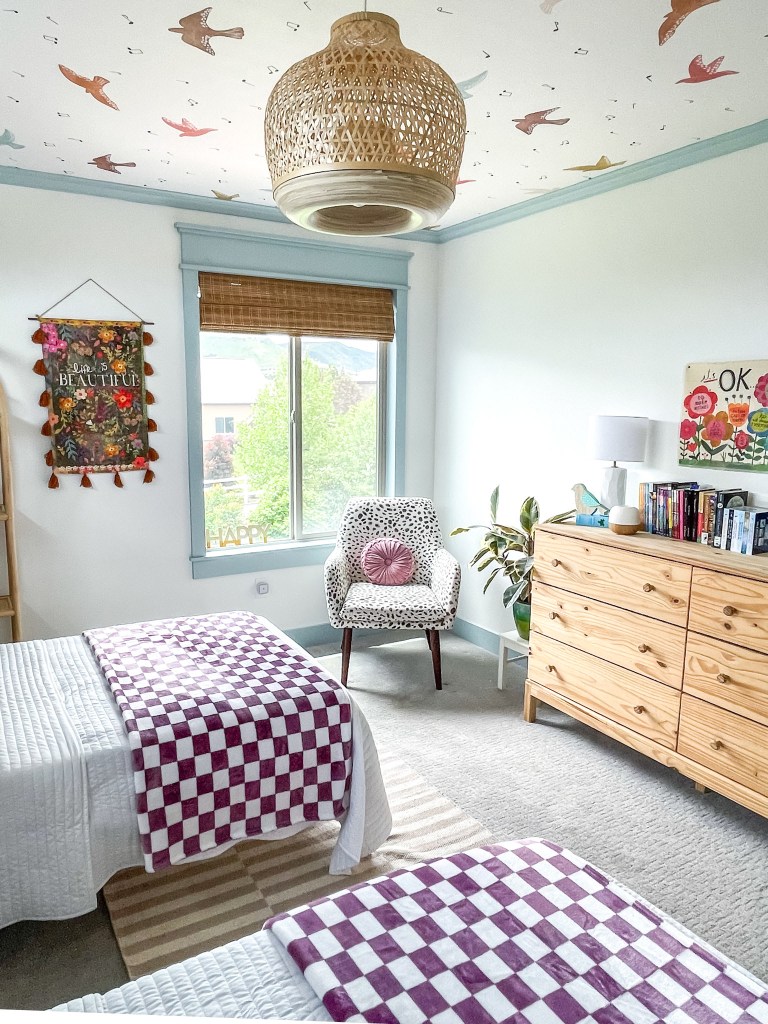
Bamboo Roman shade
Now, feel free to get on your merry way and start your next project but if you want to stick around for another few seconds, I will break down our process. Ya know how sometimes on food blogs you scroll forever to find the recipe quantities and instructions? Well here is that portion for you at long last…
Of course, I always assume a project will take exactly three hours to complete. Makes sense, right? I guess it doesn’t…especially to people (namely Mr. Q) who know what the actual process is all about. So when I said, “Hey Spence, can you quickly help me hang some crown molding and I promise I will do the rest,” what I really meant was, “Hey Spence, let’s spend the next 20ish hours getting this room done.” Sweet Spencer. He puts up with so much! Anywho, here’s our break down:
1. Measure, cut and secure crown molding. Blessed beautiful crown molding. Now, Mr. Q is a very thorough man so he likes to use liquid nail on the backs of the molding to really secure it in place before using the nail gun to seal the deal. I filled in the nail holes with wood filler (like a champ, might I add) as Spencer continued on in such fashion around the room. When all the molding was hung, nail holes filled and sanded, we finished up by giving the boards a nice silky smooth caulk application. Don’t skip this part! Seriously, it looks like cheap work if you do!
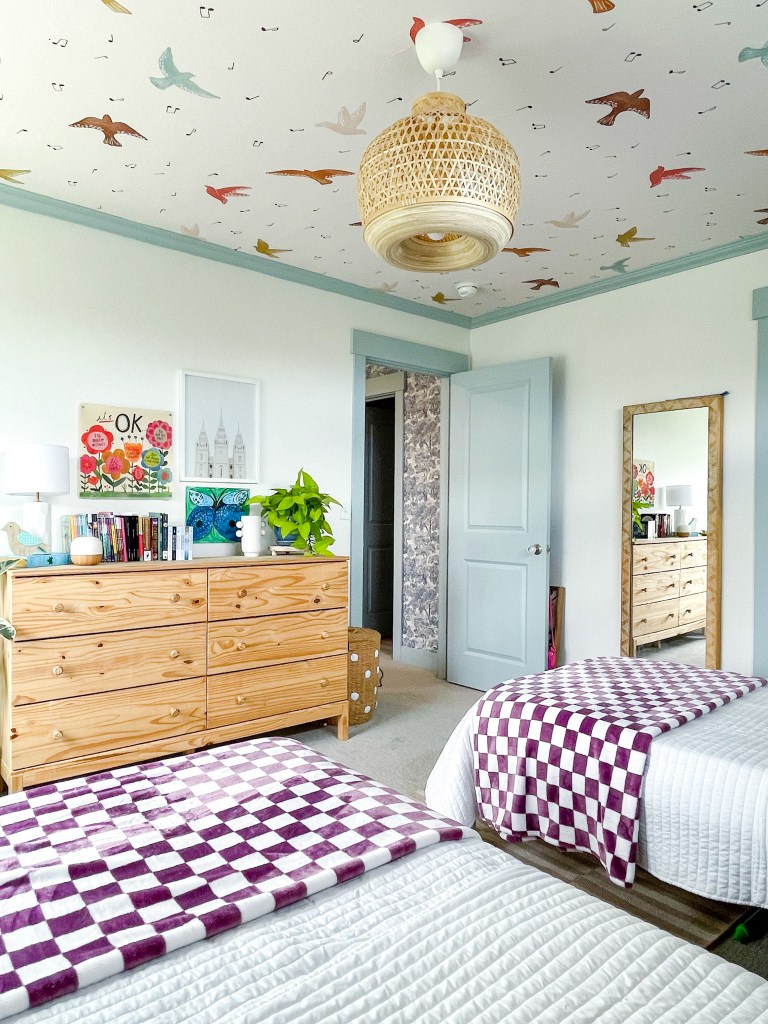
2. Prime and Paint. Next on the docket was priming (totally necessary) and painting the crown molding, baseboards, and doors. We went with Silver Lake by Sherwin Williams. We used it in another area of the house and just love it as a soft blue. I say “soft blue” but it’s not too soft that you lose that little punch of fun.
3. Take a break– maybe go get a soda.
4. Paint some more. When we returned from our little soda break, we got to work painting the walls white. Again, our go-to white paint in Pure White by Sherwin Williams. Might be too stark for some but we love the clean white in our home and we find that it doesn’t take on any weird hues no matter what pops of colors we add in the room. Also, here’s a fun little tid-bit: we have textured walls, which neither of us super love but sometimes it’s a major pain plastering and sanding the walls to get a perfectly smooth look. The flat finish actually disguises the texture a little! We knew we loved the rich finish of flat paint on our walls but when we were standing in the girls’ room after all was said and done, we realized that the light wasn’t bouncing off the flat finish, exposing every little textured groove as it does with a satin or eggshell sheen. It was the best “ah-ha” and high-five moment!
5. Apply trim pieces to accent wall. Next came the vertical trim strips on the accent wall behind the beds. We used 2” boards and spaced them 16” apart. We tried to reduce costs by buying a sheet of 1/4” Sande Plywood and used a rip saw to cut the board into 2” trim pieces. Spence applied those with our trusty Liquid Nail and nail gun, then finished off the seams with caulk. Once the caulk dried, we filled holes, sanded, and were then free to prime and paint those babies! Now, I’ve gotta hand it to Spencer. He is so very meticulous with every project! I like to roughly draw out what is swirling around in my brain but when it’s go time, Spencer draws out the room to scale. We go into the project with a guide and what the end result will look like as long as we stick precisely to those measurements! There’s no guesswork.
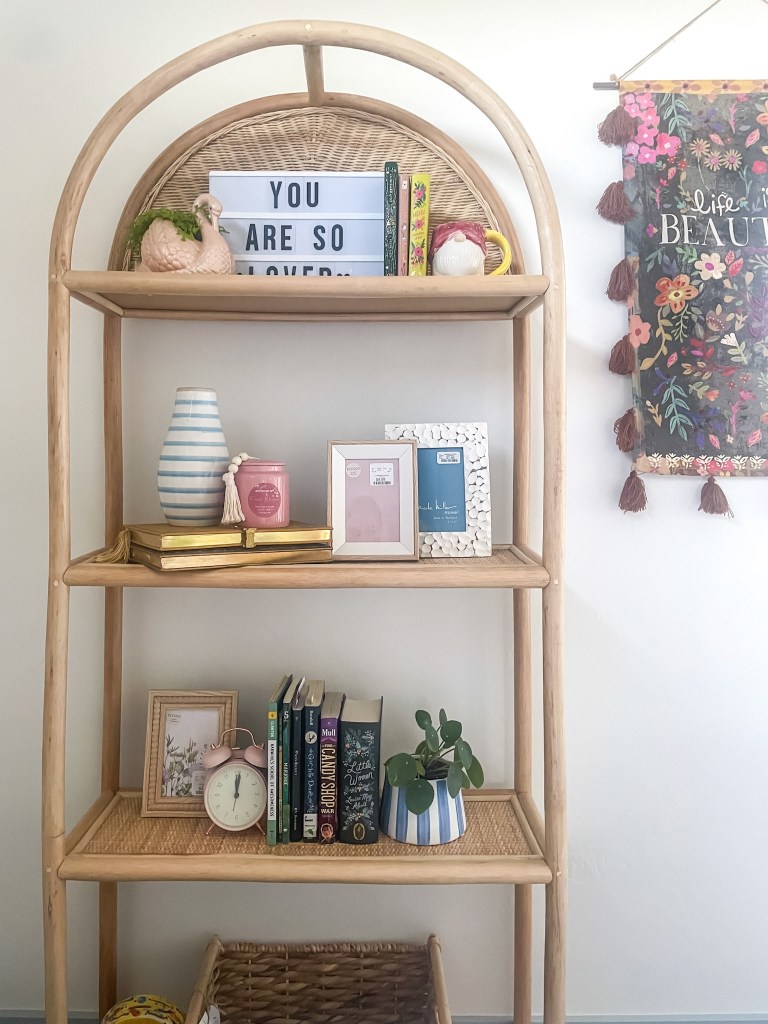
6. Now that everything is dry dry dry and you’ve got your “canvas” prepped, it’s decorating time! This is the part that takes the least amount of time but, in my opinion, is where the euphoria of a project really kicks in! In fact, up until this point I’m usually hating everything and questioning why we even embarked on this remodel journey at all. Seeing the ideas come together in real life quickly replaces the annoyance and questioning with excitement. Totally worth it!

Okay, I lied. Yes, seeing the room come together is totally worth it but the thing that really cemented the worth of our weekend of hard work was seeing my little girls walk into their room for the first time! They had no idea we were overhauling their room! We set to work while they were away with their dad for the weekend. Their squeals, gasps, shock, and awe was the best pay day in the world! They both just started jumping up and down and were giddy with excitement! If ever you have a chance to surprise a child with a room re-do, take it!! I promise you won’t be sorry!
BONUS STORY-
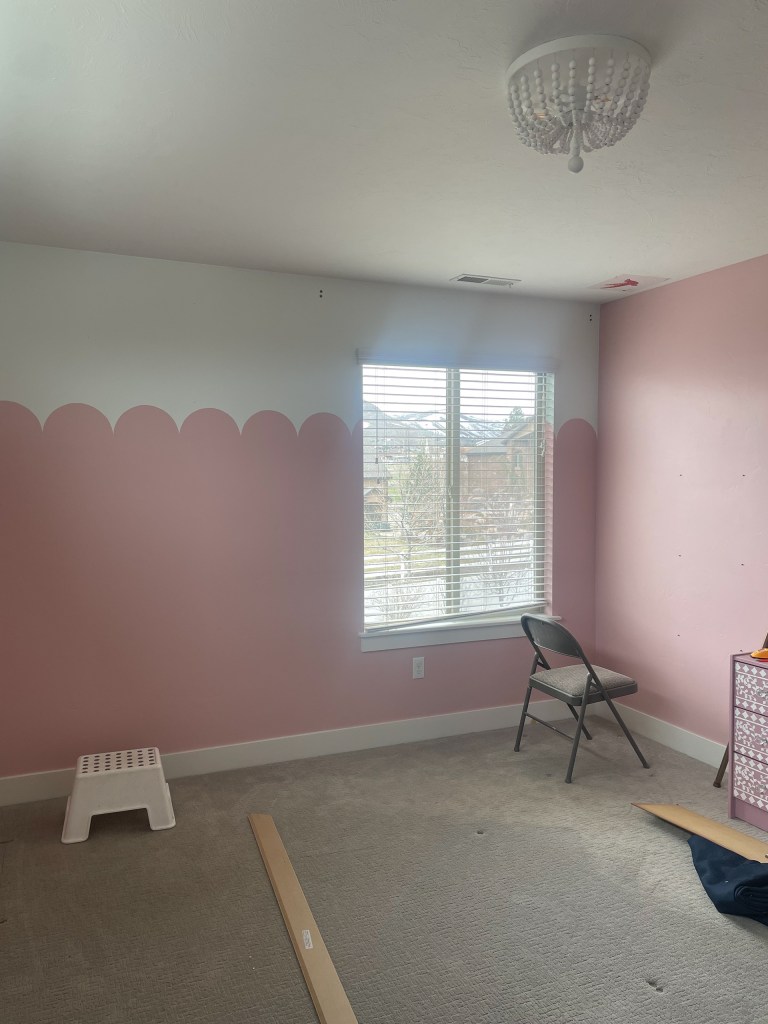
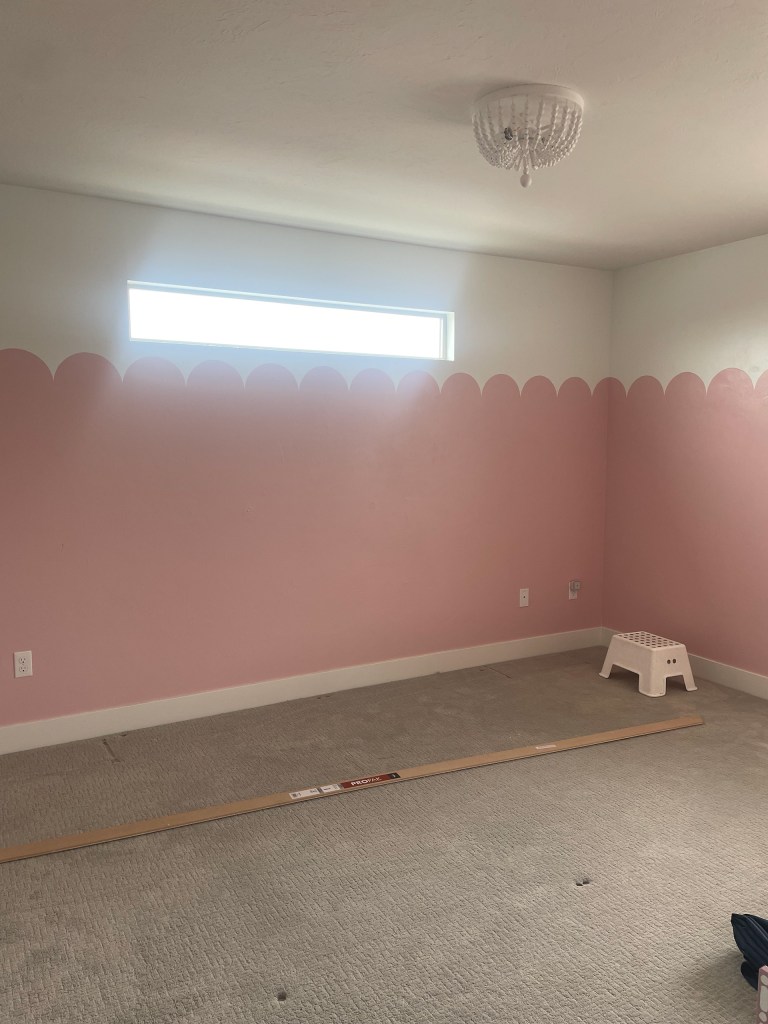
This is a weird story. We moved into Spencer’s home and immediately slapped some pink paint on the walls with scallops. One wall boasted a crazy painted picture. I’m going to be honest- it felt like a fairy barfed cupcakes in their bedroom…or something of the sort but I was desperate for them to feel comfortable! We wanted them to feel like the room was their own corner of the world; that they had a place in their new home/neighborhood/city that was uniquely theirs, so, we went crazy with their ideas. Needless to say, it was a quick and not-super-ideal fix. Fast forward one year. I was sleeping peacefully and woke up abruptly at 3:00 AM with some ideas streaming of ways to make their room a little less-crazy, but still feminine and fun in a classy way. I silently crept out of bed and started putting a design board together. One thing led to another (as if often does)! I stumbled upon some all-too-perfect headboards and the rest took flight! Have I told you that Facebook Marketplace is my favorite thing ever? Well, it is. Keep that in mind for your future unique needs!
Thanks so much for joining us on this journey, friends! More to come!

Leave a comment