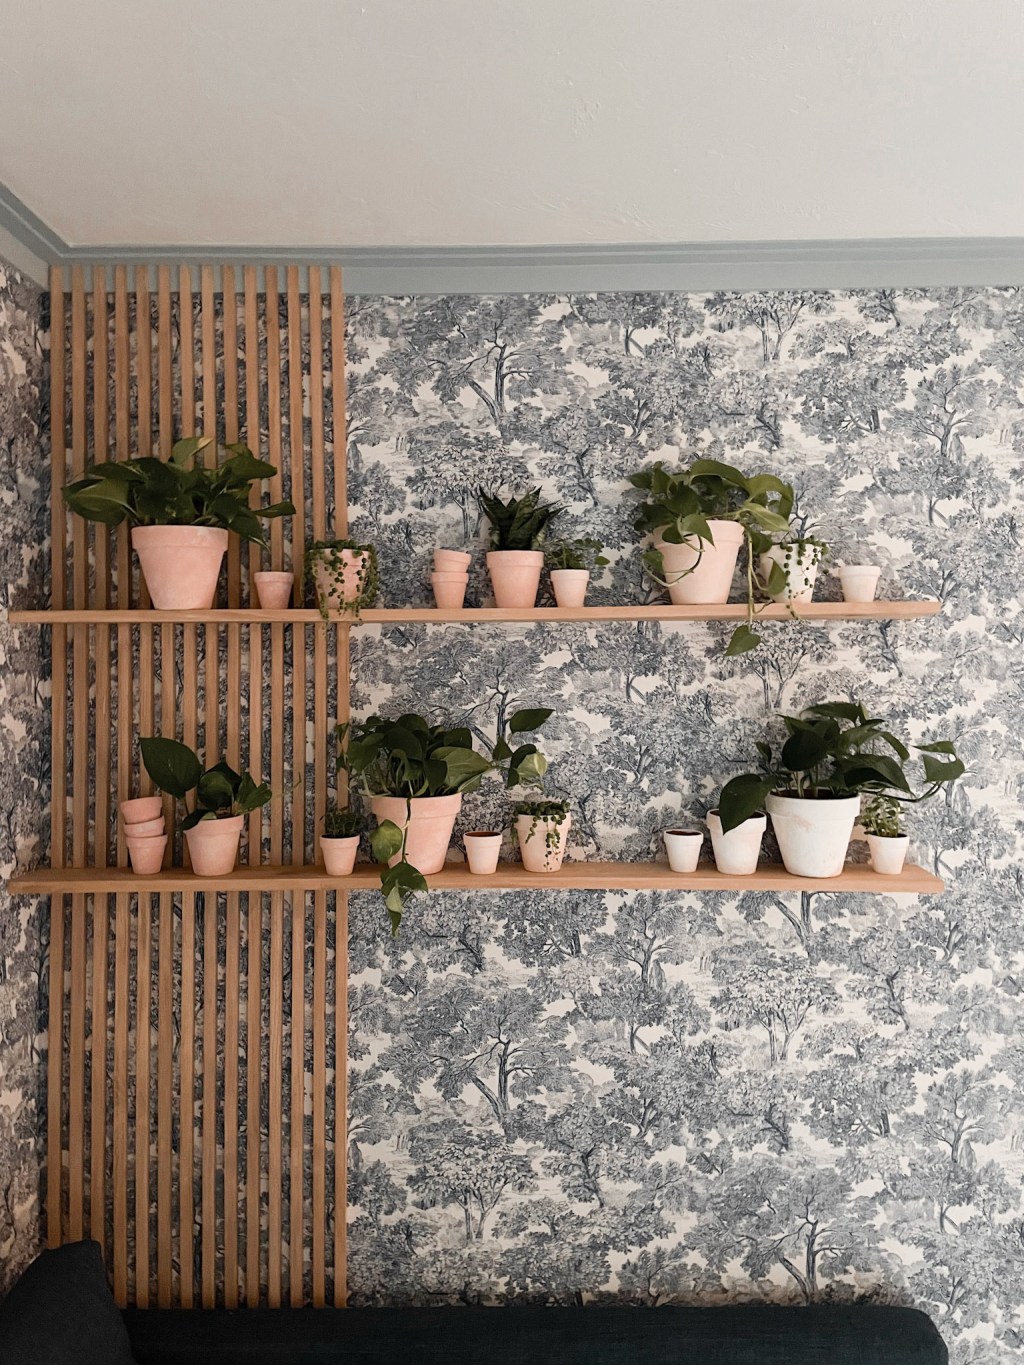

This DIY slat wall makes a big impact on a room! Our loft is lined with a beautiful but busy wallpaper so the wood slats softened the wall a little more. In this step by step DIY we’ll walk you through the whole process of installing a vertical wood slat wall in your home and share a hack with you for how to build this modern wood accent wall cheaper!
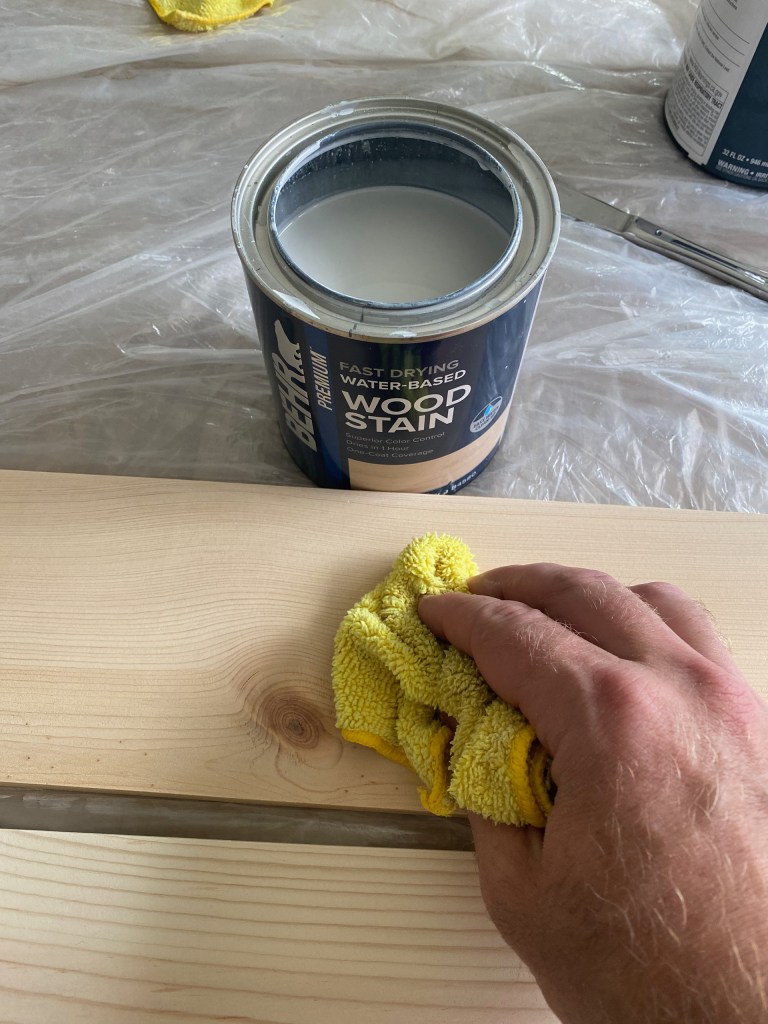
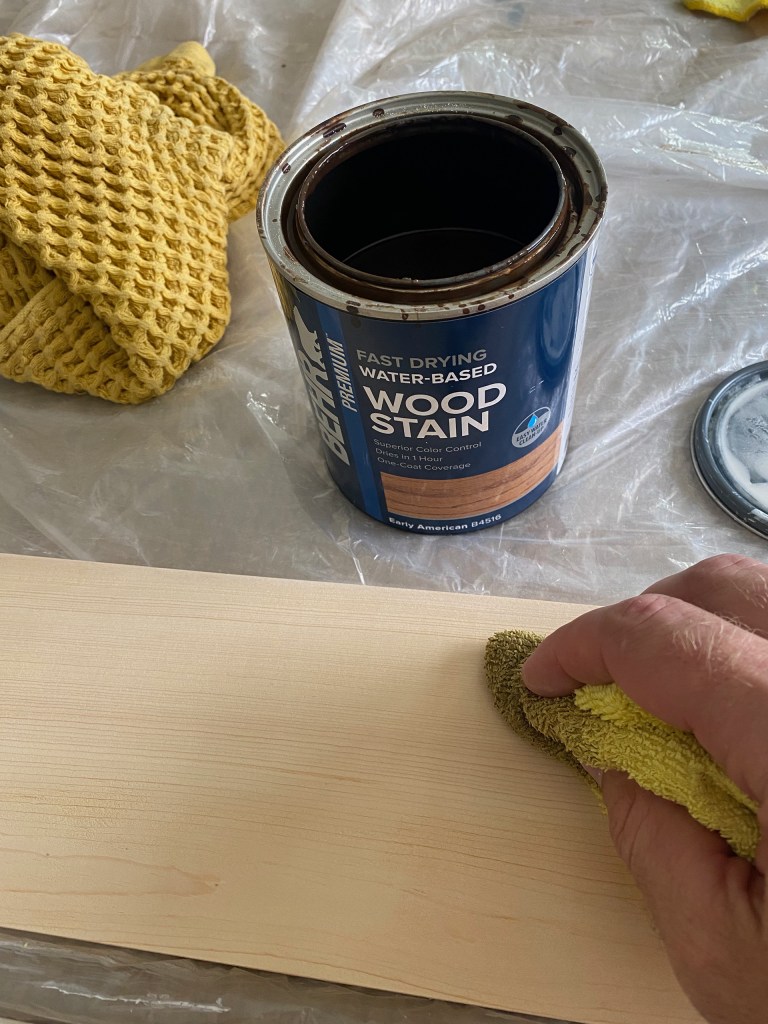
What you’ll need: Select pine // common pine boards // floating shelf brackets // stain of your choice (we used white wash and early American) // 18 gauge nail gun // table saw // miter saw // multi-tool // liquid nail // wood filler
Have you seen the DIY slat wall trend yet? Every Instagrammer everywhere is adding wood slats to their walls to create such a modern and fun look. I love that, unlike the shiplap trend that is usually painted, I think people are letting those natural wood tones shine which goes well with wallpaper too.
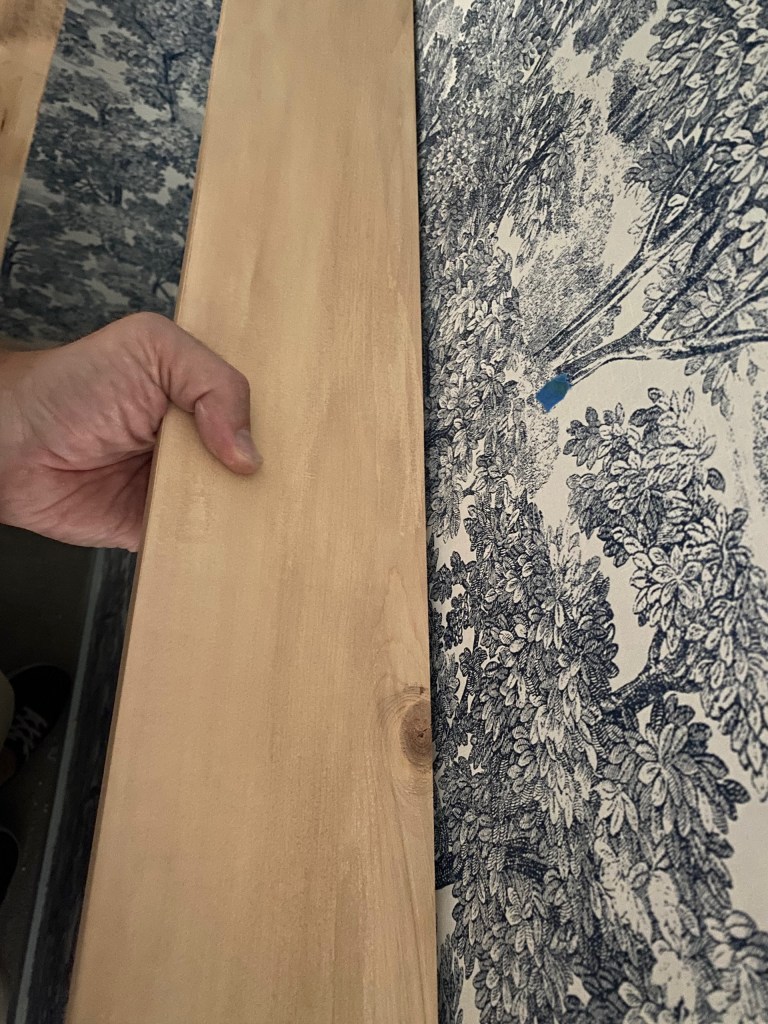
Here is our DIY hack: cut the select pine slats length-wise (half the cost)! Ok, lets start with the floating shelves. I used 1′ x 8 ‘ x 6″ common board. We cut it down to 5 feet with a depth of 5 inches. In the end I had to use the left over pieces for some slats since I ran out (miscalculated). I stained all our wall slats and shelves with the white wash first then the early American stain. Don’t forget to pre-stain!

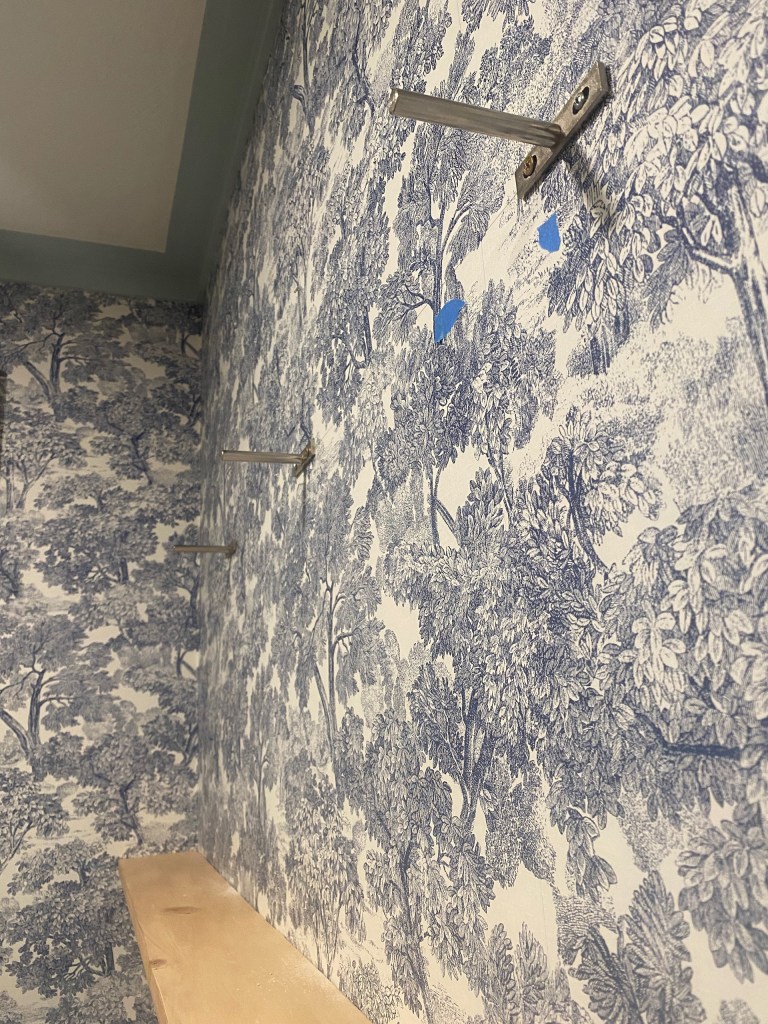
We didn’t want brackets showing on the shelves so we purchase some floating brackets from Amazon. I anchored the brackets into 3 different studs so if one of our kids climbed on them, they wouldn’t break (that really wouldn’t happen). As soon as they were secured to the wall I traced where the brackets would be placed so I know where the rod would be in the shelf. Shelves typically have gaps where they meet the wall so check out this post on how to score the shelf so it is flush to the wall.
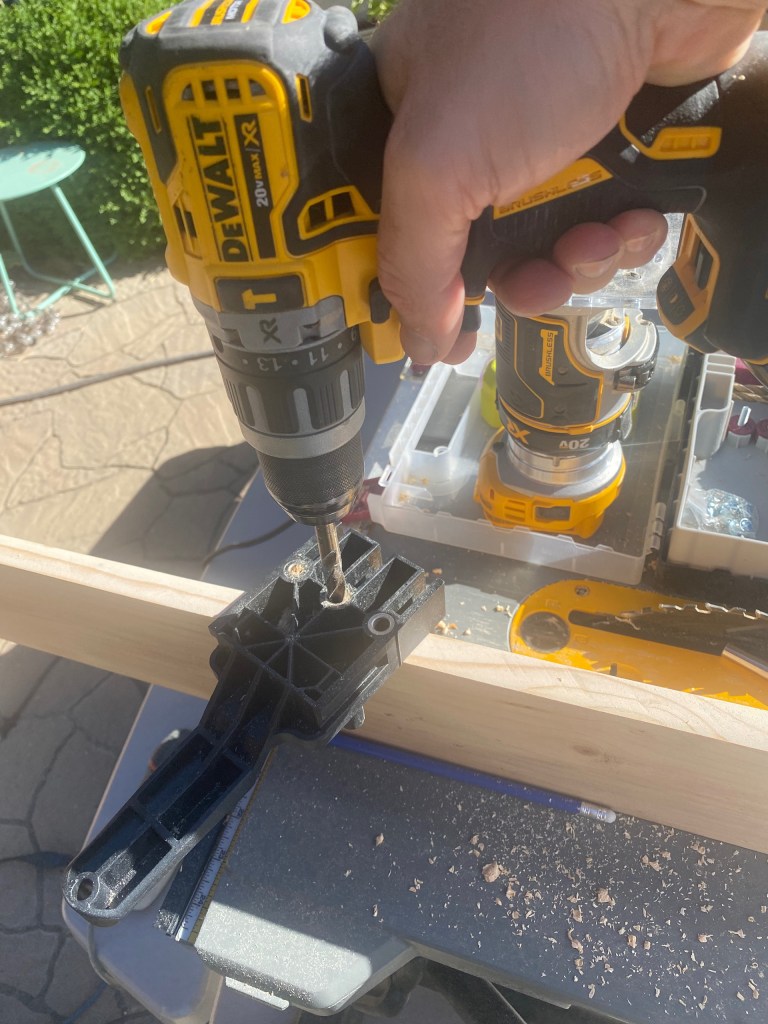
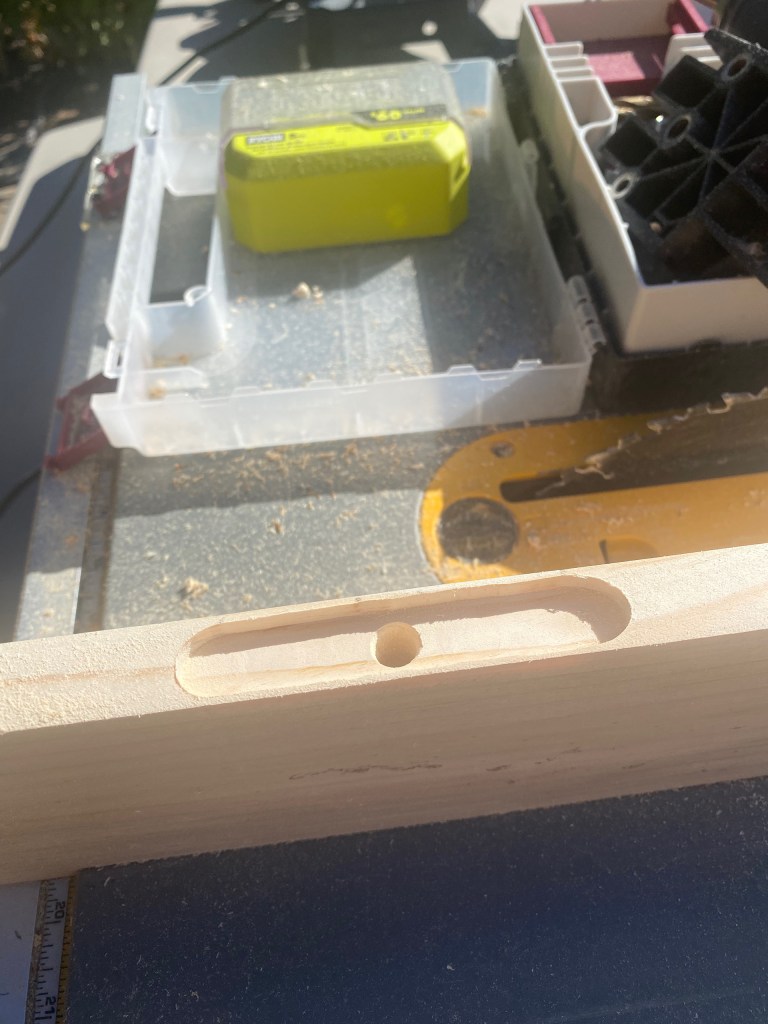
These brackets are 1/2 inch thick and 3 inches in length. Use a 1/2 drill bit to get a tight fit with these brackets. I used a jig so the hole would drill straight through the shelf.

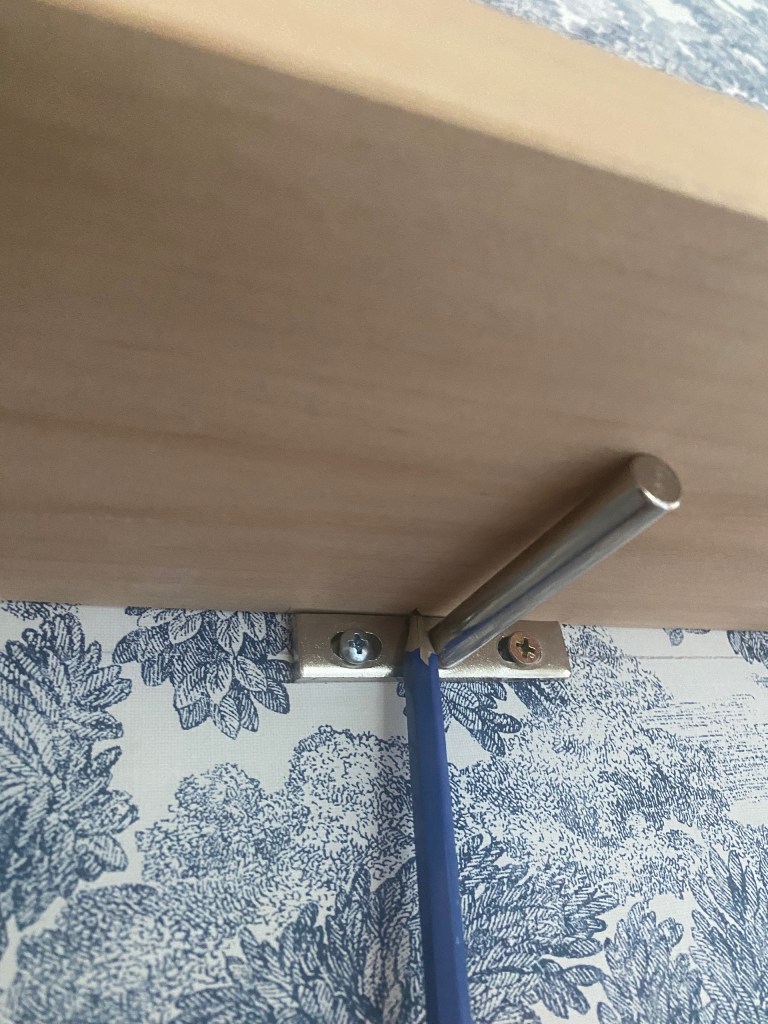
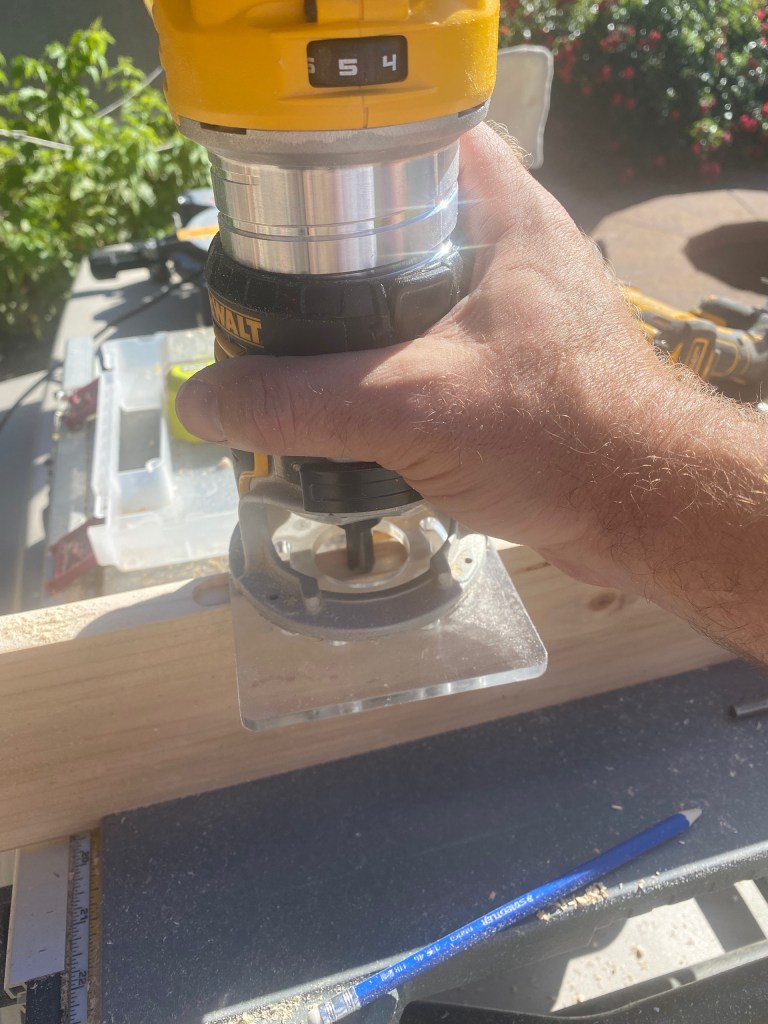
The mounting part of the brackets sticks out about 1/8 inch so I used a router so the shelf would go flush to the wall.

I am happy with the results of these floating shelves and how they sit flush against the wall! In the photos below, notice how the bottom shelf is mounted to the wall. The top shelf shows where the rods will be place when I flip it into place.


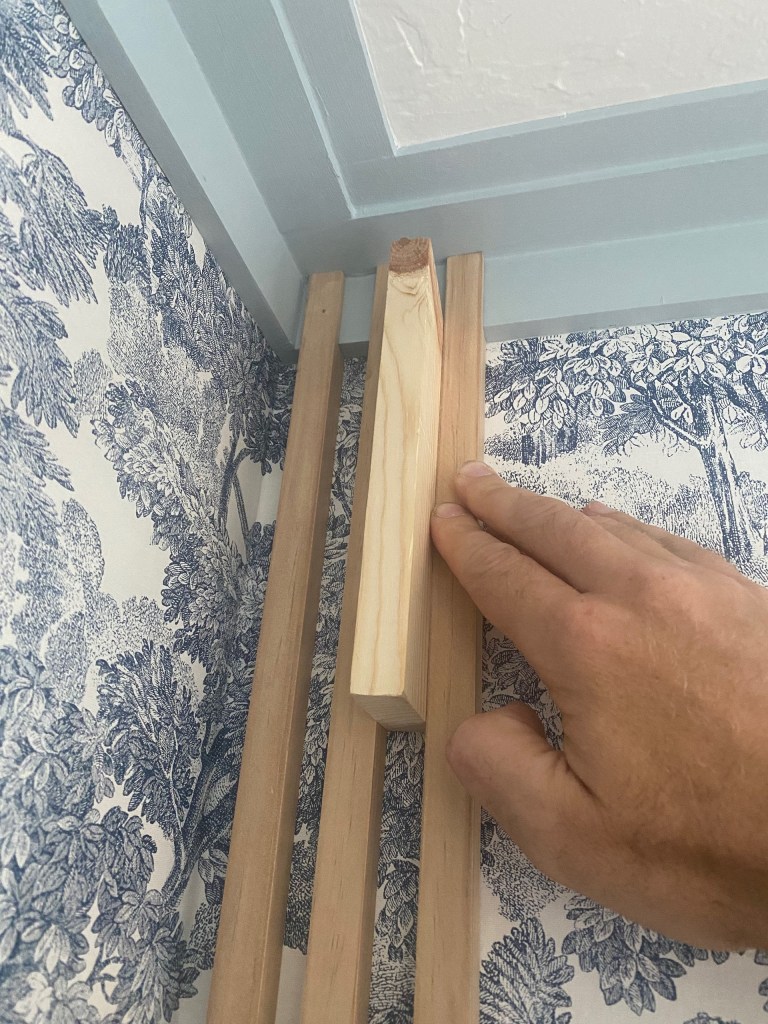
Now onto the slat wall. All the slats at this point are stained and ready for cutting and mounting to the wall. I had to cut the 8 foot slat into 3 different pieces and used a template block to space the slats evenly across the wall. Cutting around the crown moulding was a little tricky so I mainly used a table saw to get the notch correct. You can see our post on the crown moulding here. I also cut out the base board and cut individual base board slats to fit in between each wall slat. You’ll notice in the photos below how I wedge a piece of LVP under the slats. That will be our future flooring!
This part is relatively routine. Just make sure the slats line up when you transition between shelves. I feel like this is the “fun” part of the project.


Now just fill the nail holes with would filler and you are done! I usually don’t sand the wood filler if I’m using a stain. If you get a rag and rub off the excess wood, you’ll avoid having to re-stain the wood.

Leave a comment