
We did it! I love working on projects with a miter and/or table saw. Anything involving woodworking is my domain. This project is not for the faint of heart. It involved over 300 cuts with the table and miter saw. Here are a list of supplies you will need:
Miter saw // Table saw // Select Kiln-dried pine boards // Kreg clamp // Dewalt clamps // 16 gauge finishing nails // 4×8 ft sande plywood // N95 mask // Behr white wash stain // Behr Early American stain // Behr wood conditioner // Wood glue
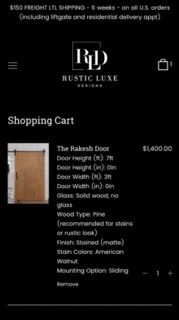


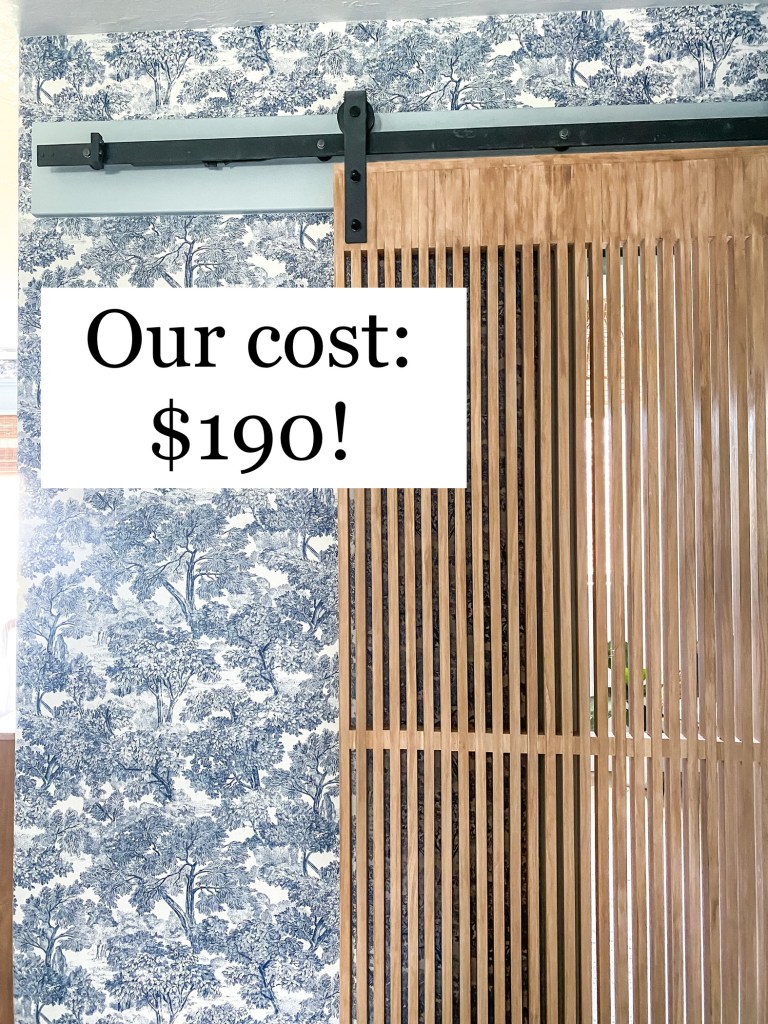
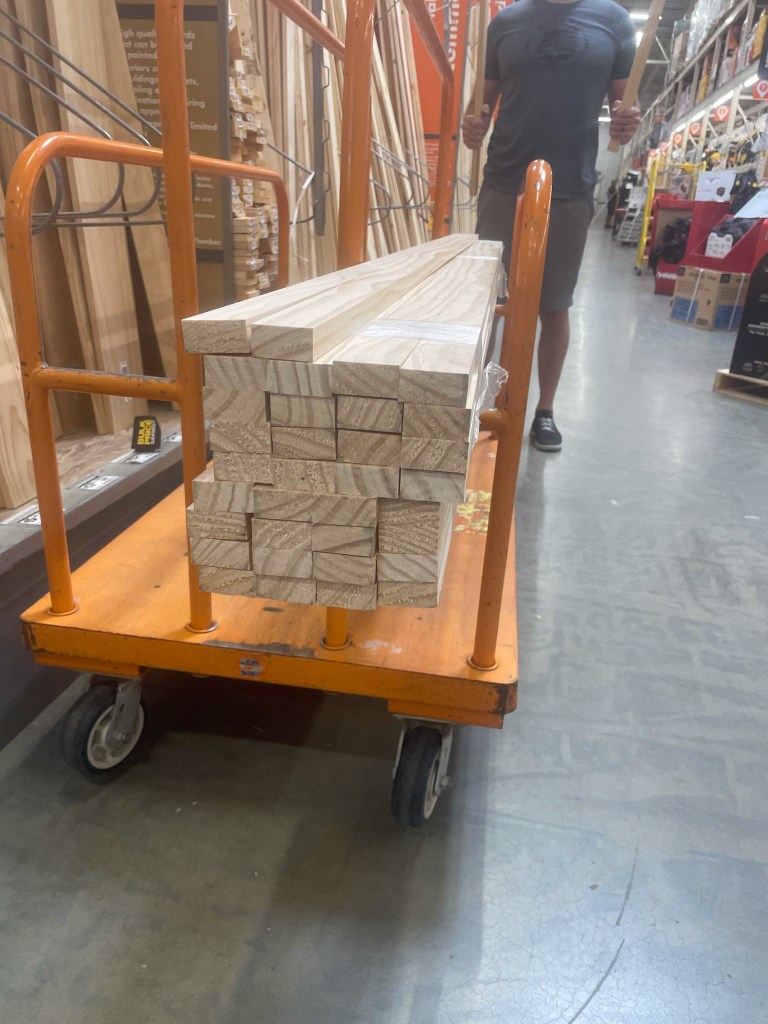
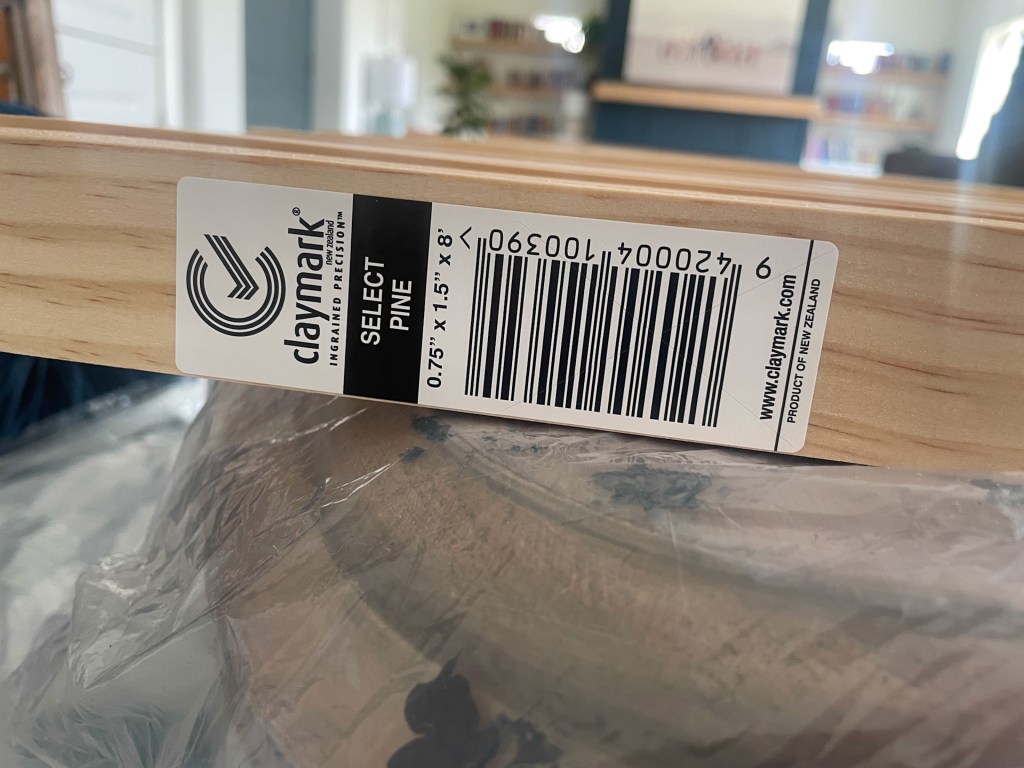
After looking at options online, we noticed doors with a similar look cost anywhere from $700 to $1400. I ended up buying the more expensive pine. You could go with the really expense stuff such as poplar or walnut, but this was sufficient for our project. I ended up using 29–3/4 in.1 1/2 in. x 8 ft. pine boards from Home Depot. You can get bulk pricing for these specific boards at 15% off.
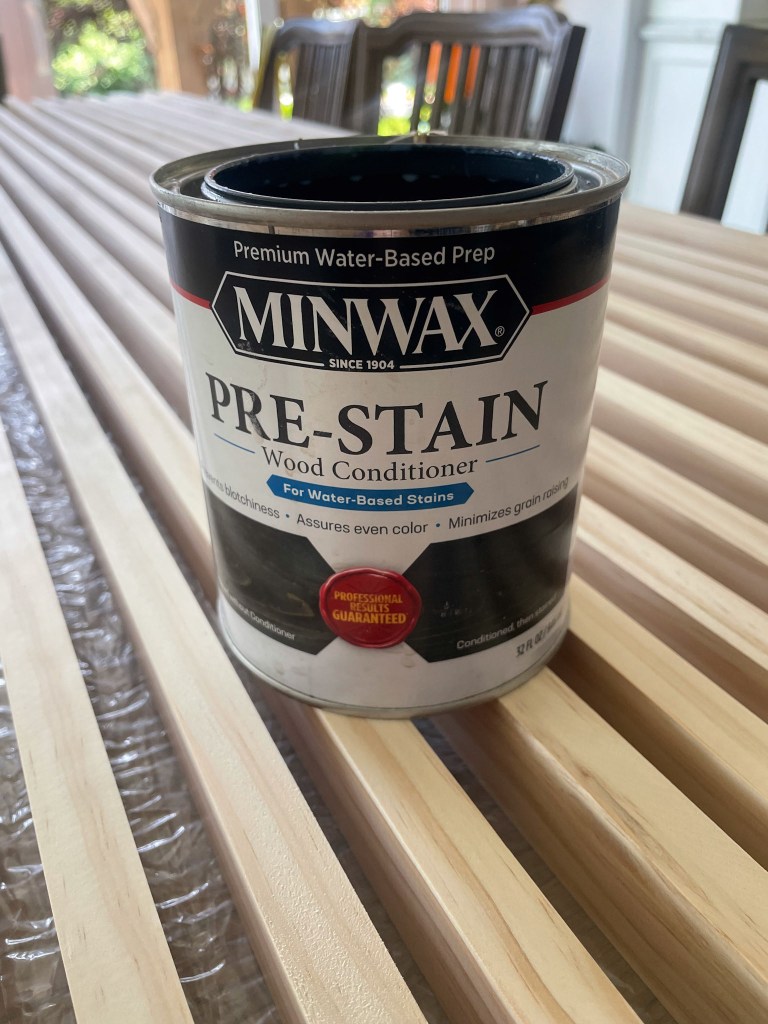
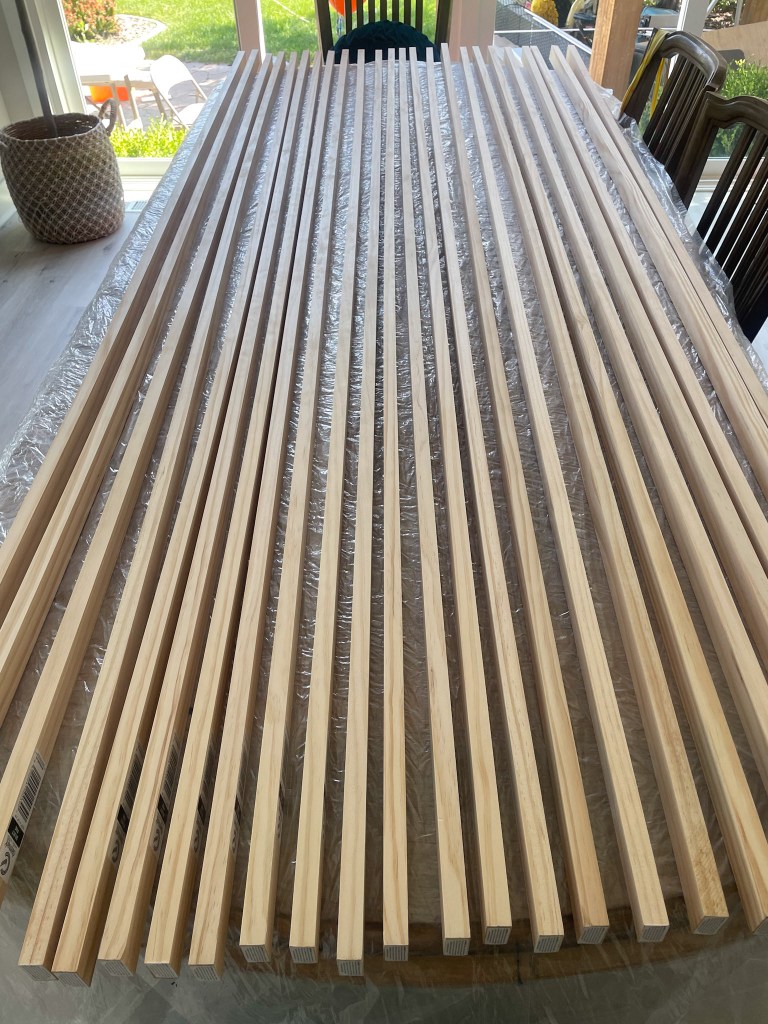
I first started by applying wood conditioner on all sides of the boards. DO NOT SKIP THIS STEP!!! Long story–short… your wood will look like crap if you don’t apply conditioner before applying stain.
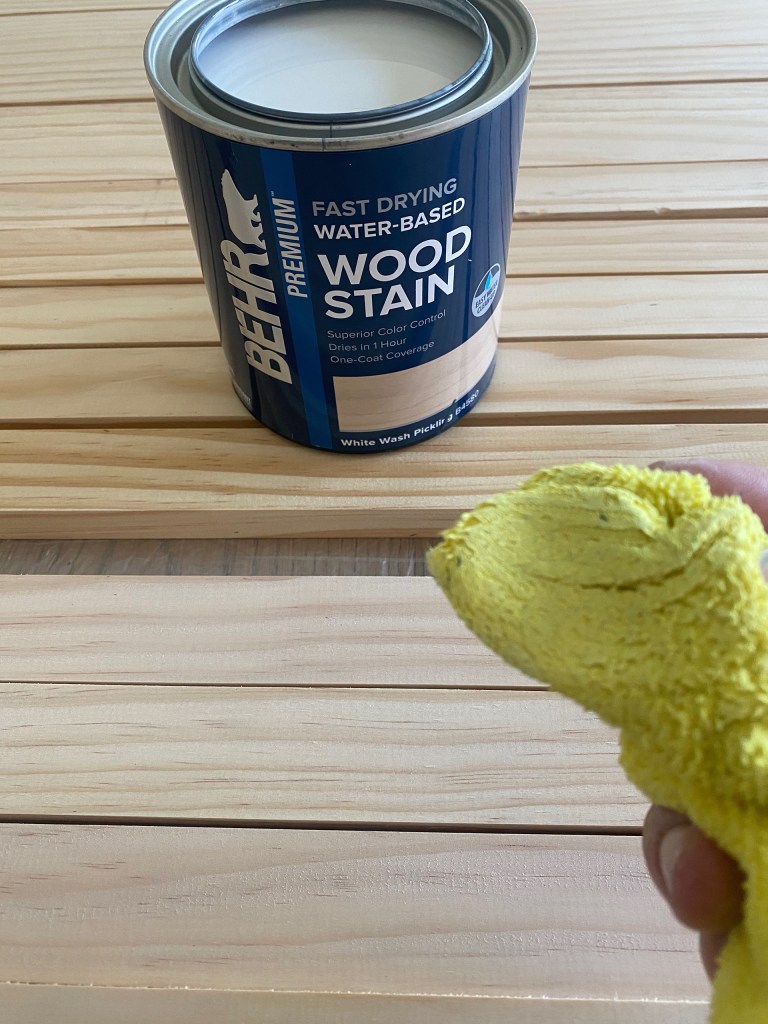
We (meaning Staci and I) like to go with the White Wash + Early American combination with pine. Darker finishes end up looking like they have a tint of green with the pine wood.
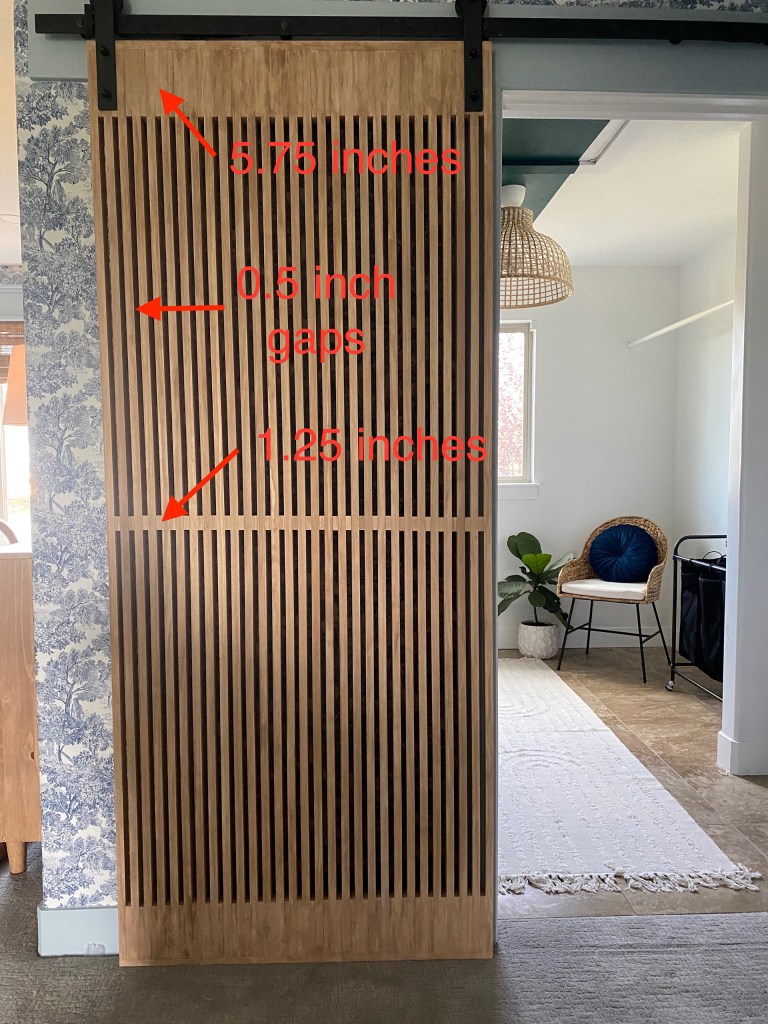
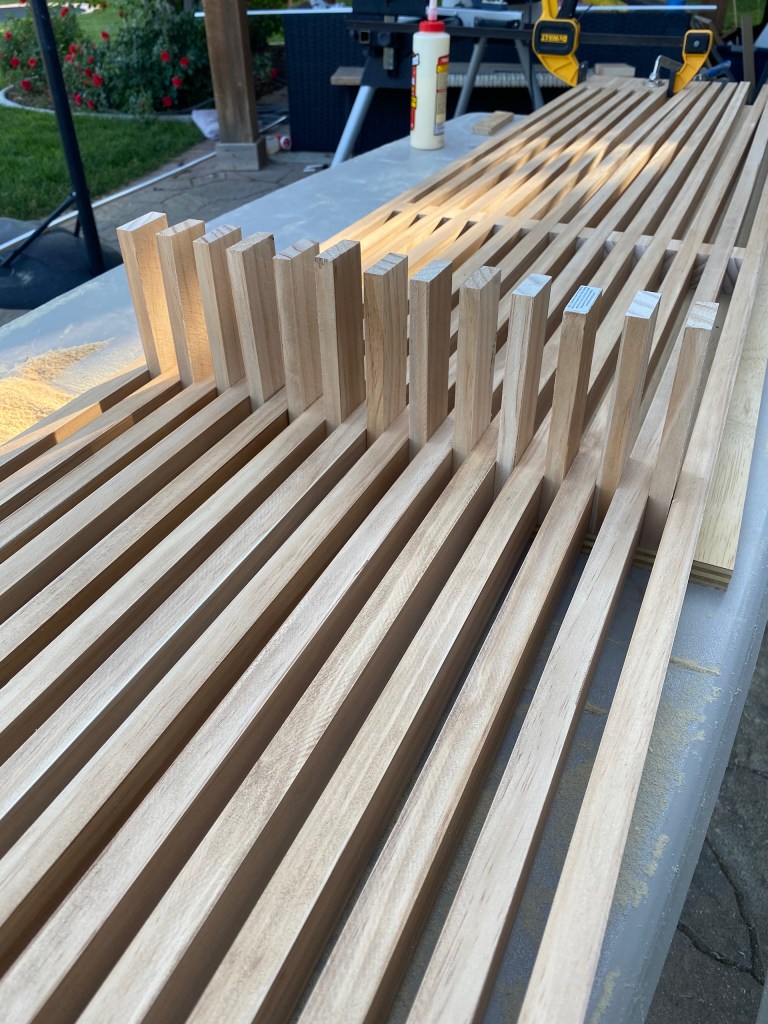
After staining all 29 boards, we went onto cutting them. It took a lot of thought and preparation so this will save you time. I used existing hardware from the existing Costco barn doors in our home. The door was going to be 7 ft. x 3ft. so for every board I had an extra 12 inches to work with to fill in the gap pieces. I used 5.75 inches for the top and bottom gap pieces and 1.25 inches for the middle gap pieces. Sorry for jumping the gun on the finished product, however, this shows the pieces I cut for the header, footer and middle gap pieces. Each piece was 1/2 inch wide.
I used a miter saw to cut the pieces and placed a “stop” at 5.75 on the miter saw. See pics below:


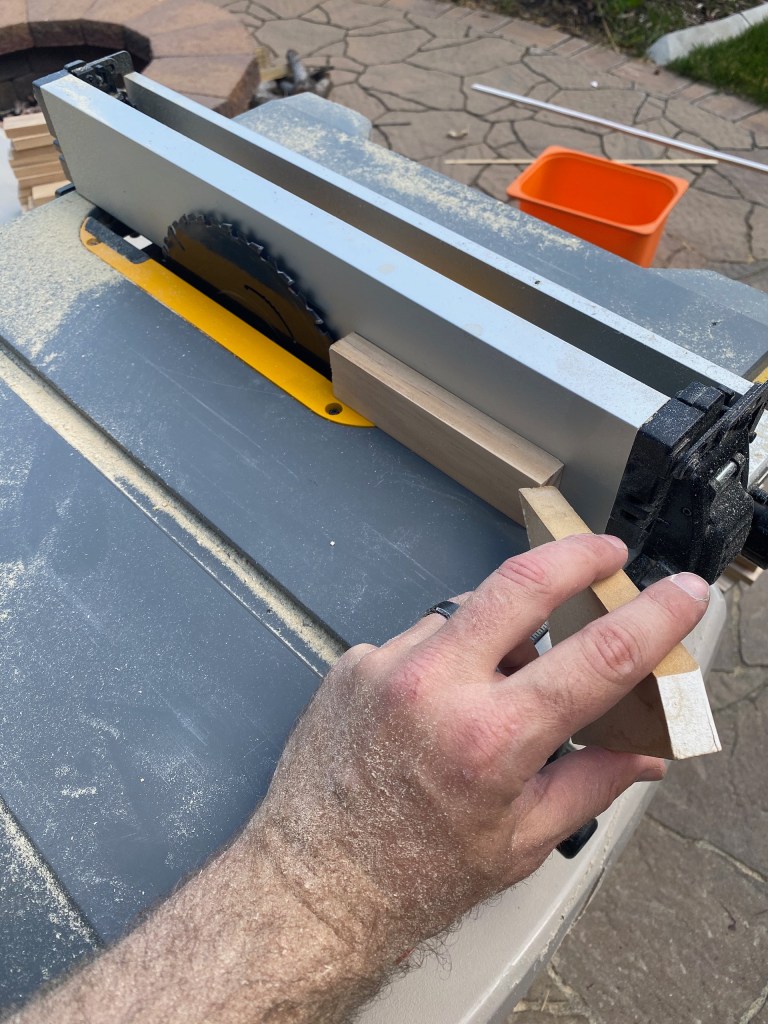
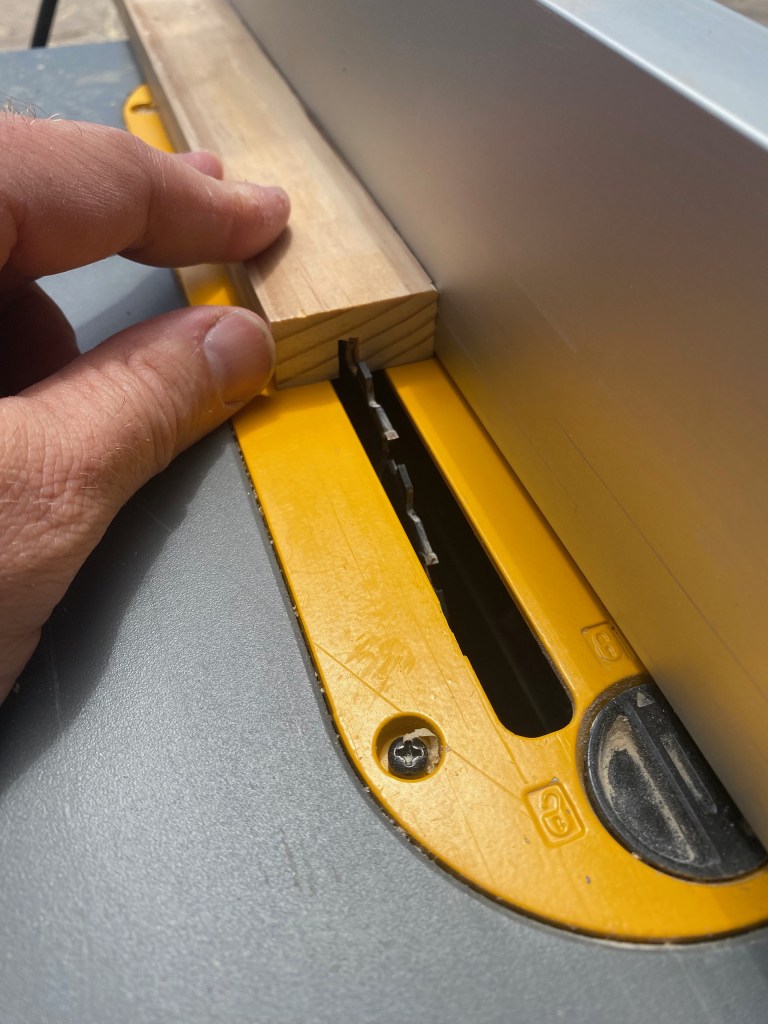
The next cuts I used a table saw. You’ll want to be careful with these cuts and use some kind of “safety block” while using the table saw. These are the 1/2 inch cuts. Watch your fingers!
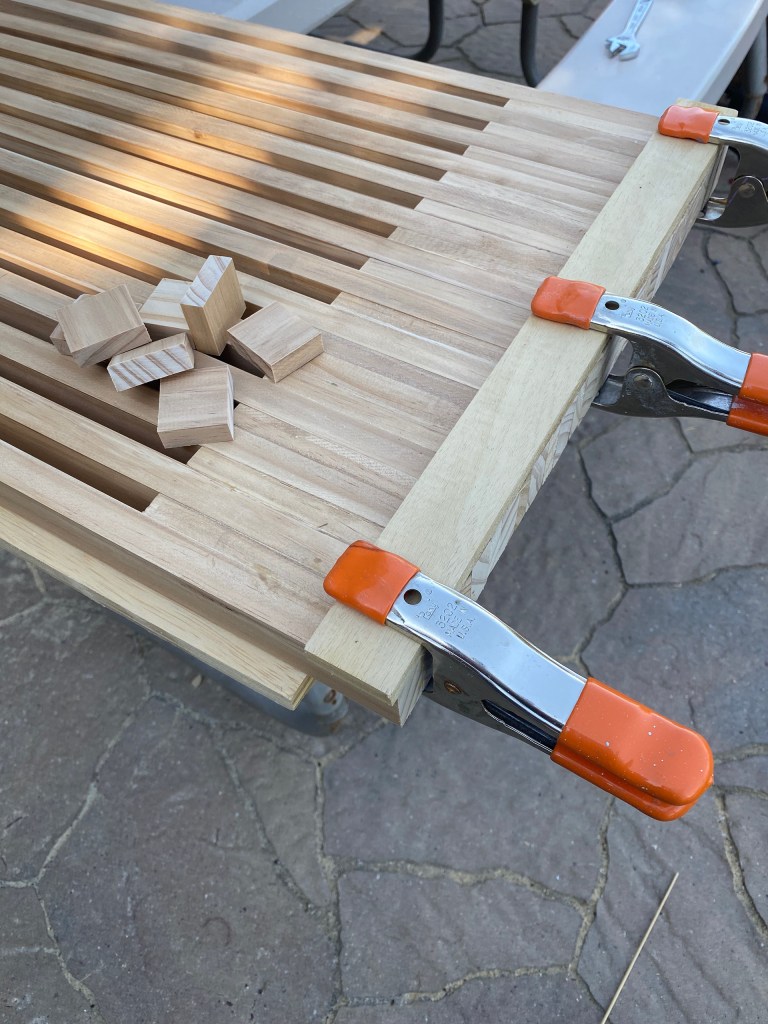
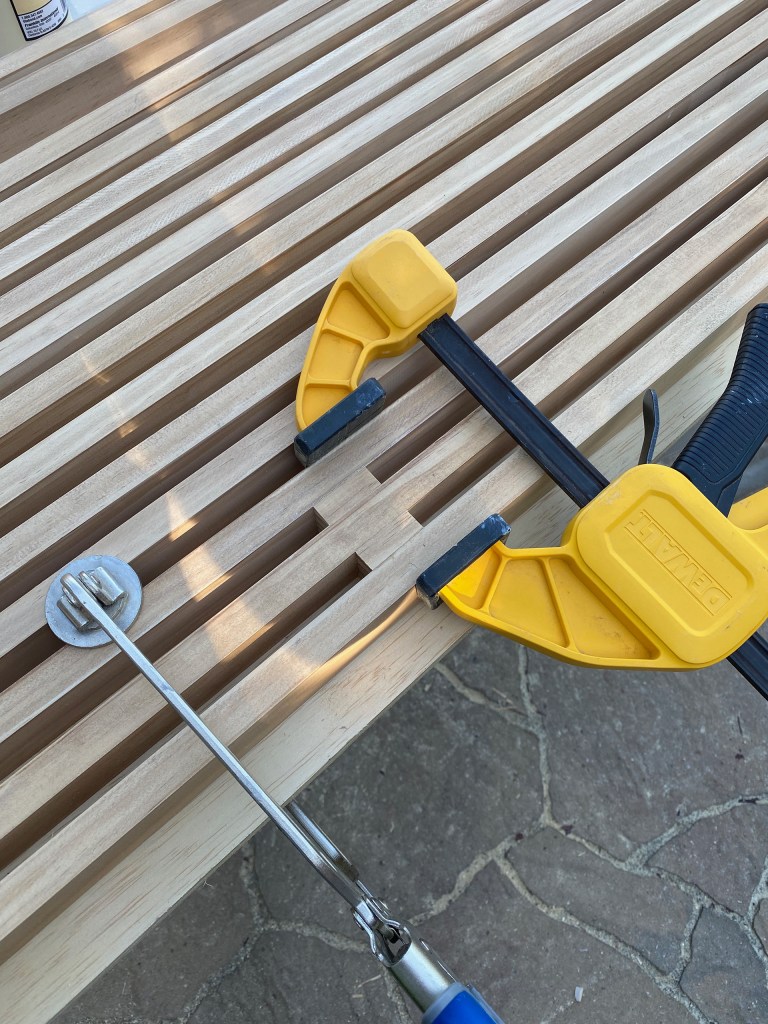
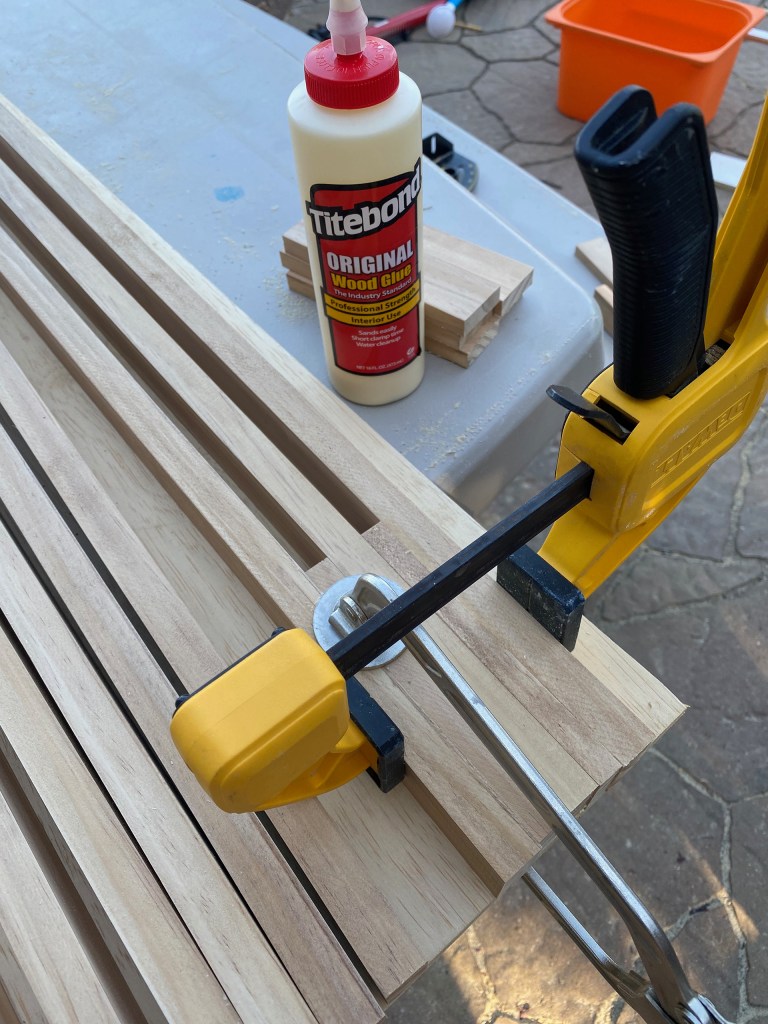
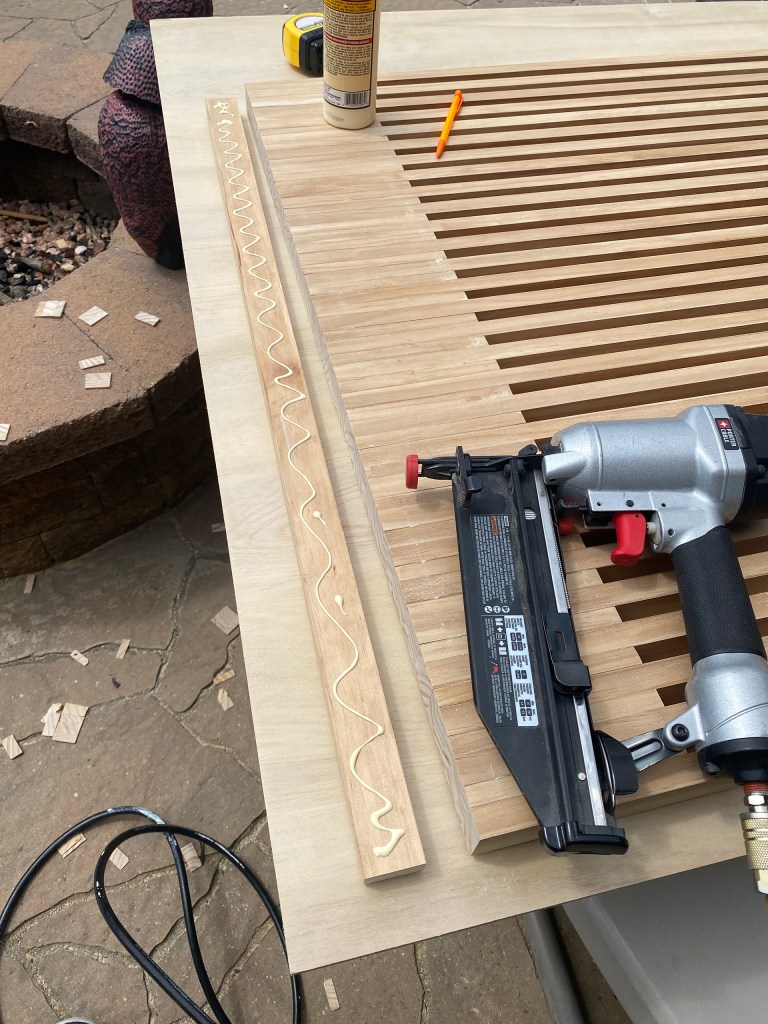
Now its time to get creative with all the clamps and wood glue! Make sure you have a flat surface to work on. I typically use a 4ftx8ft plywood. I used a bar clamp to vice them together plus a Kreg C-clamp for keeping the pieces flat on the surface. Place the leftover spacers between the top and middle header pieces. When I was done with all the gluing and clamping, I placed some weights and leftover floor boxes overnight so it wouldn’t warp while it dried.
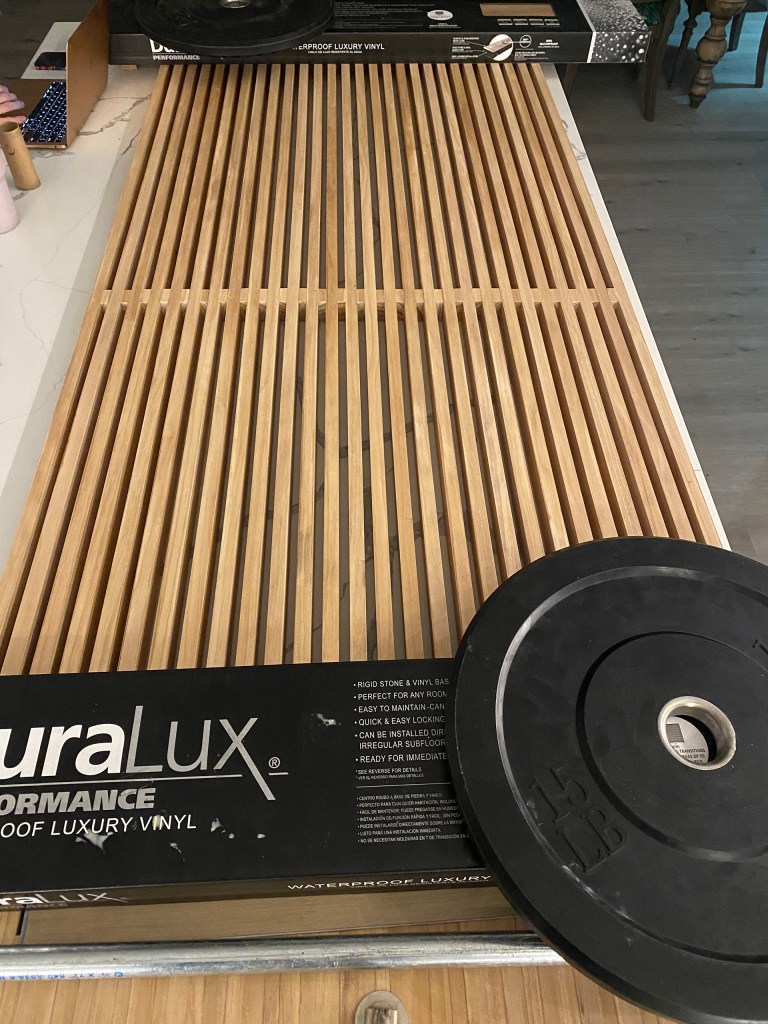
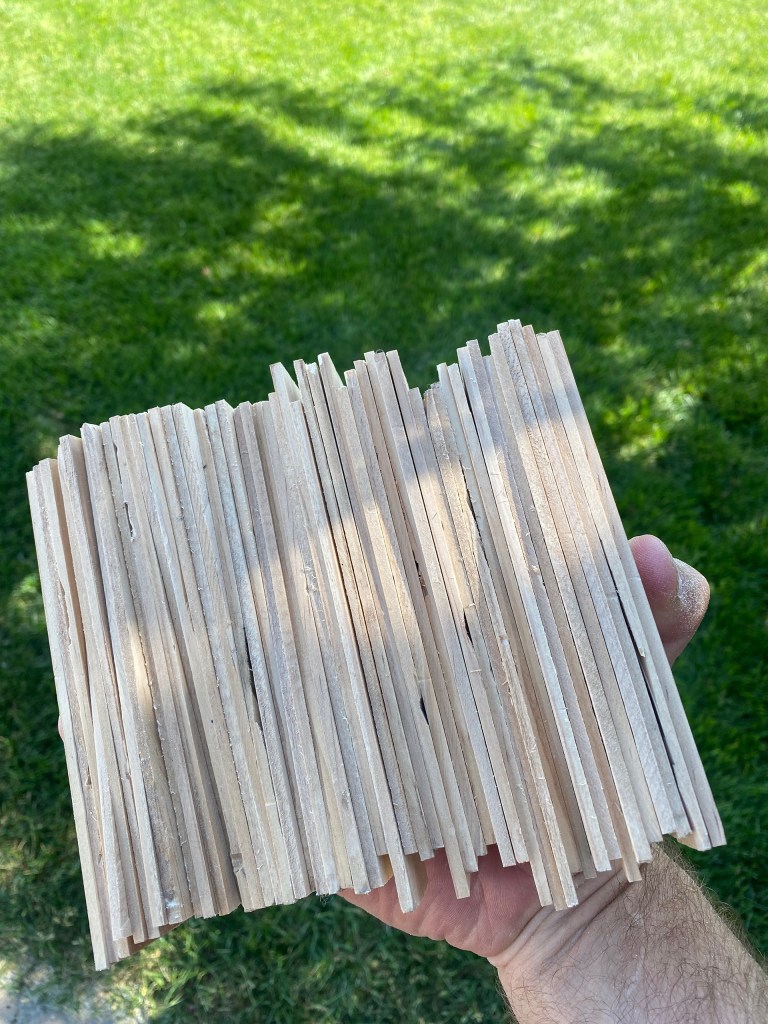
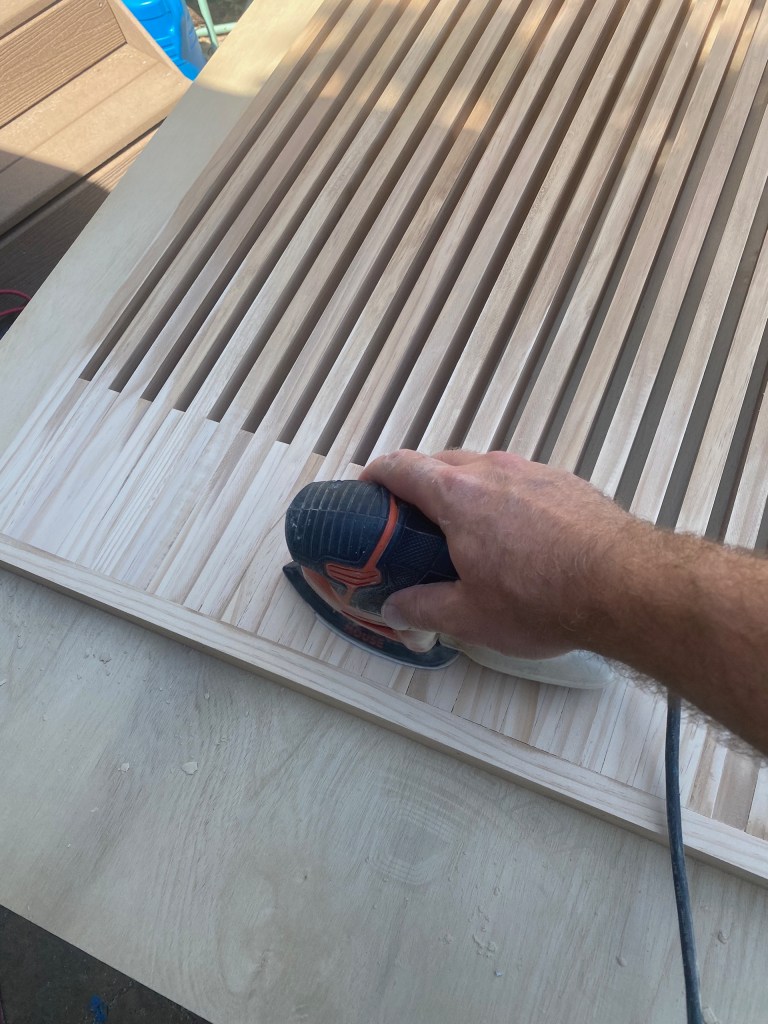
You’ll notice that all the boards are not the same length. Use a rip saw to get the smooth edge to obtain a flat surface for the final top and bottom pieces. Use 16 gauge finishing nails to get the top and bottom pieces attached. For the bottom piece I made 1/2 track for the bottom guide of the door. When the pieces are attached, run a sander of some sorts to get that nice smooth finish. I had to re-stain the parts where I sanded, but it is worth the smooth finish!

There are many things I learned along the way which I will include in a follow-up post of the second door I complete!

Leave a comment