Supplies
3/4 sande plywood // 1/2 mdf // shiplap // pocket screws and drill // wood glue (lots of it) // Pigeon paint by Farrow & Ball // wood filler // caulk // 18 gauge finishing nail gun // table saw // miter saw // rip saw // supplies to fix drywall
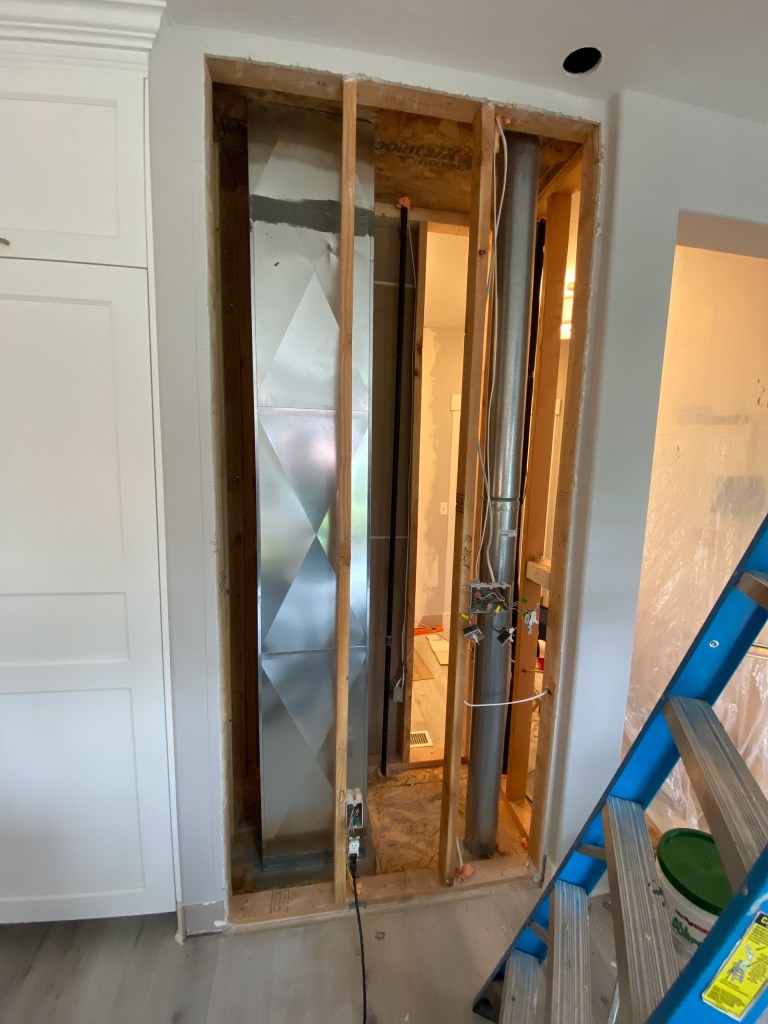
Demoing the wall
We made a really large hole in the wall for the shelf. The maximum width, height and depth allowed was 38 x 89 x 5 inches. I used a super awesome saw to cut into the drywall and remove two studs. This is a load bearing wall so I first braced the load with 2 other 2×4’s then placed a 6 inch header. I would recommend getting an building engineer to approve your work if you are going to remove more than two studs, but this was doable since I wasn’t removing an entire load bearing wall.

Building the shelf
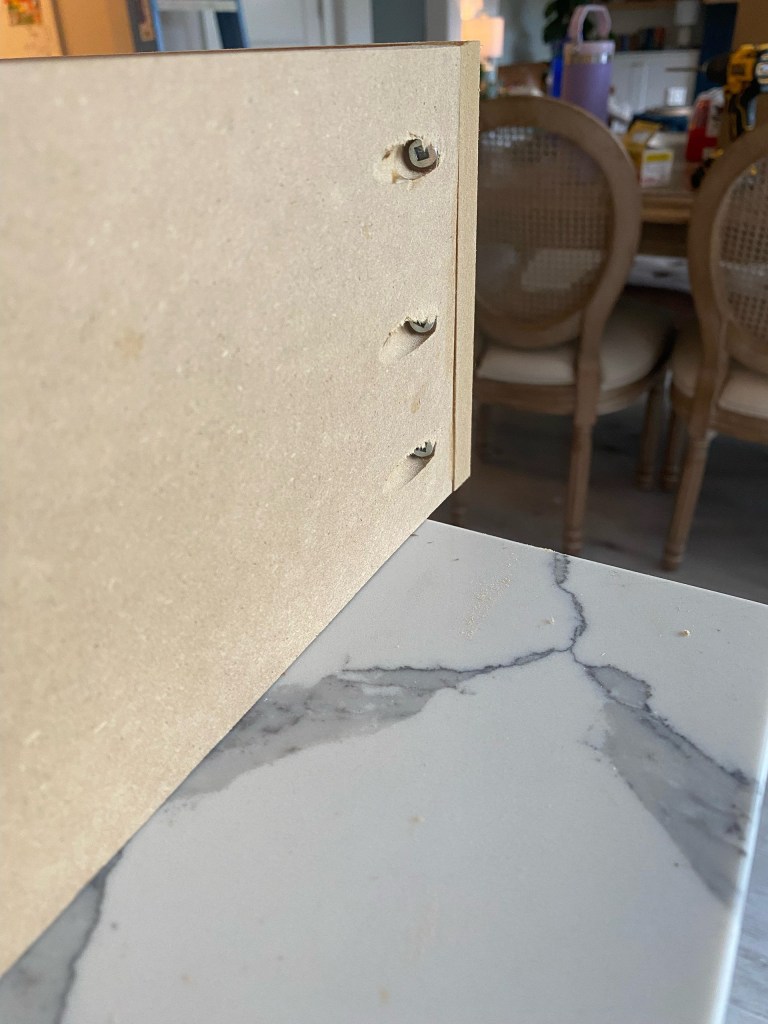
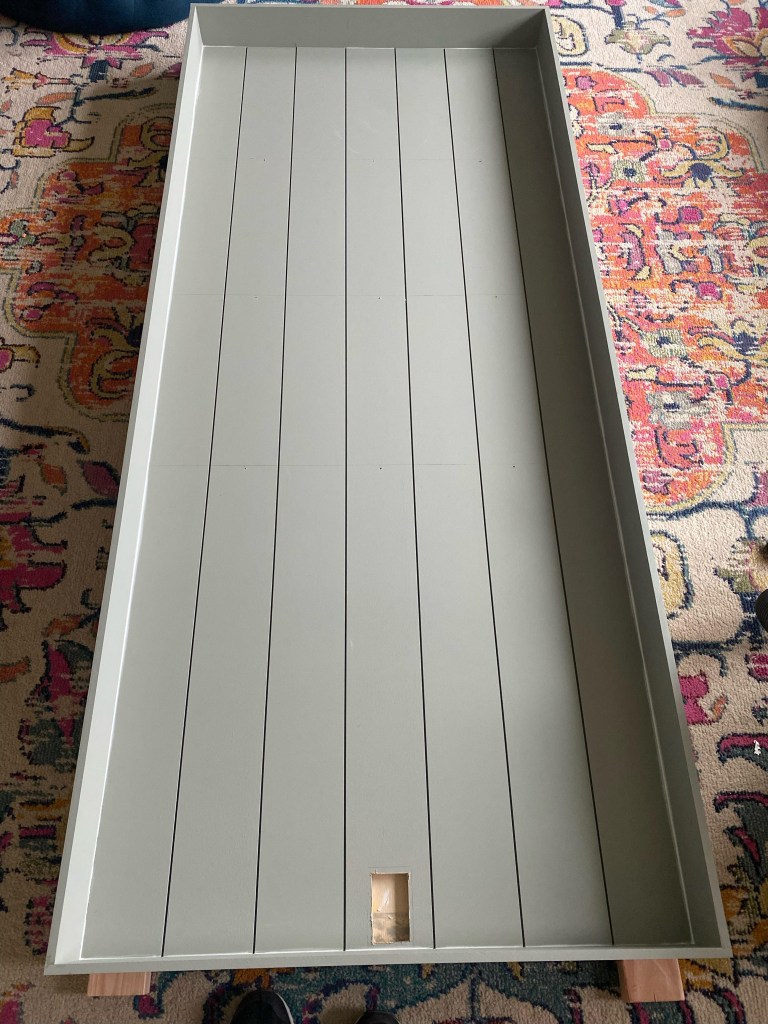
I opted to use a combination of mdf for the sides of the shelf and plywood for the back since I planned on gluing the shiplap on top of the plywood. I cut two 5x 89 inch mdf slats for the side with my rip saw using one of those nifty Kreg edge guides. For the top and bottom–5×38 inch. Bind the corners with pocket screws AND finishing nails. I started with two finishing nails to hold them in place then added three pocket screws.
The mdf is really flimsy at this point so be careful when moving it around. I had Staci help me move it around until I got it more secured with the plywood backing.
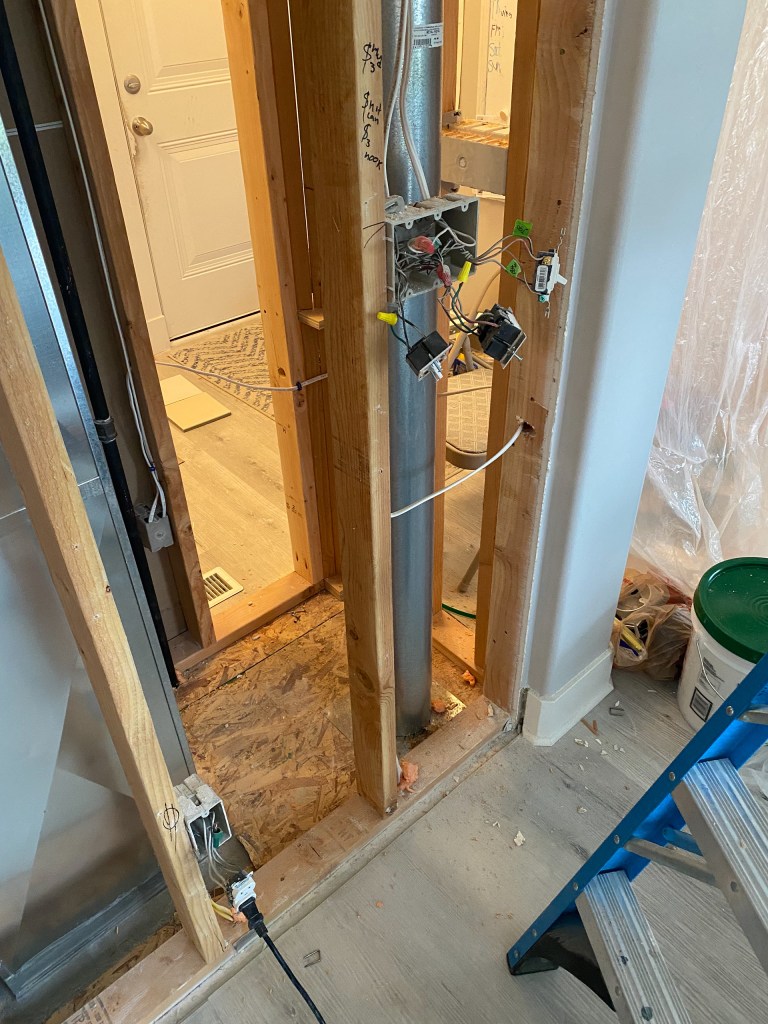
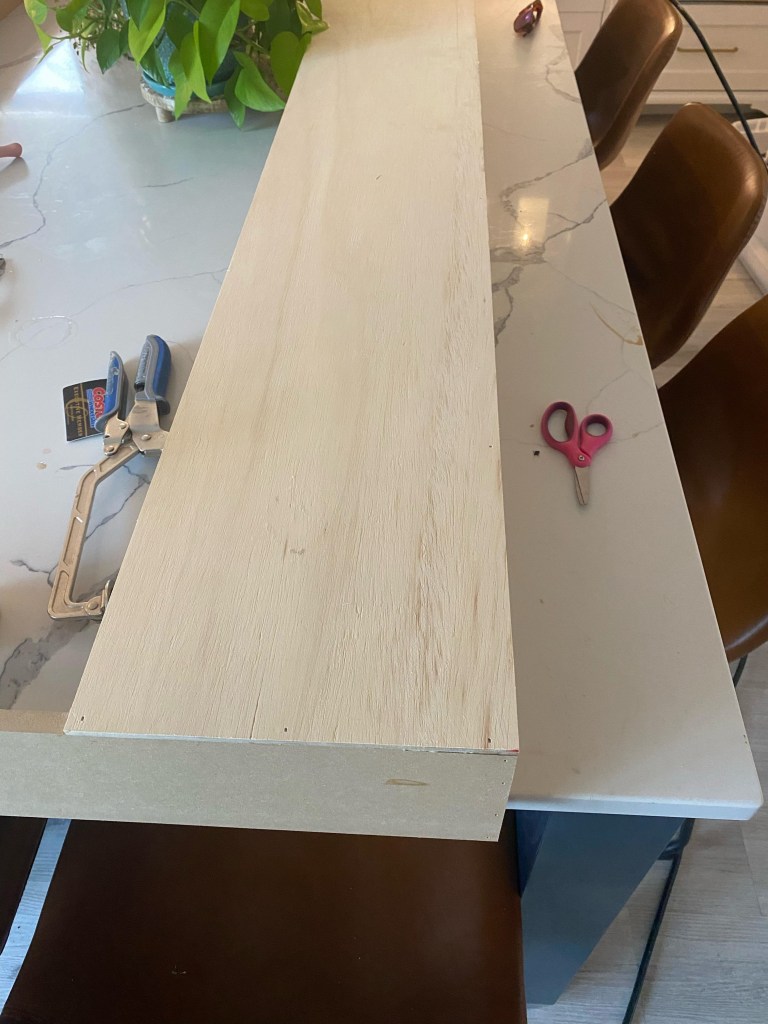
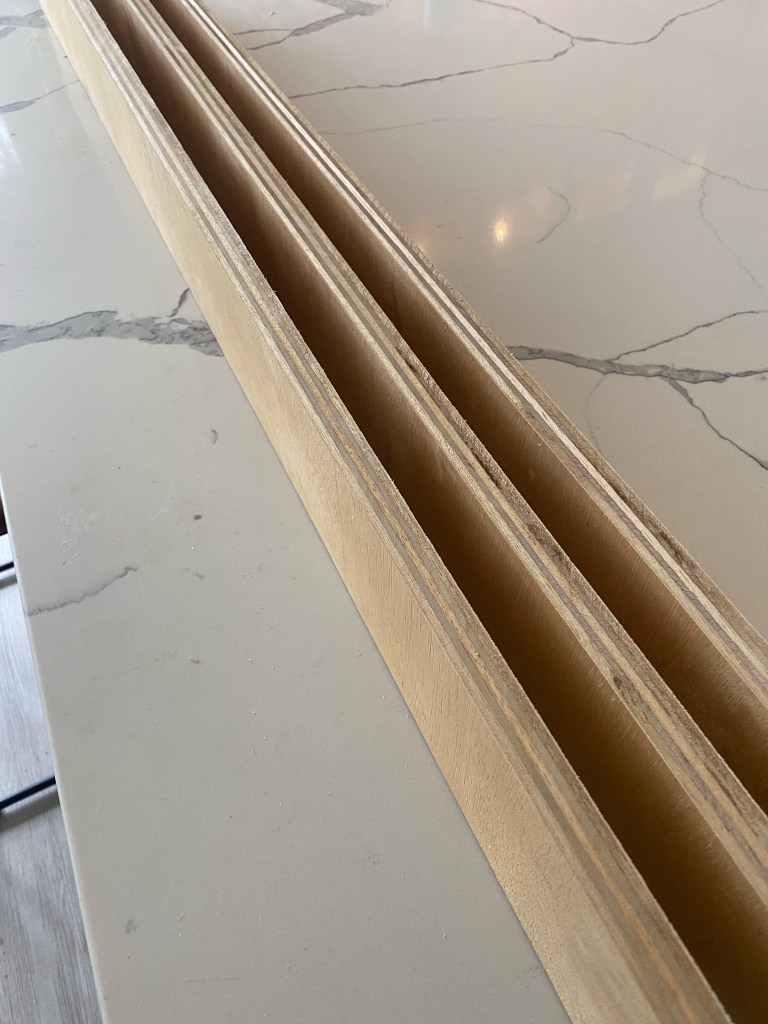
Next, add the sande plywood backing. I did this by adding more pocket screws and wood glue to bind them together. This step is important to get the corners at a perfect 90 degrees. The backing will help you achieve this. I had use a 1/4 plywood for part of the backing because there was a stupid vent pipe in the way (see pic).
Shiplap
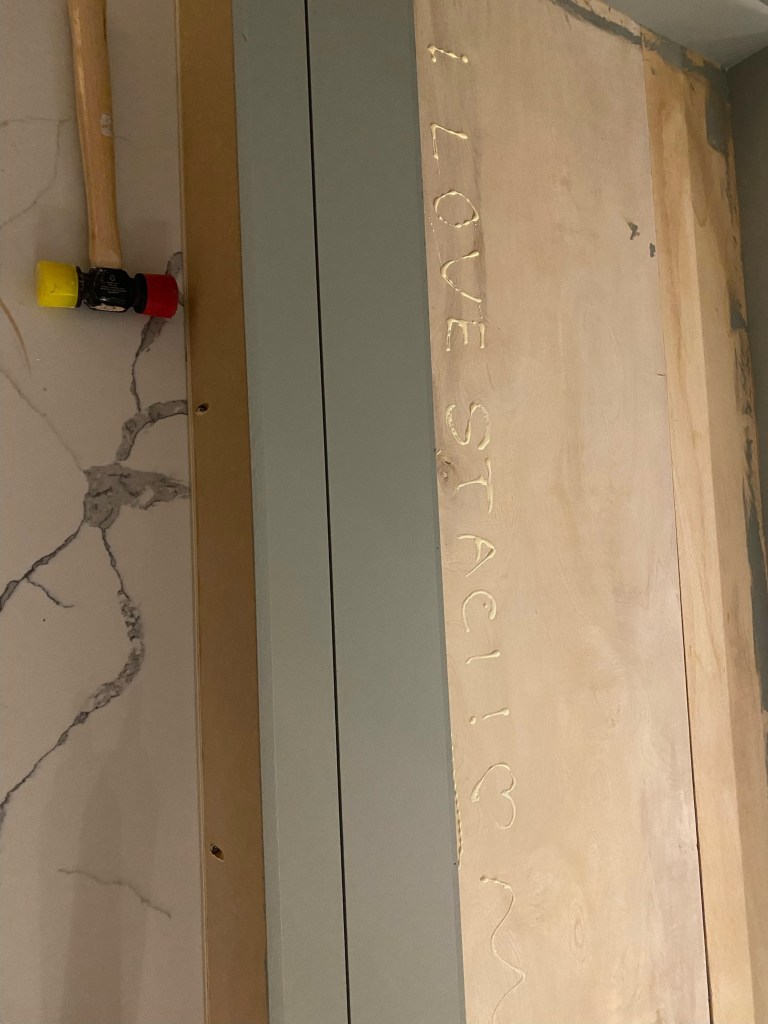
Now the fun part–adding the shiplap and shelves. The shiplap and shelves provide more stability and support of the entire unit. QUICK TIP: always paint your shiplap before its final resting place (wall, shelf, ceiling, etc.). I like rolling the paint then painting the seams with a brush. You can always use a paint sprayer, but the clean up and masking bites.
For this project we used wood glue to bind the shiplap to the plywood backing, thus avoiding the annoying nail holes. We didn’t even put finishing nails on the tongues! Make sure you plan out your measurements so it is symentrical. I ended up cutting off 1/2 inch on the end pieces. As you can see, we also made a hole for the outlet.

Shelves
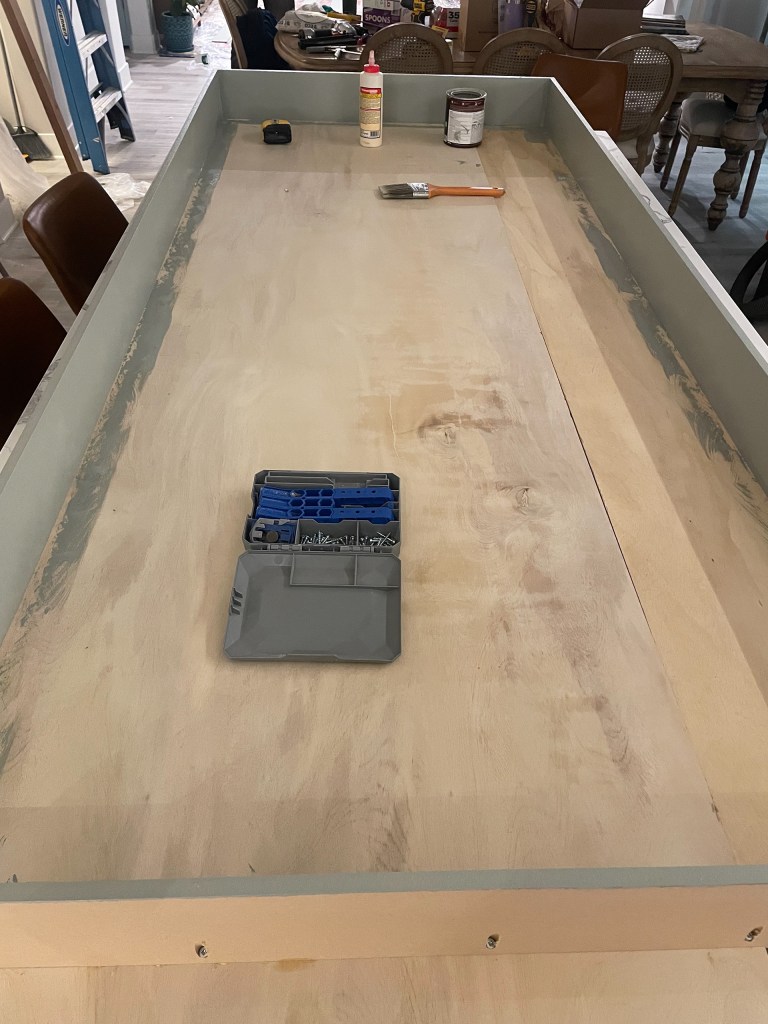
I used a 3/4 sande plywood for the shelves to add more stability for the unit. Used at least 2 inch wood screws to secure the shelves. Start by piloting holes from the back of the unit so you don’t split the wood. I used a square to make sure the shelves were attached level and square.

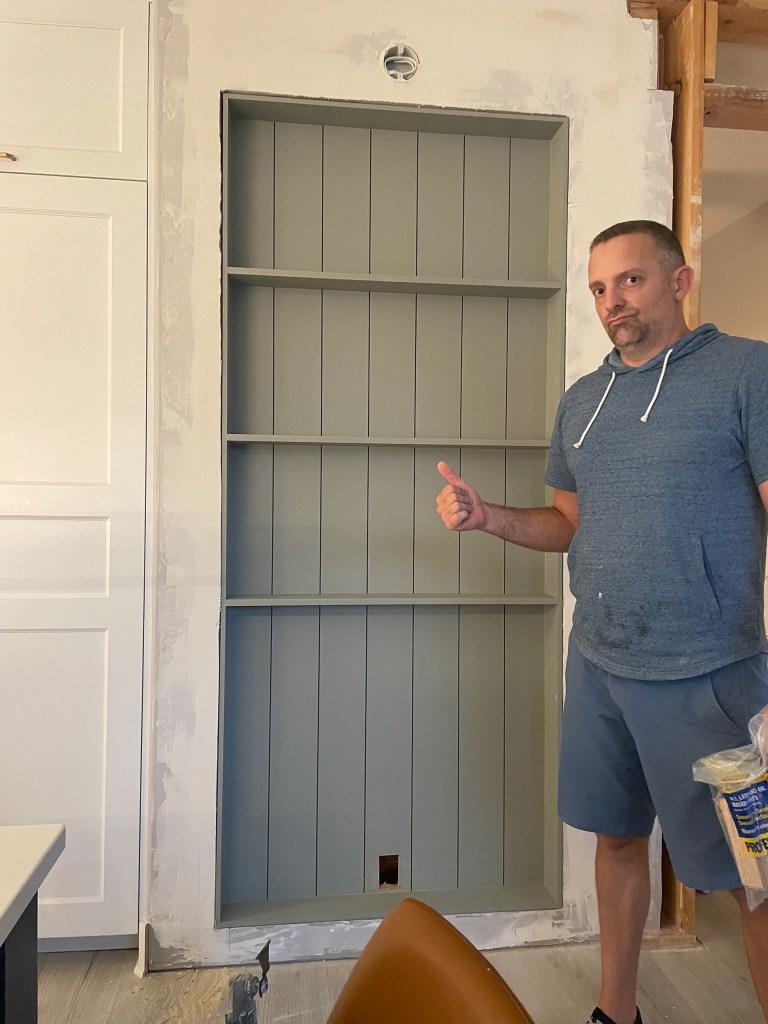
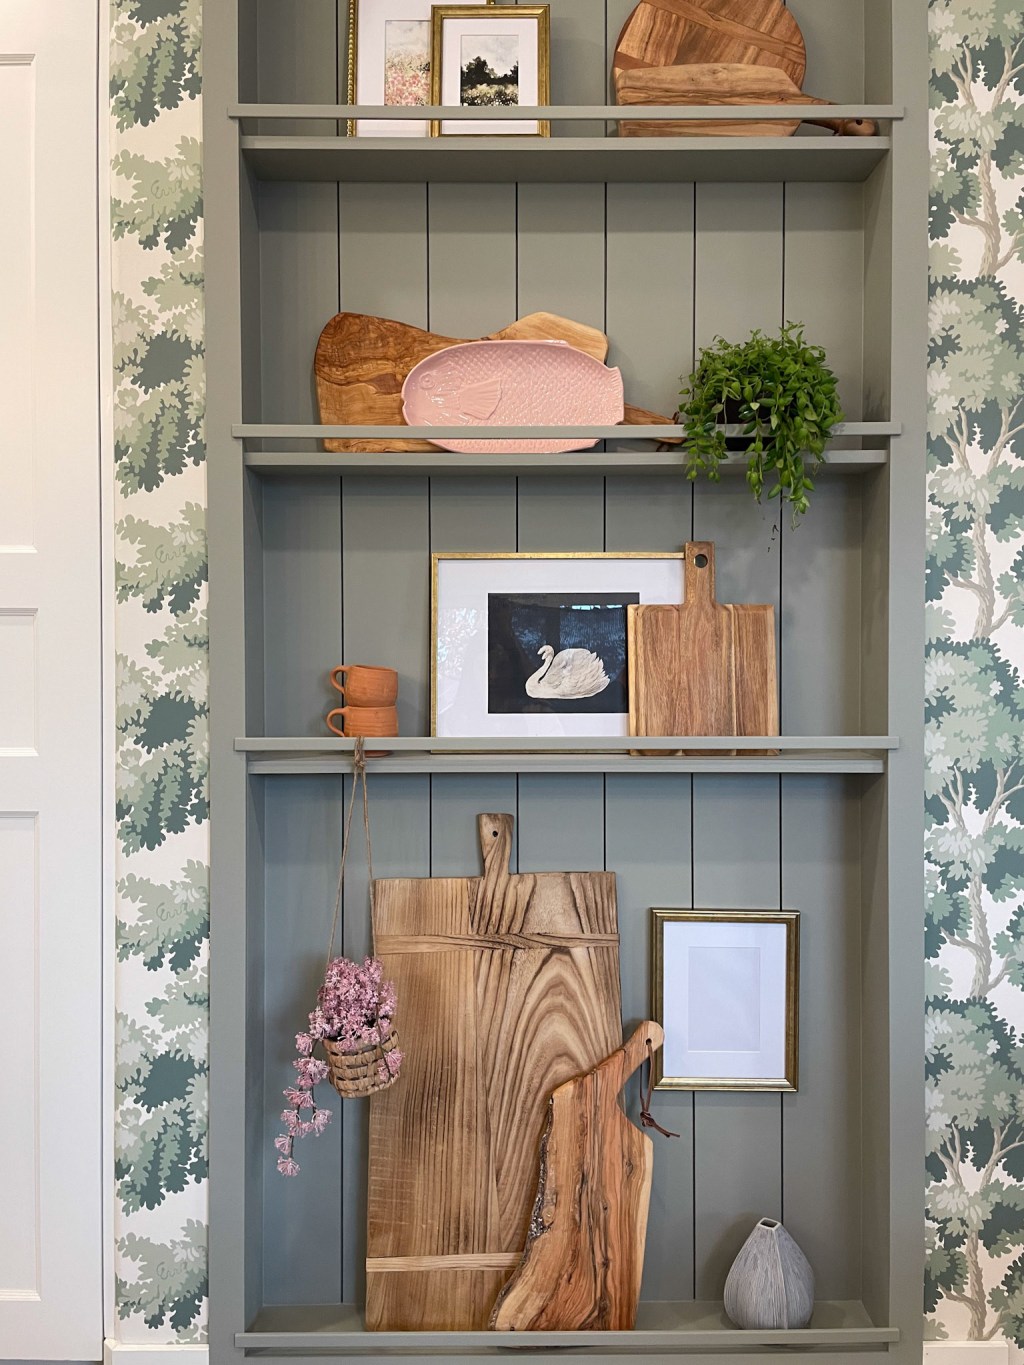
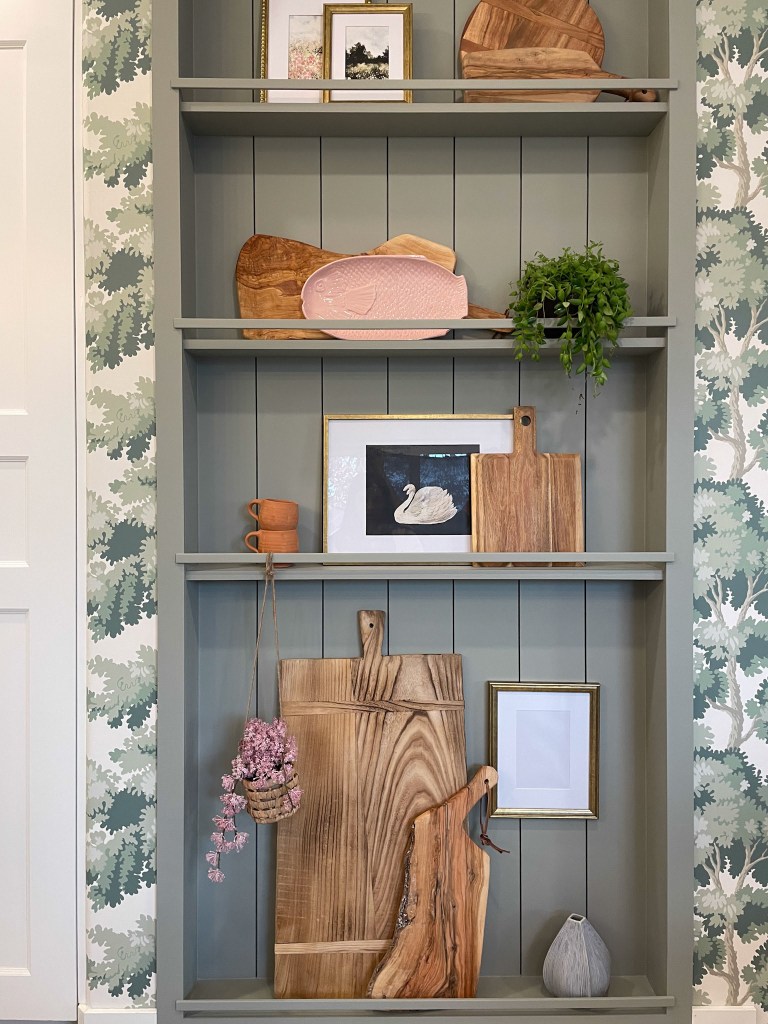
Done!
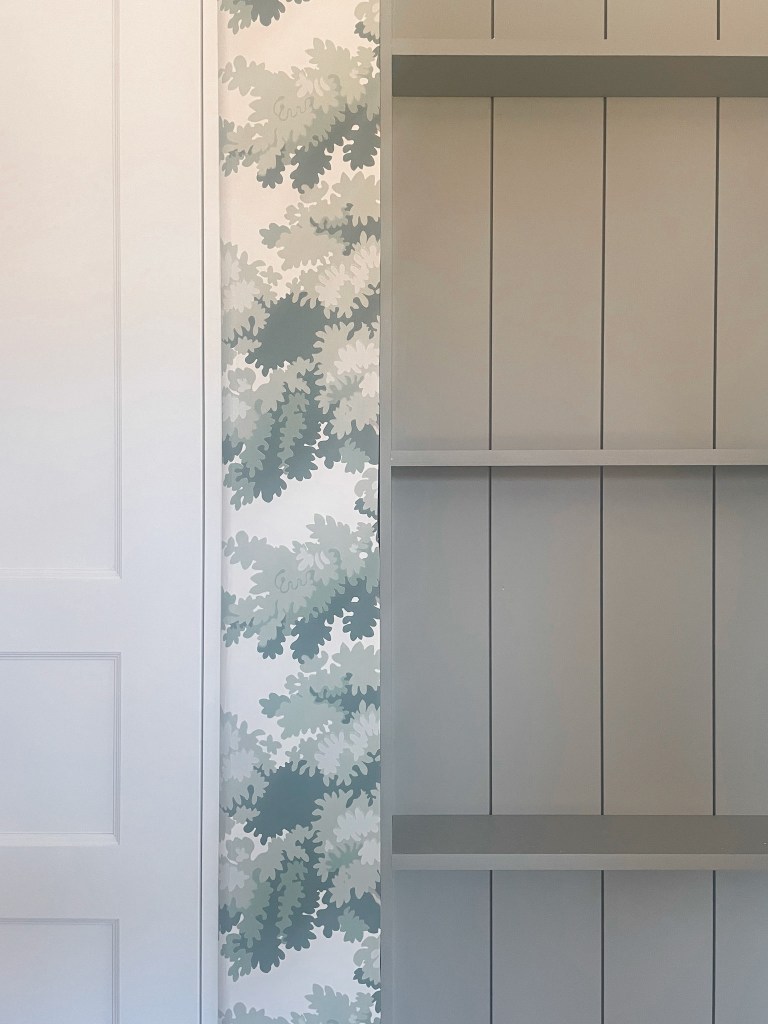
Placing the shelving unit in the opening can be tricky. I made sure I had at least 1/4 of wiggle room all around. Its kind of like placing a door frame using shims. The same concept applies here. Remember all those shims I had left over from making the slat door? Well, I used them here to get the shelf plum and flush to the wall. Now we just added some wall paper and trim to finish it up!


Leave a comment