
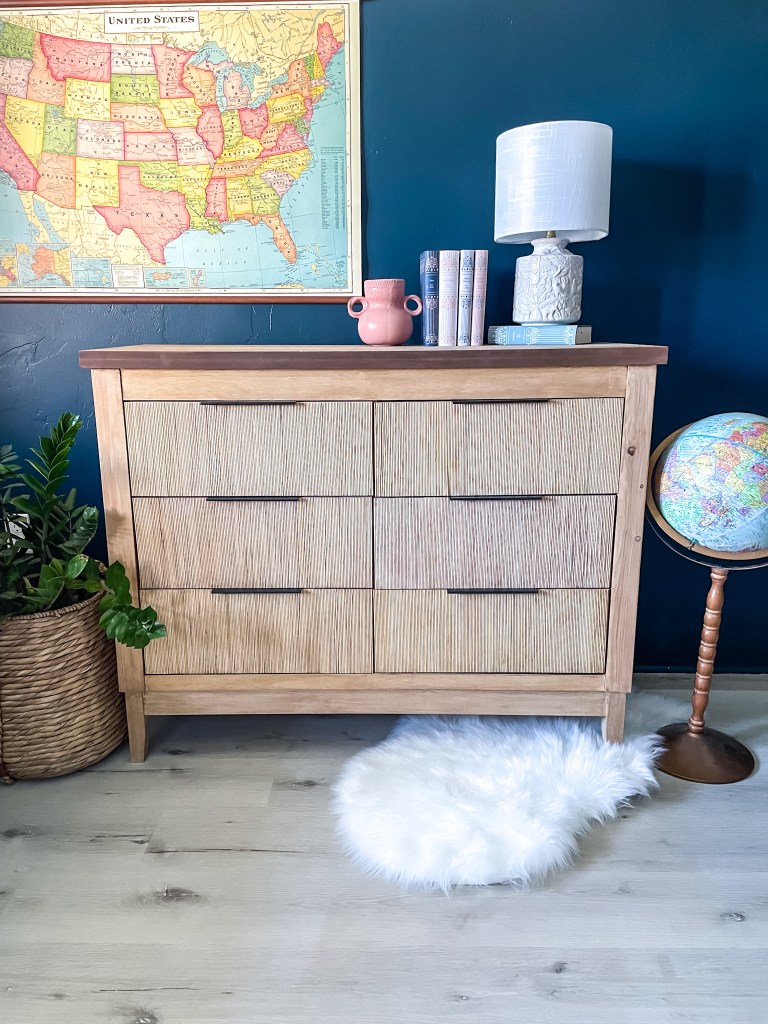
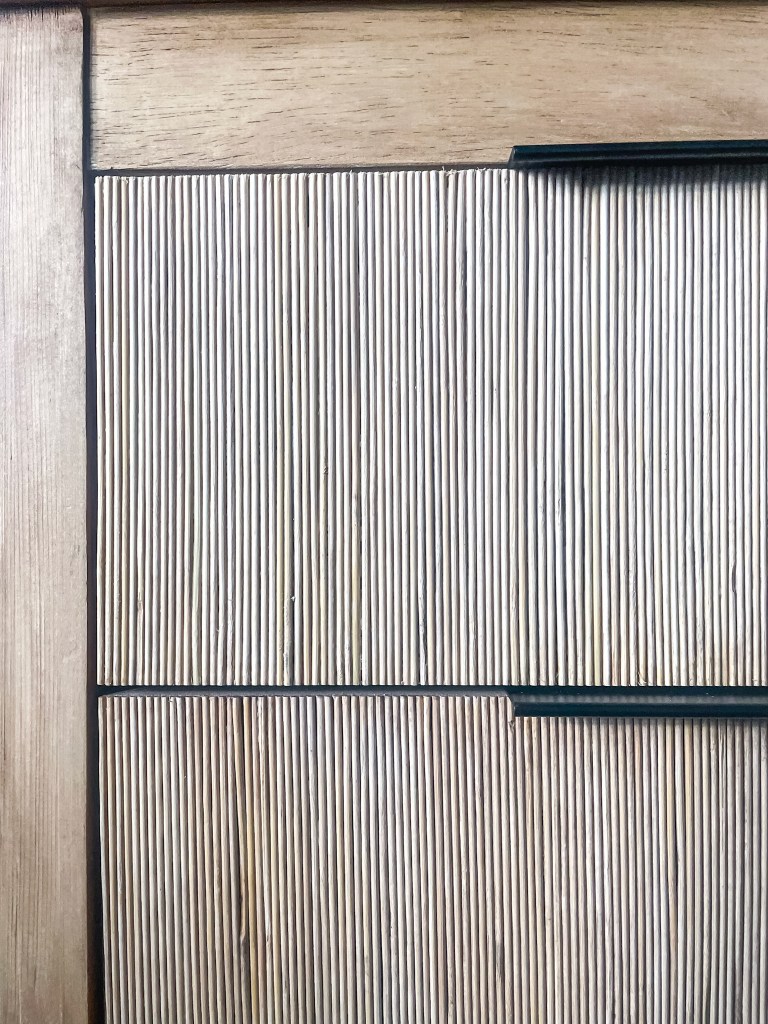
Can we just please take a second to ogle these awesome drawer fronts?! They remind me of the baleen plates of a great blue whale. Wouldn’t you agree? Something about them just makes you want to strum your fingers along them! Well, whatever internal feelings they evoke, this high-end look can be achieved on a low-end budget! We bought the dresser off of Facebook marketplace without knowing exactly what we wanted to do with it. I’ve been obsessed with 1/2″ half dowels lately but didn’t exactly what to spend that much on what was supposed to be a super cheap furniture flip.
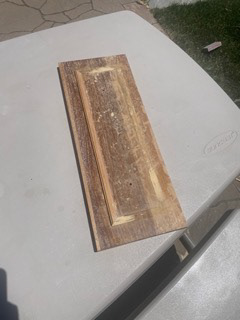

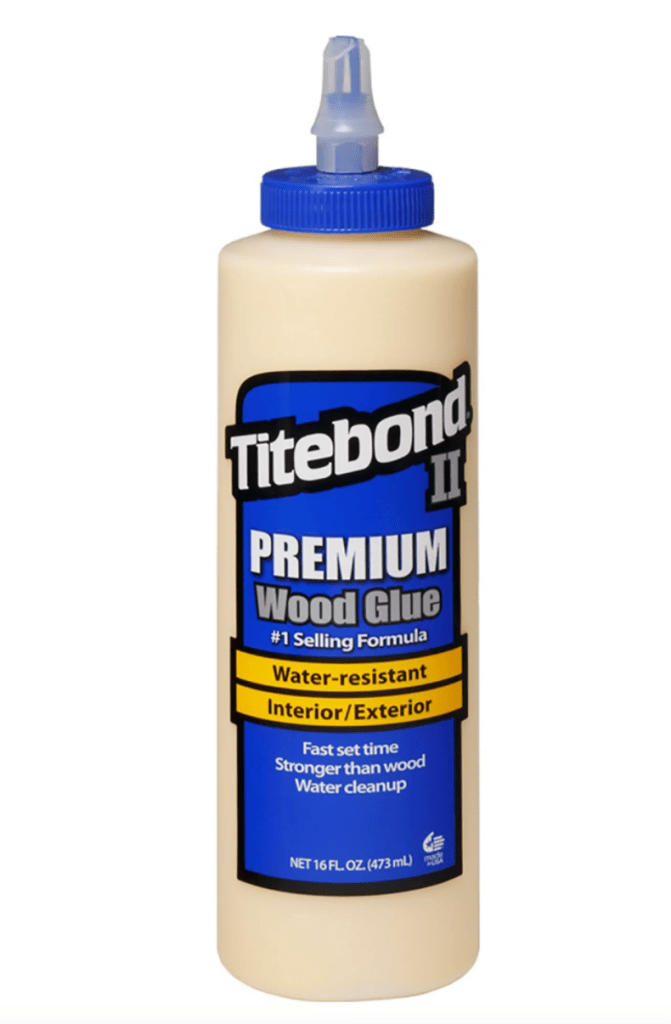
First things first, we needed to get those little knobs and the front trim off to give us a nice blank canvas. Next, you’re going to head to your closest Walmart and grab some Titebond wood glue and some bamboo skewers! Yes- those plain ole’ skewers you snag when you’re prepping for a killer BBQ! We got ours at the dollar store but turns out Walmart has them for even cheaper *cue the sobs*. Apparently Dollar Tree should now be called The Dollar Twenty-Five Tree. At Walmart, these babies are 94 cents! For this dresser, we went through about 12 packs of skewers. Word to the wise- grab an extra pack or two. Some of the skewers were a little wonky and were unable to be used!

I hate to break it to ya but those two items are your major supplies for this project! Once our drawer fronts were free of decorative trim, we gave them a quick sanding, wiped ’em clean, and began the glue works! We worked in about 3″ sections. I used a foam brush to smooth out the glue then placed the skewers exactly where I wanted them. I tried applying multiple at a time but it never seemed to work out as tidily as just doing one at a time within that 3″ section. Now, things got a little crazy because the skewers weren’t identical, obviously, so I would need to slide them up or down a little to get the portion of the skewer I wanted on the drawer. That left us an uneven edge on BOTH ends of the drawer front. I used a spare block of wood and some clamps to secure the bamboo down while the wood glue was drying. We didn’t want any bowing! Once we completed securing all skewers onto the drawer front and allowed the wood glue plenty of time to dry, I took our oscillating saw and cut the edges clean.
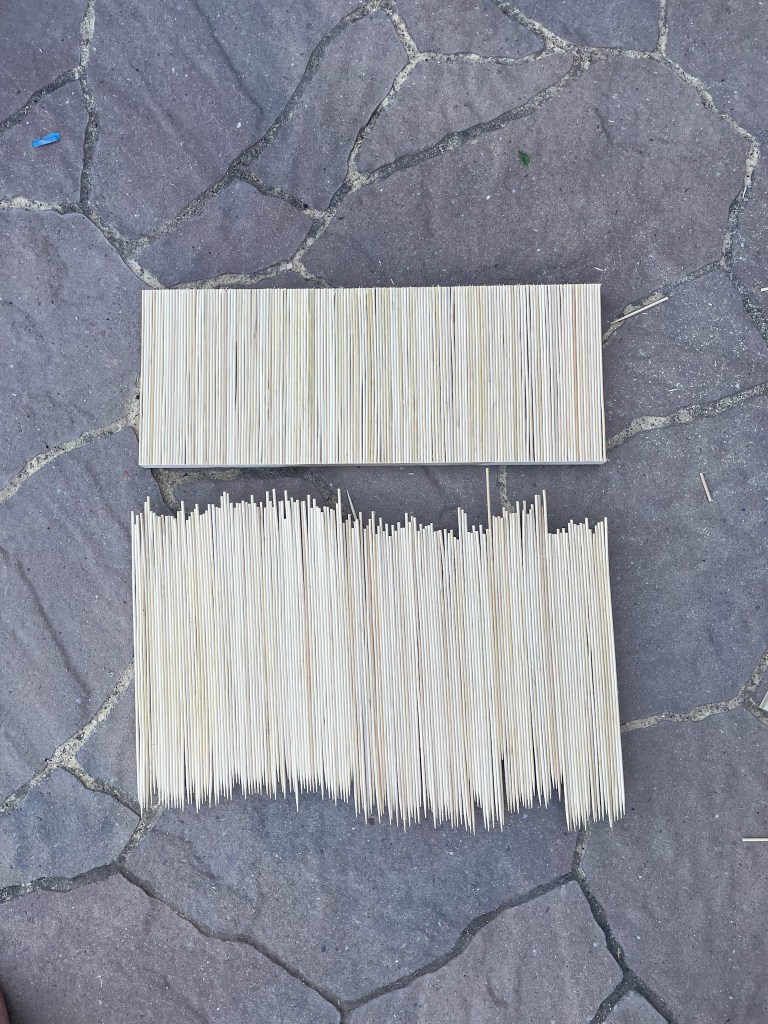
We gave those freshly cut edges a good quick sanding before prepping for the stain. Also, Spencer totally cheated (except for not- he took the genius route) and whipped out the table saw. It definitely cut the time in half but we know not every one has a table saw. A handheld oscillating saw worked just great! Just took a minute longer and a little more elbow grease.

Done with the drawer fronts! Well, the gluing, that is. We finished off the look by applying one coat of Behr White Wash Pickling, followed by Early American. We discovered on an earlier project that we just really like the combo of those two stains! this combo takes out the yellow-y look of the skewers and matched the dresser pretty well! Oh! Don’t forget to add a nice coat of polyurethane! We wanted to make sure those skewers stay in place FOREVER and that the color stays nice and fresh! After dry time, we secured our new hardware (which I am personally obsessed with- you can find them here) and wiped our hands clean of the drawers!
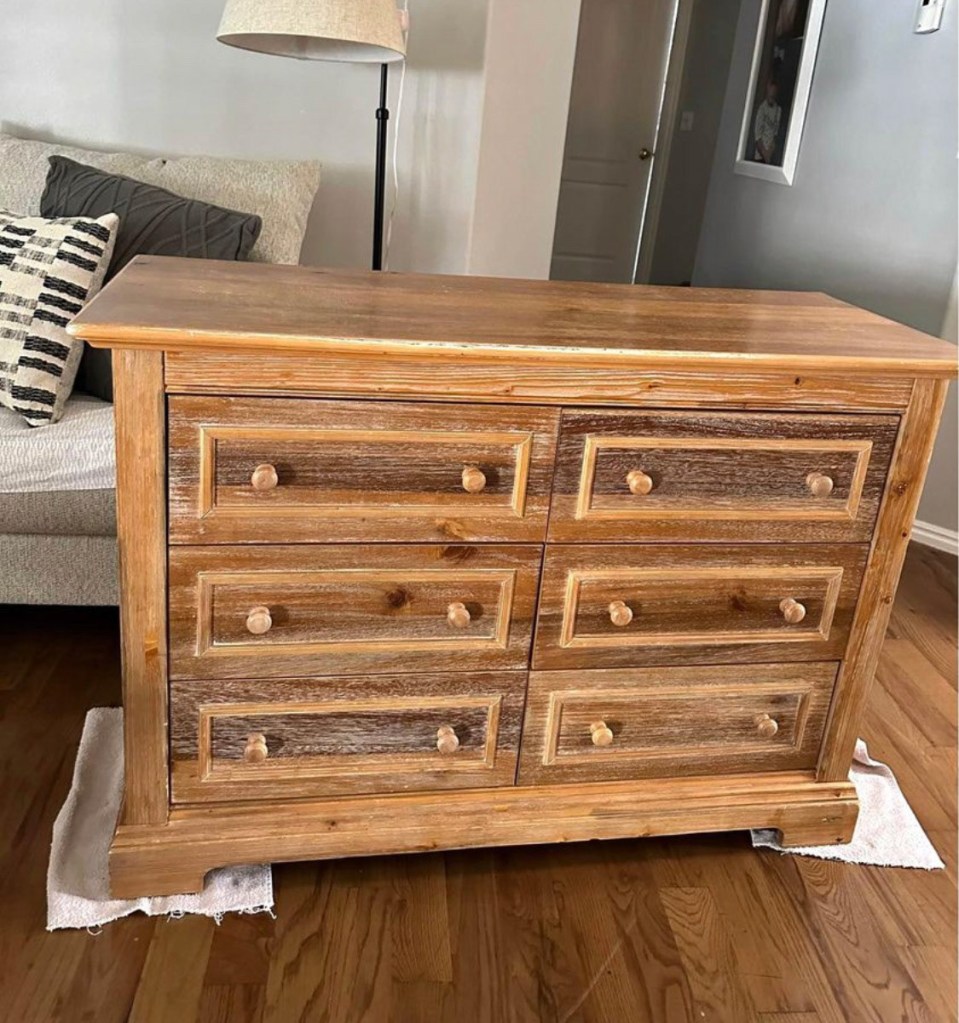
Isn’t that texture so pretty?! For a good run-through video, check out our reel on instagram where we do this project in a very small fraction of the time it actually took! Man, wouldn’t that actual speed be the dream?! Head to our reels and look for this cover photo (shown below). We would love to see or hear how your attempts at this project go! Shoot us a message under the “Contact Us” tab or tag us on social media – @homewithq. Good luck! Happy DIY-ing! Stay tuned for a How-To on building a new dresser base! A good sturdy base (in addition to some kick-butt drawer fronts) makes all the difference in a refinishing project! Also, I feel like it’s worthy to note that Spencer cut a straight edge on the table top of the dresser with our rip saw. That cut really helped modern-up (is that a word?) this dresser!! It doesn’t even seem like the same dresser, right? I love this before/after!


Leave a comment